Last Updated on February 27, 2026
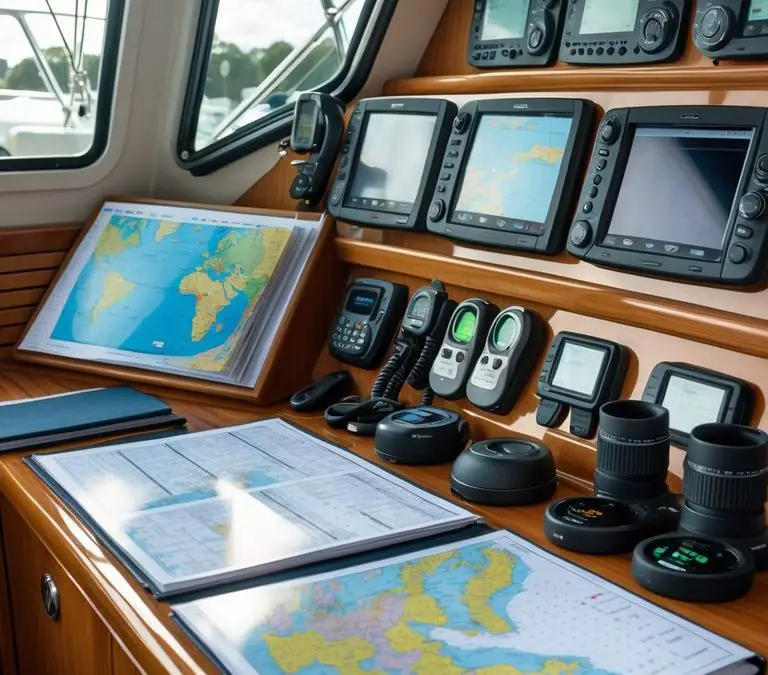
You want a navigation station that keeps you calm, focused, and ready for anything the water throws at you. This article shows simple, practical ways to organize your nav station so you can find charts, tools, and gear fast and sail with more confidence.
You’ll get ideas for lighting, storage, mounting options, and clutter control that fit small spaces and busy decks. Use these tips to make your station safer, neater, and easier to use on day trips and overnight passages.
1) Install customizable LED lighting for night-time visibility
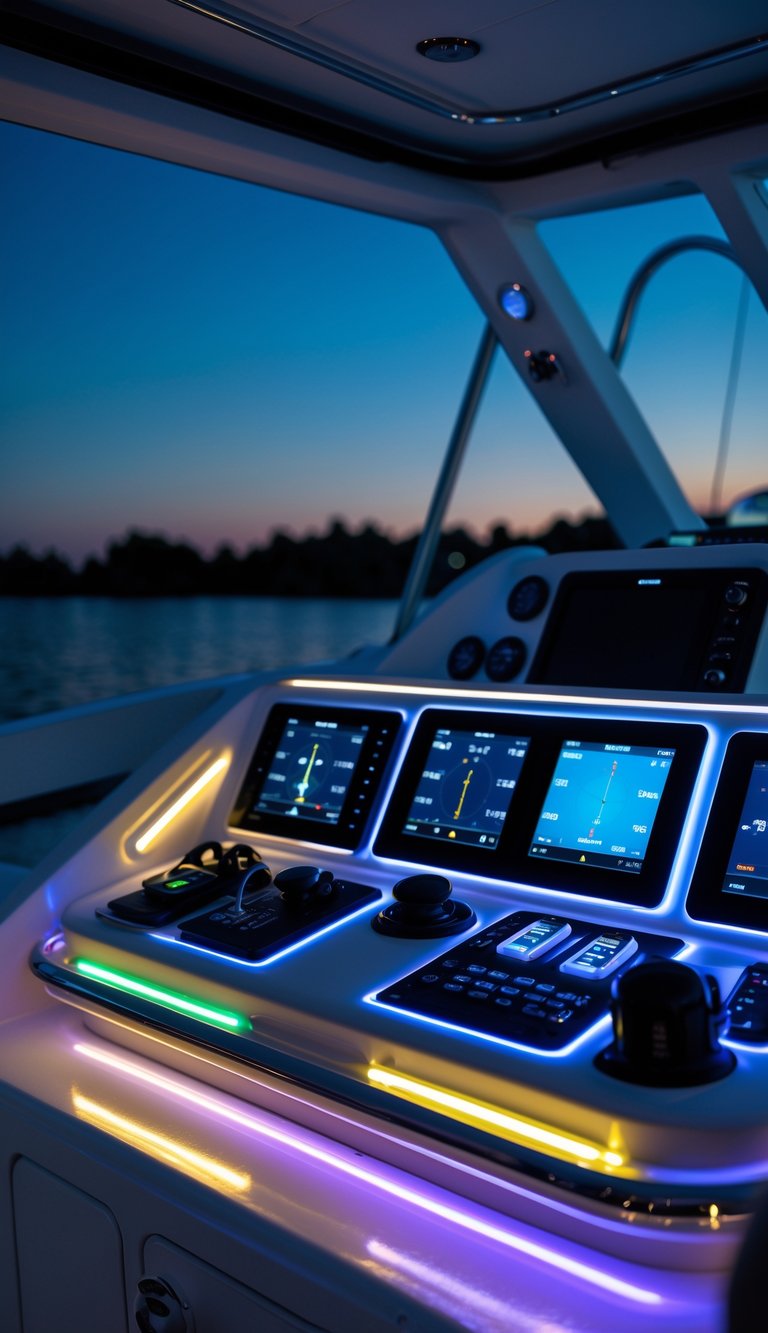
You can add low‑power LED strips or puck lights around the navigation station to improve night visibility. LEDs give steady light without glare, so you can read charts and see instruments clearly.
Choose dimmable fixtures and warm color temperatures to reduce eye strain. Mount lights under shelves or behind bezels to keep the beam off screens and prevent reflections.
Waterproof ratings matter on a boat, so pick marine‑grade LEDs and sealed connectors. Run separate switches or a dimmer so you control brightness for different tasks.
PRO TIP
Wire the LEDs to the boat’s dedicated 12V circuit and label the fuse. That makes troubleshooting and future upgrades much easier.
2) Use magnetic strip boards to hold navigation tools
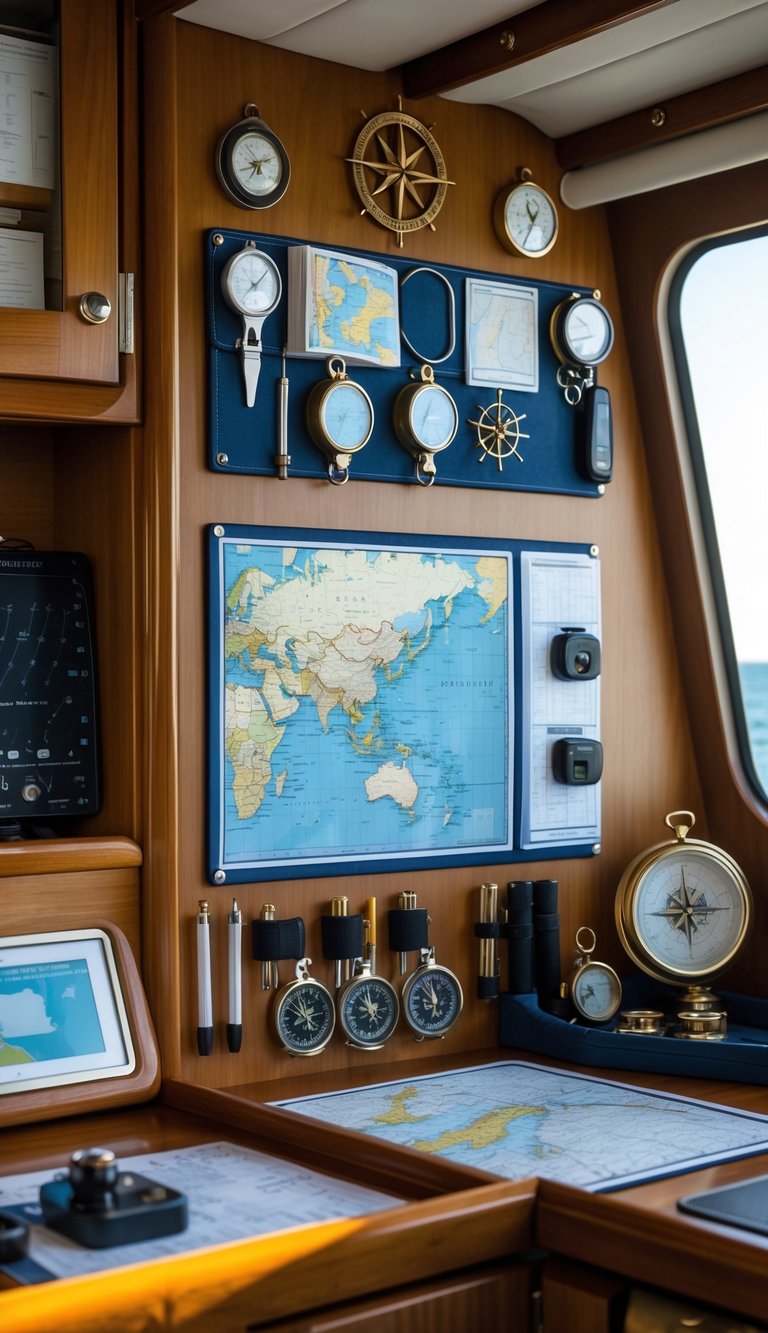
A magnetic strip board keeps metal tools like dividers, compasses, and small screwdrivers within arm’s reach. Mount it near your chart table so you can grab items quickly while keeping the surface clear.
Magnetic strips hold gear securely as the boat moves. They free drawer space and make it easier to see what you have at a glance.
Choose a strip strong enough for rough seas and corrosion-resistant for the marine environment. Place it where it won’t block charts, instruments, or movement around the station.
PRO TIP
Label the area above each tool spot so you always return items to the same place. This simple habit saves time and reduces clutter.
3) Mount a dedicated tablet holder for electronic charts
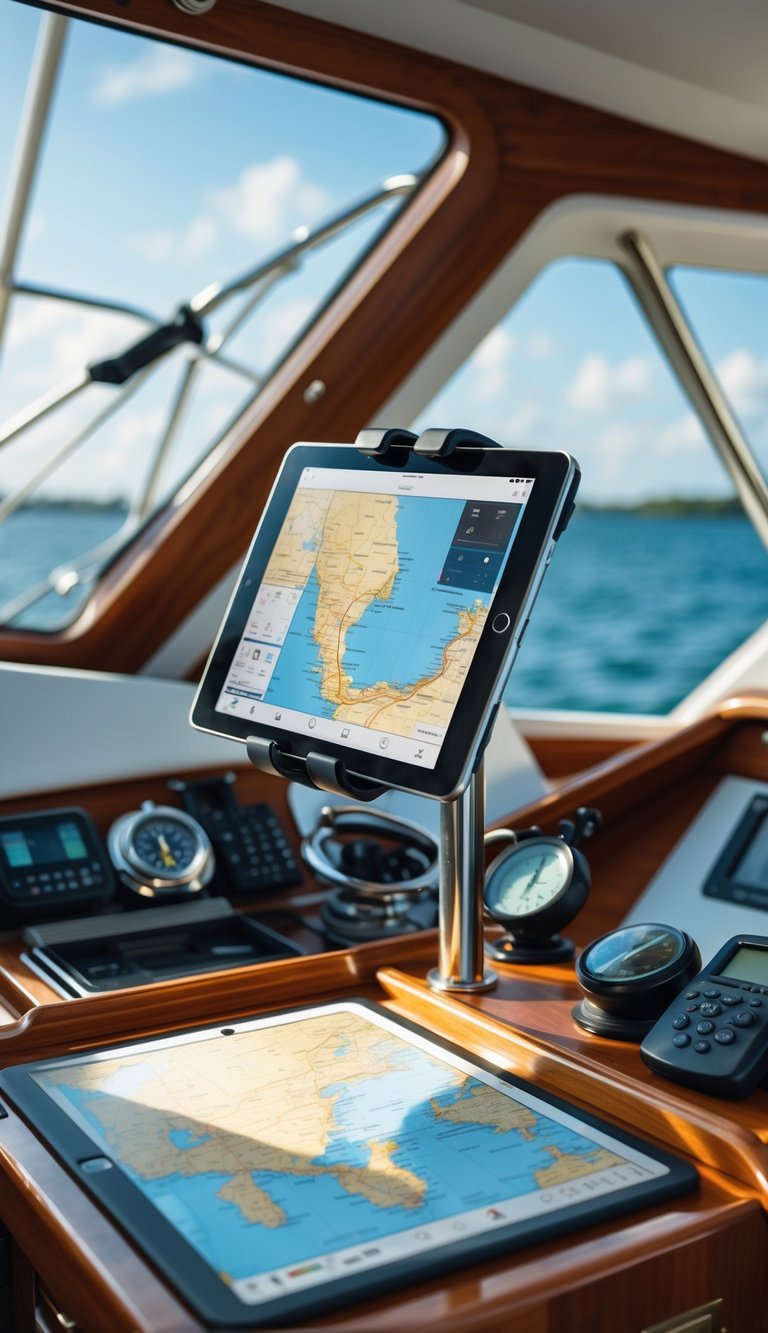
Mount a rugged tablet holder near your helm so your charts and apps stay visible and within reach. Choose a marine-grade mount that resists vibration and salt spray, and fits tablets from about 4.7″ to 12.9″ for flexibility.
Position the holder where it won’t block your sightlines or instruments. You want easy access while steering and the ability to tilt or rotate the screen for better viewing in sun or rain.
Use a locking or quick-release base so the tablet stays secure in rough seas but is easy to remove when you need it elsewhere. Cable-manage power and antennas to avoid tangles and keep the station tidy.
PRO TIP
Mount the tablet slightly left or right of center to reduce glare, and add a sun hood if you often navigate in bright conditions.
4) Add waterproof storage compartments

Water can get in when you least expect it. Add sealed compartments to keep charts, electronics, and spare clothes dry and ready.
Choose boxes or lockers with rubber gaskets and secure latches. Clear or translucent containers help you find items fast without opening every bin.
Mount small waterproof pouches near the helm for phones, keys, and logbooks. For larger items, use under-seat waterproof lockers or a lockable dry box tied down so it won’t slide in rough seas.
PRO TIP
Label each compartment with waterproof tape or a UV-resistant marker. That saves time and keeps your navigation station tidy when conditions get busy.
5) Label all switches and panels clearly
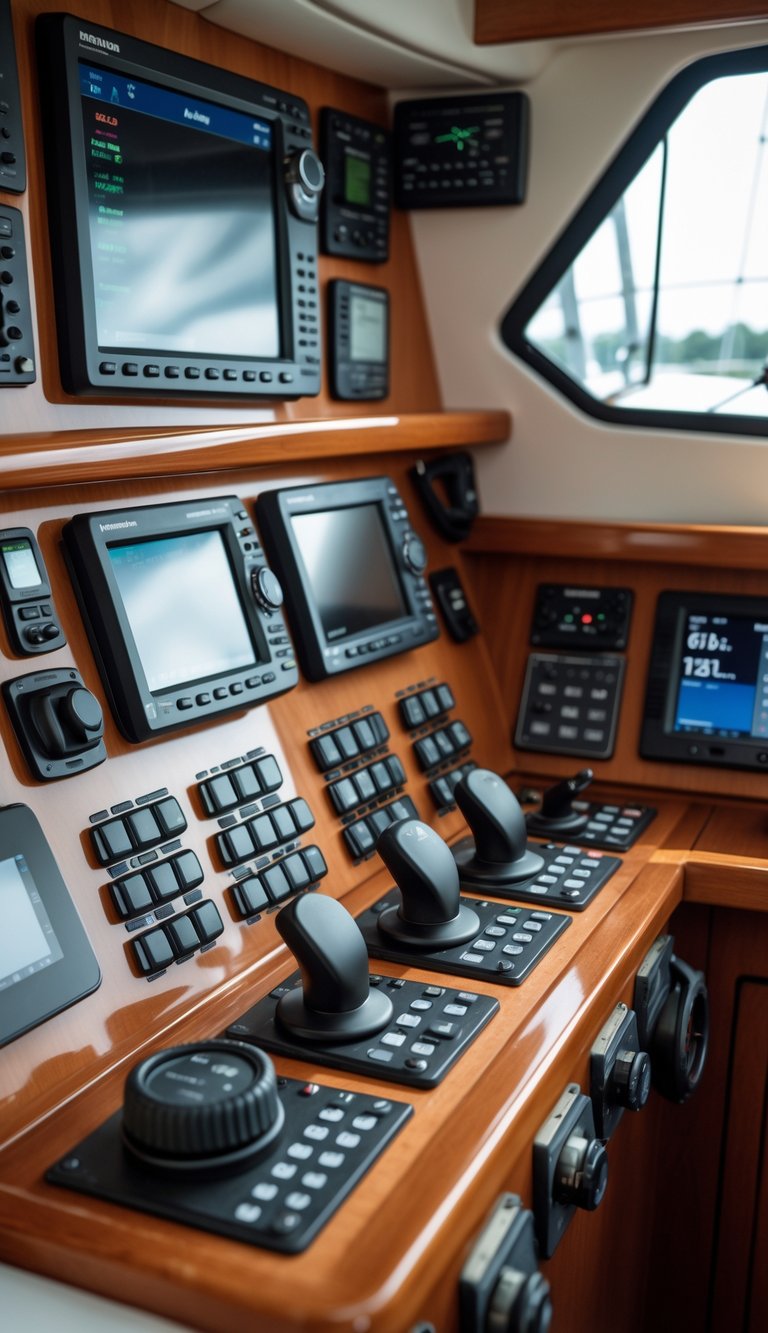
You need clear, durable labels for every switch and panel. Labels help you find and use controls fast, especially at night or when conditions get rough.
Use waterproof, UV-resistant labels that stick well to metal and plastic. Simple text or common marine symbols work best because they reduce confusion.
Keep labels short and consistent across the boat. Group related controls—lighting, pumps, electronics—and use the same style and font for each group.
PRO TIP
Make a laminated master list of labels and locations, and keep a spare sticker sheet in your navigation drawer. Replace worn labels right away so your panel stays reliable and easy to use.
6) Use Velcro strips for securing light equipment
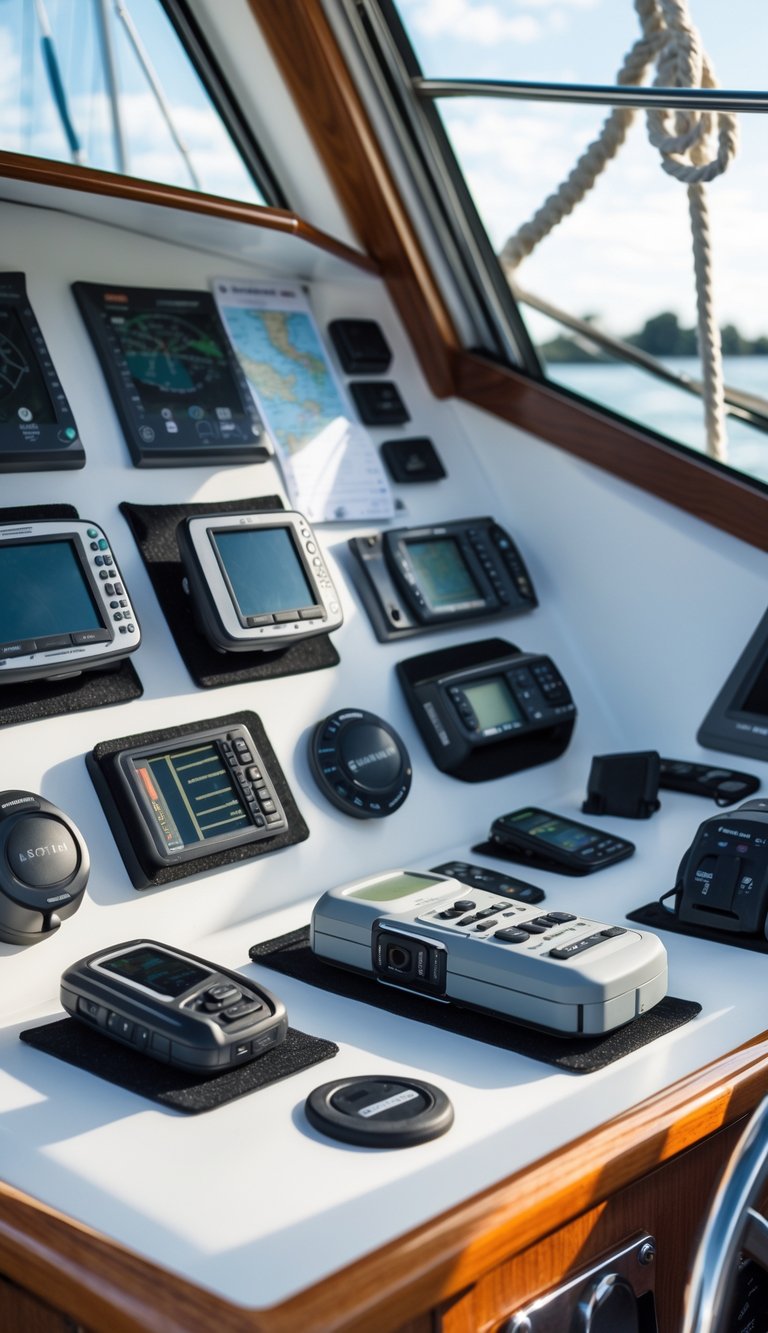
You can use Velcro strips to keep small gear tidy and within reach. Stick the fuzzy side to the nav station surface and the hook side to items like handheld radios, flashlights, or small tablets.
Velcro works well where quick access matters. It holds gear firmly but lets you pull items free in a flash when you need them.
Choose marine-grade or adhesive-backed Velcro for better hold in humid conditions. Reinforce high-use spots with a few stainless screws through webbing if you expect heavy wear.
PRO TIP
Label each Velcro spot with a tiny tag so you always return items to the right place.
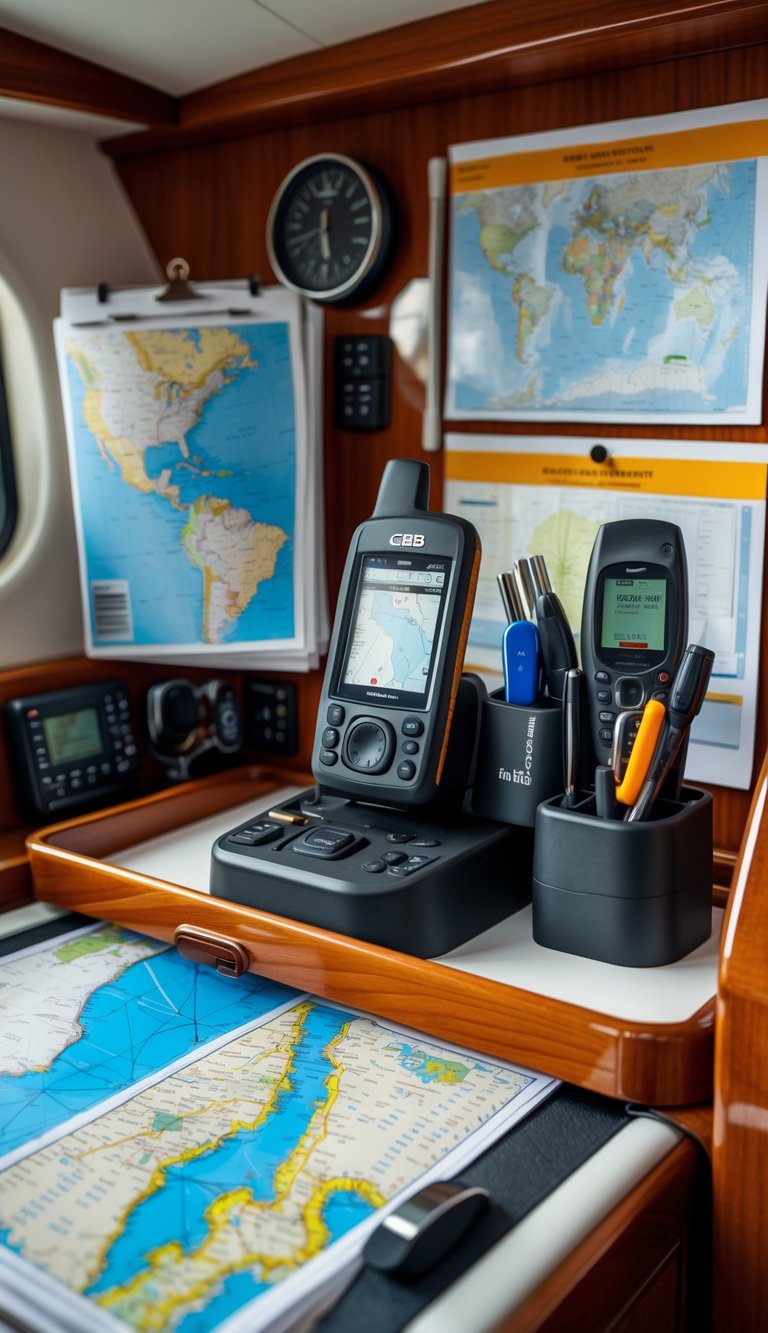
7) Integrate a compact VHF radio station
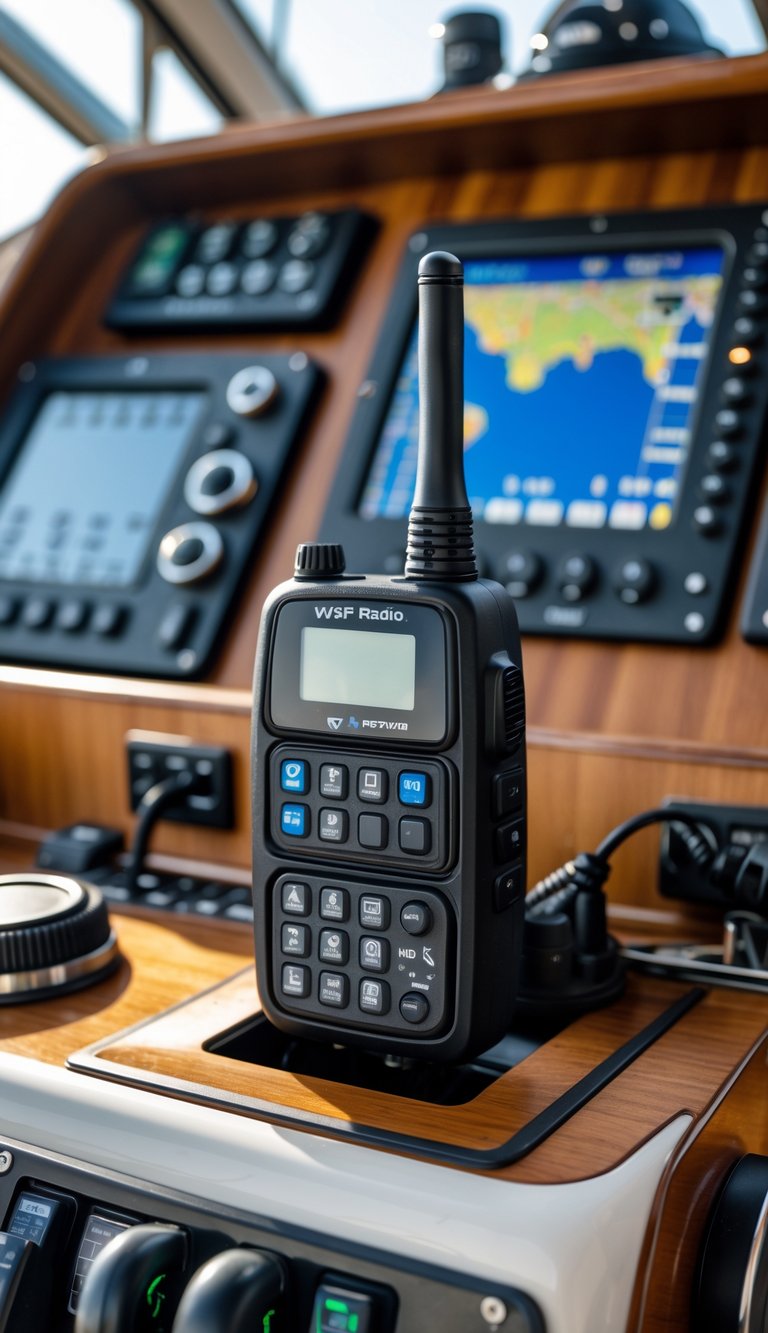
Place a compact VHF where you can reach it from the helm and the companion seat. Keep the mic within easy reach so you can call for help or talk to a marina without leaving your post.
Use a compact or black-box radio to save space and free up the dash for screens. These units let you mount the main unit out of sight while a small speaker-mic and display live at the helm.
Run a dedicated power feed with a fuse so the radio works even if other systems fail. Also route the antenna coax cleanly to avoid interference and to keep the nav station tidy.
PRO TIP
Mount a small holder or clip for the handset and label the power switch. That helps guests and crew find and use the radio fast.
8) Include a fold-out chart table
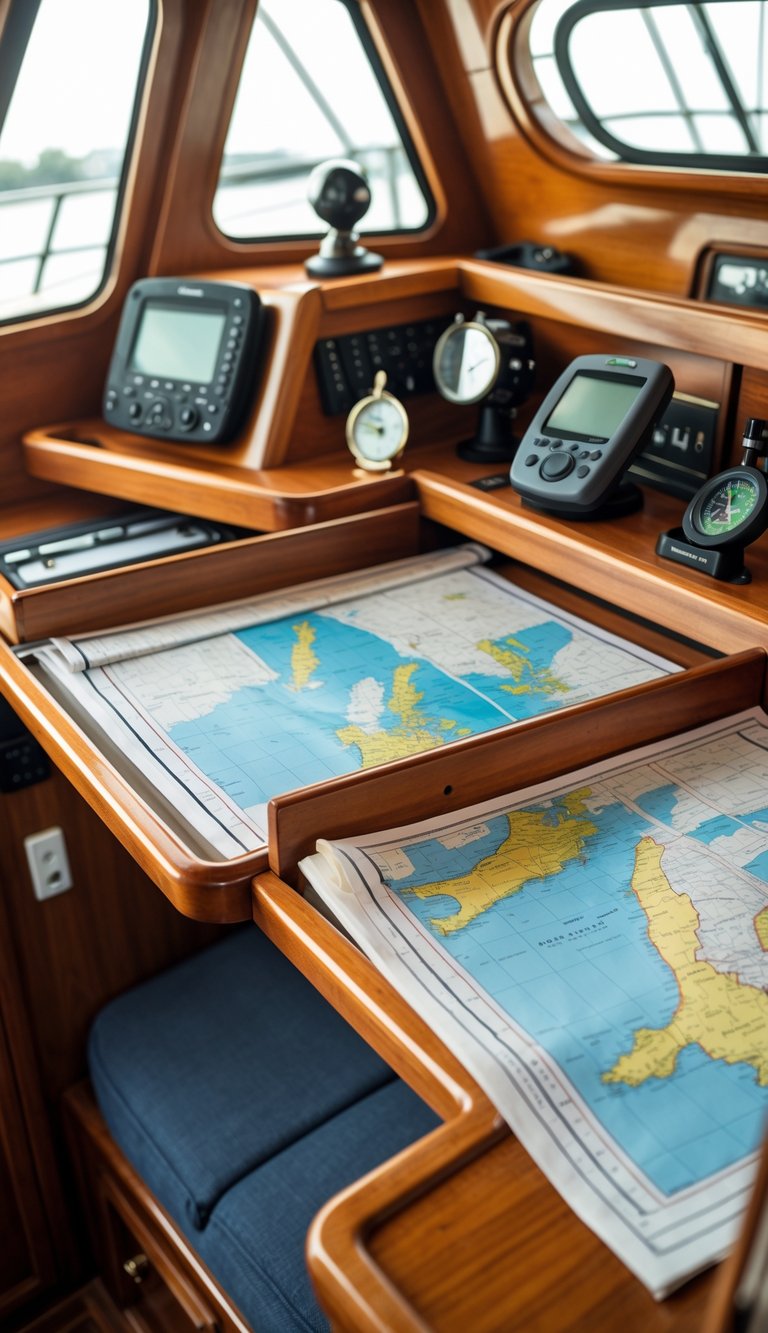
A fold-out chart table gives you a flat, stable surface when you need it and tucks away when you don’t. It saves space on small boats and keeps your navigation area tidy.
Choose a model that locks solidly in place and unfolds to a size that fits the charts you use. Lighter materials like plywood or composite keep weight down and are easier to handle.
Mount the table near your instruments so you can glance between paper and electronics without moving around. If you add a lip or non-slip mat, charts and tools stay put in rough conditions.
PRO TIP
Build or buy a table that folds under a set angle so it doubles as a chart holder when partly open.
9) Install cable management clips to reduce clutter
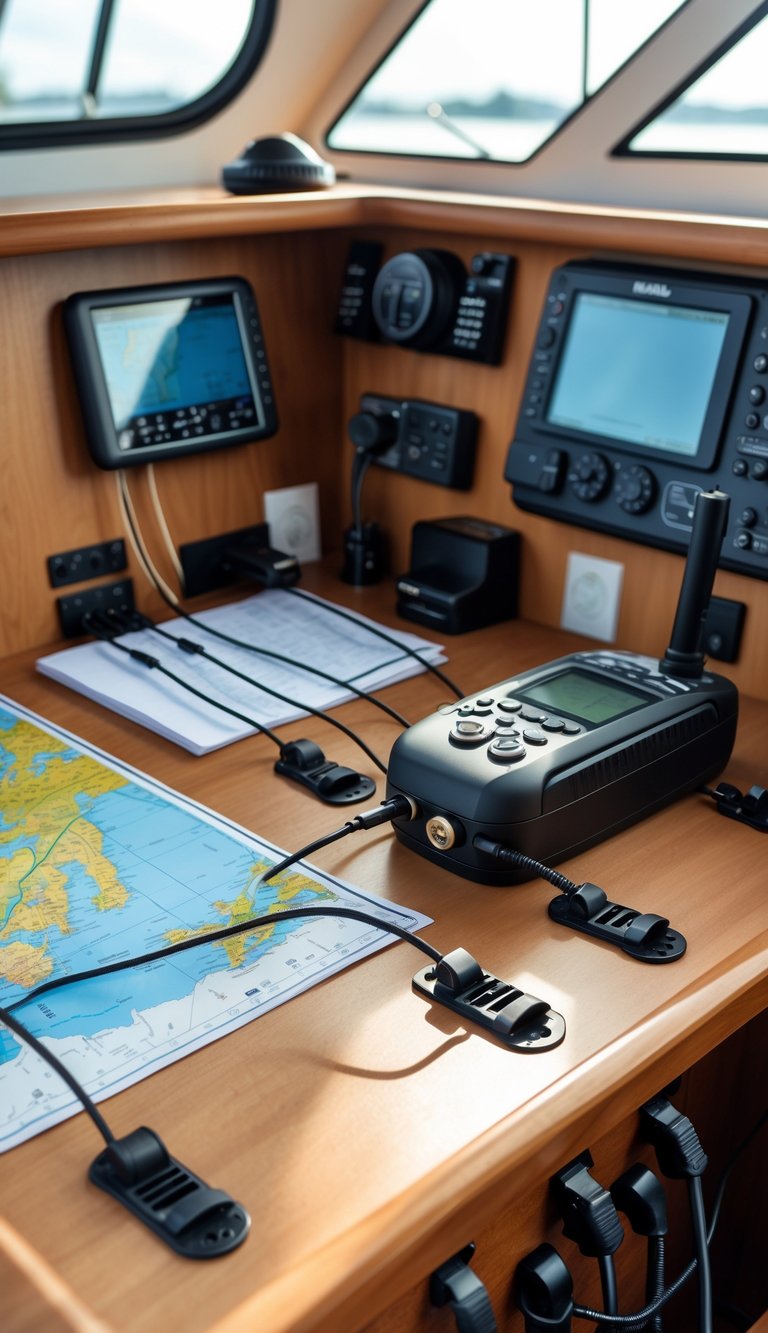
Cable clips keep wires tidy and out of the way. You can stick or screw them along the bulkhead, under shelves, or behind the nav table to guide each cable where it belongs.
Use clips of different sizes for power leads, data cables, and coax. That makes it easy to follow a single run and stop tangles before they start.
Adhesive clips work well on smooth surfaces and are quick to fit. For high-vibration areas, choose screw-mounted clips so nothing works loose while you cruise.
PRO TIP
Color-code clips or ties to match device types. This helps you trace wiring fast during checks or repairs.
10) Use stackable plastic bins for organized storage
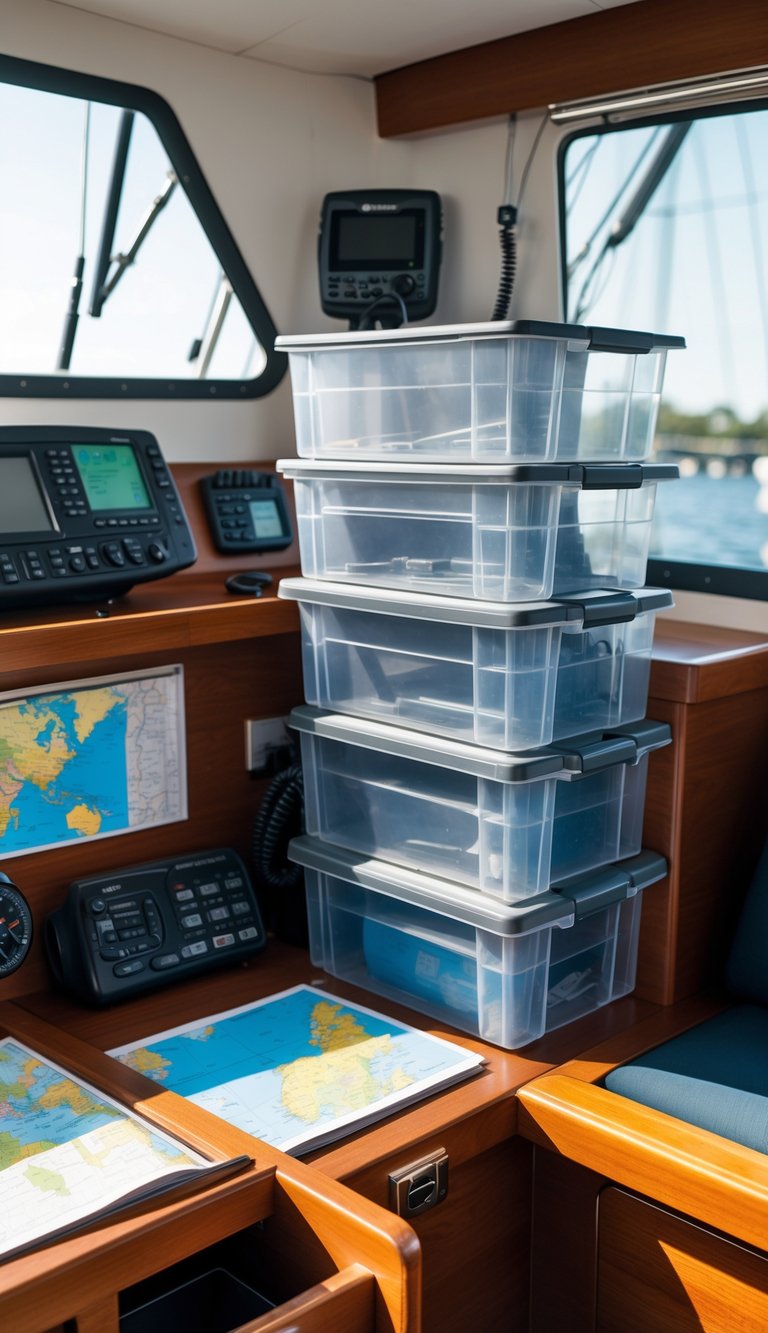
Stackable plastic bins save space in tight nav stations. You can tuck them into lockers, under seats, or on shelves to keep charts, tools, and spare parts tidy.
Pick clear or color-coded bins so you can see contents at a glance. That cuts time when you need something fast, like spare fuses or a handheld VHF.
Choose sturdy, marine-grade plastic with secure lids to keep gear dry and in place. Soft-sided or foldable bins work too when you need flexible shapes for odd spaces.
PRO TIP
Label the front of each bin with its contents and a quick-use note. That small habit keeps your nav station efficient and stress-free.
11) Mount a small whiteboard for notes and weather updates
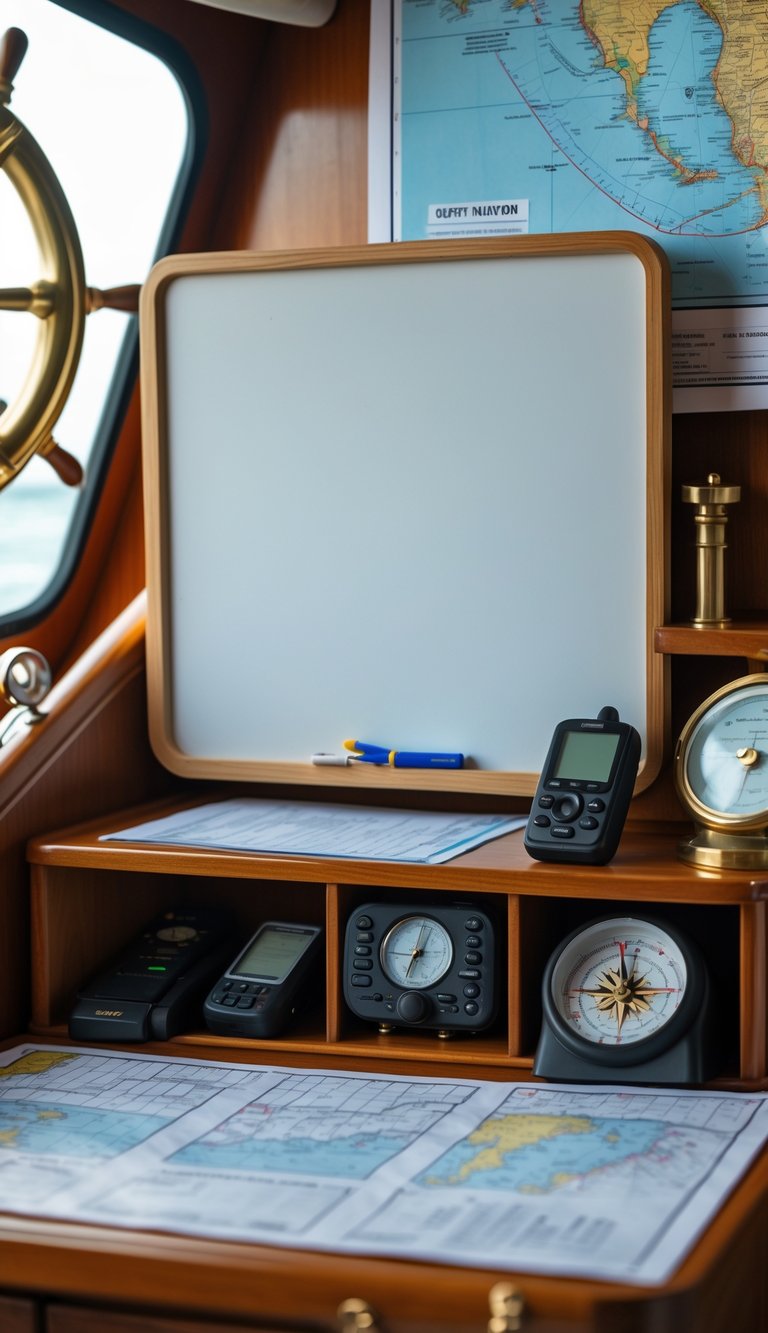
A small whiteboard gives you a visible place to jot short notes, course changes, or arrival times. Mount it near your instruments so you can glance at it while planning or steering.
Use it for quick weather updates like wind shifts, barometer readings, or squall warnings. You’ll avoid digging through charts or apps when conditions change.
Choose a low-reflective, marine-grade board and secure mounting that resists spray and vibration. Keep a small holder for markers and an eraser so your notes stay neat.
PRO TIP
Use colored markers for different info—red for warnings, blue for destinations. Change the board at set intervals to keep data current and useful.
12) Use drawer organizers for small tools and parts
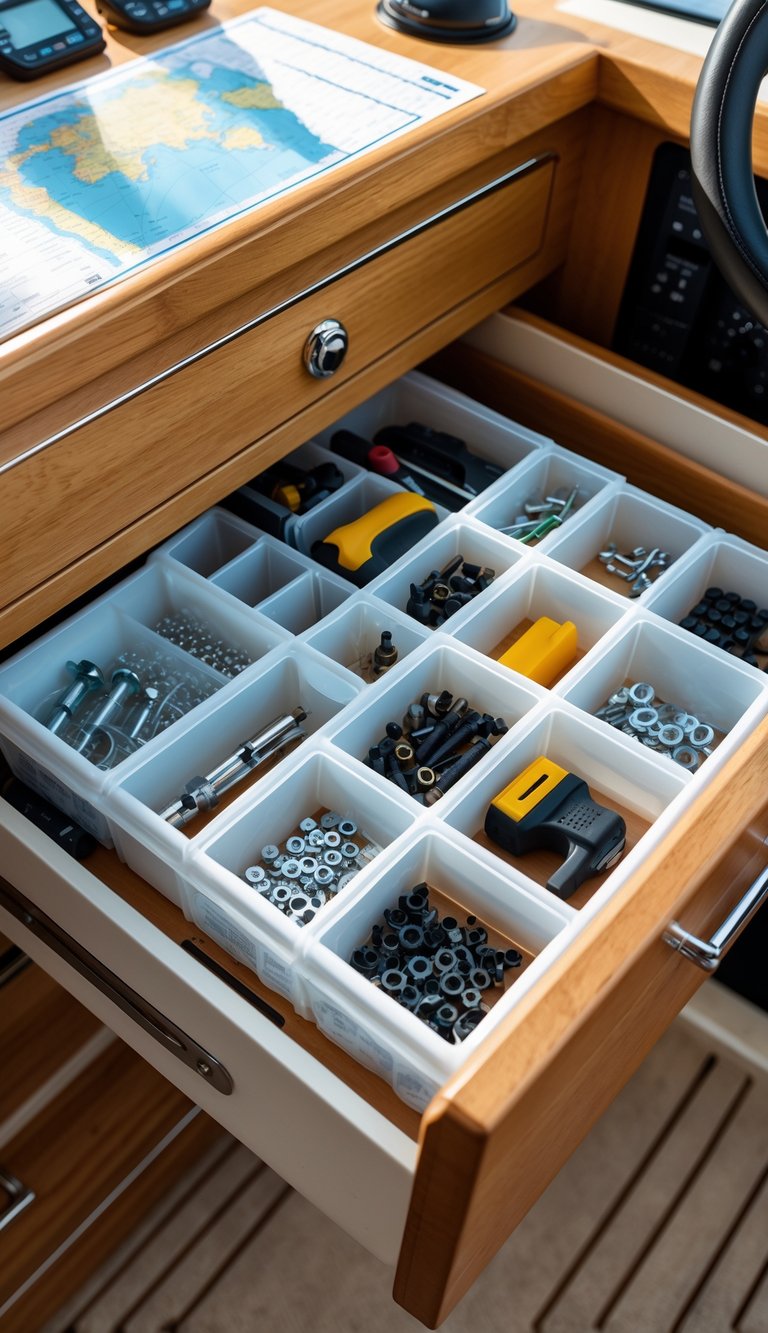
Drawer organizers keep small tools, screws, and fittings from moving around when you trim or heel. You can sort items by type or size so you reach what you need fast.
Use removable trays or clear plastic bins inside drawers to make cleaning and reconfiguration simple. Soft foam inserts protect delicate tools and cut noise from loose metal parts.
Choose marine-grade materials or stainless hardware to resist corrosion in a damp cabin. Label each drawer or compartment so anyone on board finds items without sorting.
PRO TIP
Keep a small parts kit with common fasteners and a basic tool set in one drawer. That way you can handle most small repairs without hunting through the boat.
13) Install a hinged cover for the chart table to keep charts safe
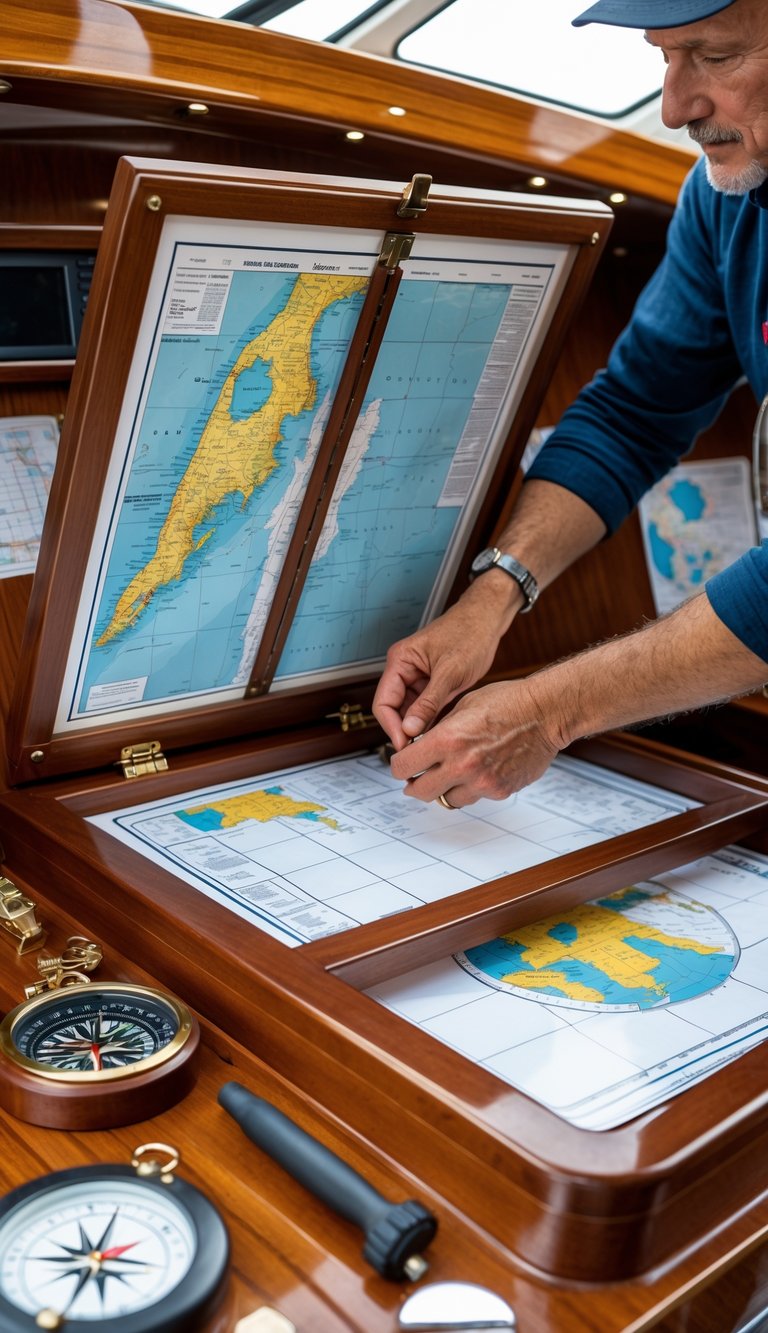
A hinged cover gives your charts quick protection from sprays, sun, and curious hands. You can lift it easily when you need the chart and close it to keep papers flat and dry.
Choose a hinge style that suits your table edge. Surface-mount or piano hinges work well for a simple fit, while torsion hinges hold the cover open when you need both hands free.
Fit the hinge so the cover lays flat at 180 degrees for a smooth work surface. Add small stops or supportive blocks under the outer edge if the hinge won’t fully support the cover.
PRO TIP
Mount the hinge to solid material and use stainless screws to resist corrosion. That small step makes the cover last longer and keeps your charts safe.
14) Add a hinged door with built-in pockets for manuals
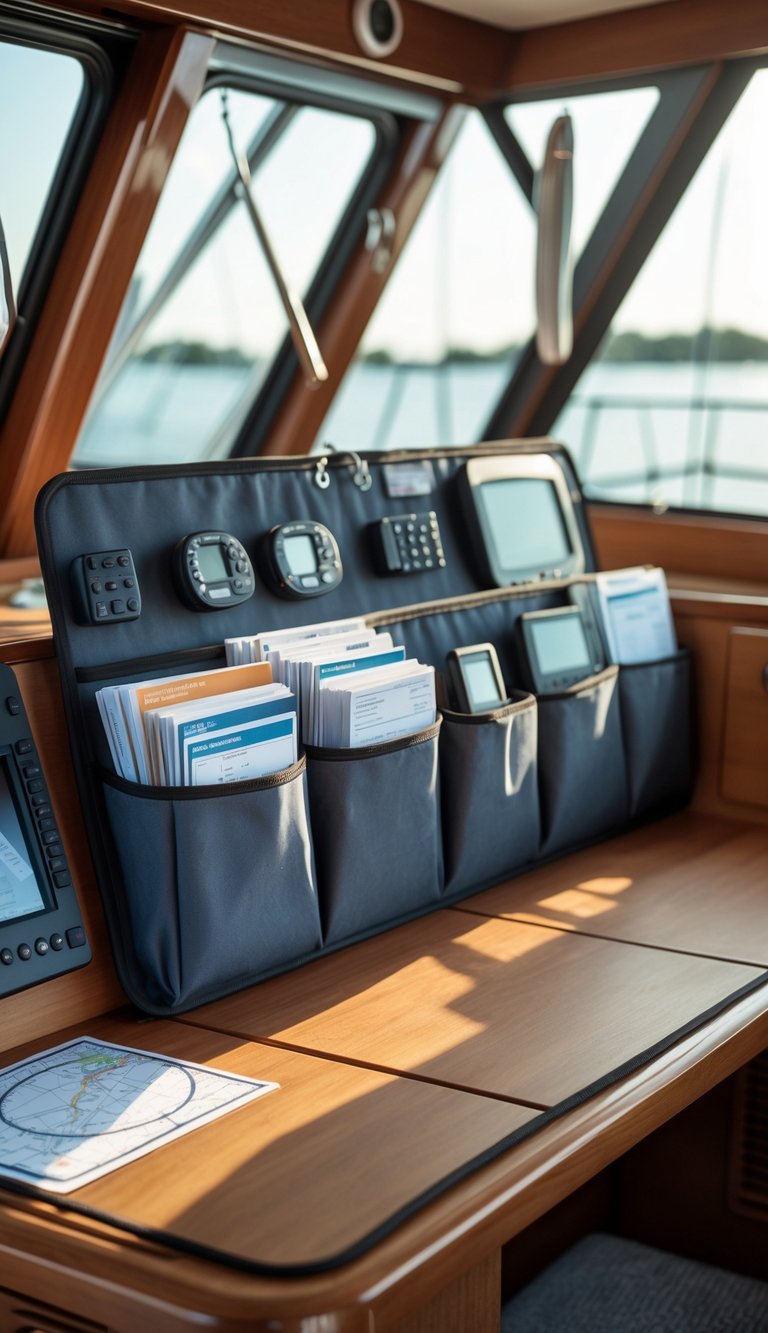
Fit a hinged door to the nav station that hides charts and manuals. The door saves shelf space and keeps important papers within easy reach when you need them.
Glue or screw slim pockets to the inside face of the door. Use clear or labeled pockets so you can spot the right manual fast, even in rough seas.
Choose lightweight ply or thin marine plywood to avoid extra weight on the hinge. Add a magnetic catch or small latch to keep the door closed when underway.
PRO TIP
Mount pockets at different angles so thicker manuals sit lower and thin charts stay near the top. This keeps everything from sliding together and makes retrieval quick.
15) Use retractable pen holders to save space
Retractable pen holders keep pens and pencils tucked away when you don’t need them. You can pull one out quickly for chart work, then push it back so it doesn’t snag on gear.
Mount them near the nav desk or inside a drawer to free up flat surface space. They stick to vertical surfaces and fit in tight spots, so you gain room for charts and instruments.
Look for holders with secure clips or magnetic bases so pens don’t fall during heel or chop. Choose models that fit the pens you use most to avoid loose, rattling tools.
PRO TIP
Label each holder or use color-coded pens so you grab the right one fast under pressure.
16) Add custom leather or fabric pouches for loose items
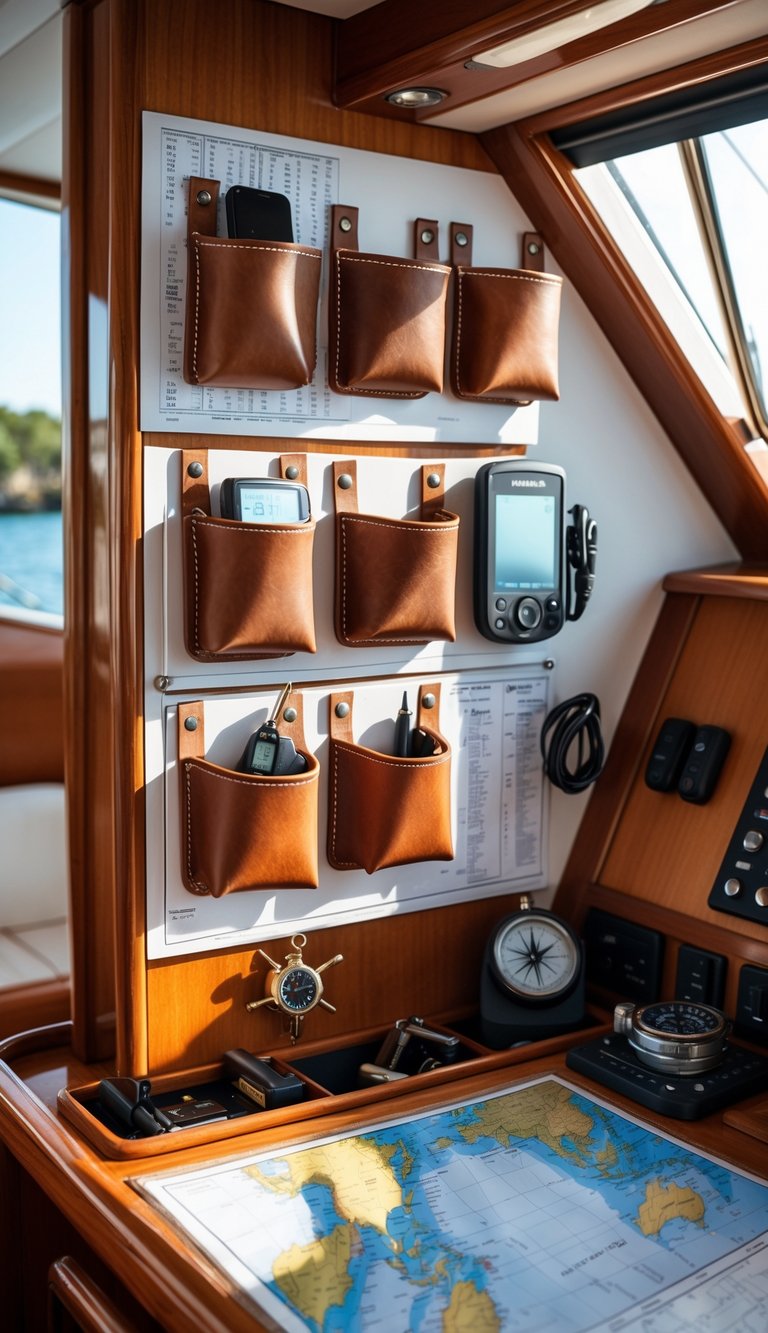
You can sew or buy small pouches to hold cables, pens, coins, and spare keys. Leather lasts longer and looks tidy, while fabric is lighter and easier to wash.
Attach pouches to the bulkhead or inside cabinet doors with snaps, Velcro, or small hooks. This keeps loose items visible and within reach when you need them.
Use different colors or labels so you can find things fast. Transparent fabric or a small window helps when you’re in a rush.
PRO TIP
Make a pouch for each category: tools, electronics, and personal items. That simple step saves time and cuts down on clutter.
17) Use clear plastic sleeves for quick access to paper charts
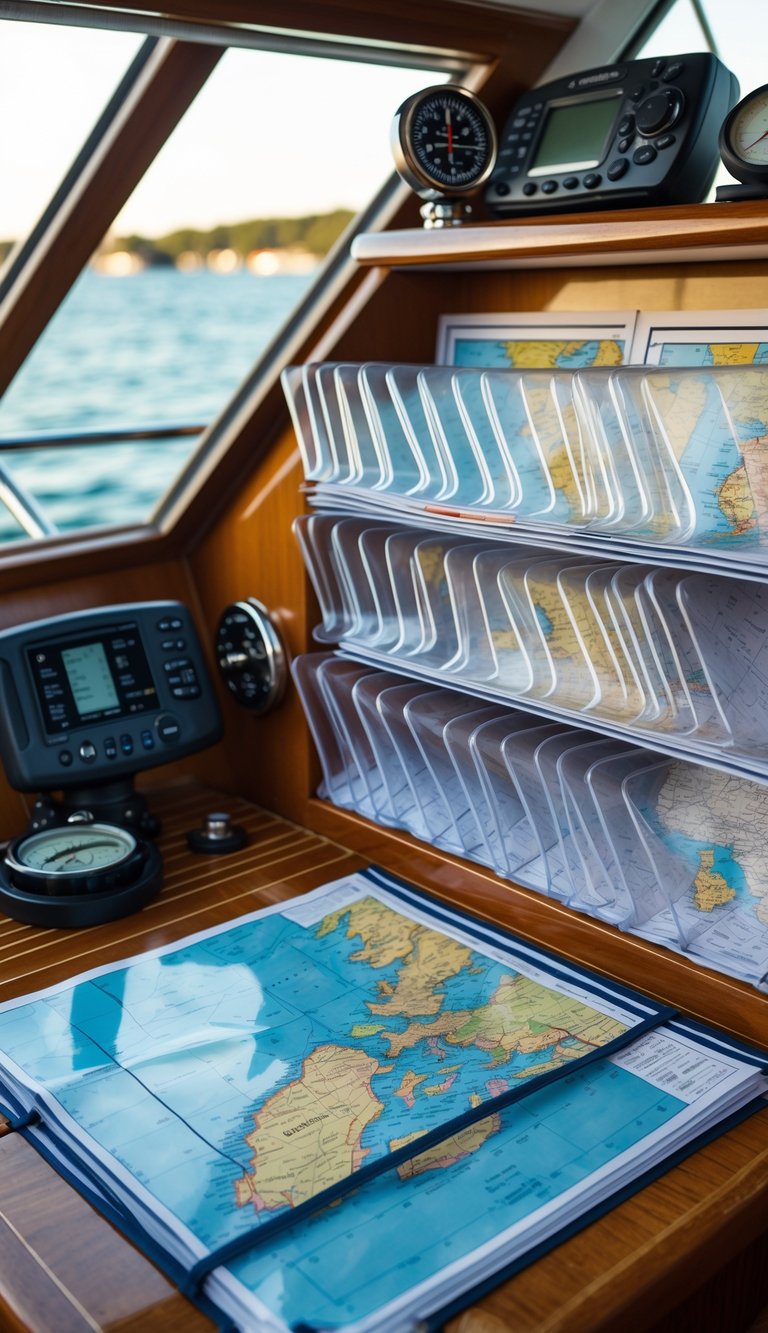
Keep your paper charts safe and ready by slipping them into clear plastic sleeves. The sleeves shield charts from water, dirt, and wear while letting you see the map without removing it.
Store sleeves in a flat folder or zippered pouch near your nav station. You can flip between charts fast when they are in matching sleeves, and you avoid creasing or tearing the paper.
Write notes on the sleeve surface with a ballpoint or dry-erase marker, then wipe them off when you’re done. This keeps your original charts clean and lets you mark courses and waypoints temporarily.
PRO TIP
Use two sleeves back-to-back for quick comparison of nearby charts. Label the top edge so you can grab the right chart by feel.
18) Incorporate a small fan for ventilation
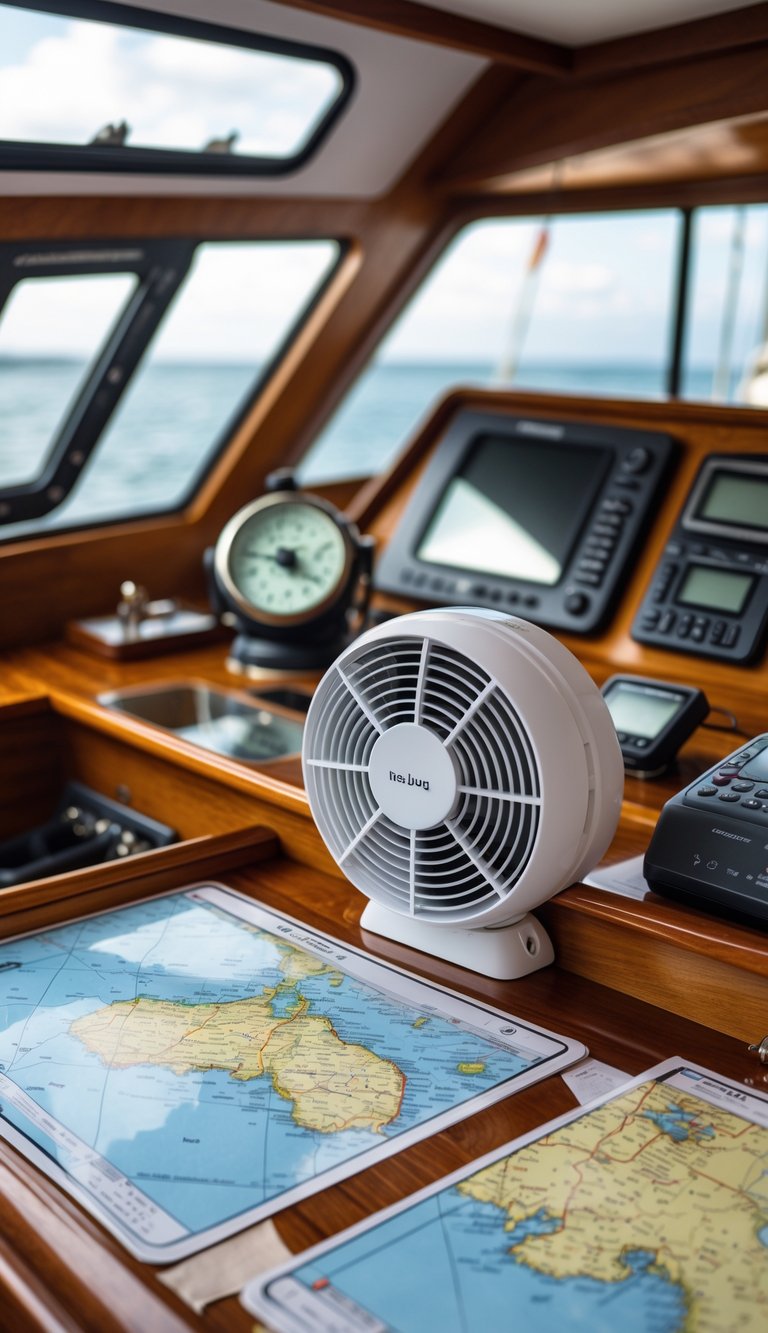
A small fan keeps air moving at your nav station and helps cut down on stuffy, humid conditions. You’ll notice paper charts dry faster, electronics run cooler, and odors don’t linger as long.
Choose a 12V marine muffin fan or a compact grille fan that fits your space. Look for corrosion-resistant materials and low noise so the fan won’t drown out conversation or radio calls.
Mount the fan where it moves air across instruments without blowing directly on paper or delicate gear. Pair it with a small duct or grille to aim airflow and keep the installation tidy.
PRO TIP
Install a timer or variable-speed switch so you can run the fan only when needed and save power.


