Last Updated on January 26, 2026
You can make your garage floor look and work better this spring without spending a lot of time or money. This guide gives 21 practical, easy-to-follow ideas to clean, protect, and simplify upkeep so your floor stays safe and tidy.
You’ll find simple cleaning steps, stain fixes, protective options, and small changes that make daily life easier. Use these tips to pick the right moves for your space and keep your garage ready for projects, storage, or parking.
PRO TIP
1) Sweep debris and dust thoroughly
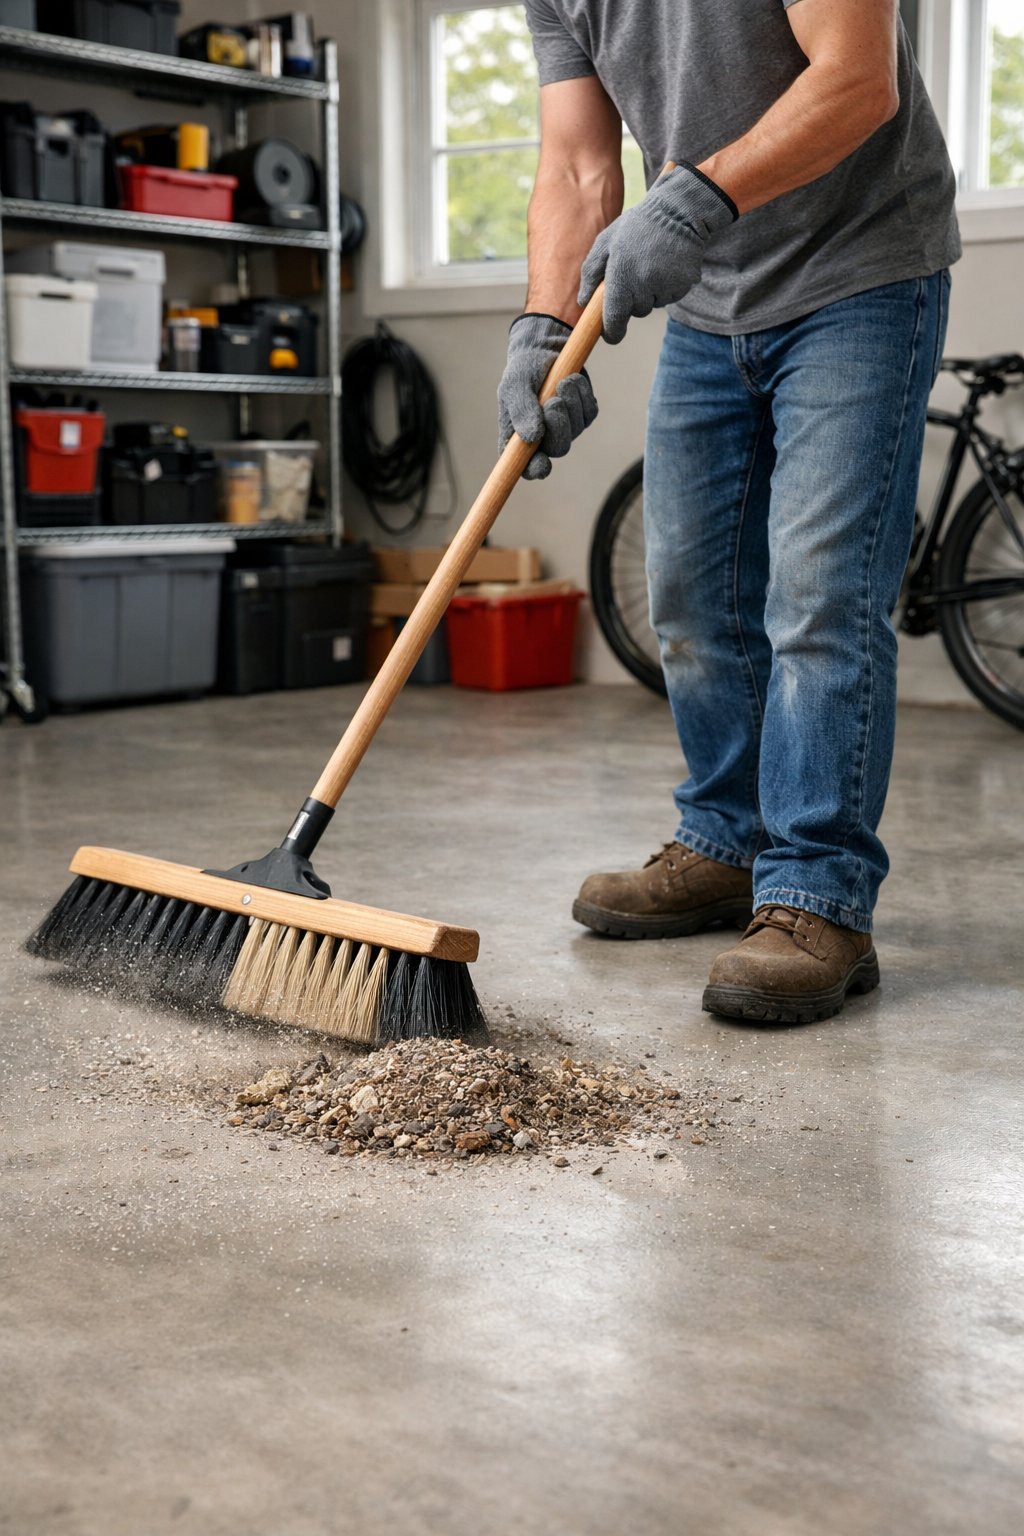
Start by removing large items and loose clutter so you can reach the whole floor. Use a wide push broom to gather leaves, dirt, and cobwebs into piles near the door.
Make a two-pass sweep: first with a stiff-bristle broom to move heavy debris, then a soft or microfiber dust mop to pick up fine dust. Pay attention to corners, seams, and under shelving where dust hides.
Work from the back of the garage toward the door so you don’t re-scatter dirt. If you have a leaf blower, you can speed up this step by blowing debris out the door.
PRO TIP
Sweep in a pattern that covers every square foot once, then do a quick follow-up sweep to catch anything left behind.
2) Use a heavy-duty garage floor cleaner
A heavy-duty cleaner cuts through oil, grease, and stubborn grime faster than regular soap. Pick a product made for concrete or epoxy, and read the label to match it to your floor type.
Work in small sections so the cleaner stays active and doesn’t dry out. Scrub with a stiff-bristled brush or a deck brush to lift stains, then rinse thoroughly with a hose or a wet vacuum.
Wear gloves and eye protection when using strong cleaners. Ventilate the garage by opening doors and windows to keep fumes low and help the floor dry.
PRO TIP
Test the cleaner on a hidden patch first to check for color change or damage.
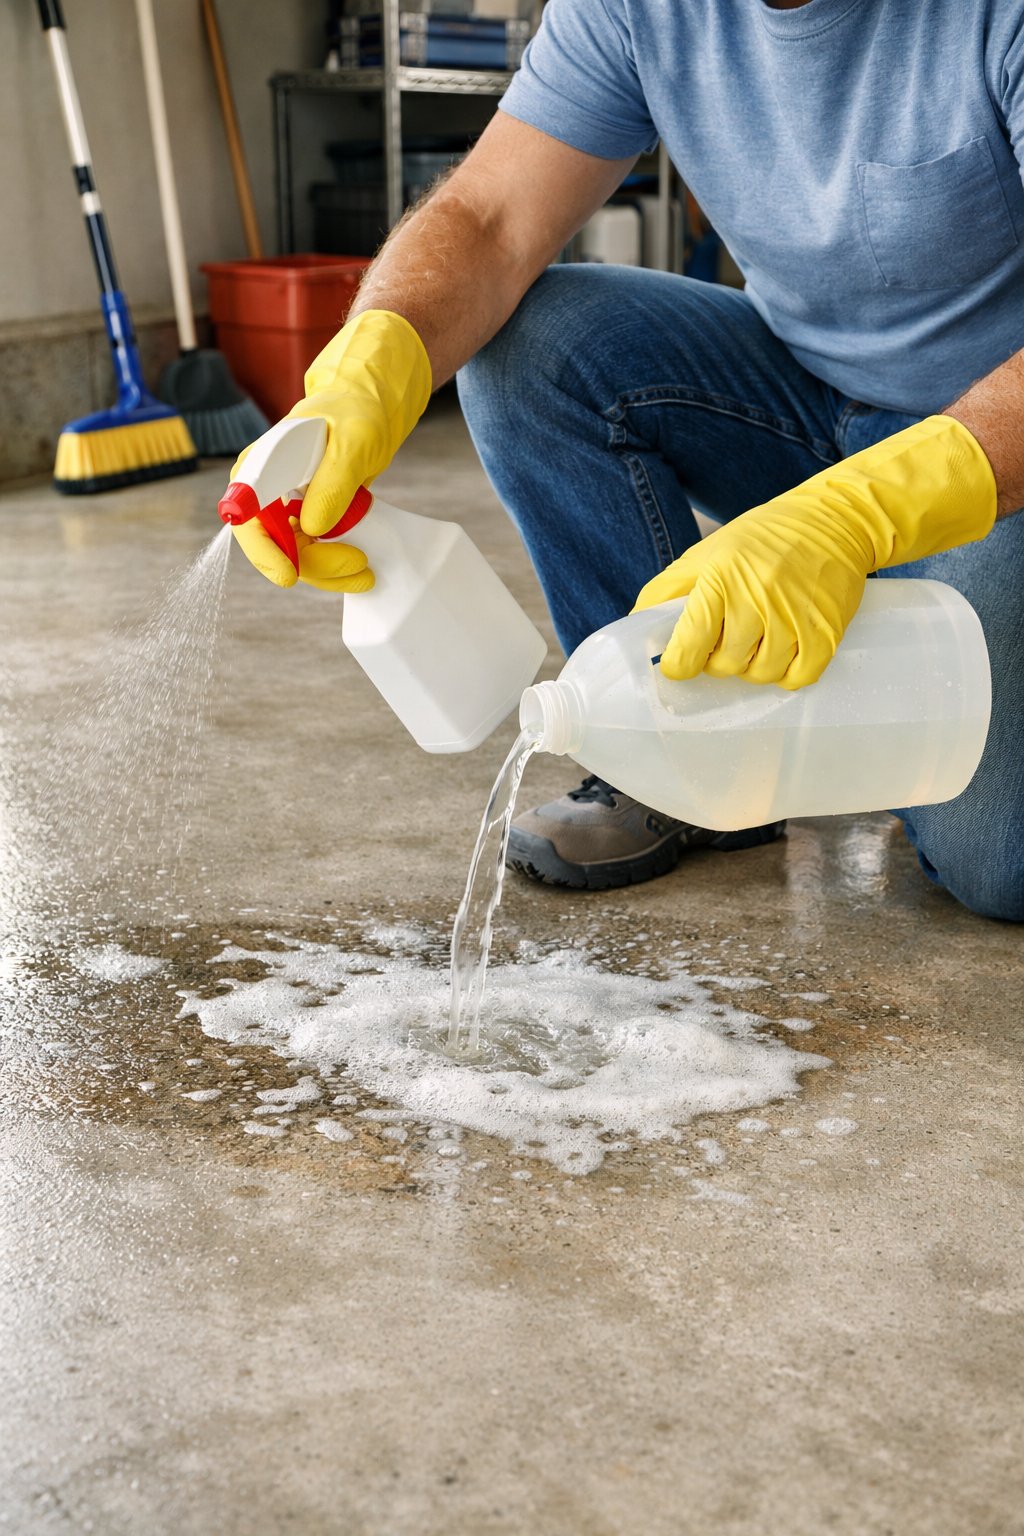
3) Remove oil stains with trisodium phosphate
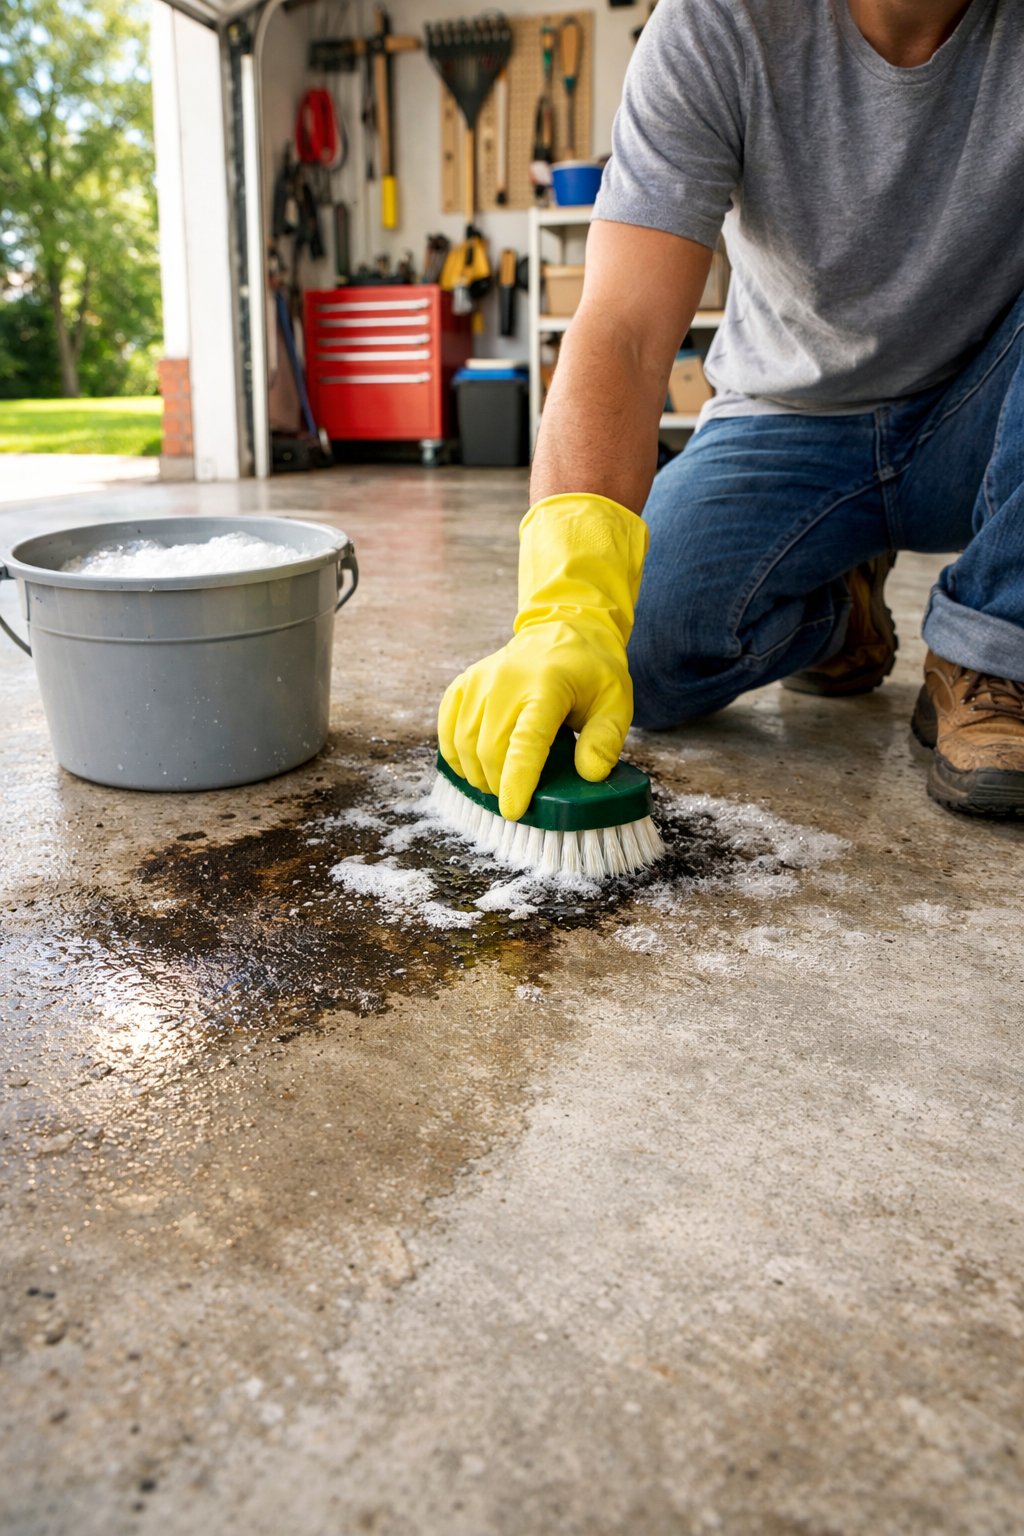
Trisodium phosphate (TSP) works well on old, greasy oil stains on concrete. You mix it with warm water to make a strong cleaning solution that helps lift oil from pores.
Always wear gloves and eye protection when you use TSP. It is a powerful chemical, so keep pets and kids away and follow the product label for safe use.
Pour the solution on the stain and scrub with a stiff brush. Let it sit a few minutes for tough spots, then rinse thoroughly with water.
H3 PRO TIP
For extra power, add a small amount of powdered laundry detergent to the TSP paste before scrubbing. Test a small area first to avoid any surface damage.
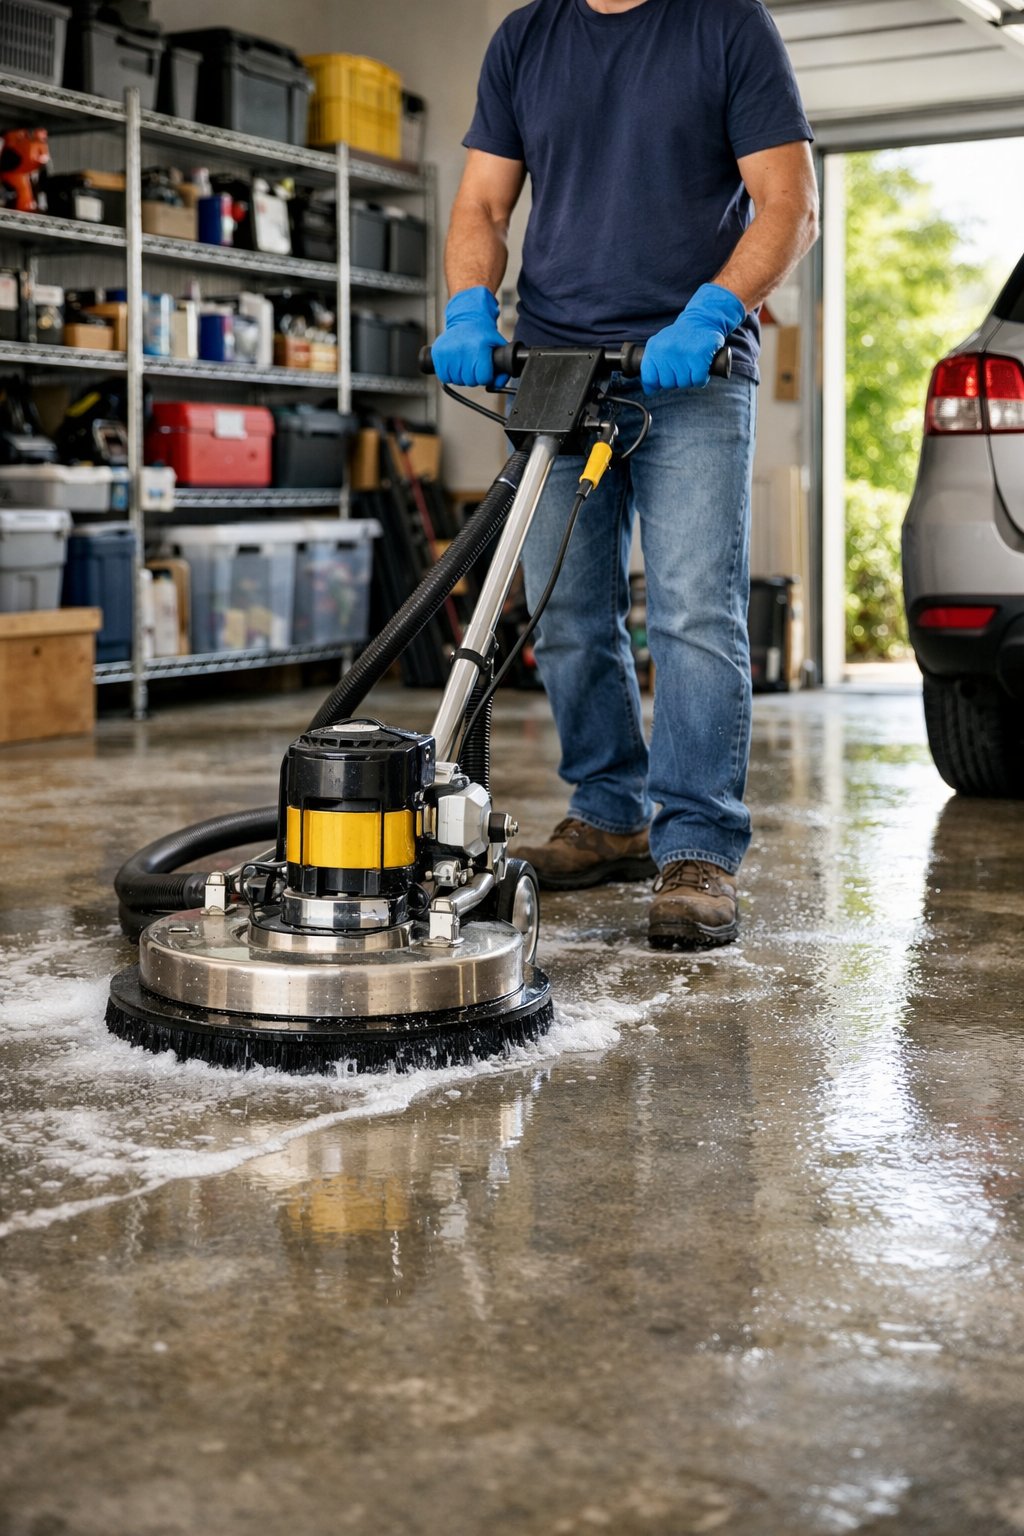
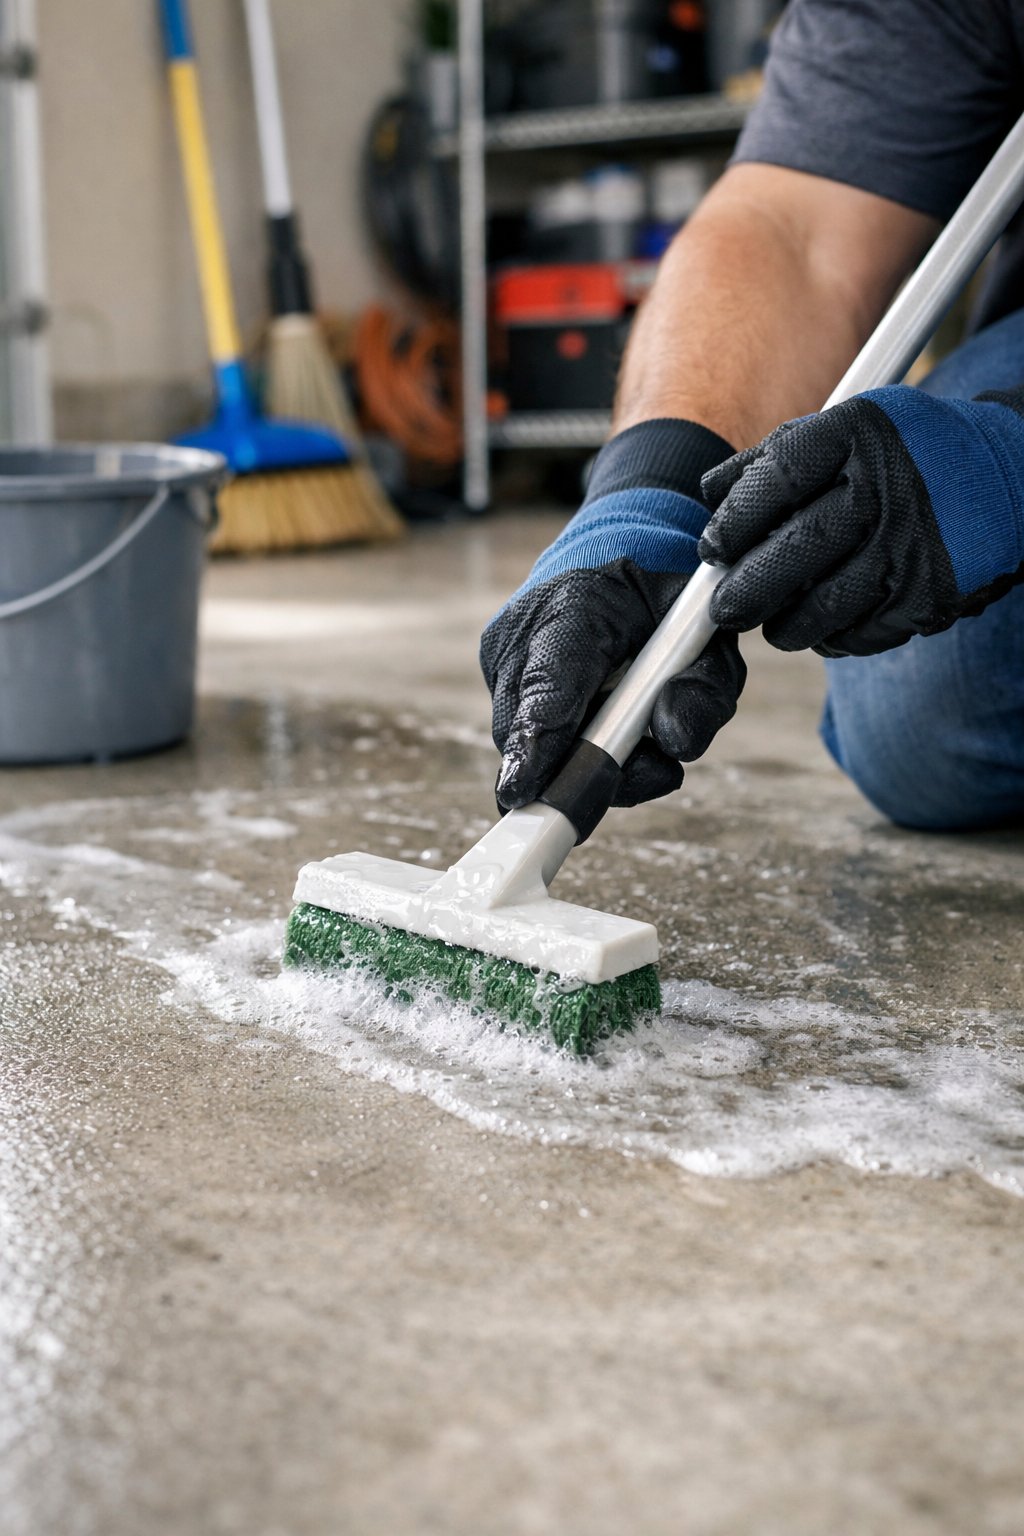
4) Scrub floors with a stiff broom
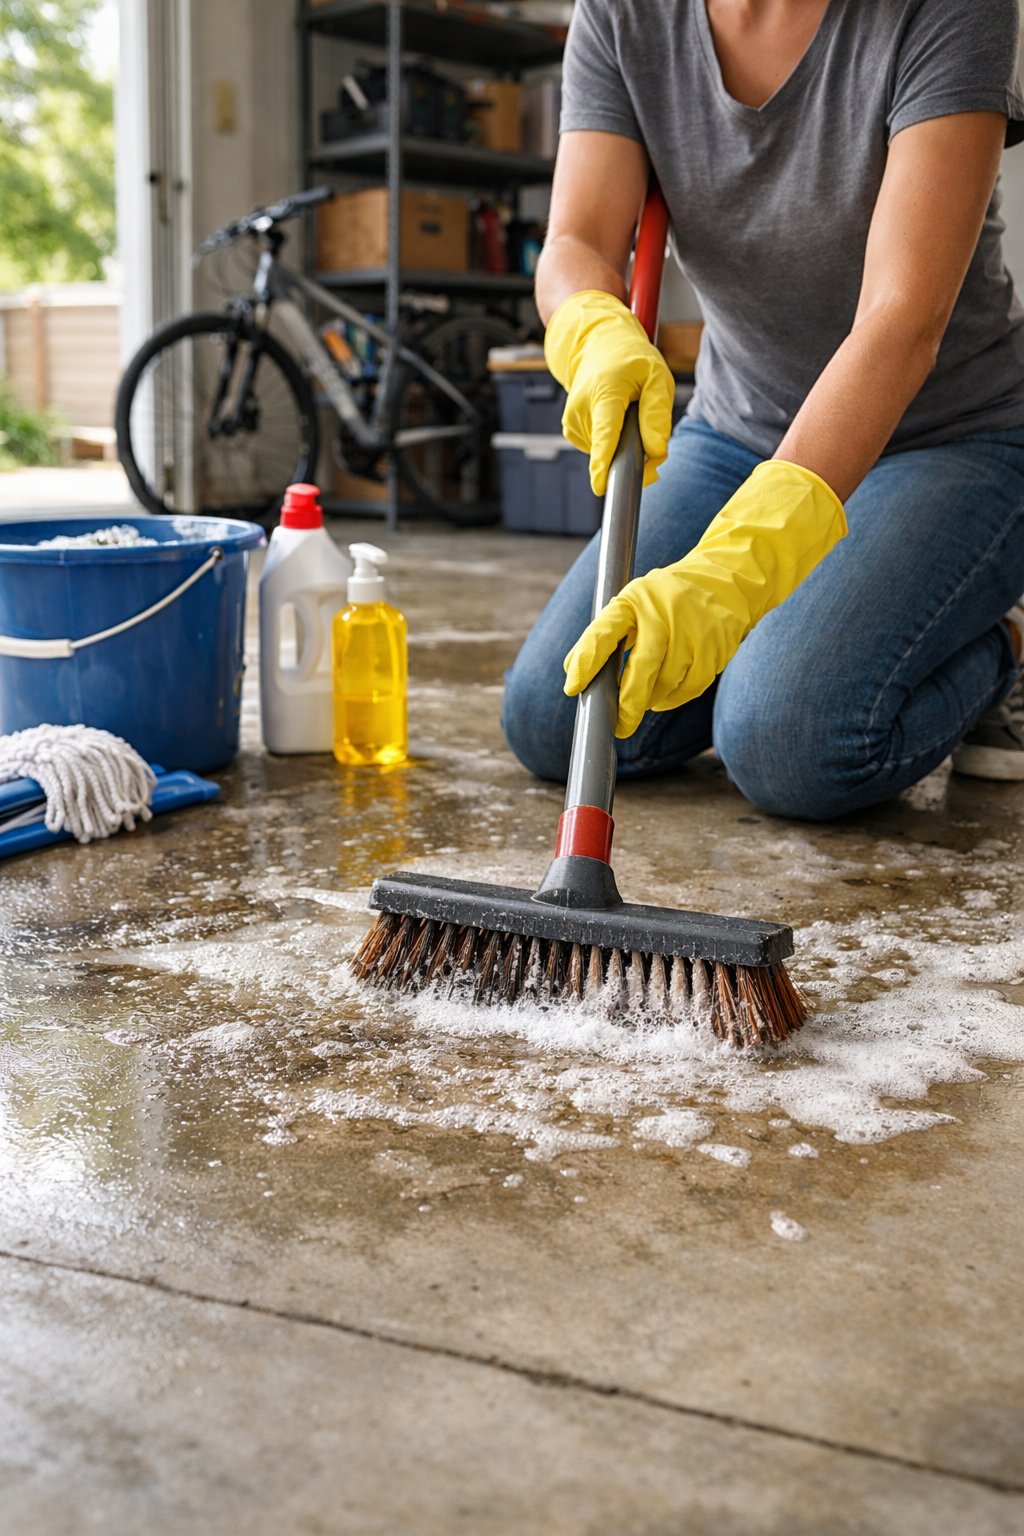
Start by sweeping loose dirt and debris so the broom can focus on stuck-on grime. Work in small sections and wet the floor with a cleaning solution to loosen stains before scrubbing.
Use a stiff-bristled broom or deck brush and push firmly in straight lines or short back-and-forth strokes. Apply more pressure on oil spots and salt buildup, and rewet the area as needed to keep the bristles working.
Rinse each section after scrubbing to see your progress and avoid spreading dirty water. Let the floor dry, then inspect for missed spots and scrub again if necessary.
PRO TIP
Hold the broom at a low angle to increase pressure on the bristles. This gives better scrubbing power and helps you remove deeper grime without extra tools.
5) Rinse with a garden hose
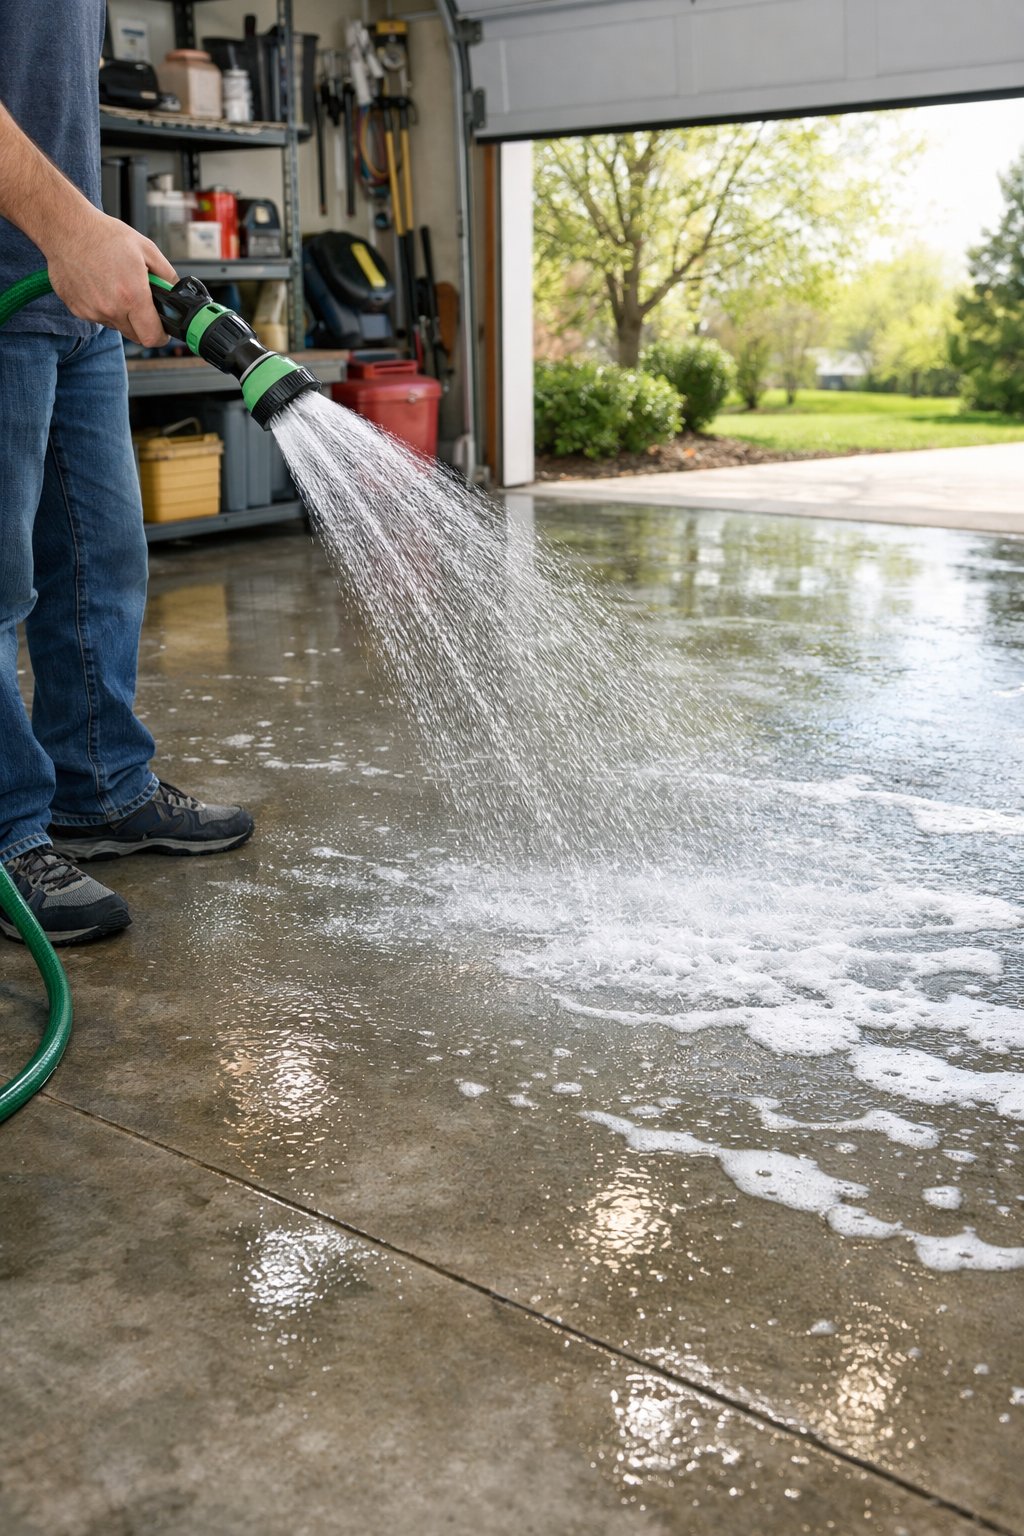
After scrubbing, use a garden hose to rinse the floor. Spray from one corner toward the drain so dirt flows out of the garage, and keep the nozzle moving to avoid pooling.
A steady stream helps remove soap, loose grime, and small debris. For stubborn residue, use a higher-pressure nozzle or a spray wand for more reach.
Avoid blasting water into electrical outlets or stored items. Cover outlets and move boxes away from the floor before you rinse to protect belongings and wiring.
H3: PRO TIP
If your garage has a slope, start rinsing at the high end so water carries everything toward the exit. Use a squeegee to push the last traces of water and speed drying.
6) Apply a degreaser like Krud Kutter
You want to remove oil and grease without scrubbing forever. Spray a commercial degreaser like Krud Kutter on stained areas and let it soak for a few minutes.
Work the degreaser into the concrete with a stiff brush for better lift. For old or thick stains, reapply and let it sit longer before scrubbing.
Rinse thoroughly with a garden hose or pressure washer to clear residues. Wear gloves and eye protection, and keep kids and pets away until the floor is dry.
PRO TIP
Test the degreaser on a small, hidden spot first to check for discoloration. Use a scrub pad or a push broom to speed up cleaning on larger floors.
7) Use a wet/dry vacuum for deep cleaning
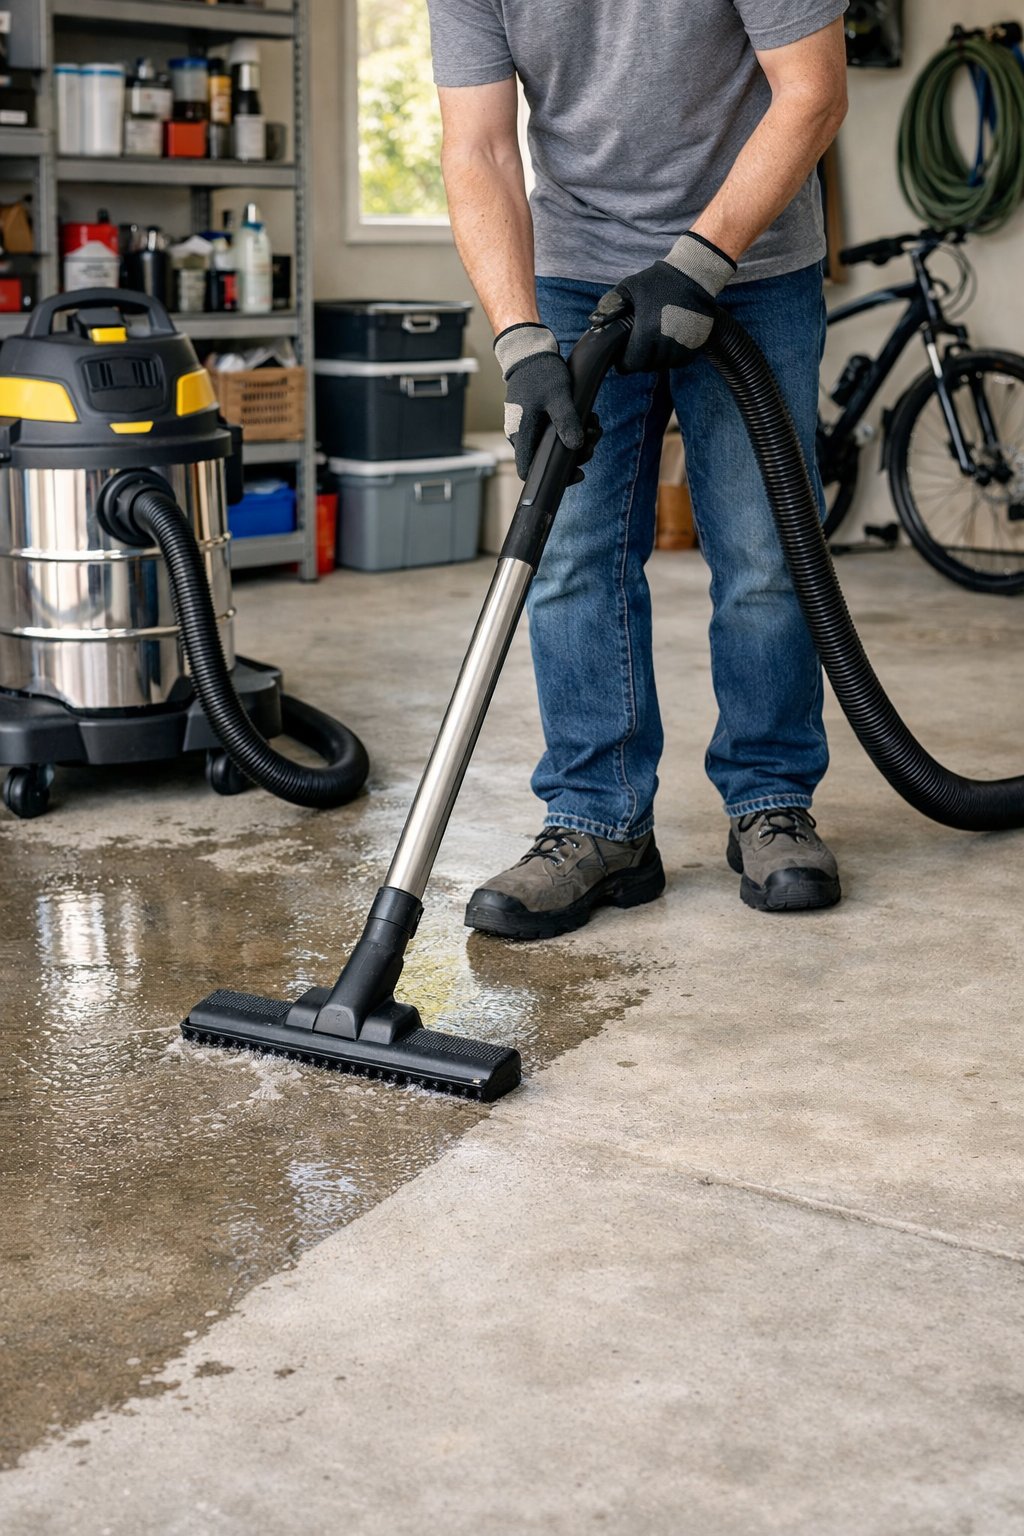
A wet/dry vacuum makes quick work of wet spills, oil drips, and loose dirt on garage floors. You can pick up water, sand, and small debris in one pass, which saves time compared with sweeping and mopping separately.
Start by loosening stuck-on grime with a stiff broom or a brush, then vacuum the loosened debris. Use the crevice and floor tools to reach corners and along baseboards for a more thorough clean.
Empty the tank often so suction stays strong and rinse or replace filters if they clog. Store attachments together so you don’t lose the right tool when the next mess appears.
PRO TIP
If you have oily stains, sprinkle a little cat litter or absorbent compound first, then vacuum it up for better results.
8) Pressure wash for tough grime
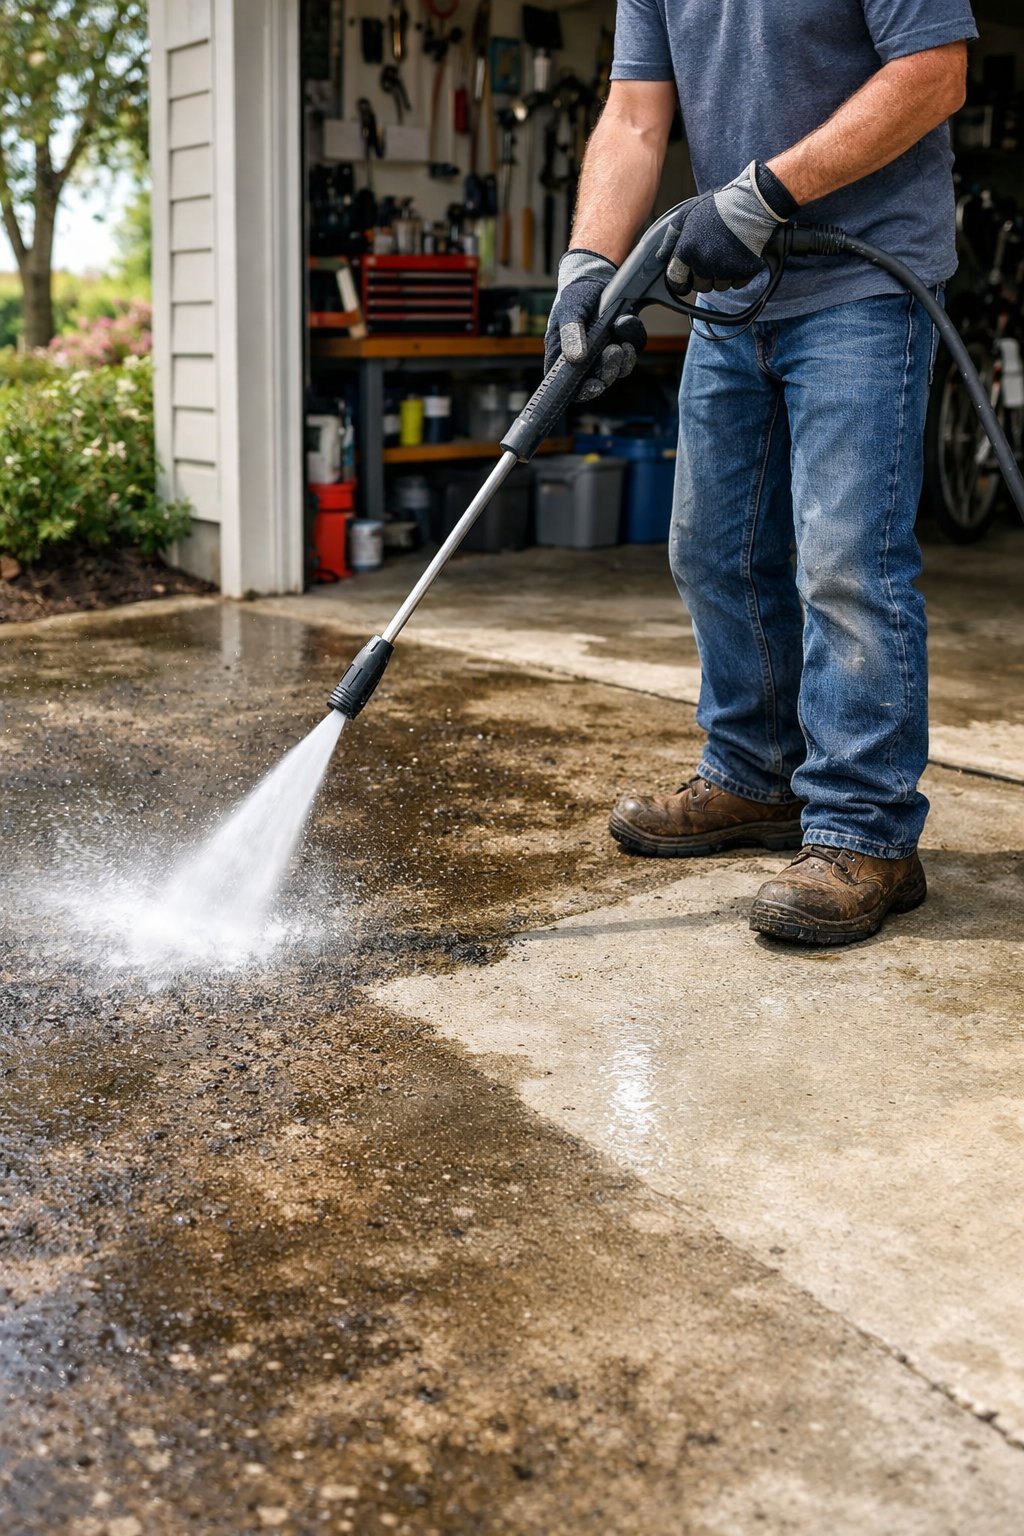
Pressure washing cuts through oil, salt, and built-up dirt faster than scrubbing. Use a washer with at least 2,000 PSI for concrete, and keep the nozzle moving to avoid etching the surface.
Start by sweeping and spot-treating oil stains with a degreaser. Wet the floor, apply cleaner if needed, then rinse from the back toward the door to push grime out.
Wear eye and ear protection and avoid pointing the wand at painted or sealed areas. Test a small area first to make sure the pressure won’t damage your floor.
PRO TIP
Use a 25–40 degree nozzle for general cleaning and a 15-degree nozzle only for stubborn spots. Hold the wand about 12–18 inches from the floor for the best balance of power and safety.
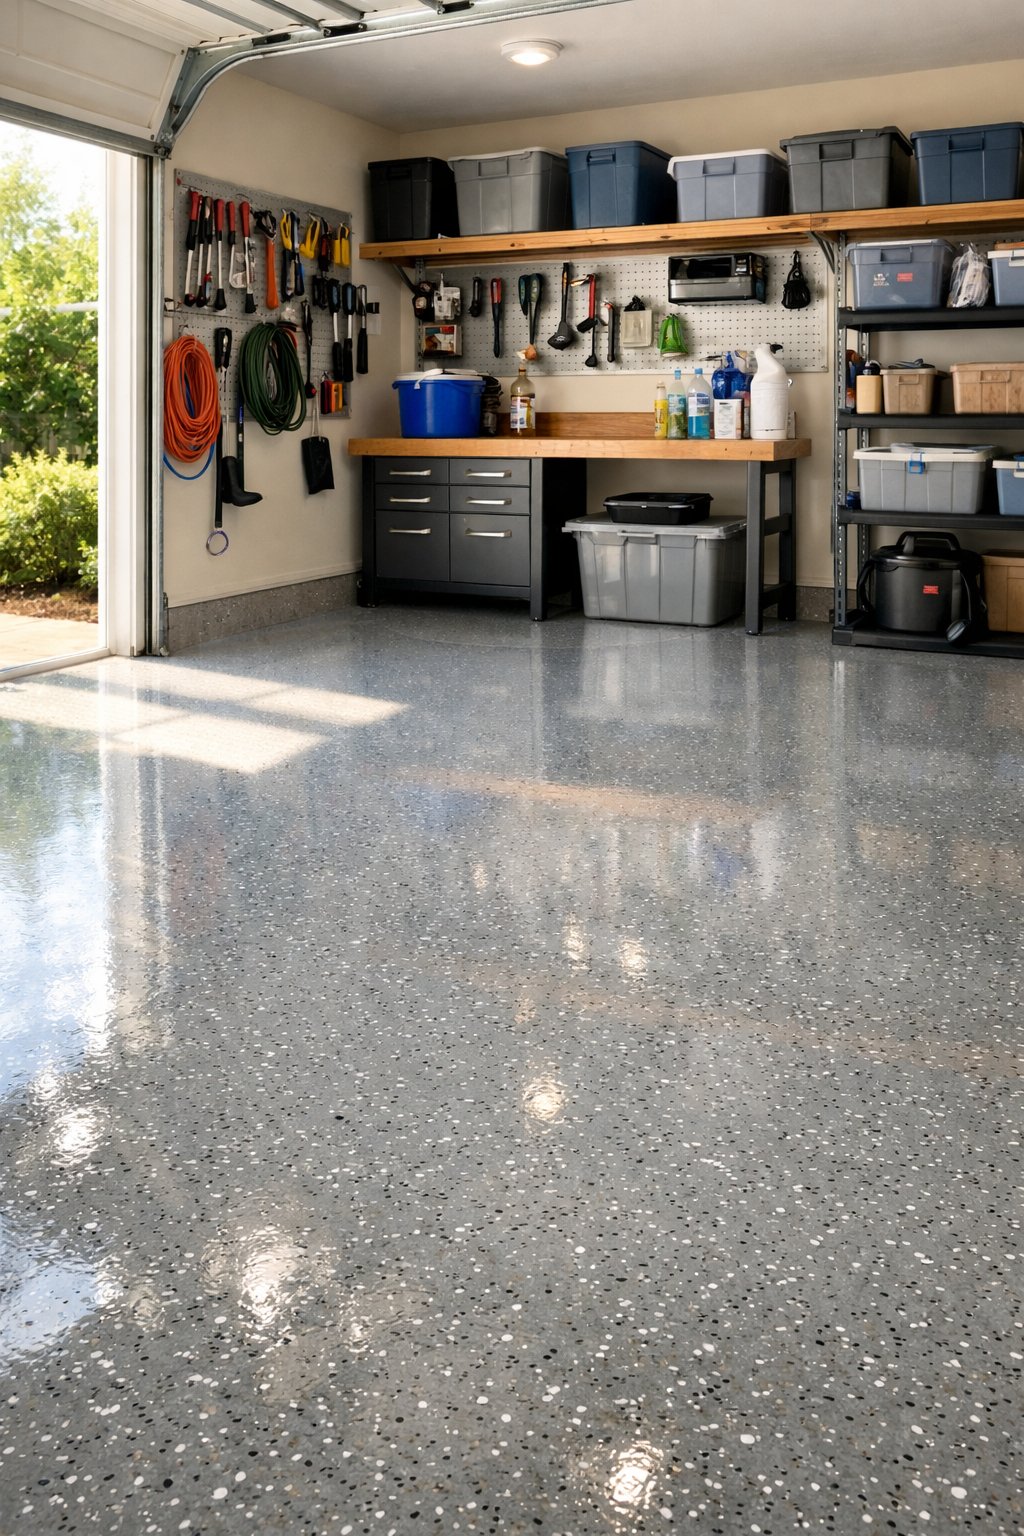
9) Consider epoxy floor coating
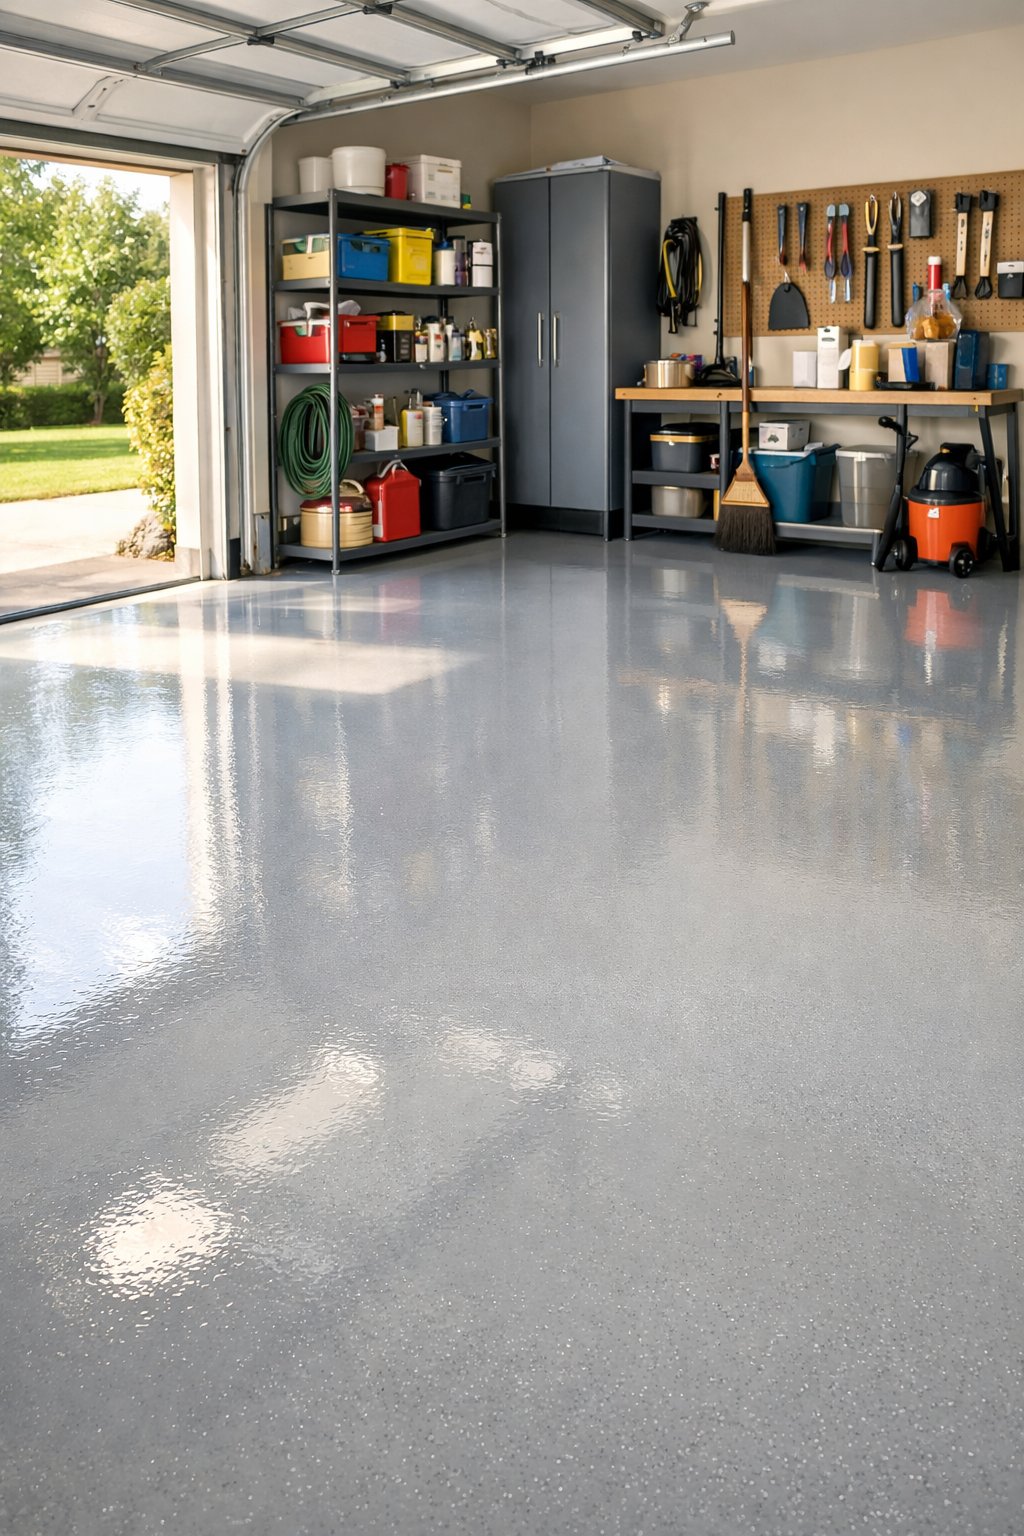
An epoxy floor coating gives your garage a tough, easy-to-clean surface. You’ll cut down on stains from oil and chemicals, and sweeping or mopping becomes faster.
Epoxy also improves the look of your garage. A glossy finish hides small cracks and makes the floor feel cleaner and more finished.
Installation can be a DIY weekend project or done by a pro. Make sure the concrete is dry and free of cracks before you start to get the best bond.
PRO TIP
Pick a slip-resistant or textured epoxy if you park wet vehicles or work in the garage often. Lighter colors show dirt faster but make the space brighter.
10) Patch cracks with concrete filler
Cracks let water, oil, and dirt sink into your garage floor. You can stop damage by filling them with a concrete filler made for floors.
Clean the crack first with a wire brush and vacuum so the filler bonds well. For hairline to 1/2″ cracks, use a self-mixing polyurethane or epoxy tube for easy application. Wider cracks may need a mortar epoxy or patching compound that you trowel in.
Follow the product instructions for curing time before driving on the floor or applying a sealer. Sand smooth if the patch is high, then sweep and wash the area to blend the repair with the rest of the floor.
PRO TIP
Work on a dry day and keep temperatures within the product’s recommended range for best adhesion.
11) Use a concrete etcher for better adhesion
If you plan to paint or coat your garage floor, etching helps the new finish stick. A concrete etcher opens tiny pores in the surface so paint or epoxy bonds instead of peeling.
Follow label directions and wear gloves, goggles, and a mask. Work in a well-ventilated area and keep children and pets away while you apply and rinse the etcher.
Scrub with a stiff brush or use a floor scrubber to even out the etch. Rinse thoroughly and let the floor dry completely before applying any coating.
PRO TIP
Test the etch on a small area first to check results. If the surface still looks glazed after drying, repeat the etch rather than skipping the step.
12) Apply anti-slip floor paint
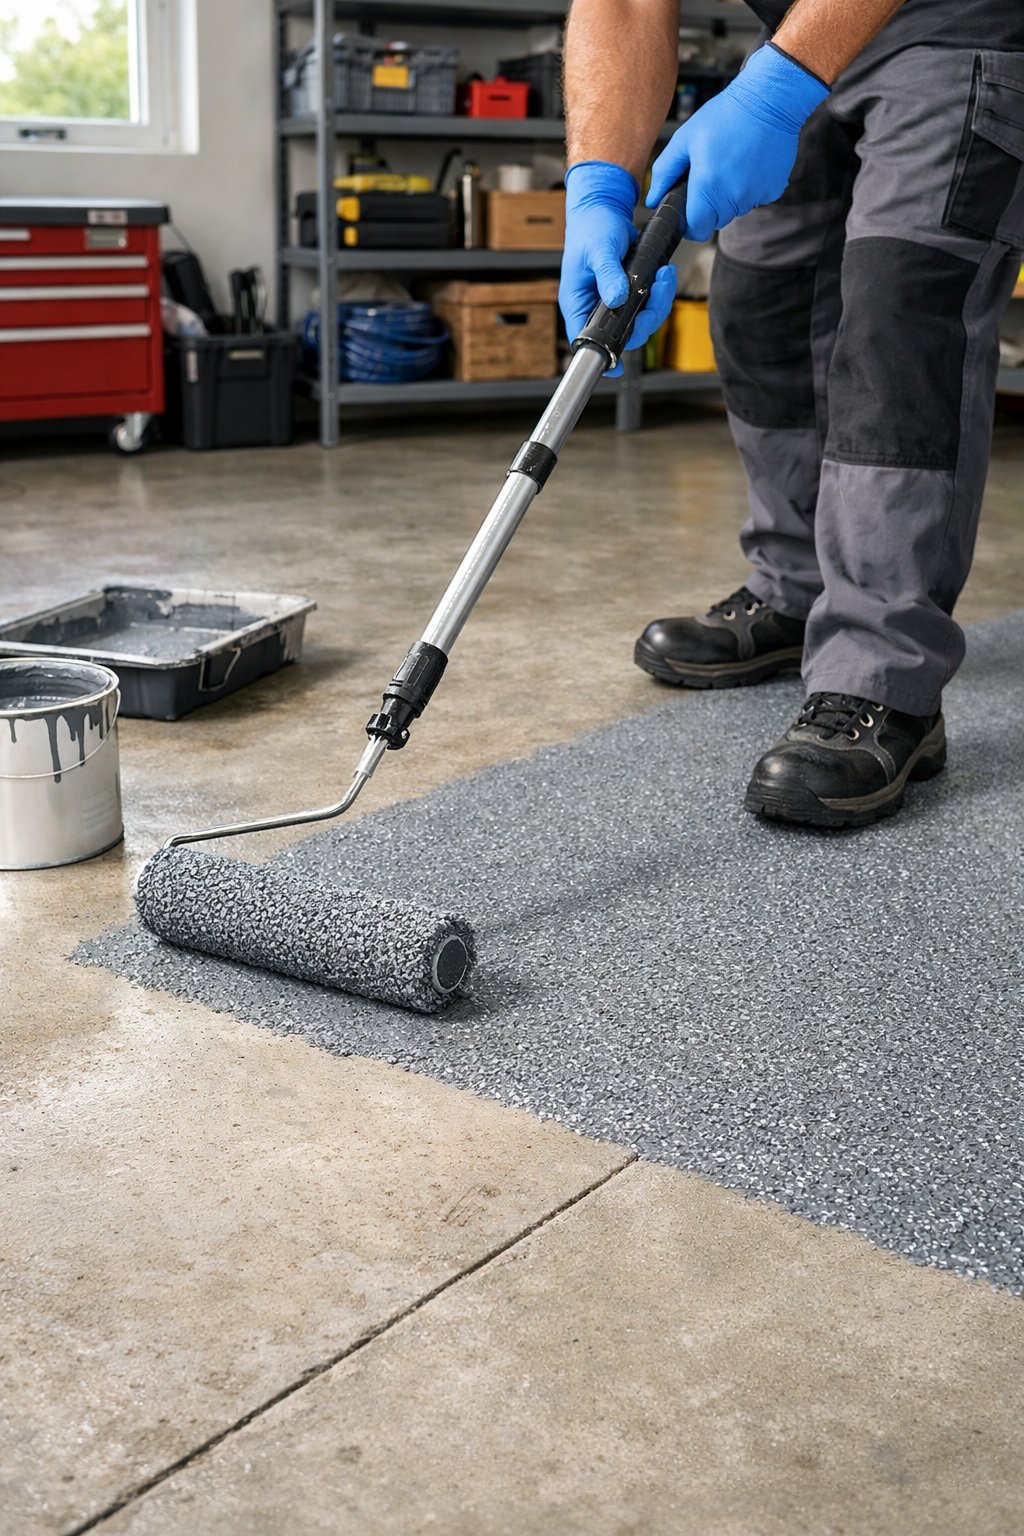
You can make your garage floor safer by using anti-slip floor paint. This paint includes grit or an additive that gives the surface more traction and helps prevent slips when the floor is wet.
Prep matters: sweep and degrease the floor, repair cracks, and etch or sand smooth concrete for better adhesion. Follow the paint maker’s instructions for mixing, rolling, and drying times so the coating bonds well and lasts longer.
Choose a paint rated for garages or an epoxy formula if you need stronger chemical and wear resistance. Apply thin, even coats and broadcast anti-slip grit into the final coat for the best grip.
PRO TIP
Work in mild, dry weather and wear a mask when sanding or mixing additives. Test a small area first to confirm texture and appearance.
13) Set up a floor drainage system
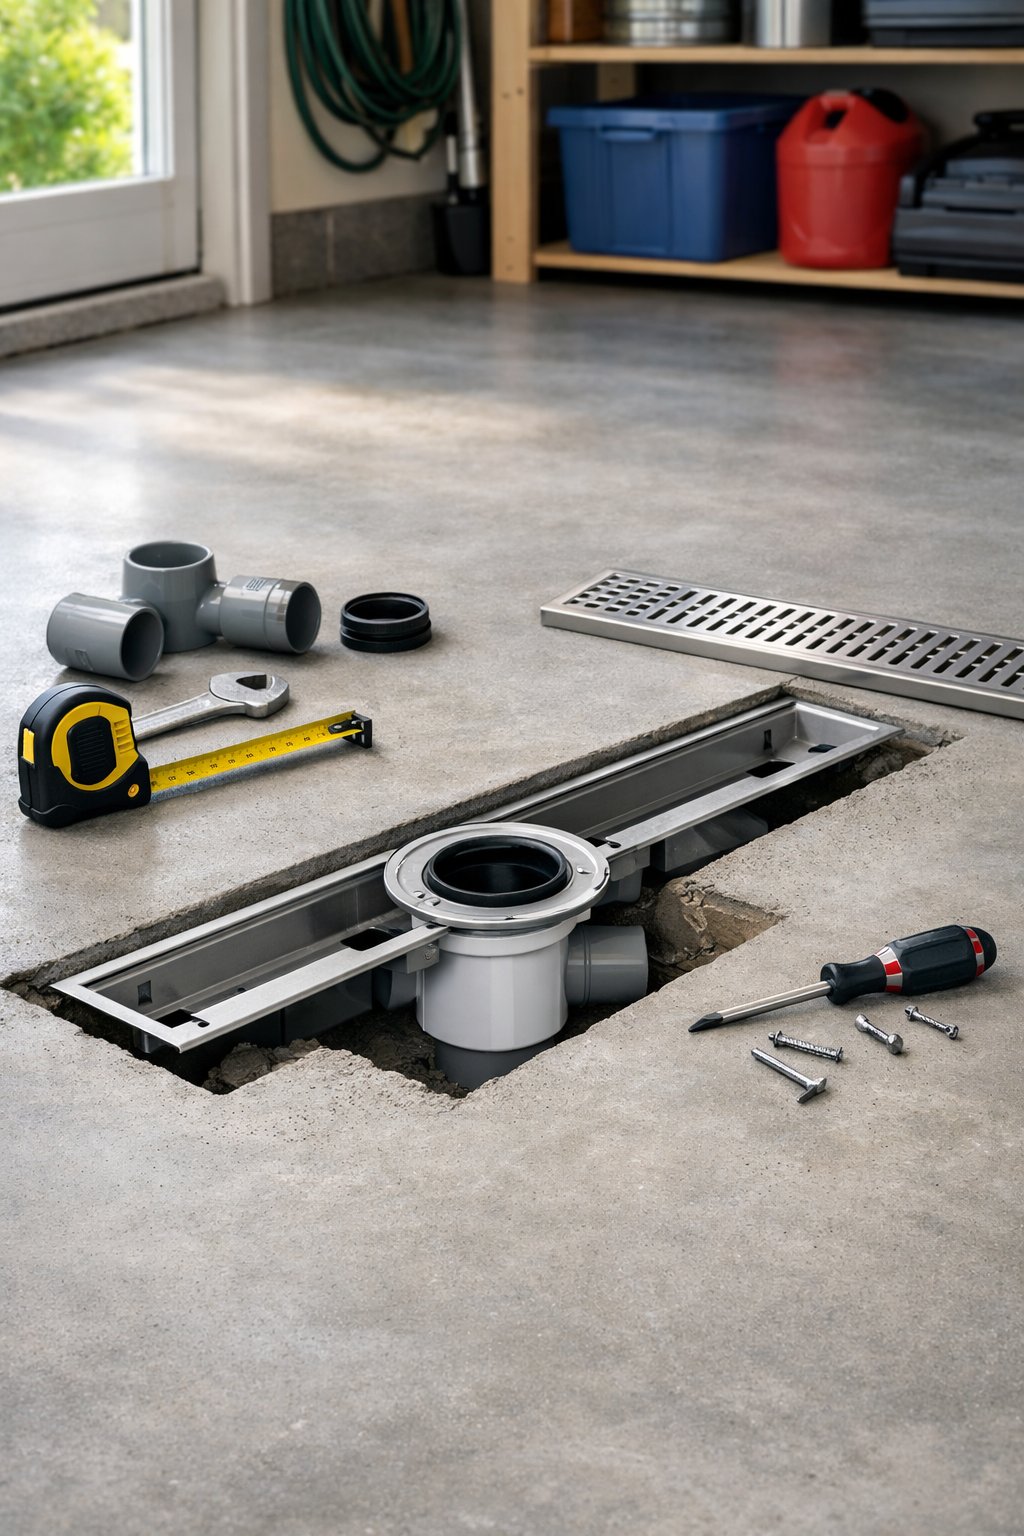
If your garage collects water from rain, snow, or car washing, a drain can save you time and cleanup. A trench or slot drain along the floor edge moves water out quickly and keeps puddles from forming.
You can choose a simple round or square floor drain if the runoff is minor. For heavier or frequent water, a trench drain gives better flow and a cleaner look.
Install drains so the floor slopes toward them by a few degrees. Seal around the drain and test with water to check for leaks and proper flow.
PRO TIP
Keep a removable grate or cover so you can clear debris easily. Regularly flush the line with hot water or a mild cleaner to prevent odors and clogs.
14) Add rubber mats near workstations
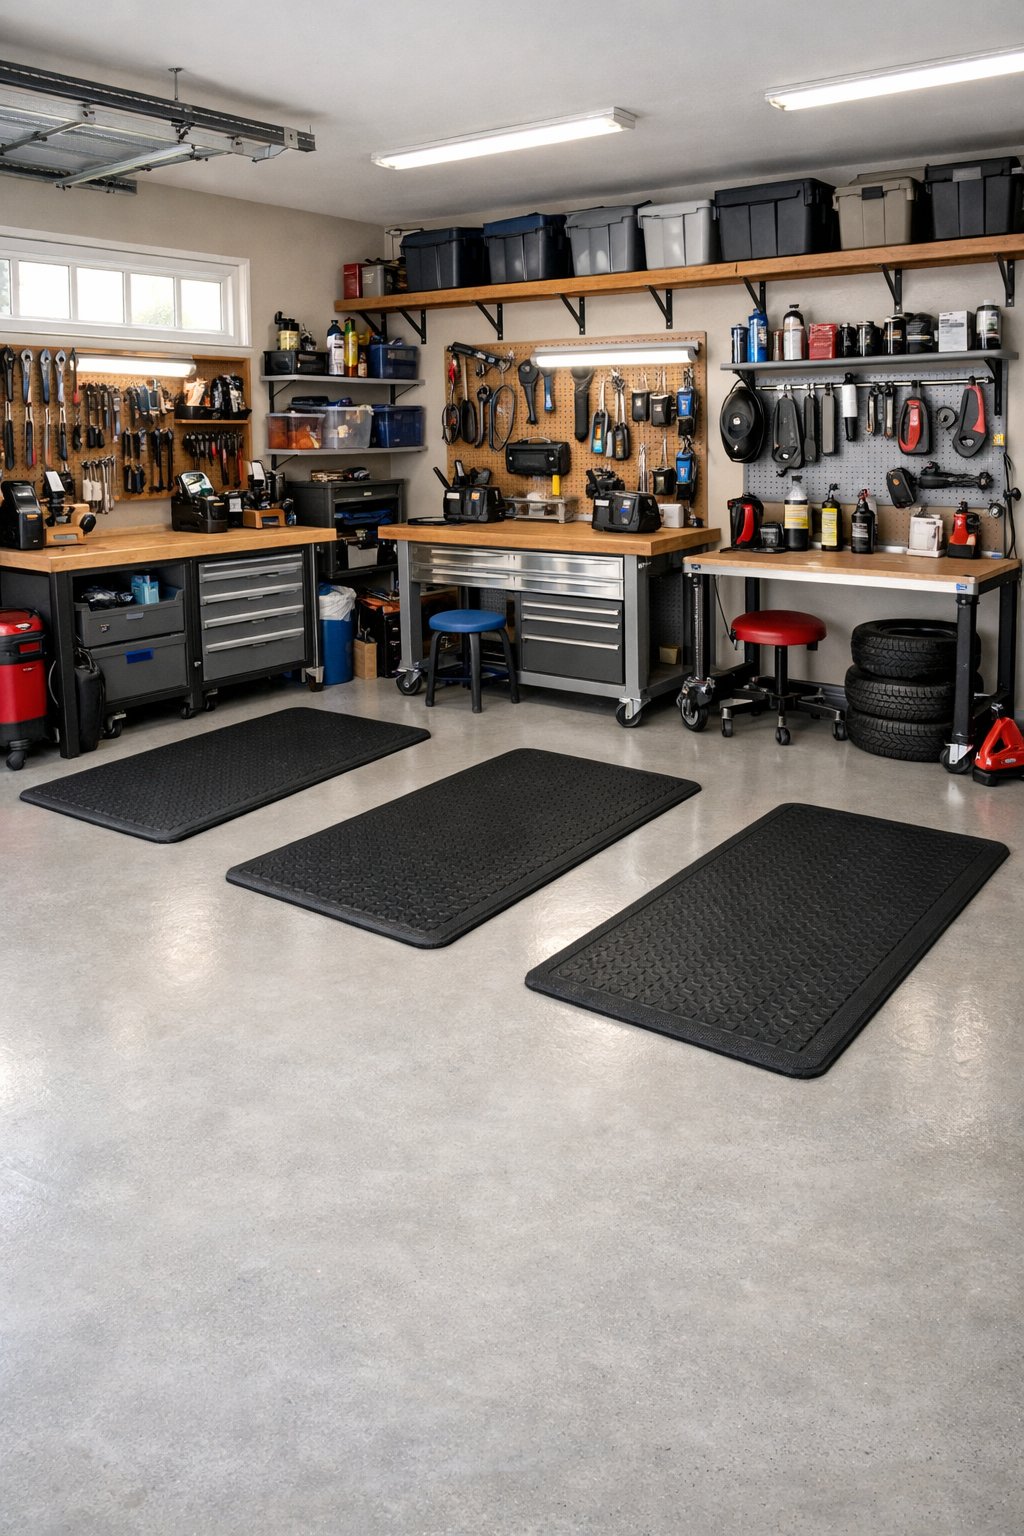
Placing rubber mats near workstations helps protect your garage floor from drops, spills, and heavy tools. The mats add a cushioned surface so you stand more comfortably during long projects.
Choose mats that are oil- and water-resistant to make cleanup easier. Wipe or hose them down regularly and let them dry before putting them back in place.
Rubber mats also reduce slipping when floors get wet. That adds a safety layer around workbenches, tool chests, and painting areas.
PRO TIP
Cut interlocking mats to fit tight spots and leave small gaps to prevent moisture trapping. Replace mats that show deep cracks or permanent stains to maintain protection and safety.
15) Use absorbent kitty litter for fresh spills
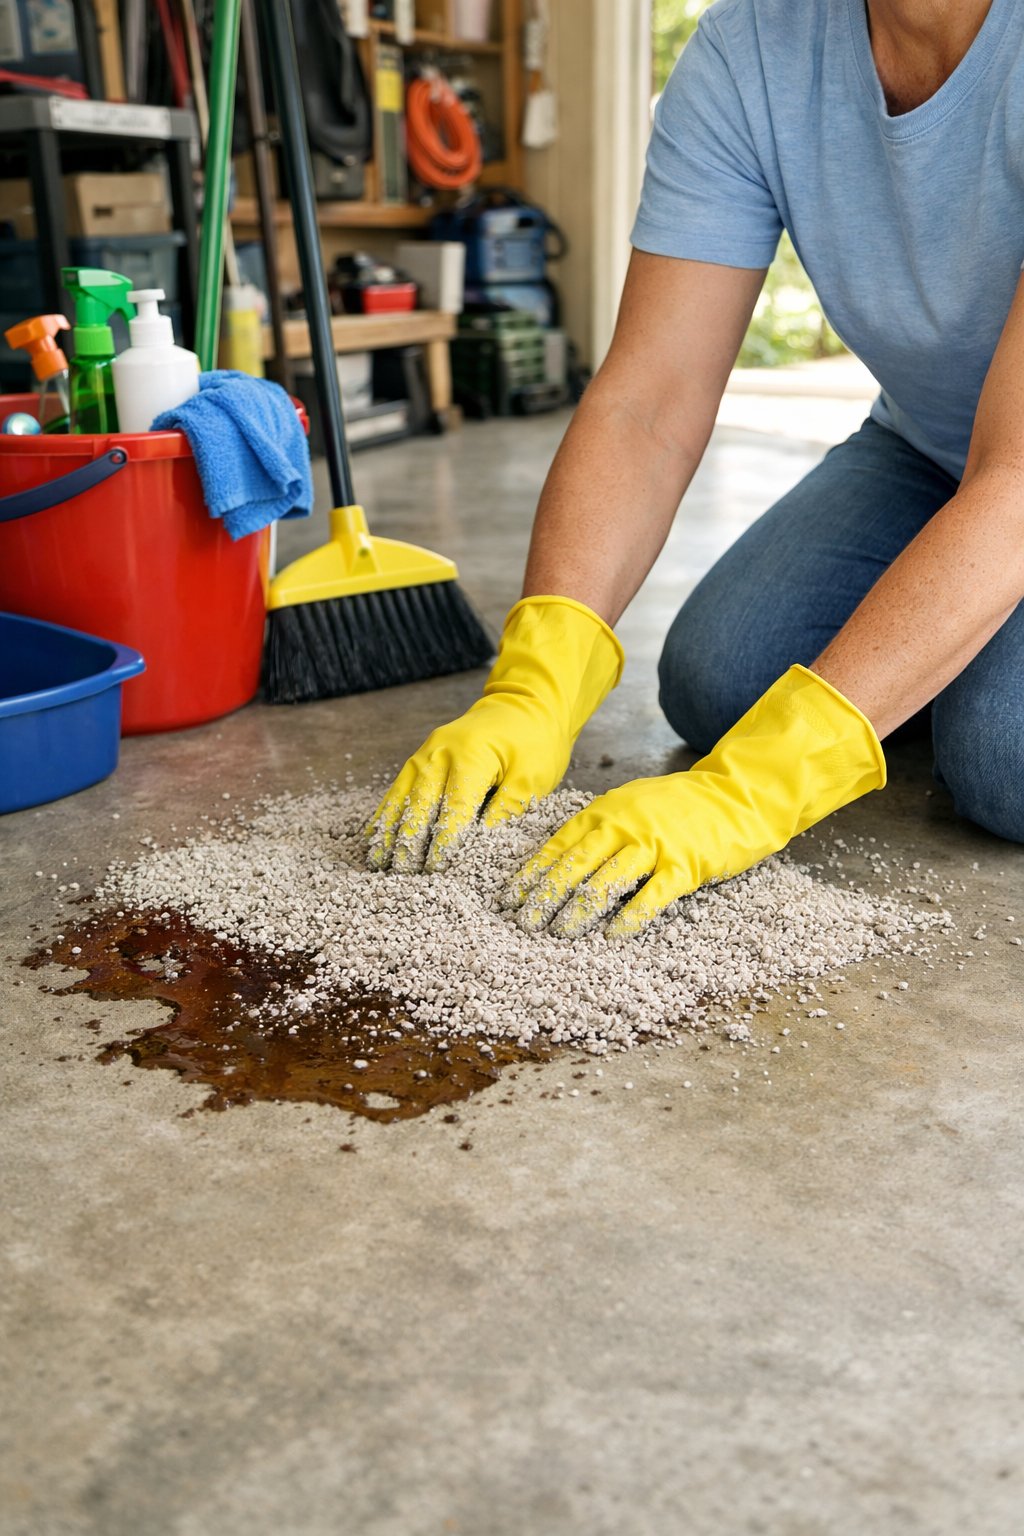
If oil or other liquids leak on your garage floor, act fast. Sprinkle a generous layer of clay-based kitty litter over the spill to soak up the liquid before it spreads.
Let the litter sit for at least 15–30 minutes so it absorbs well. For larger or older stains, you may need to let it sit longer and add more litter.
Use a stiff broom to sweep the saturated litter into a dustpan, then dispose of it according to local hazardous-waste rules. After sweeping, scrub the area with a degreasing cleaner and rinse with water.
PRO TIP
For best results, choose coarse, clumping or oil-absorbent litter rather than scented or silica types.
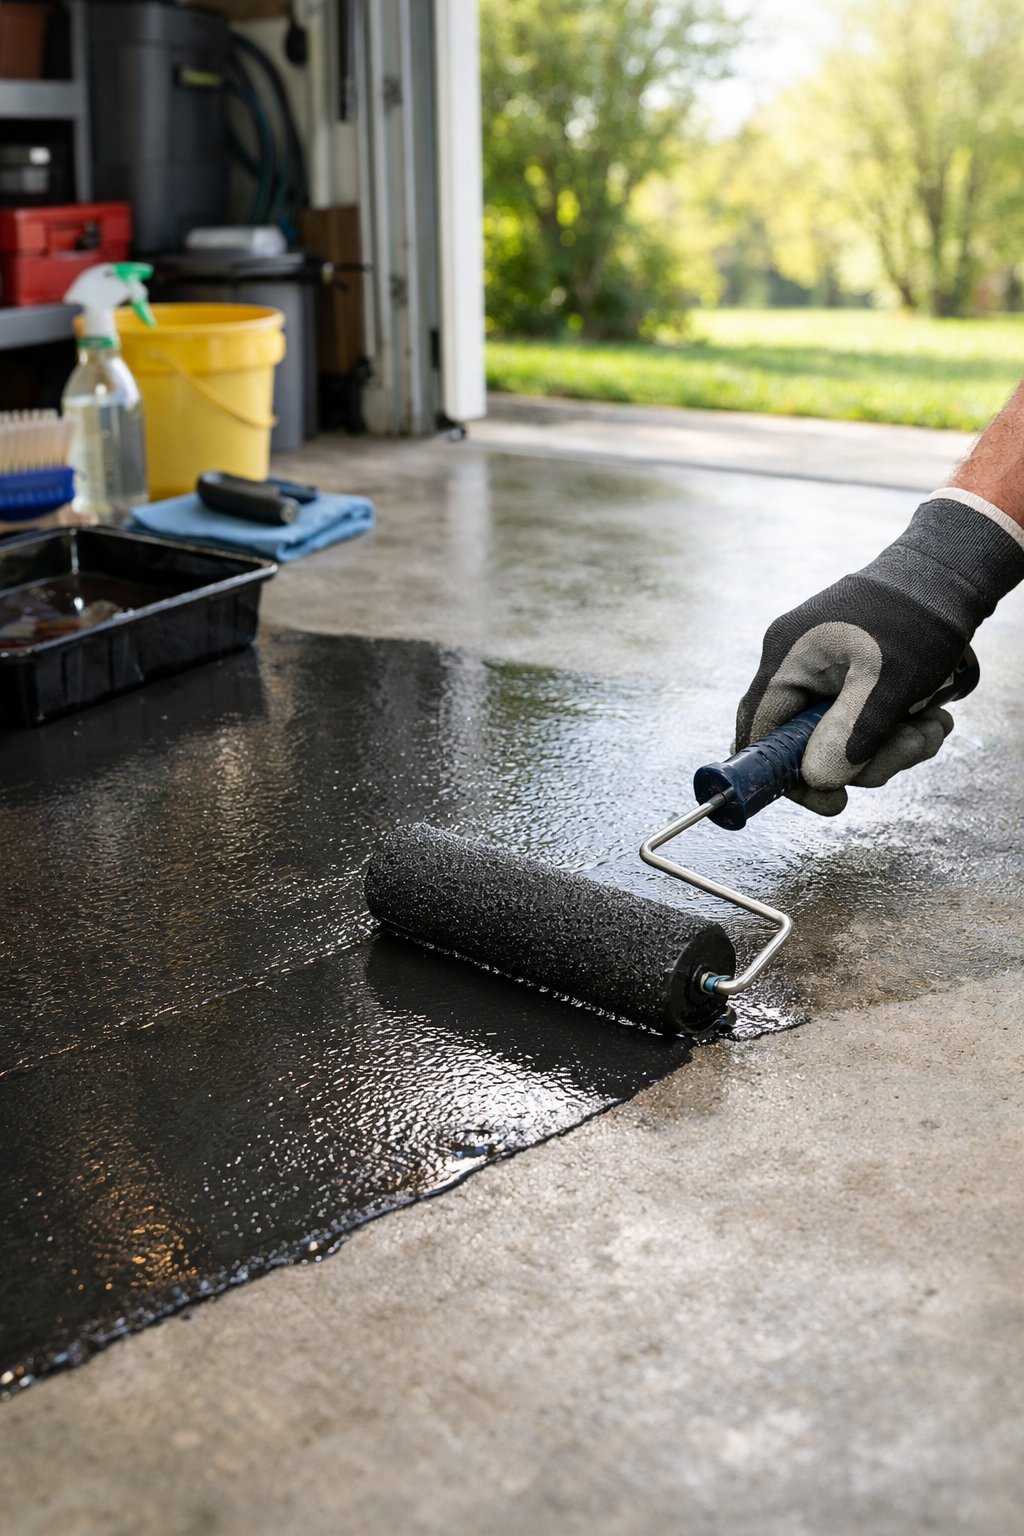
16) Seal floors with a penetrating concrete sealer
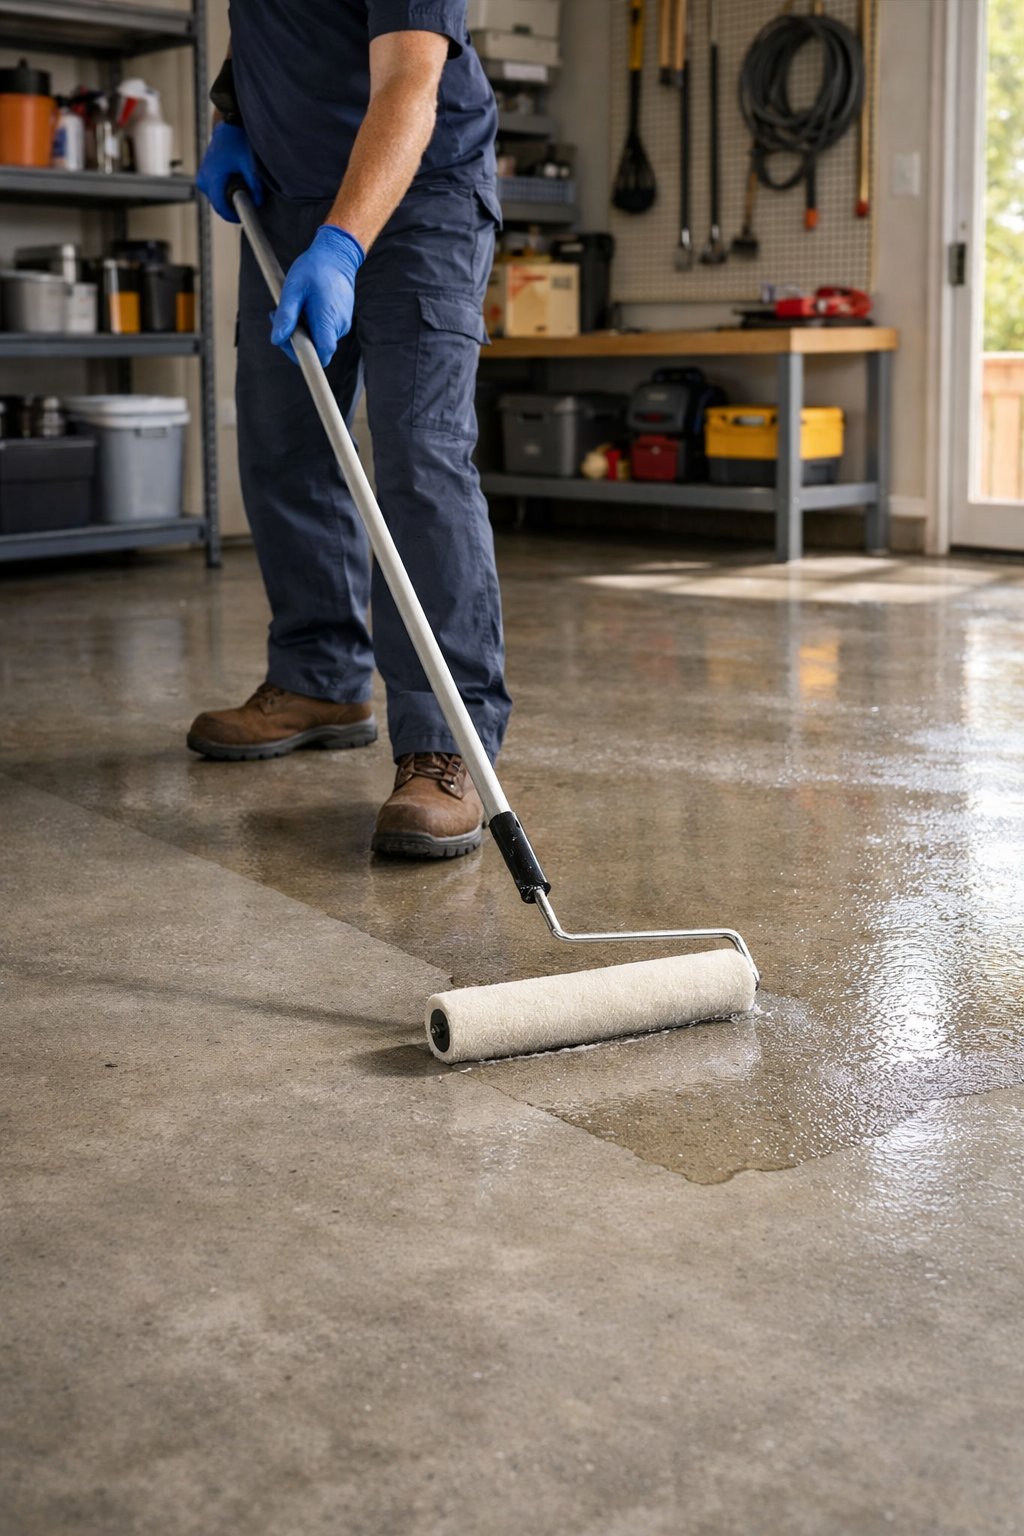
A penetrating concrete sealer soaks into the slab and blocks stains without forming a surface film. You get protection from oil, salt, and road grime while still allowing moisture vapor to escape from below. That reduces peeling and flaking.
Prep the floor well by cleaning, degreasing, and repairing cracks first. Apply the sealer when the concrete is dry and follow the product’s instructions for coverage and recoat times.
Penetrating sealers usually last several years, so you won’t need to reapply every season. They keep the floor easier to clean and help prevent deep stains from setting in.
PRO TIP
Test the sealer on a small area before treating the whole floor to check appearance and absorption.
17) Install garage floor tiles for easy cleaning
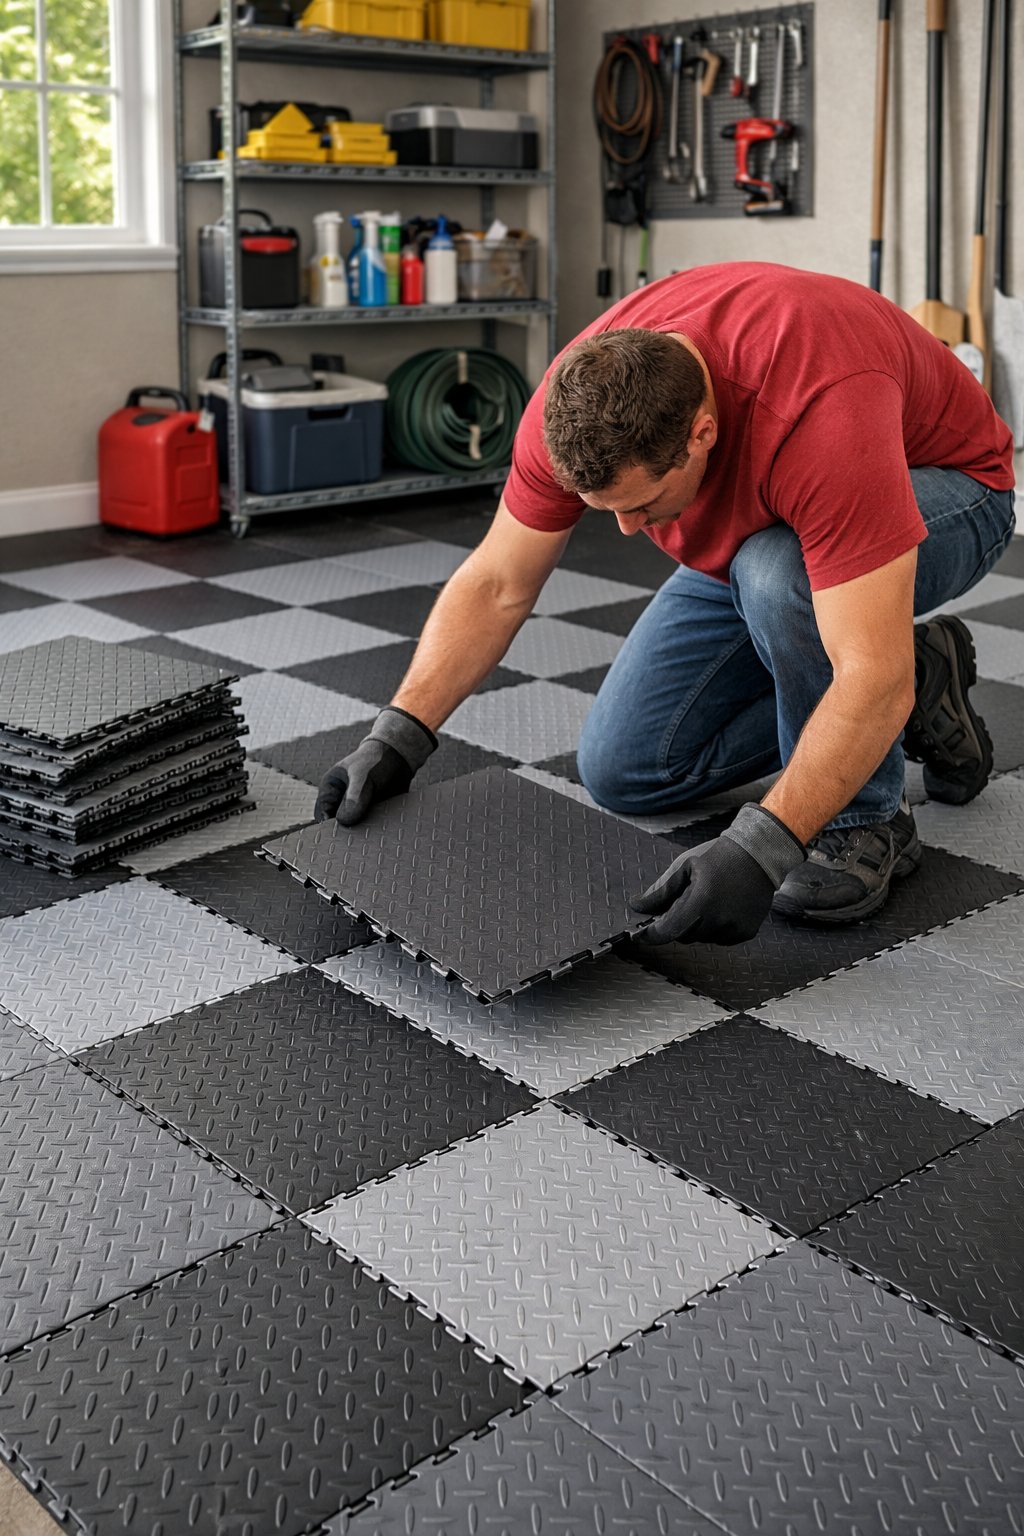
Tiles make daily cleanup faster and less messy. You can sweep or mop away dirt, oil, and spills without scrubbing concrete.
Interlocking vinyl or polypropylene tiles snap together and sit over your concrete. They hide stains and give a smooth, even surface that resists water and chemicals.
Installation is DIY-friendly for most people. Just clean and level your floor first, then work from one corner and lock tiles in place until the whole floor is covered.
Tiles also let you replace single damaged squares instead of redoing the whole floor. That saves time and money if you get a leak or heavy wear in one spot.
PRO TIP
Choose tiles with textured surfaces to keep footprints and tire marks hidden. Pick a color that hides stains and makes your garage feel brighter.
18) Try garage floor paint like Rust-Oleum EpoxyShield
Painting your garage floor gives it a cleaner look and makes it easier to mop up spills. Two-part epoxy kits like Rust-Oleum EpoxyShield bond to concrete and resist oil, antifreeze, and tire marks better than regular floor paint.
Follow the kit directions for etching, mixing, and applying. Proper surface prep and a clean, dry floor help the coating stick and last longer. Most kits let you walk on the floor in about 24 hours and drive on it in roughly 72 hours.
If you want a glossy, showroom finish, choose the 2-part epoxy option. It’s stronger than one-part paints and stands up to heavier use.
PRO TIP
Work in small sections and use a roller with an extension pole for even coverage.
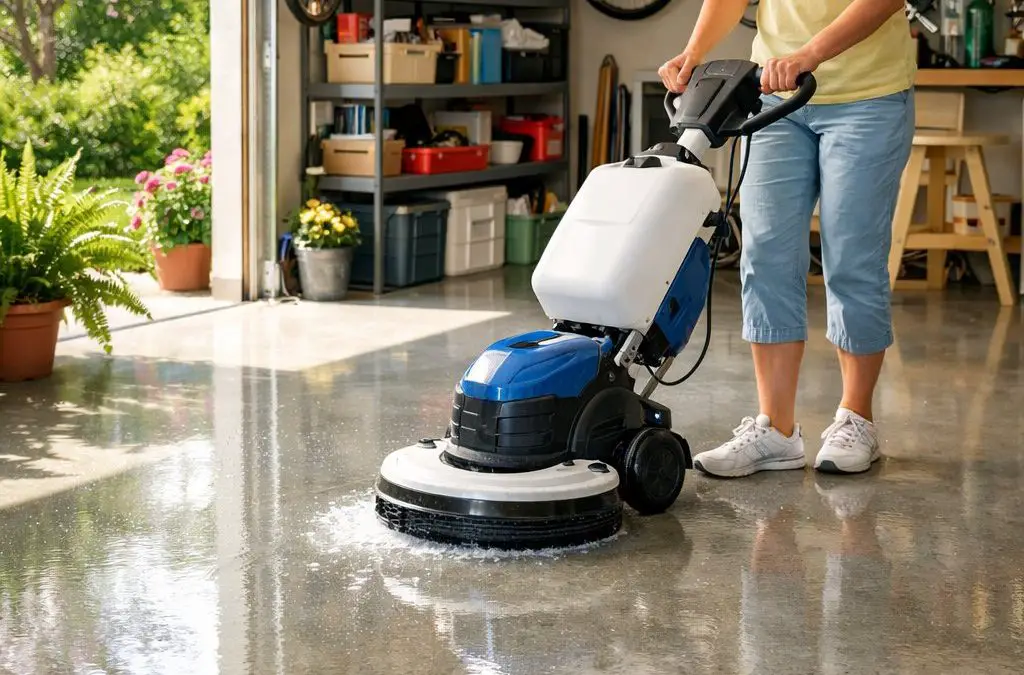
19) Use microfiber mop for regular cleaning
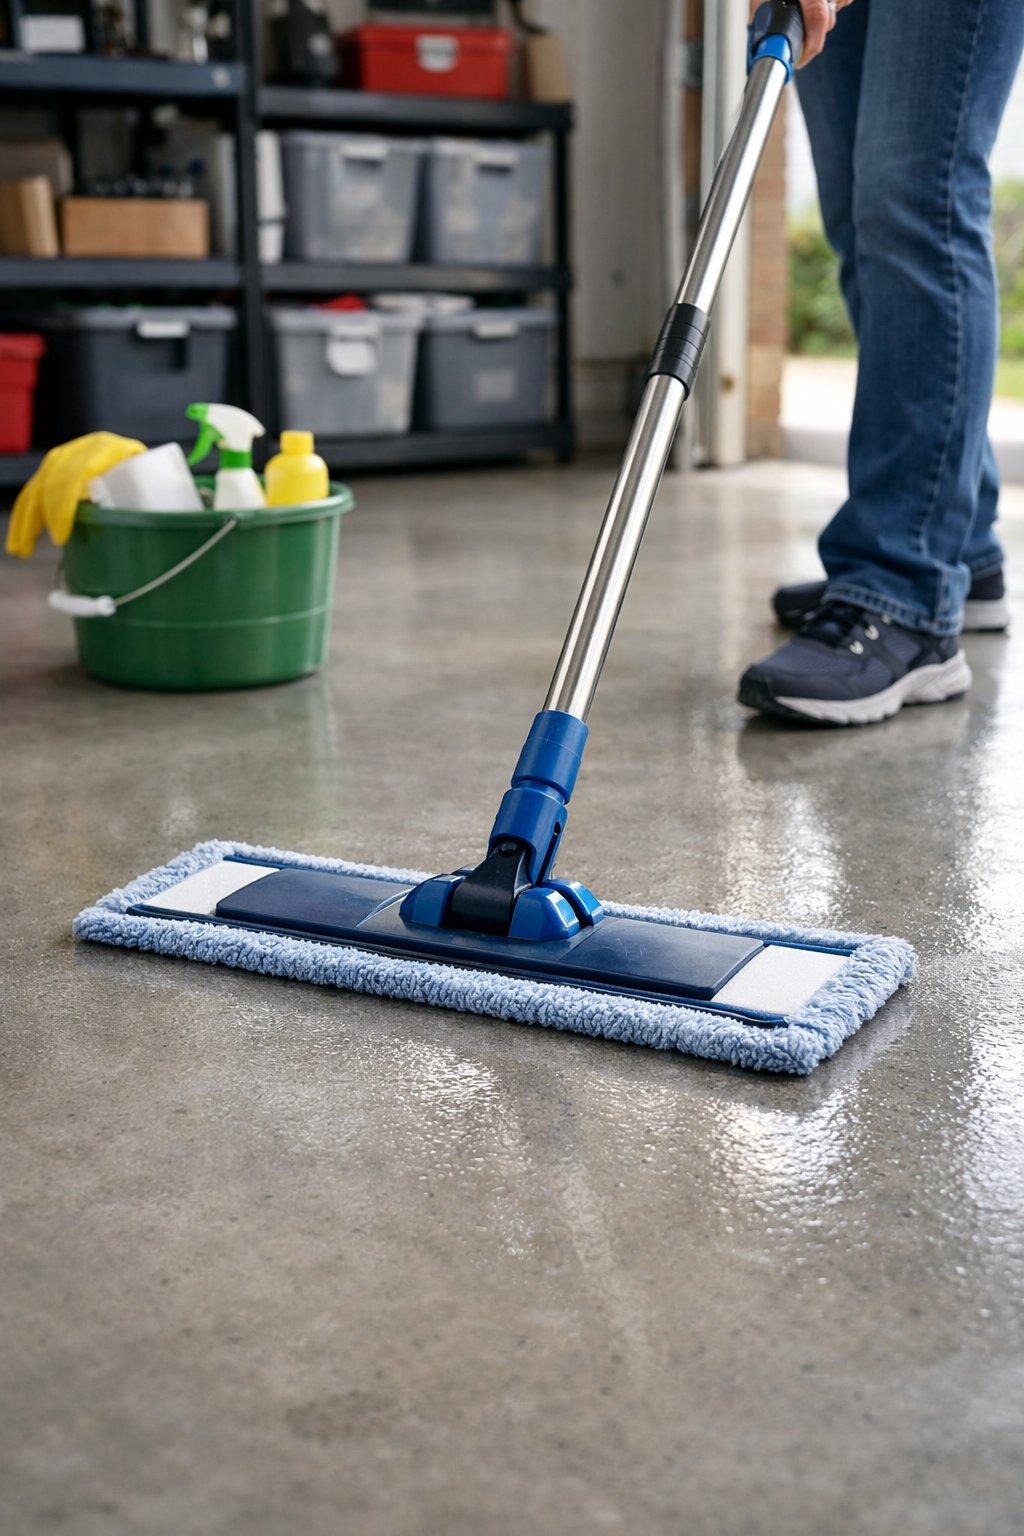
Microfiber mops pick up dust, dirt, and small debris without much elbow grease. You can sweep first, then use a damp microfiber pad to lift grime from concrete or sealed floors.
These mops work on many floor types, so they suit garages with mixed surfaces. Use a slightly damp pad — not soaking wet — to avoid streaks and long dry times.
Microfiber is reusable and machine washable, which saves money over time. Swap pads when they get oily or stained to keep cleaning effective.
PRO TIP
Keep a spare pad on hand for quick swaps during longer jobs. Rinse pads soon after use to stop dirt from setting in and to extend pad life.
20) Add a moisture barrier undercoating
Adding a moisture barrier undercoating helps stop water vapor from rising through the concrete. This reduces slippery condensation, efflorescence, and damage to paint or epoxy coatings.
Apply the barrier before you coat or refinish the floor. Use products designed for concrete moisture control, and follow the manufacturer’s instructions for surface prep and cure times.
If you already have a finished floor, consider a topical moisture-blocking sealer that’s compatible with your coating. For new slabs, install a polyethylene vapor barrier under the slab during pour for the best long-term protection.
PRO TIP
Test concrete moisture with a reliable meter before choosing a product. That simple check helps you pick the right barrier and avoid coating failures.
21) Create a no-shoe policy
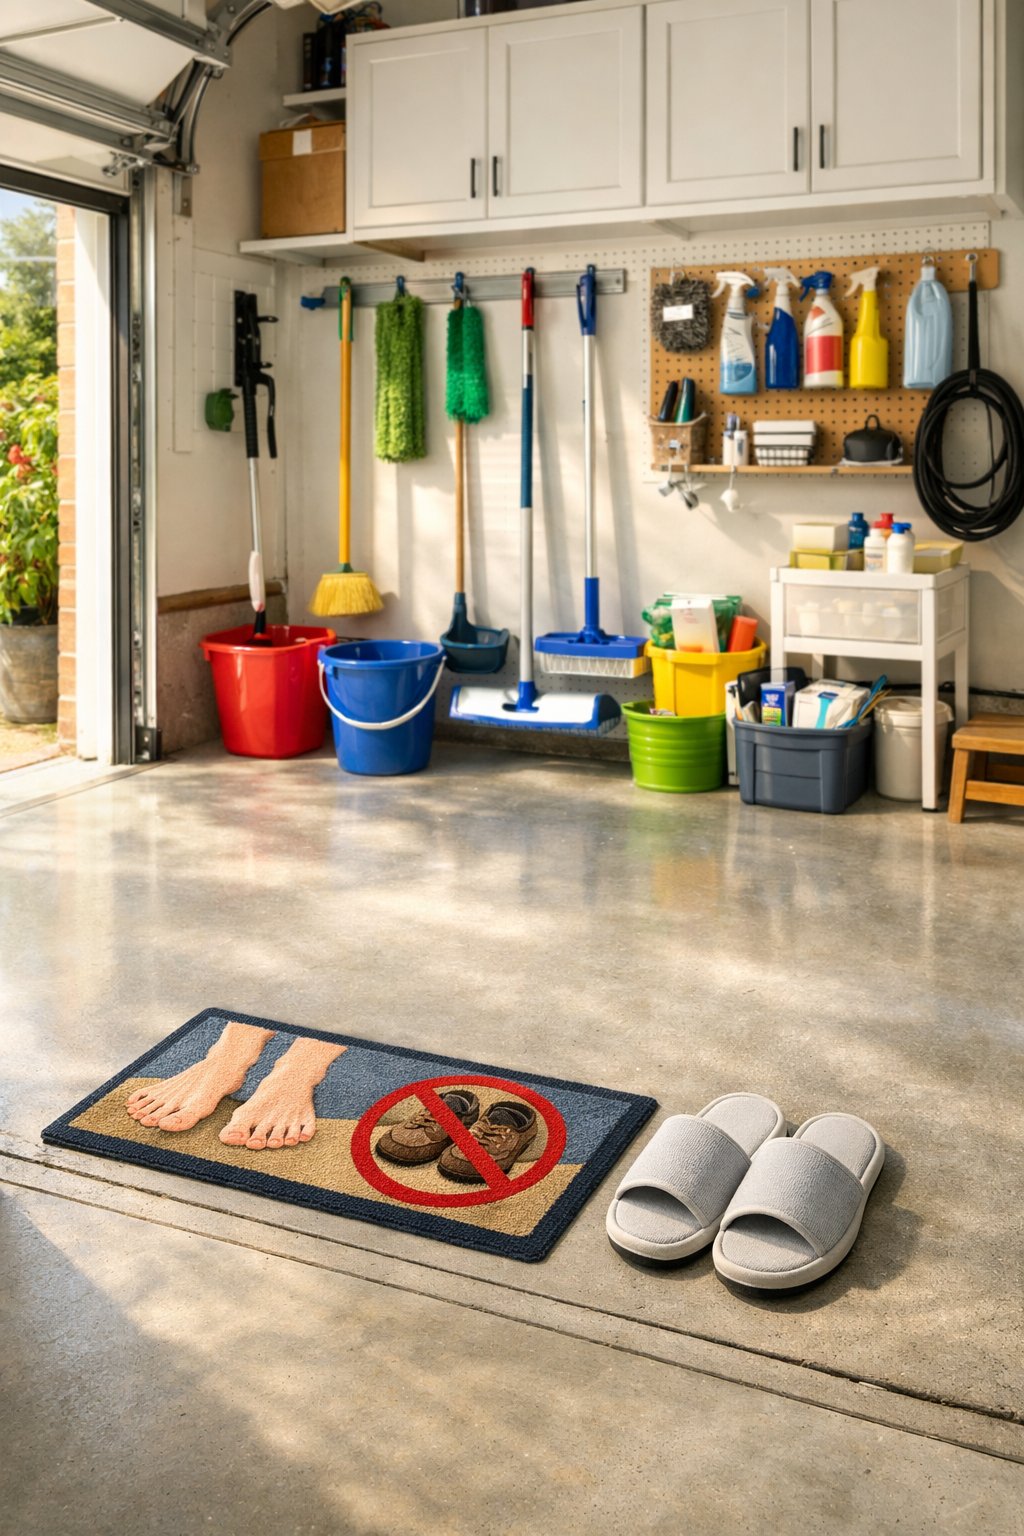
As you work on your garage floor this spring, keep dirt out by asking household members and guests to remove shoes before entering. Shoes track grit, oil, and chemicals that can stain or wear down sealers and epoxy finishes.
Put a shoe rack, bench, or mat right inside the garage door so people have a place to sit and store shoes. Clear signage helps guests follow the rule without awkward reminders.
Explain the reason plainly: cleaner floors, fewer stains, and easier maintenance for you. Make a spot for slippers or garage-only shoes to keep compliance simple and comfortable.
PRO TIP
Place a washable entry mat outside the main door to catch loose dirt before it reaches the garage.


