Last Updated on November 12, 2026
You can prevent costly boat-design mistakes by matching the hull and layout to your use, then sizing the structure and systems for real operating loads.
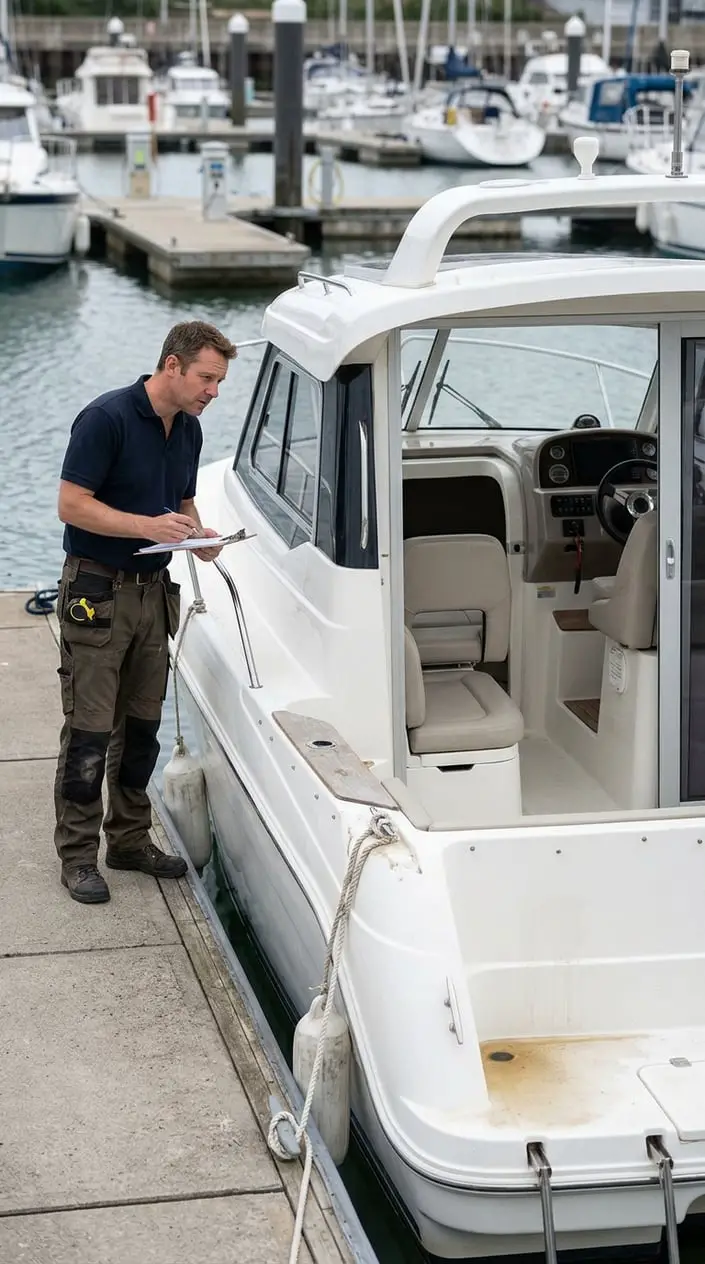
The 11 Boat Design Mistakes That Are Surprisingly Common (and Costly) often begin as small compromises on a drawing. Once you load the boat, take it into rough water, or need to service a hidden system, those compromises can turn into discomfort, damage, or expensive repairs.
1) Ignoring the Boat’s Intended Use
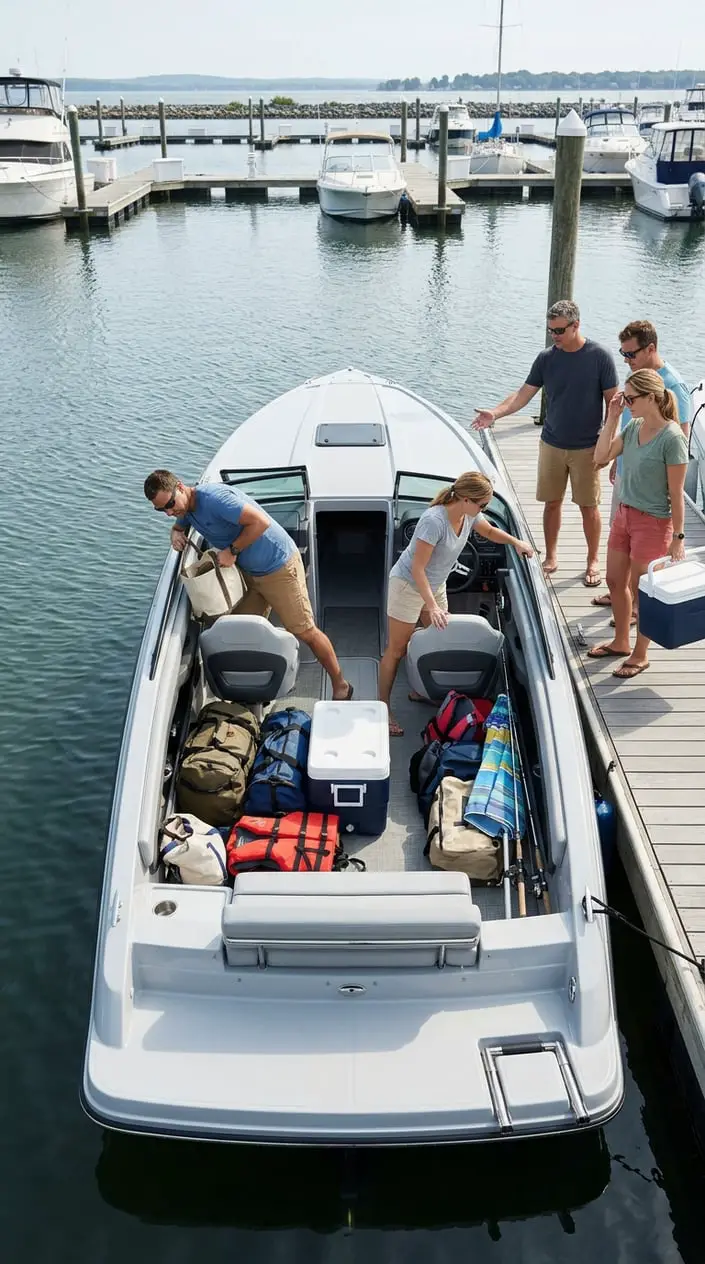
Designing without a clear primary use leads to a boat that carries people, gear, or equipment poorly. Before you settle on dimensions, list how many people you expect aboard, what they will bring, and where you plan to operate. A fishing boat needs clear casting space and room for tackle; a family runabout needs safe seating and easy movement through the cockpit.
Then sketch those activities at full scale. Mark seats, coolers, storage, engine access, and walkways on the layout. Check that people can move without stepping over lines or blocking an exit.
Include realistic payload, including fuel, water, batteries, passengers, and gear. A boat designed around its actual load plan is less likely to sit low, feel crowded, or need costly layout changes after construction.
2) Choosing the Wrong Hull Shape for Local Waters
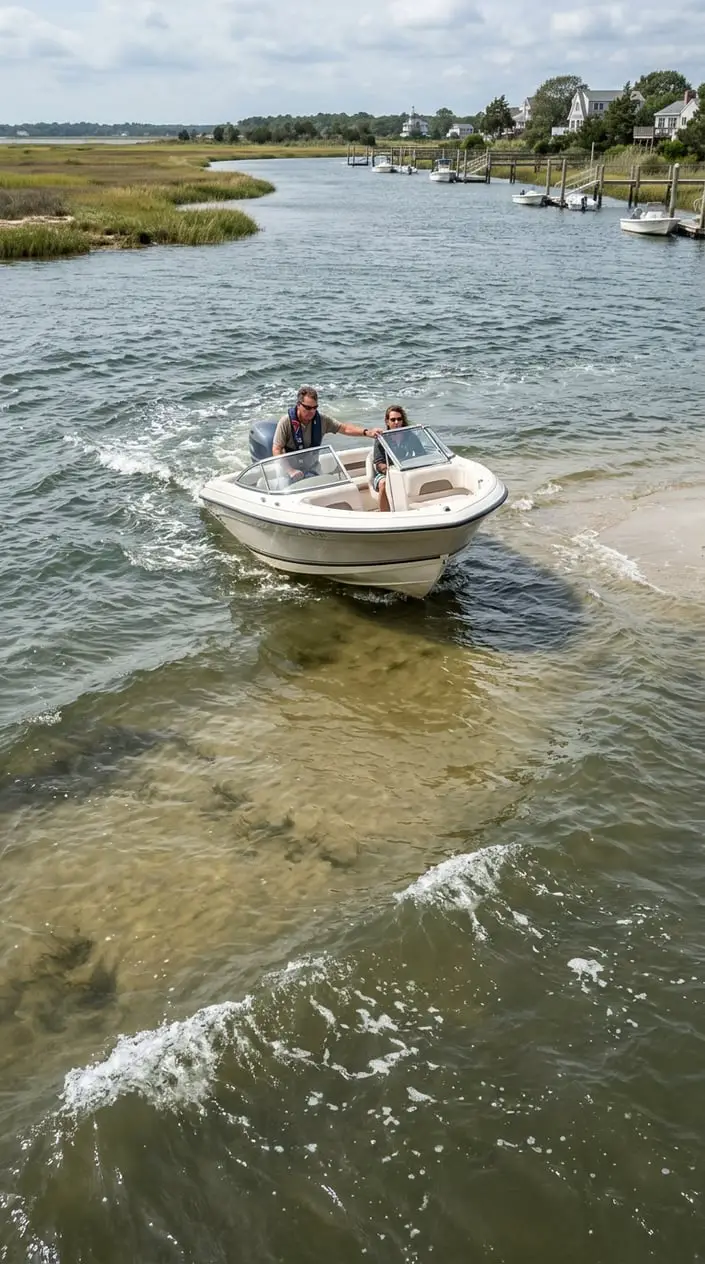
Your hull shape needs to suit the water depth, wave conditions, and speed you expect to encounter. A deep-V hull cuts through chop and supports a smoother ride at speed, while a flatter-bottomed hull draws less water and suits shallow, protected areas. Each shape brings trade-offs in ride, stability, and performance.
Look at the routes you will travel, including channels, tidal areas, and exposed stretches. Check local depth charts and consider how the boat behaves when it carries a full load. A hull that suits calm lakes may pound in open coastal chop; a deep hull may limit access to shallow creeks.
Ask a qualified naval architect to assess hull form, deadrise, draft, and intended speed together. Those choices affect handling and power needs, so settling them early helps avoid major redesign work.
3) Setting the Center of Gravity Too Far Aft
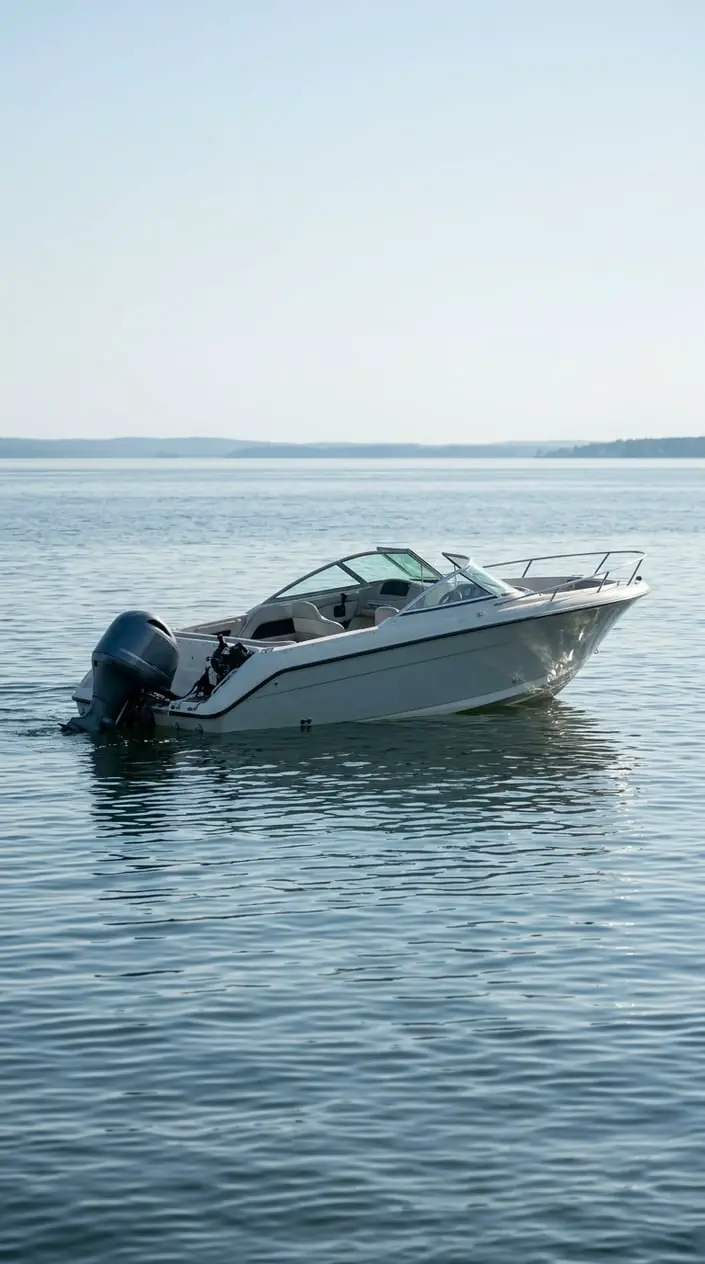
Too much weight near the stern pushes the bow up and can make the boat slow to plane or handle poorly. Place the engine, batteries, fuel tank, and other heavy parts on the design’s weight plan before building. Their locations affect trim, waterline, visibility, and how the hull responds when you accelerate.
Account for the weight of people and gear, too. Passengers gathering aft can deepen the stern’s immersion and alter handling. Use a loading diagram to compare light-load and full-load conditions, then confirm the proposed longitudinal center of gravity against the hull designer’s guidance.
Keep heavy equipment low and close to the planned balance point where the layout allows. A boat that sits at its designed trim line has better visibility and predictable handling across its intended load range.
4) Designing in Too Little Freeboard
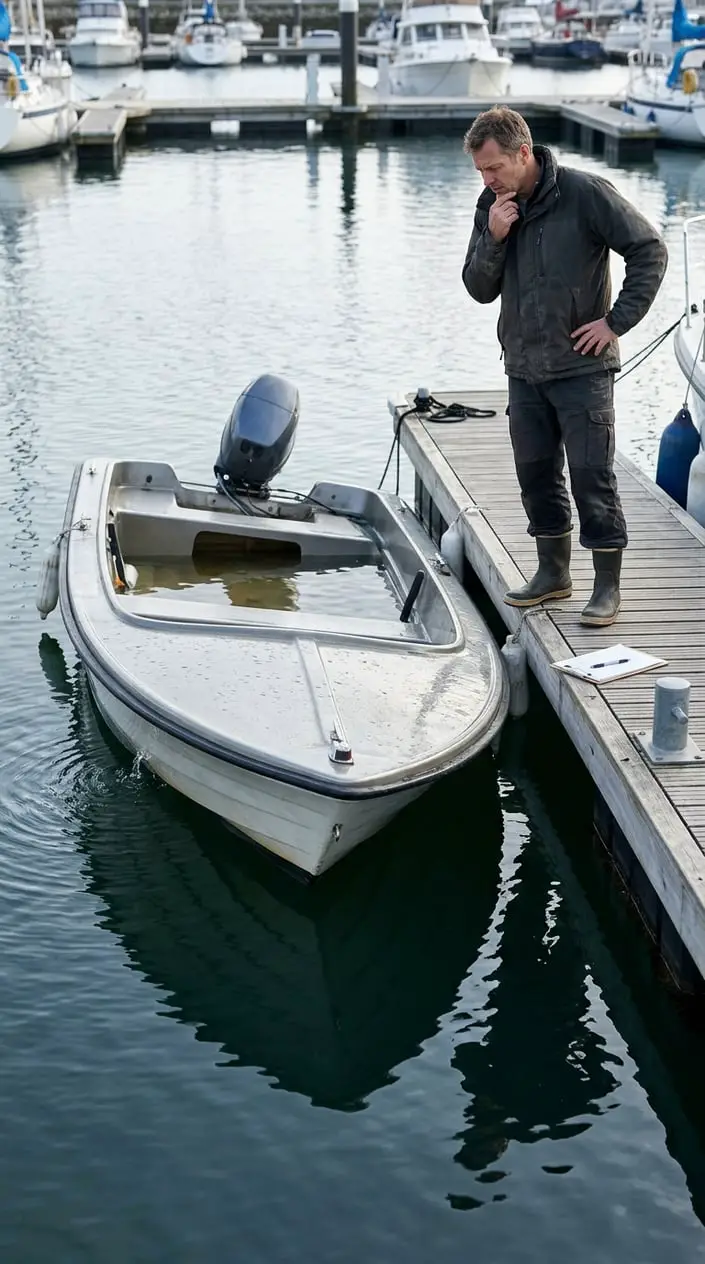
Low freeboard leaves less hull height between the loaded waterline and the deck edge, reducing reserve against waves and passenger movement. Set freeboard using the boat’s intended operating area, hull form, and maximum load. A low-sided boat may suit protected water, while exposed conditions call for careful attention to how waves and spray reach the deck.
Check freeboard at the design waterline with people, fuel, batteries, and gear included. Then review how trim changes when passengers move or cargo shifts. Openings, drains, and the transom also affect how water enters and exits.
Keep applicable capacity and flotation requirements in view during the design. If the boat sits lower than planned after launch, recheck its loading and weight distribution before adding equipment or passengers.
5) Underbuilding the Transom for the Outboard’s Weight
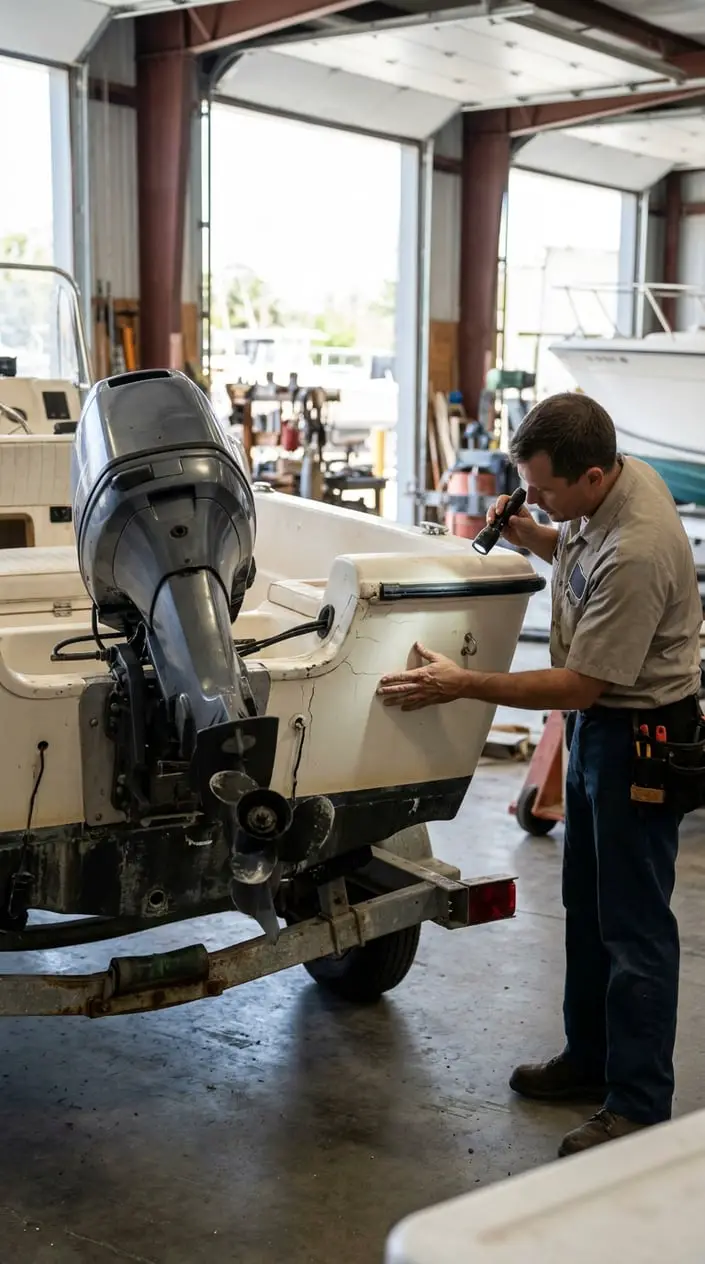
The transom needs strength for the outboard’s weight, thrust, and repeated pounding while underway. Design it around the engine’s full installed load, including the mounting hardware and any equipment attached to the stern. The transom also transfers forces into the hull, so its core, laminate, knees, and surrounding structure work as a system.
Follow the hull designer’s structural schedule and use materials suited to the construction method. Protect core material from water at bolt holes and fittings with sealed penetrations. Check that the engine mounting height and bolt pattern fit the finished structure.
After installation, inspect the transom for cracks, flex, or water intrusion. A poorly supported motor can loosen fasteners and damage nearby fiberglass, leading to repairs that reach beyond the transom itself.
6) Leaving Too Little Propeller Clearance
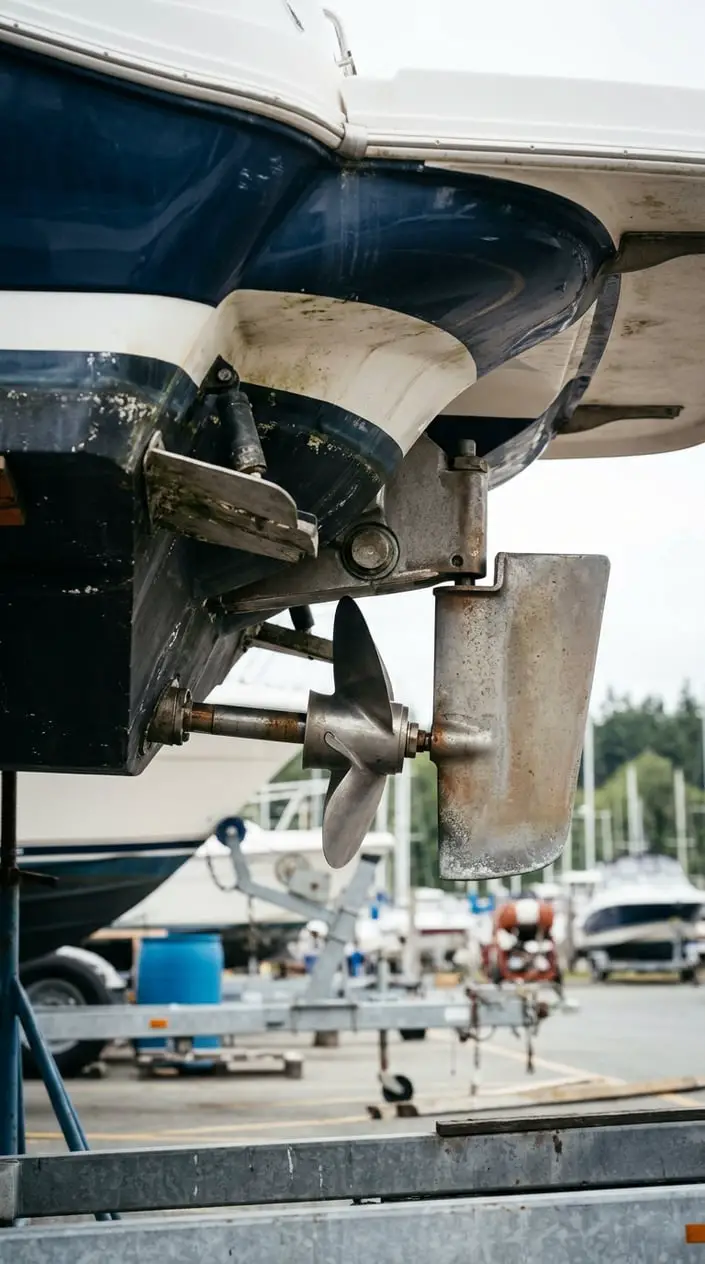
Insufficient propeller clearance raises the risk of hull contact, vibration, and poor water flow into the propeller. Check the propeller’s diameter, shaft angle, blade path, and distance from the hull before finalizing the shaft line or outboard location. Account for movement under load and the deflection of shafts, mounts, and structure.
Use the engine or propeller maker’s clearance guidance alongside the boat designer’s drawings. Check clearance around the full blade circle, including the hull, rudder, strut, and any nearby fittings. A tight installation can also increase noise and vibration, which may signal disturbed water flow.
Confirm the measurements on the completed boat before launch, with the propeller installed and the shaft aligned. If the space is inadequate, revise the layout before operating the boat.
7) Making the Cockpit Self-Draining Only on Paper
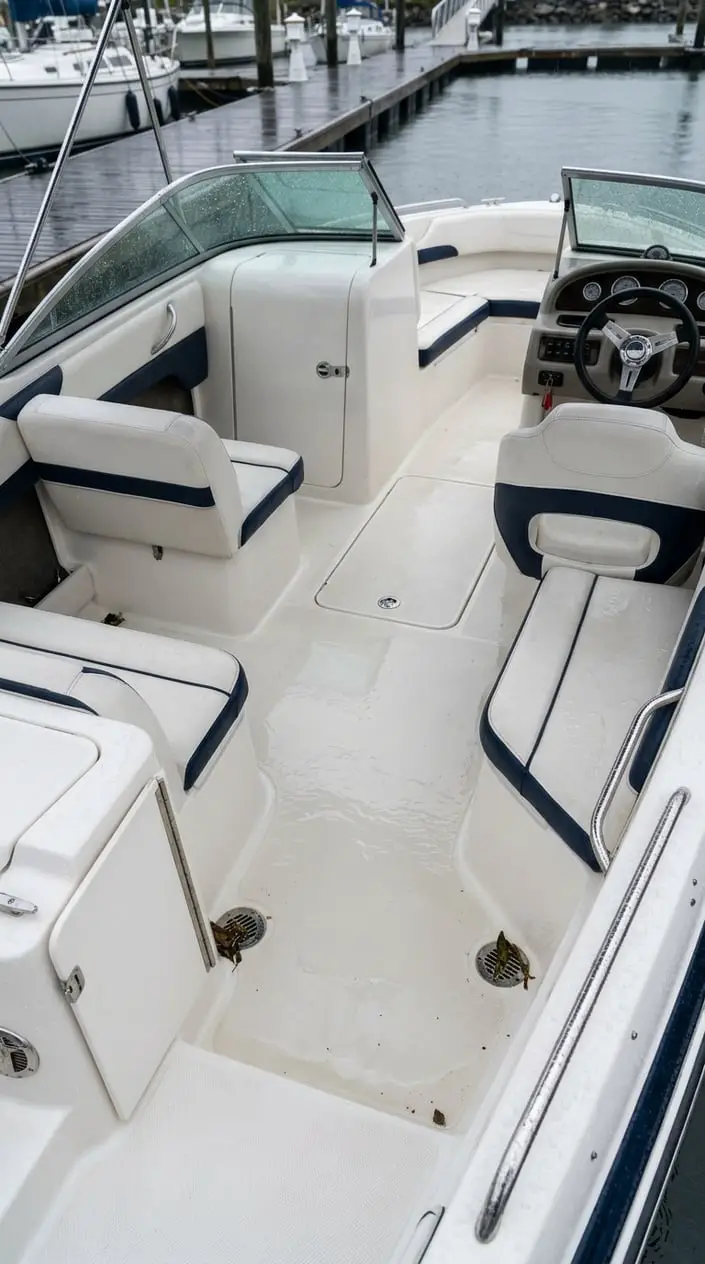
A self-draining cockpit works only when the drains sit and flow correctly under the boat’s loaded waterline. Design the sole with a clear slope toward properly sized scuppers, and keep hoses short with smooth runs. Low points that trap water or drains that sit too close to the waterline can leave the cockpit flooded when passengers move aboard.
Check the drain layout at full load and with the boat heeled to each side. Confirm that scuppers remain clear of obstructions and that their fittings resist backflow where needed. After construction, test drainage with water across the cockpit floor and observe the flow at the outlets.
Include access for cleaning leaves, grit, and debris. If you add a deck fitting or change the cockpit sole, recheck the drainage path before sealing the structure.
8) Undersizing the Bilge Pumps and Their Wiring
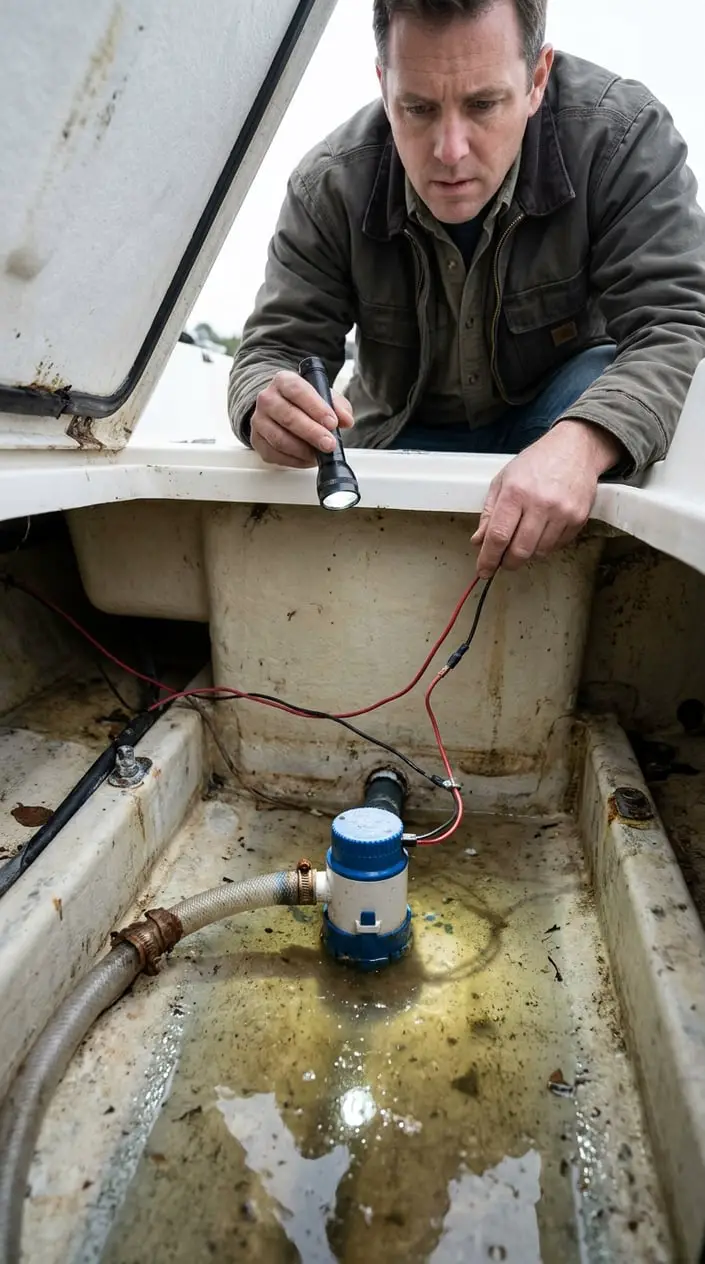
Bilge pumps need enough capacity and properly sized wiring to move water reliably under real conditions. Select pump capacity for the boat and the likely sources of water, then account for head height, hose length, bends, and outlet location. Those factors reduce delivered flow from a pump’s rated capacity.
Use marine-rated wiring sized for the current draw and circuit length, with suitable overcurrent protection. Place the float switch where it can move freely and detect rising water without catching on hoses or cables. Provide a way to check pump operation from the helm or at the pump, and keep the discharge outlet clear.
Test the pump and automatic switch after installation, then inspect them during routine maintenance. Keep a manual backup option available for emergencies.
9) Designing Fuel Tanks Without Safe Venting and Access
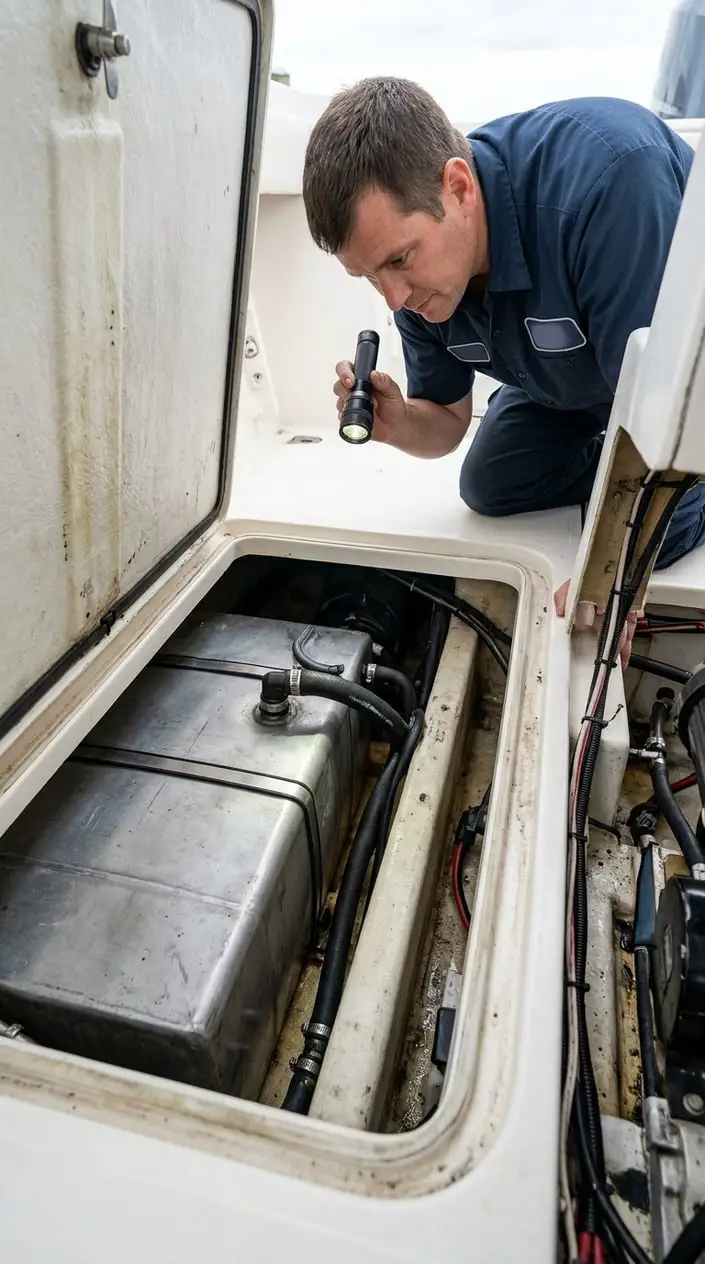
Fuel tanks need secure mounting, safe vent routing, and enough access for inspection and service. Plan the tank location around its full weight, fill connection, supply lines, and vent outlet. Route fuel-rated hoses away from heat, sharp edges, and moving parts, and support them so they cannot chafe or sag.
The vent line needs a clear path that prevents fuel from collecting in a low spot and directs fumes safely outside the boat. Allow access to fittings, clamps, and the sender unit without cutting permanent structure. Follow applicable U.S. Coast Guard rules and the tank maker’s installation instructions for materials, connections, and clearances.
After installation, inspect the system for leaks and confirm the vent remains unobstructed. A cramped, sealed-in tank space makes routine checks harder and increases the chance that a small fault goes unnoticed.
10) Forgetting Electrical-System Access and Service Loops
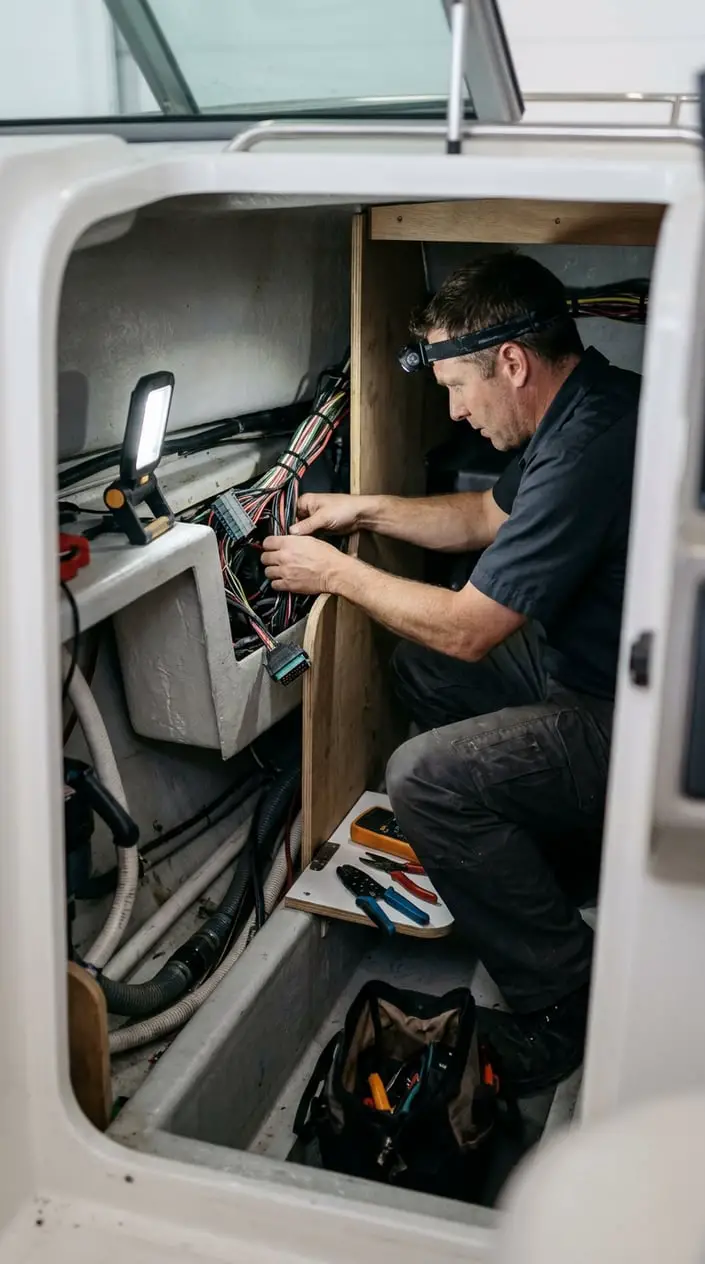
Electrical systems need reachable components and enough wire slack for inspection, repair, and movement. Lay out batteries, switches, fuses, bus bars, and major cable runs before closing compartments. Leave room to reach terminals with tools and to remove components without dismantling nearby furniture.
Use marine-grade wire and protect runs from abrasion, heat, moisture, and sharp edges. Add service loops at connections where the wiring plan allows, keeping the loops secured so they do not snag or rub. Label circuits at both ends and provide access to fuses and disconnects.
Check that cables bend within their recommended limits and that connections remain visible for inspection. A neat wire plan saves time during troubleshooting and helps prevent damaged insulation or loose connections in hard-to-reach spaces.
11) Using Inadequate Structural Bonding at Bulkheads

Bulkheads need continuous, well-prepared bonds to transfer loads into the hull. A narrow or uneven fillet leaves gaps that concentrate stress, while poor surface preparation weakens the connection. Follow the construction plan for bonding material, fillet shape, and any fiberglass tabbing required to carry the load.
Dry-fit each bulkhead and check that it meets the hull without forced gaps. Clean and prepare bonding surfaces as specified for the resin system, then apply the adhesive evenly along the joint.
Add tabbing with the correct overlap and remove trapped air during layup. Inspect the finished bond before covering it with liner or furniture. Pay close attention to bulkheads that support deck hardware, engines, tanks, or other heavy components, and have a qualified builder review any structural change.