Last Updated on February 6, 2026
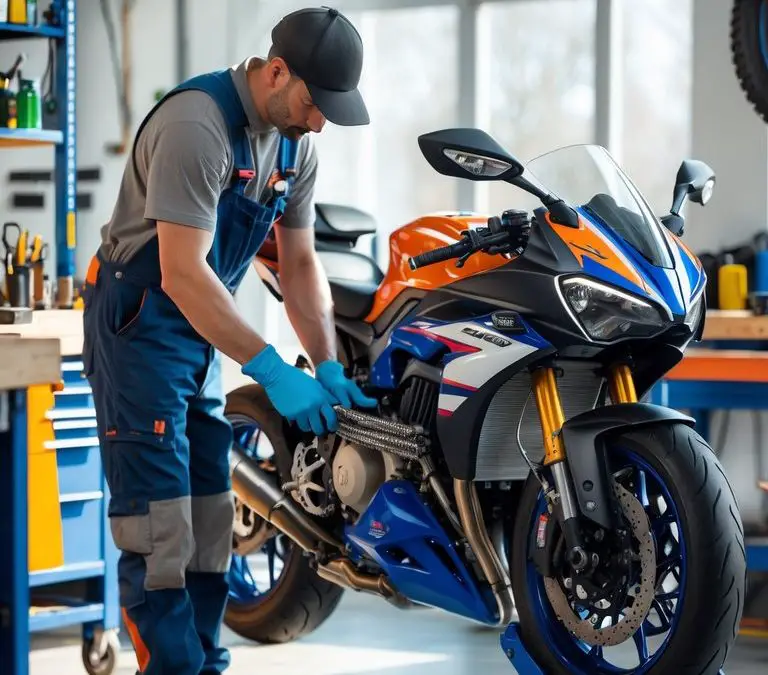
You want your motorcycle to run safely and smoothly all season. This article gives 19 practical spring prep and maintenance ideas so you can spot problems early, restore performance after storage, and enjoy more confident rides.
You will learn clear, doable tasks that keep your bike safe, reliable, and ready for the road.
Move through checks on tires, brakes, fluids, battery, lights, and controls so you don’t miss anything important. A few simple steps now can prevent breakdowns and make your first rides of the year more fun.
1) Check tire pressure and tread depth
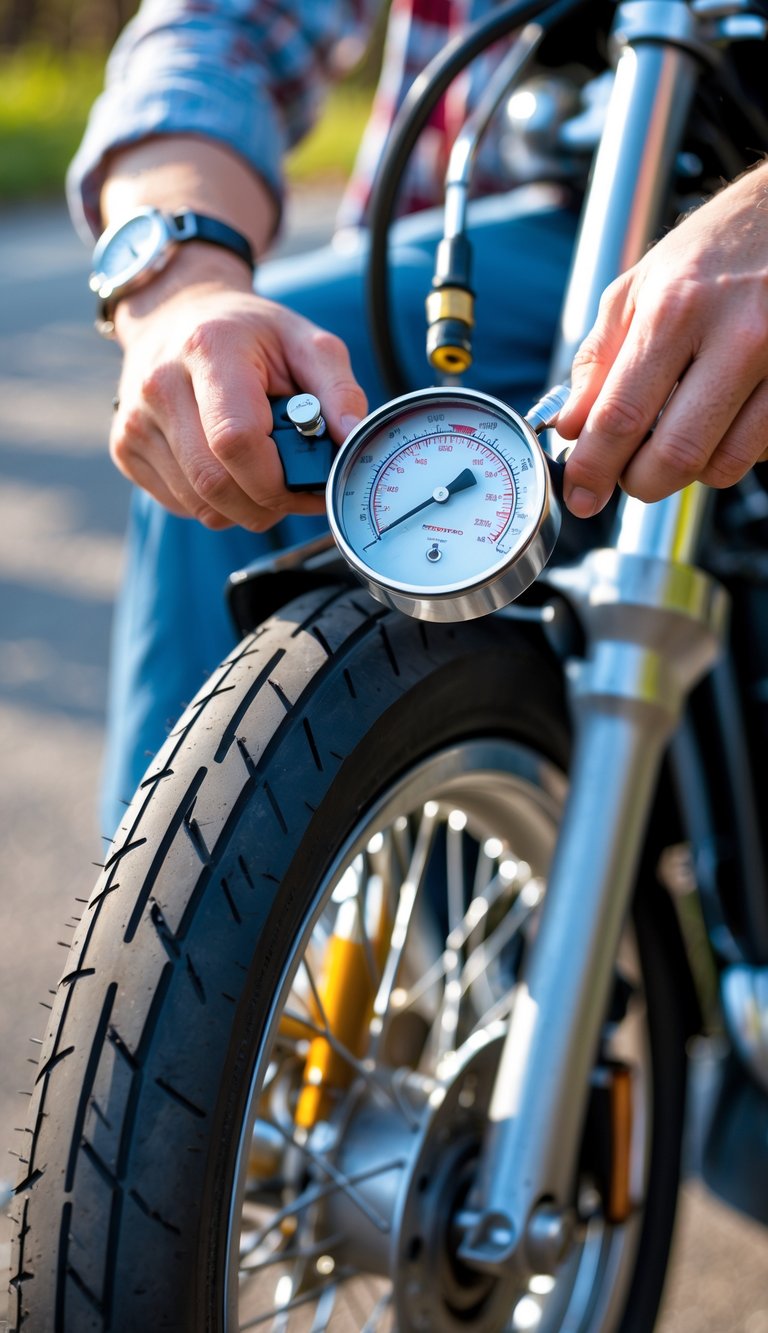
Check your tire pressure before every ride, using a reliable gauge when the tires are cold. Proper pressure improves handling, fuel economy, and tire life.
Inspect tread depth by looking at the grooves and wear bars. If grooves look shallow or uneven, or wear bars are level with the tread, plan to replace the tire.
Look for cracks, bulges, or sidewall damage. Even small damage can lead to a sudden failure, especially after cold storage.
Keep tire age in mind; most manufacturers recommend replacing tires around five to six years. Mark the date when you fit new tires so you can track their age.
PRO TIP
Use a simple penny or a tread gauge to check depth, and write recommended PSI on the swingarm or a sticker near the fuel cap for quick reference.
2) Inspect brake pads and rotors
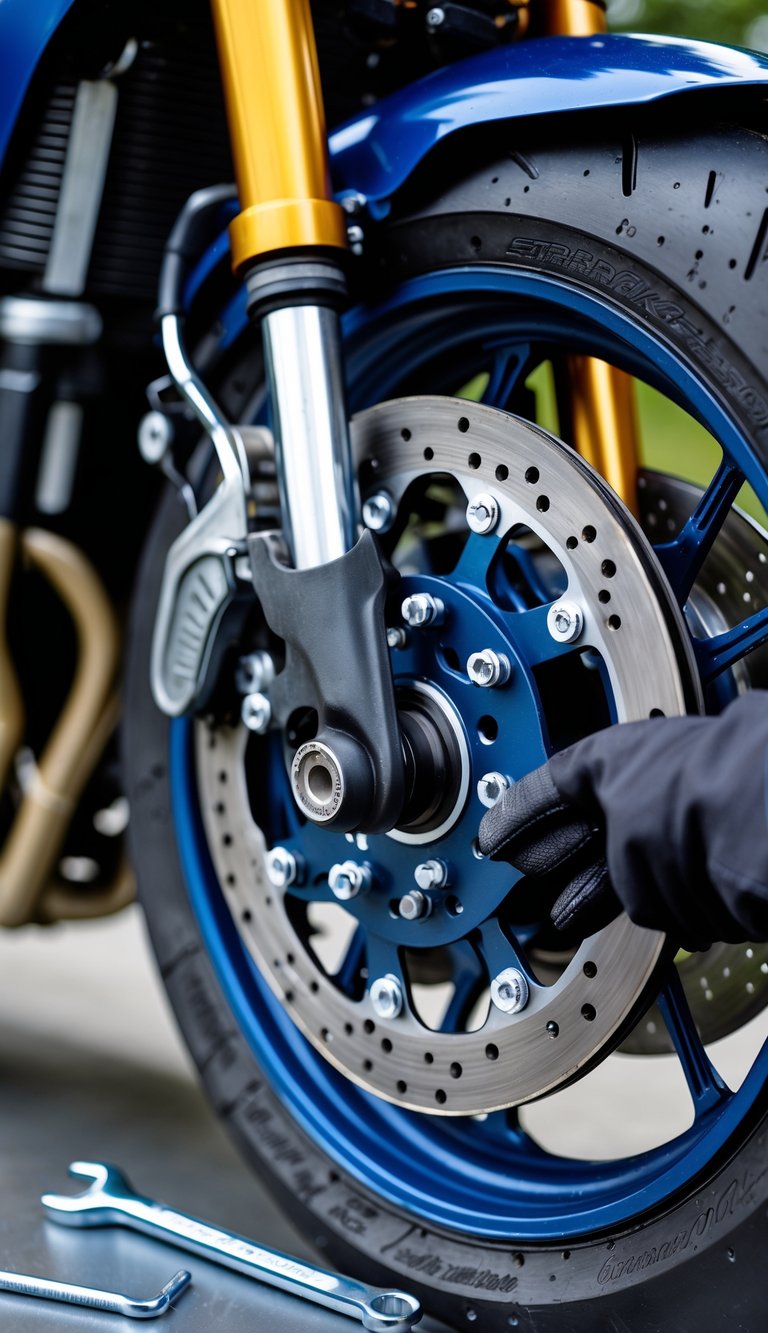
You should check your brake pads for thickness and even wear before the riding season starts. Look through the caliper or remove the wheel if needed; most pads should have at least 2–3 mm of friction material left.
Examine rotors for deep grooves, warping, or heavy rust. Light surface rust can often be cleaned, but pitted or warped rotors need replacement to keep braking safe and smooth.
Press the brake lever and watch for any uneven movement or noise from the caliper. Spongy levers or grinding sounds mean you should service the pads, rotors, and possibly the brake fluid.
PRO TIP
Measure pad thickness with a ruler or caliper and compare it to your owner’s manual limits. If you’re unsure, have a shop inspect them before your first ride.
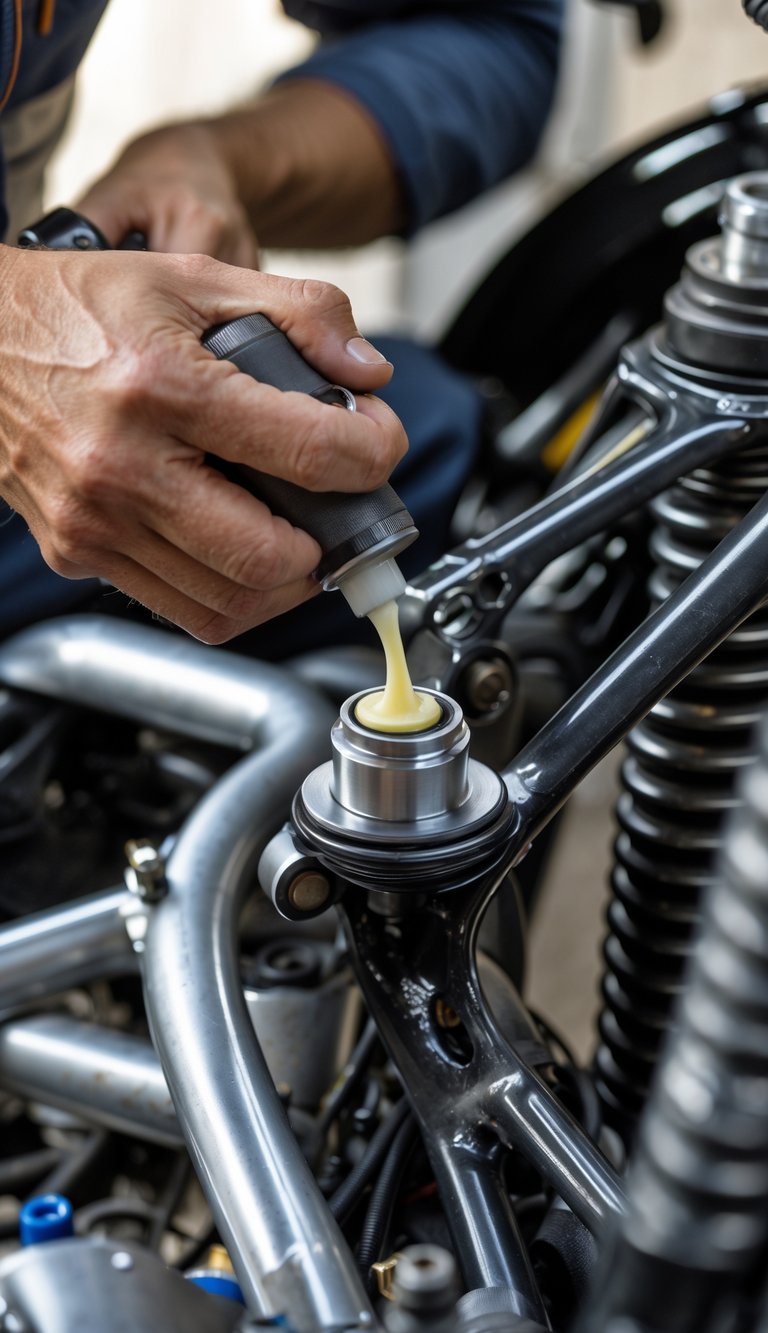
3) Change engine oil and oil filter
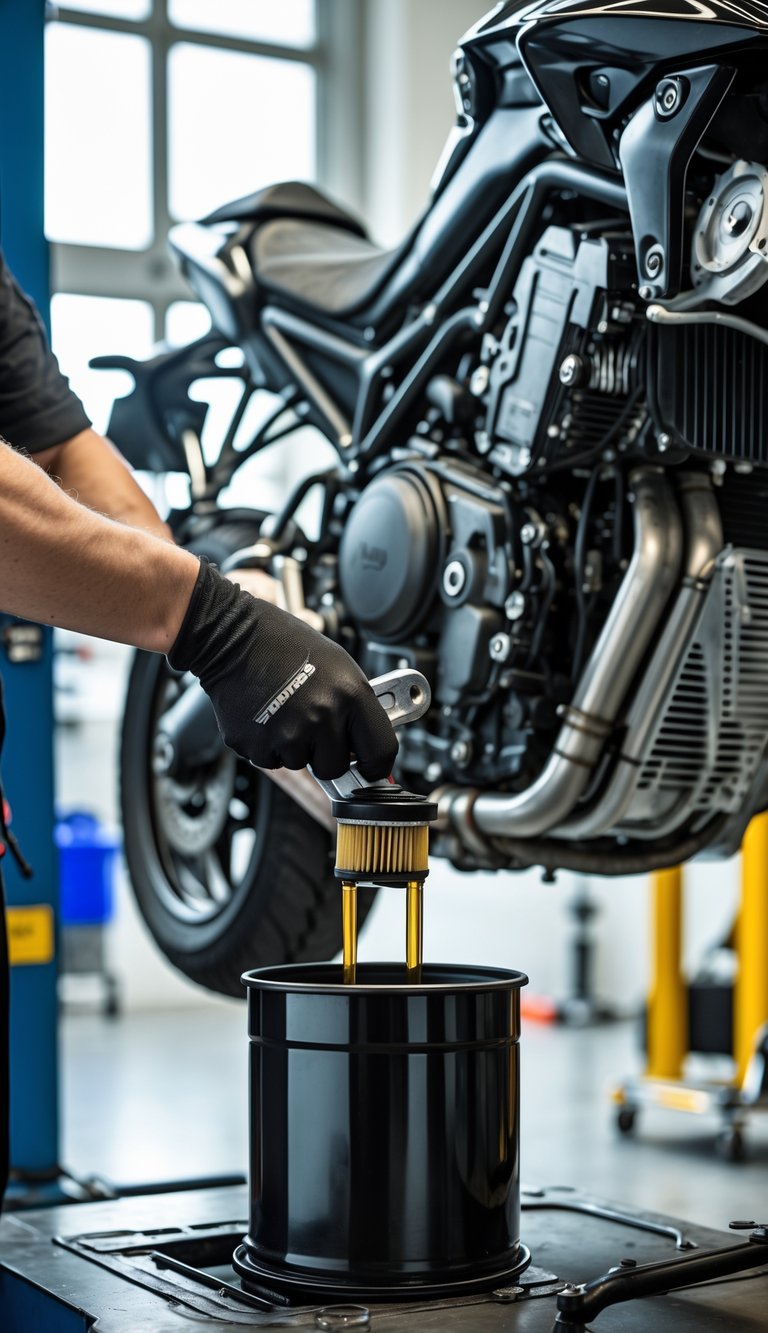
You should change your engine oil and oil filter before the season starts. Fresh oil protects moving parts and helps the engine run cooler and smoother.
Drain the old oil while the engine is warm, then replace the filter. Warming the engine first helps the oil flow out more completely.
Use the oil type and quantity your owner’s manual lists. Fit a new filter, and coat its rubber seal with a little fresh oil so it seats properly.
Check for leaks after you fill the engine and run it briefly. Recheck the oil level after a short ride and top off if needed.
PRO TIP
If you’re unsure, have a shop do the service or follow a step-by-step guide with photos to avoid mistakes.
4) Clean and lubricate the chain
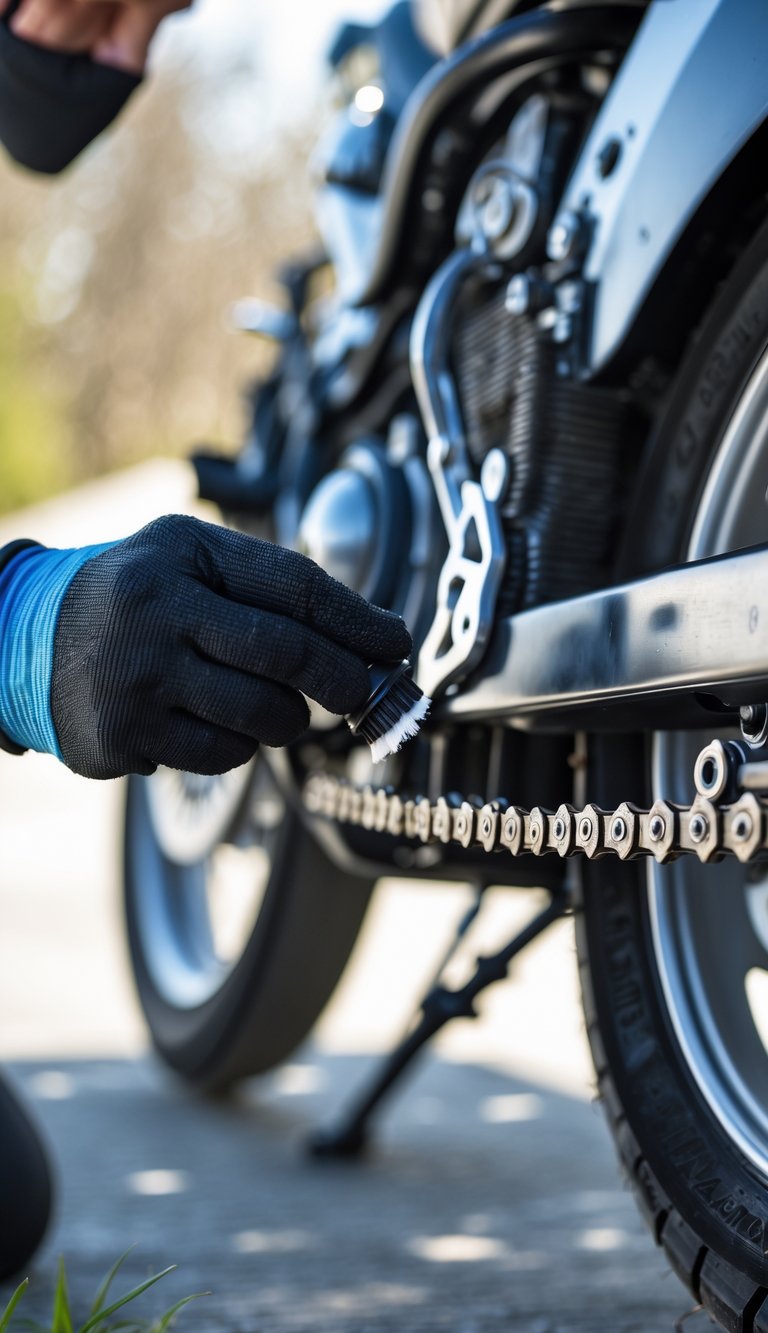
You should clean your chain before you lube it. Use a mild degreaser or a chain cleaner and a soft brush to remove grime, old lube, and road debris. Work the cleaner into the links and wipe away loosened dirt with a cloth.
After cleaning, let the chain dry fully. Spin the wheel to expose the whole chain and apply a motorcycle-specific chain lube evenly to the inner side of the chain while turning the wheel slowly.
Check for stiff links and wear while you work. Proper lubrication reduces wear and helps your bike run smoother between services.
PRO TIP
Apply lube after a short ride when the chain is warm. That helps the lubricant penetrate the links for better protection.
5) Test all lights and signals
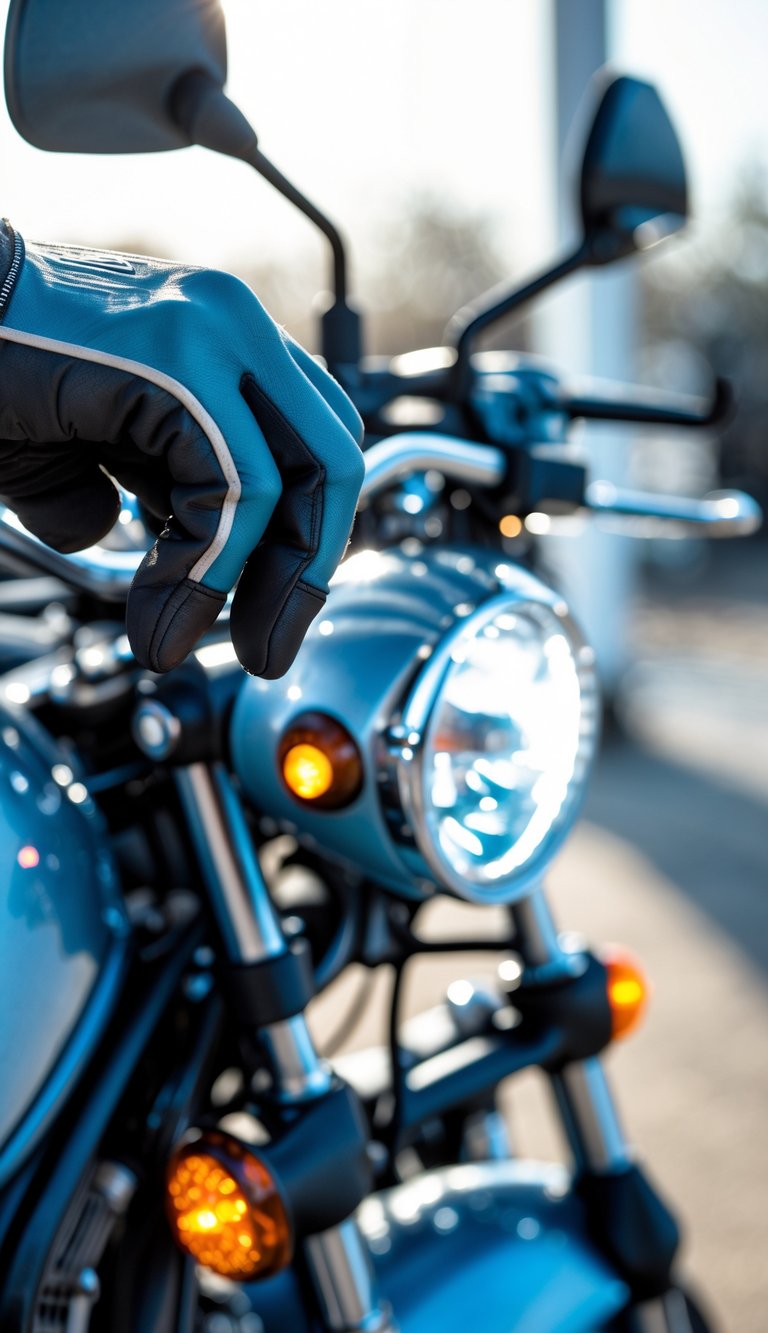
You should turn on your headlights, taillights, brake light, and both turn signals to make sure each works. Check high and low beams and watch for dim or flickering bulbs, which can mean a weak battery or poor connection.
Press the brake lever and pedal to confirm the brake light activates every time. Cycle the turn signals and watch the dashboard indicators so you know the flasher is working.
Look over wiring and connectors for frays, corrosion, or loose plugs. Replace bulbs or tighten sockets as needed, and clean contacts with electrical cleaner if they look dirty.
PRO TIP
Have a friend watch the bike while you operate controls, or park in front of a reflective surface so you can see rear lights alone.
6) Examine battery condition and terminals
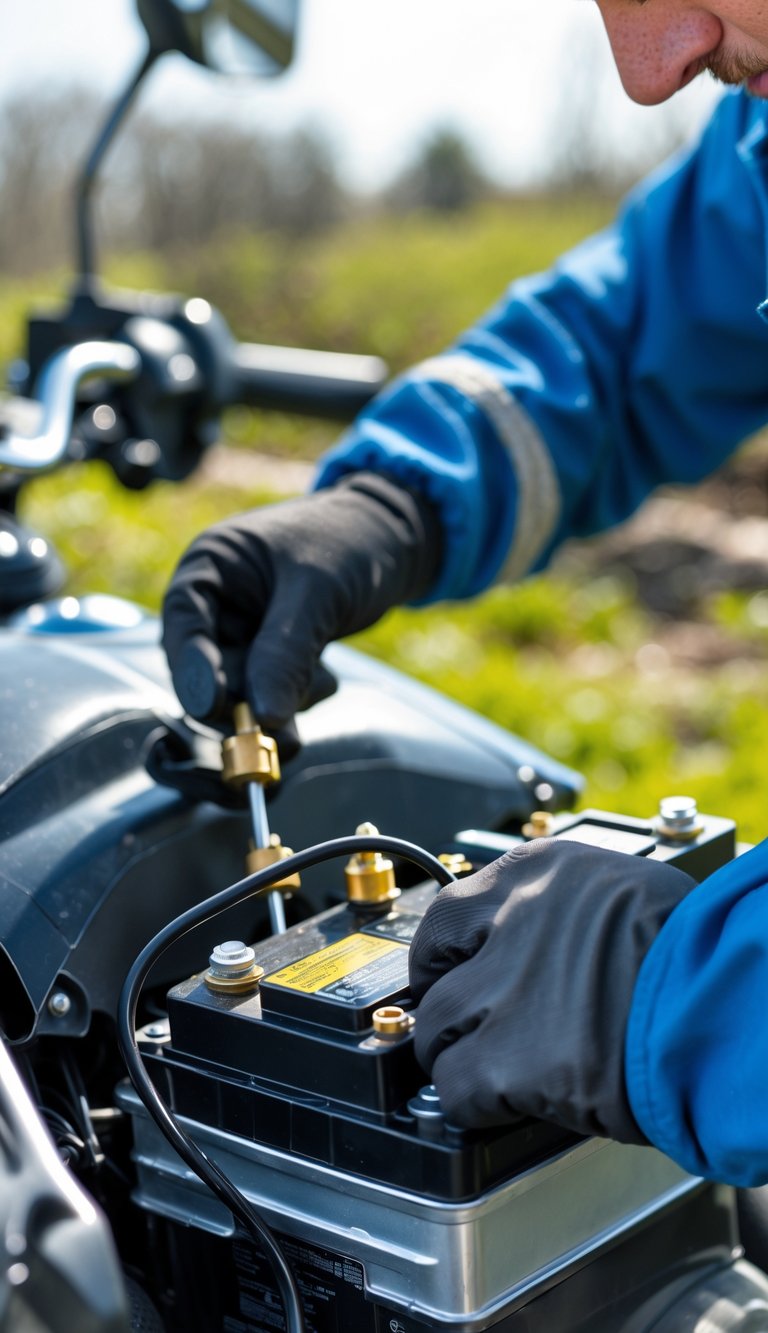
Check your battery first thing. Try starting the bike; if it struggles to turn over, the battery may need charging or replacement.
Look for corrosion on the terminals and cable ends. Corroded connections can stop the bike from starting even if the battery holds a charge.
Clean terminals with a wire brush and a mix of baking soda and water, then dry and tighten the clamps. Protect connections with a thin coat of dielectric grease to slow future corrosion.
If the battery is over three years old or fails a load test, plan to replace it. Keep a trickle charger on the battery during long storage to maintain life and reliability.
PRO TIP
Label battery install date and test voltage after charging so you know when it’s time to replace.
7) Top off coolant levels
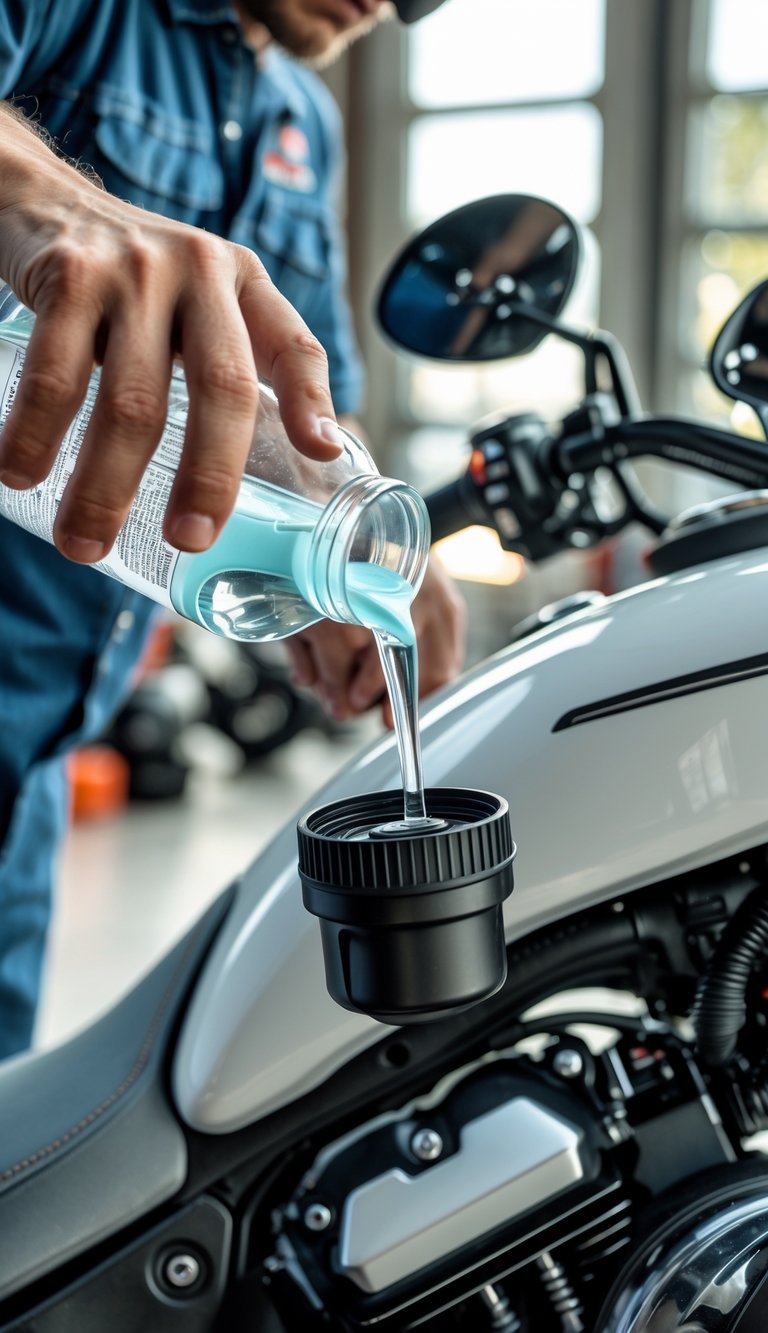
Check your coolant before you ride. A low coolant level can cause overheating and engine damage, especially after long idle periods during winter.
Look for the clear reservoir or radiator fill point and read the level when the engine is cold. If the level sits below the marked minimum, add the correct type of coolant for your bike.
Use a 50/50 mix of coolant and distilled water unless the manufacturer says otherwise. Never open a hot radiator cap; wait until the engine cools to avoid burns.
PRO TIP
Keep a small funnel and a spare bottle of the right coolant in your garage. That way you can top off quickly and avoid mixing different coolant types.
8) Check and adjust clutch cable
You should inspect the clutch cable for frays, rust, or kinks before you ride this spring. A damaged cable can snap or bind, making shifts hard and unsafe.
Check free play at the lever; most bikes need about 3–5 mm of slack. Too little slack can keep the clutch partially engaged, while too much makes shifting sloppy.
Lubricate the cable if it feels sticky. Use a proper cable lube or light oil and work the lever to move lube through the sheath.
Adjust the barrel or adjuster nuts at the lever until the free play is correct, then lock the nut. Recheck after a short ride and tweak if needed.
PRO TIP
If the cable shows heavy wear, replace it before the season. New cables save you from roadside failures.
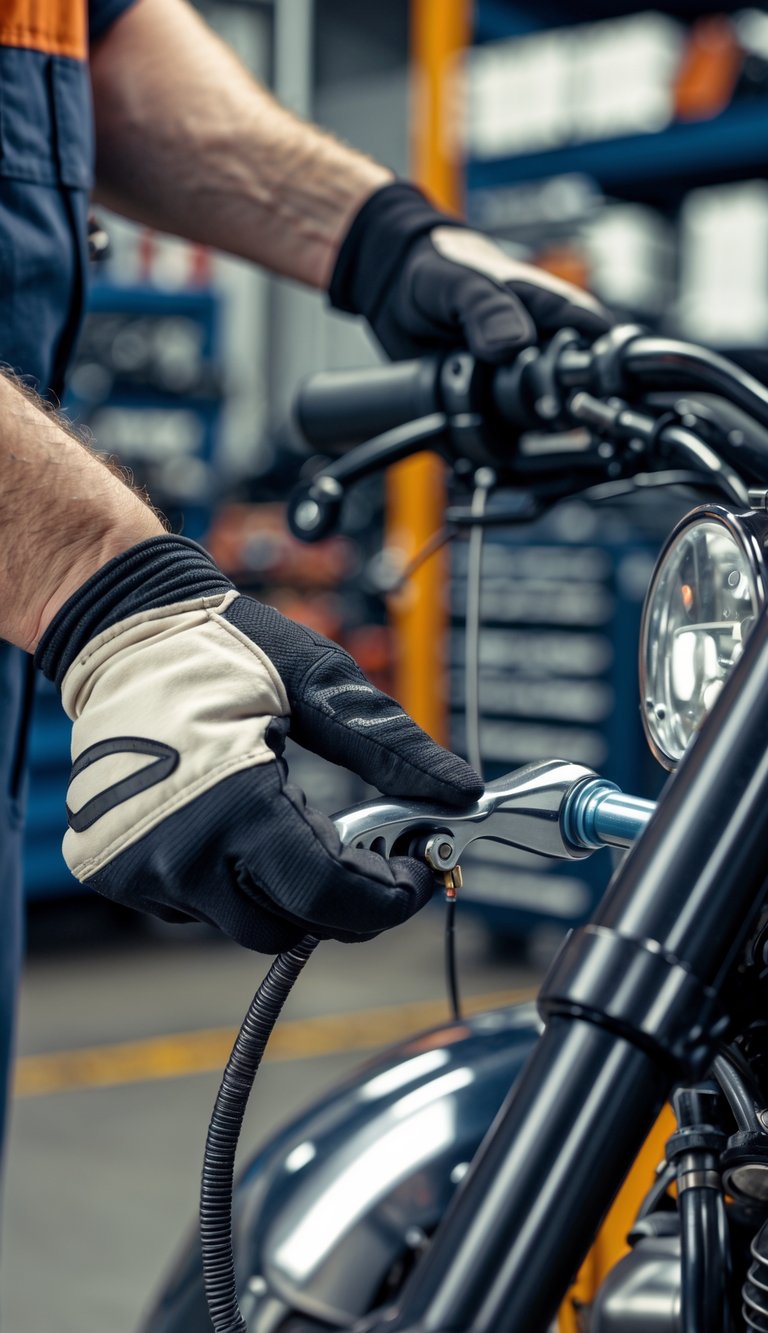
9) Inspect throttle response and smoothness
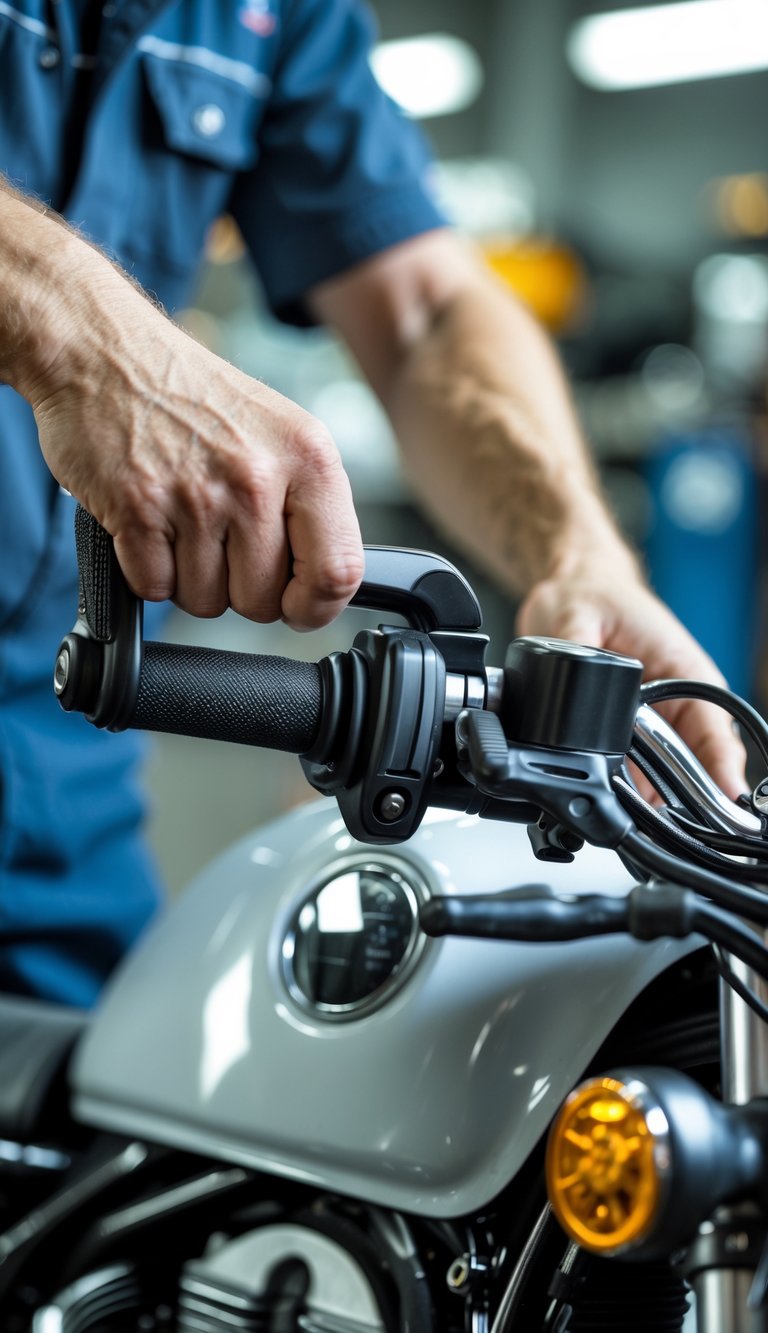
Check your throttle for a smooth pull and return while the engine is off. Twist the grip; it should move without sticking and snap back easily when released.
Start the bike and listen for hesitations when you blip the throttle. A lag, popping, or uneven revving can point to dirty carburetors, clogged injectors, or an out-of-tune idle.
Feel for any slack or tight spots in the cable if your bike uses one. Adjust free play to the manufacturer’s spec, and lubricate the housing if movement feels gritty.
If the throttle is electronic, watch for inconsistent response or warning lights. Have a mechanic scan for faults if software or sensors seem to cause the problem.
PRO TIP
Clean throttle bodies or carburetor jets before they cause larger issues. Small fixes now save you from stalls and poor acceleration on the road.
10) Clean air filter or replace if needed
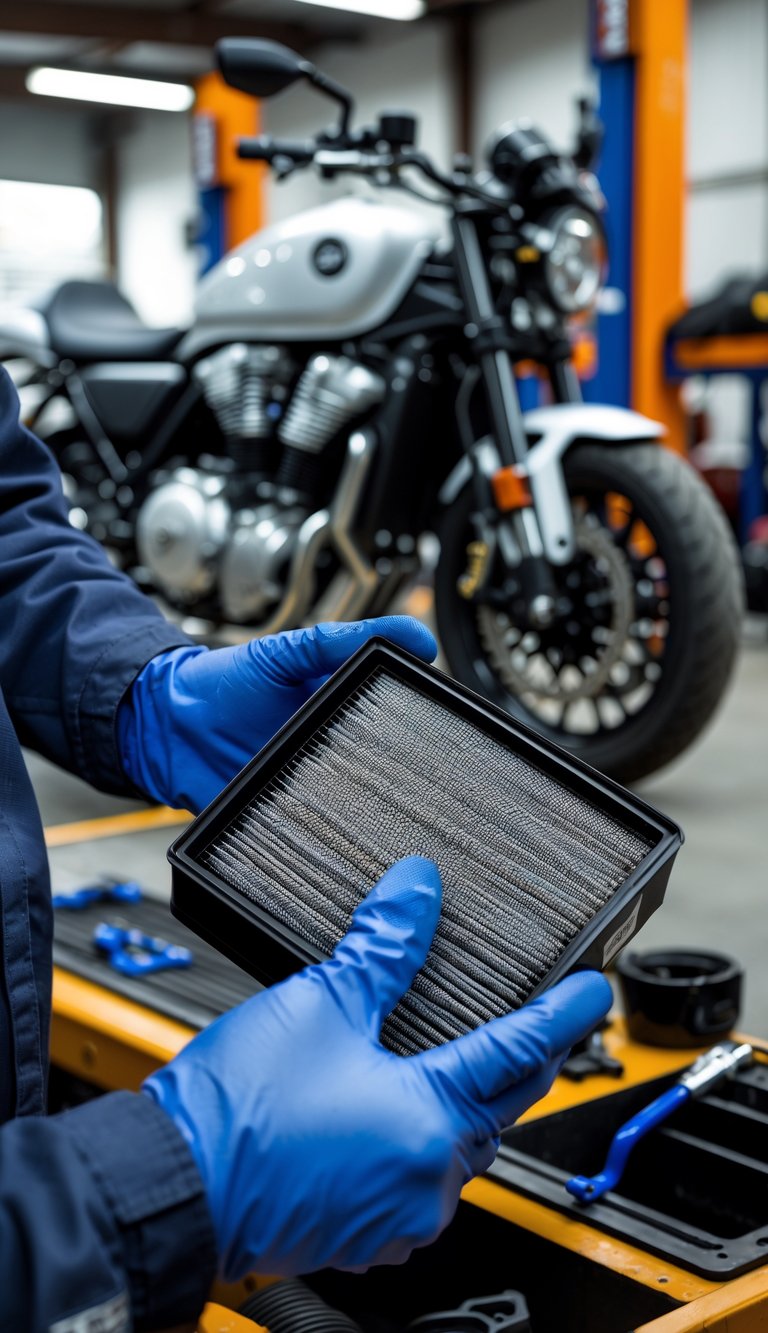
Check your air filter first. A dirty filter reduces airflow and hurts engine performance.
Remove the filter and hold it up to light. If light barely passes through, cleaning might not help and replacement is safer.
For foam filters, wash with mild soap, let dry, then apply filter oil evenly. Paper or disposable filters usually need replacement rather than cleaning.
Inspect for signs of pests or oil and fuel contamination. If you see holes, heavy debris, or grease, swap the filter for a new one.
PRO TIP
Keep a spare filter on hand so you can replace it quickly before a ride. Regular checks make your bike run smoother and last longer.
11) Tighten all bolts and fasteners
Give your bike a slow, steady pass with the right tools. Vibration and temperature changes can loosen things that matter, like handlebars, exhaust mounts, footpegs, and mirrors.
Work bolts in stages when parts have multiple fasteners. Tighten each fastener a little, then go back and finish to help parts line up and avoid warping.
Use a torque wrench where the manual lists values. Too-tight bolts can strip threads or bend parts, and too-loose bolts can fall out while riding.
Check for missing thread locker or signs of corrosion. Replace damaged fasteners and reapply thread locker as the shop manual recommends.
PRO TIP
Mark key bolts with a dab of paint or a marker so you can spot movement quickly on future checks.
12) Grease pivot points and bearings
You should grease pivot points and bearings to keep moving parts quiet and smooth. Common spots include brake and clutch lever pivots, foot pegs, shifter links, sidestand, swingarm pivots, and suspension linkages.
Inspect each point for dirt, rust, or worn seals before greasing. Clean the Zerk fitting or pivot area so you don’t push grit into the bearing. Use the correct grease type—chassis or high-speed grease for pivots and wheel bearings as recommended by your manual.
If a pivot has no grease fitting, it may be a sealed unit and needs little routine service. Check wheel bearings and axles at every tire change and replace any that show play or roughness.
PRO TIP
Grease after a ride that included water or heavy dust, and wipe fittings clean before attaching the grease gun.
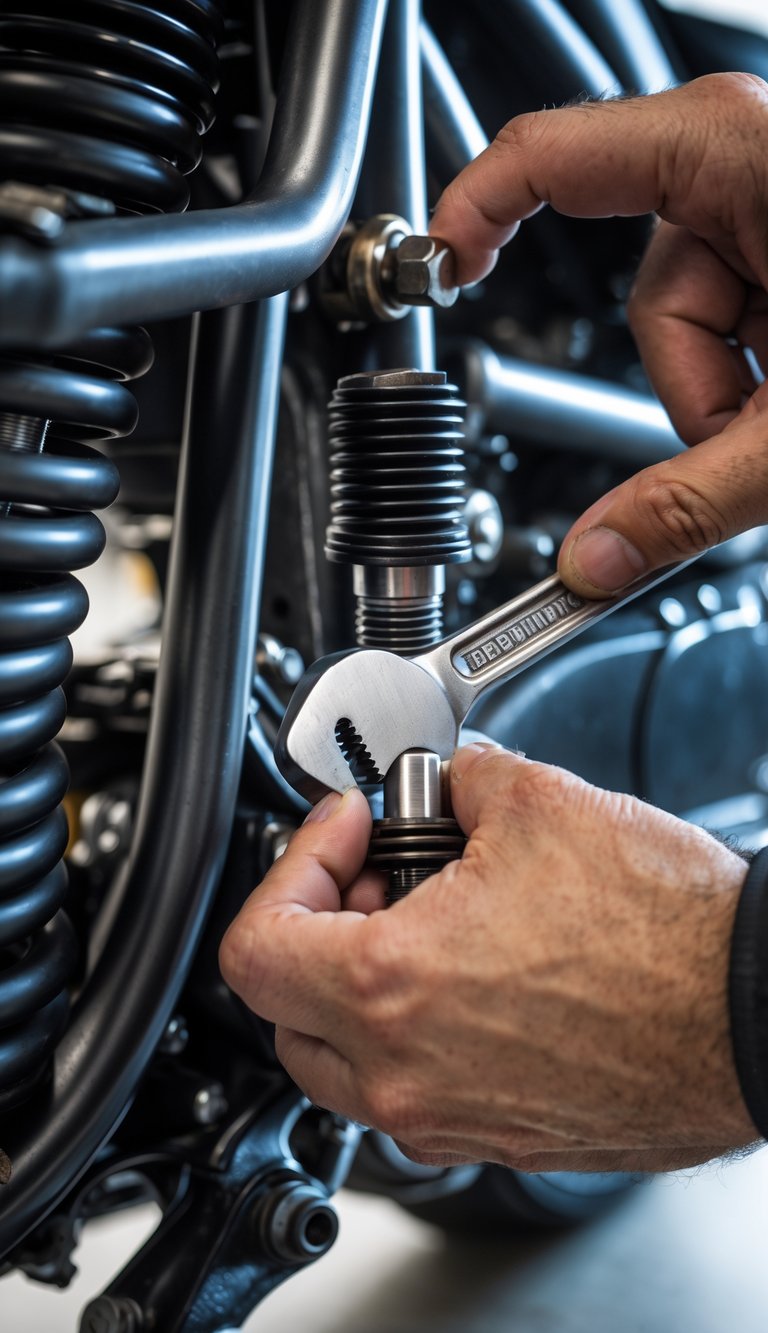
13) Inspect suspension for leaks or damage
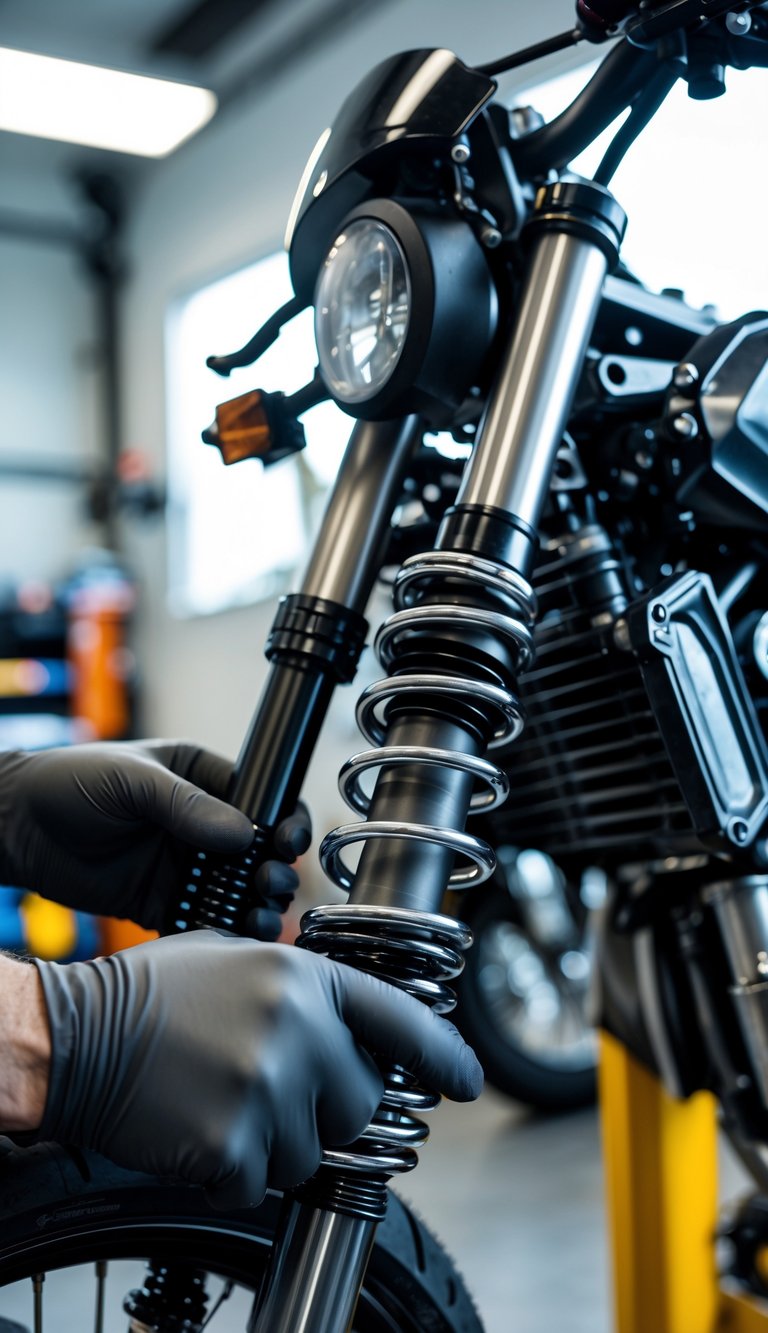
Check your forks and shocks for oil leaks and damp spots. Leaking oil means seals are failing and the suspension won’t work properly.
Look for scratches, dents, or bent parts on fork tubes and shock bodies. Even small damage can let dirt in and cause bigger problems later.
Push down on the bike to test rebound and compression. It should feel smooth and controlled; harsh or spongy motion signals wear.
Wipe components clean before inspecting to see issues clearly. If you find leaks, damaged seals, or bent parts, have a mechanic repair or replace them promptly.
PRO TIP
Place the bike on a stand and cycle the suspension while watching for oil trails. This makes leaks easier to spot.
14) Clean and polish the bike frame
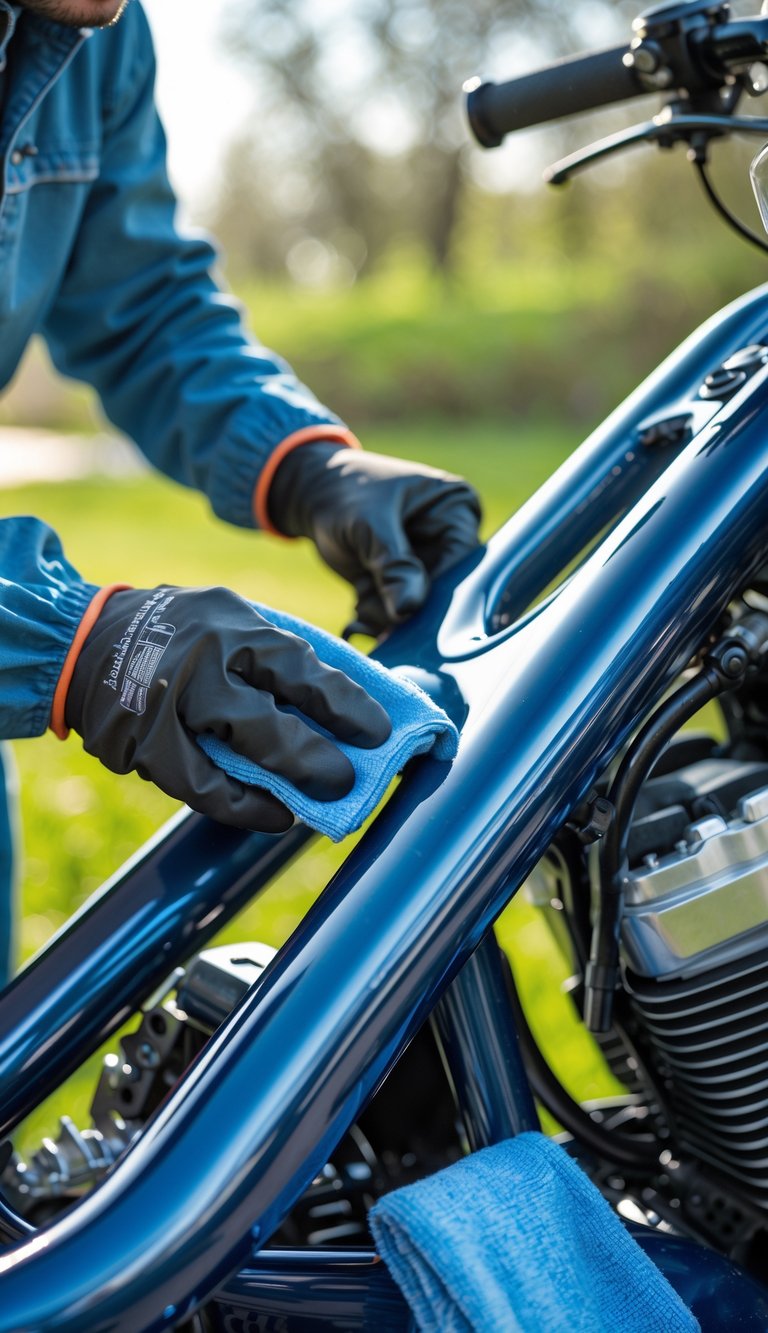
You should start by rinsing the frame to remove loose dirt and grime. Use a mild detergent or a motorcycle-specific cleaner so paint and coatings stay safe.
Work in small sections and dry each area with a clean microfiber cloth. This stops water spots and helps you spot scratches or chips that need touch-up.
For stubborn grease or tar, use a targeted cleaner and a soft brush. Avoid harsh solvents that can damage paint or decals.
Polish with a product made for your finish—wax for painted surfaces, metal polish for bare metal. Buff gently until the frame looks even and protected.
PRO TIP
Keep a soft toothbrush in your kit for tight spots. A little polish goes a long way when you maintain it regularly.
15) Check tire alignment and balance
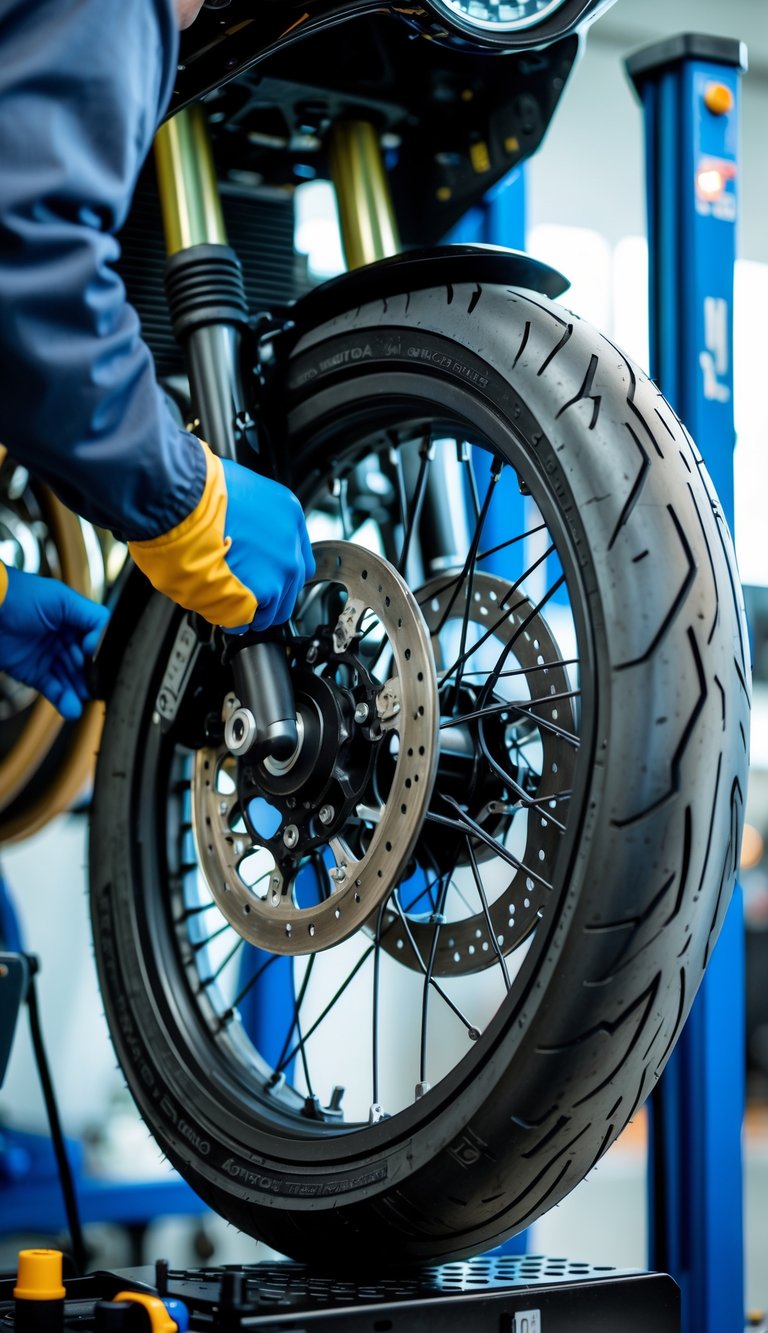
You should inspect wheel alignment and tire balance before your first spring ride. Misaligned wheels or unbalanced tires cause vibration, uneven wear, and harder handling.
Roll the bike straight and look for wobble or pull to one side. Small pulls can mean alignment is off; vibration at certain speeds often means a balance issue.
Have a shop check dynamic balance with a machine if you feel vibration at speed. You can use stick-on weights or have the shop install internal weights for a long-term fix.
Also check tire wear patterns and valve stems while you’re there. Worn edges or cupping point to alignment problems that need correction.
PRO TIP
Mark a small line on each tire and rim before spinning on a stand to spot erratic movement.
16) Inspect fuel lines for cracks or leaks
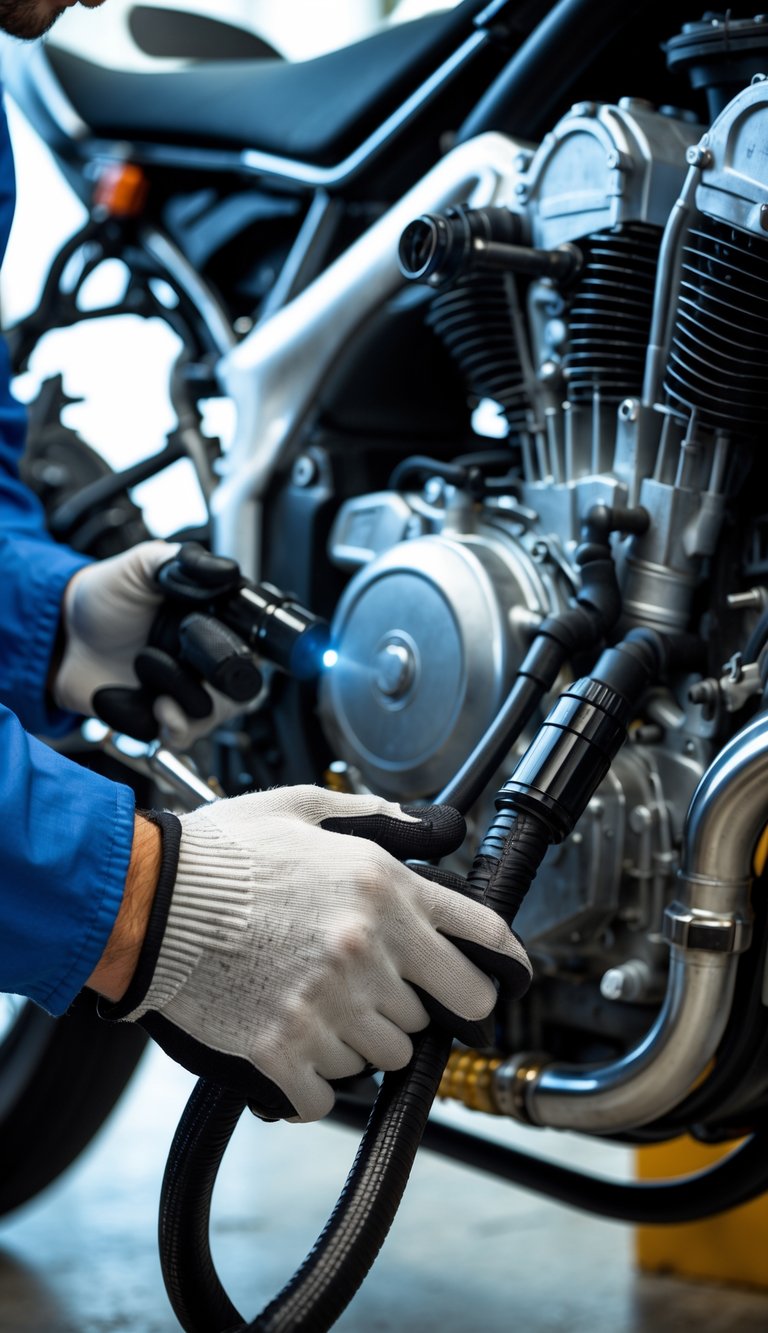
Check your fuel lines every spring before you ride. Look along the full length of each hose for cracks, soft spots, bulges, or oily stains that show leaks.
Squeeze gently at several points to feel for hardening or brittleness. Pay close attention to connections at the tank, filter, and carburetor or injector; clamps can loosen with temperature changes.
If you see any damage or smell fuel, replace the line and clamps right away. Use the correct diameter and rated fuel hose for your bike to avoid failures.
PRO TIP
Keep a small roll of hose and spare clamps in your tool kit. That lets you fix a leak roadside and get home safely.
17) Test horn and electrical connections
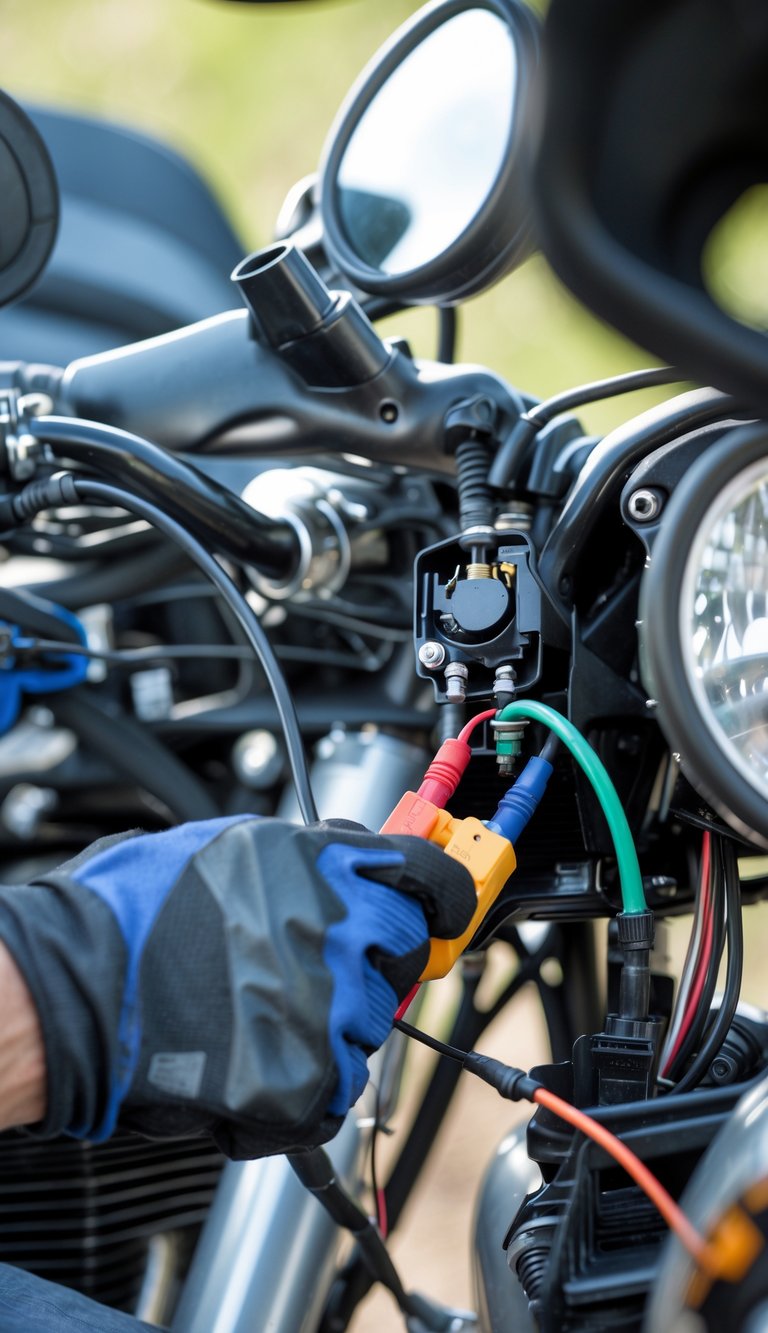
Check the horn first by pressing the button with the bike on and the kill switch set to run. If you hear nothing, look at the horn fuse and the wiring for loose or corroded connections.
Disconnect the horn and apply 12V from the battery briefly to see if it sounds. This isolates the horn from switches and relays so you know if the unit itself is bad.
Inspect wiring for cracked insulation, frayed ends, or greenish corrosion at connectors. Tighten ground and positive terminals, and clean contacts with a contact cleaner if needed.
PRO TIP
If the horn works only when directly powered, replace the relay or switch and recheck the fuse. Use a multimeter to trace voltage to the horn while pressing the button to find where the circuit fails.
18) Adjust mirrors for optimal visibility
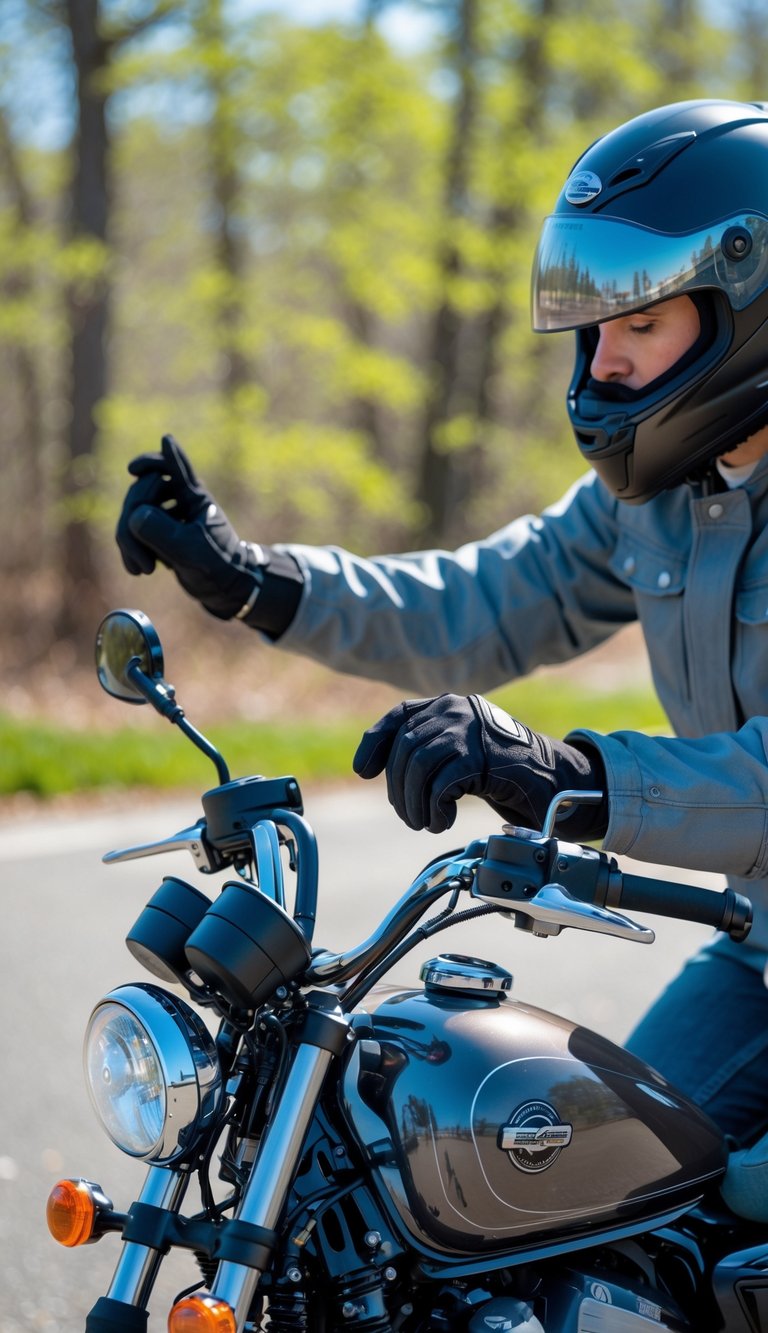
Sit on your bike in your normal riding position before you touch the mirrors. Lean how you normally lean, keep both hands on the grips, and look straight ahead.
Adjust each mirror so you see a small part of your shoulder and the lane behind you. Aim to reduce blind spots; you should see the lanes next to you without having to move your head too far.
Tighten mirror mounts so they hold their position but can still be nudged while riding if needed. Check again after a short ride and make fine changes for road vibration.
PRO TIP
Mark mirror positions with a small piece of tape or a dab of paint. That makes it quick to return to the same setting after cleaning or maintenance.
19) Flush brake fluid if it’s over a year old
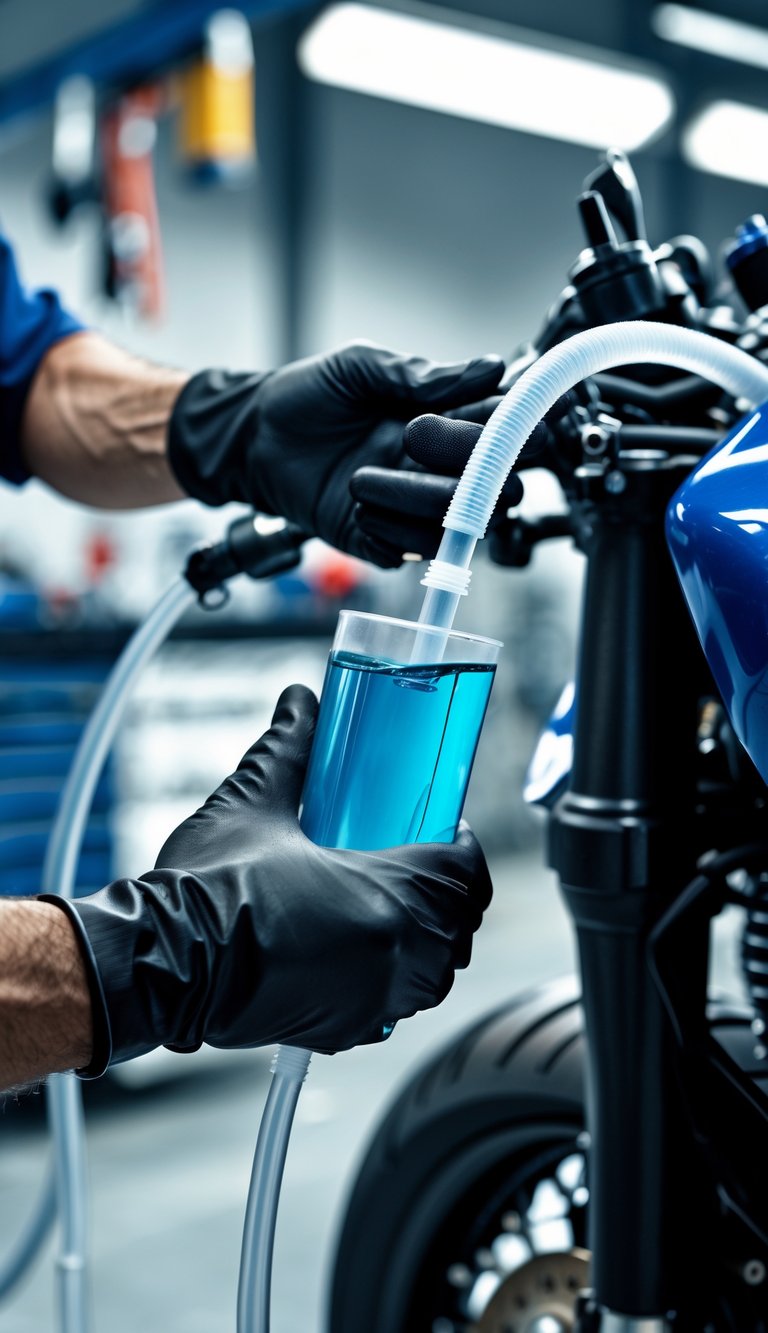
Brake fluid absorbs moisture over time, which lowers its boiling point and can reduce braking power. If your fluid is more than a year old, plan to flush it to keep brakes responsive and safe.
Flushing replaces old, contaminated fluid and helps prevent corrosion inside brake lines and calipers. You can do this yourself with the right tools, but follow the manufacturer’s DOT rating and safety steps.
Wear gloves and eye protection, and avoid spilling fluid on painted surfaces. If you’re unsure or the system has air or leaks, have a mechanic bleed the brakes for you.
PRO TIP
Mark the date on the reservoir after a flush and check it yearly so you don’t forget.


")
