Last Updated on March 21, 2026
You want your boat ready for downtime and the next season without extra work or surprise repairs. This article shows practical steps you can take at the end of summer to protect your hull, engine, electronics, fabrics, and safety gear so you save time and money later.
Follow straightforward cleaning and care actions now to prevent damage, reduce repair costs, and keep your boat in top shape for next season.
You’ll find clear, easy-to-follow tips that cover everything from washing and drying compartments to treating metal, changing fluids, and storing batteries and electronics safely. Use these checks and simple tasks to make end-of-season work quick and effective so your boat stays reliable and ready.
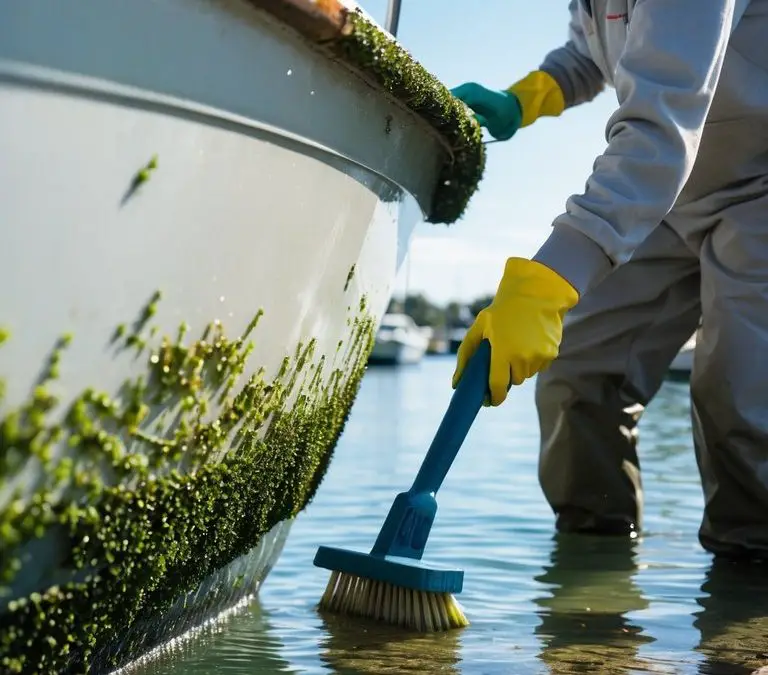
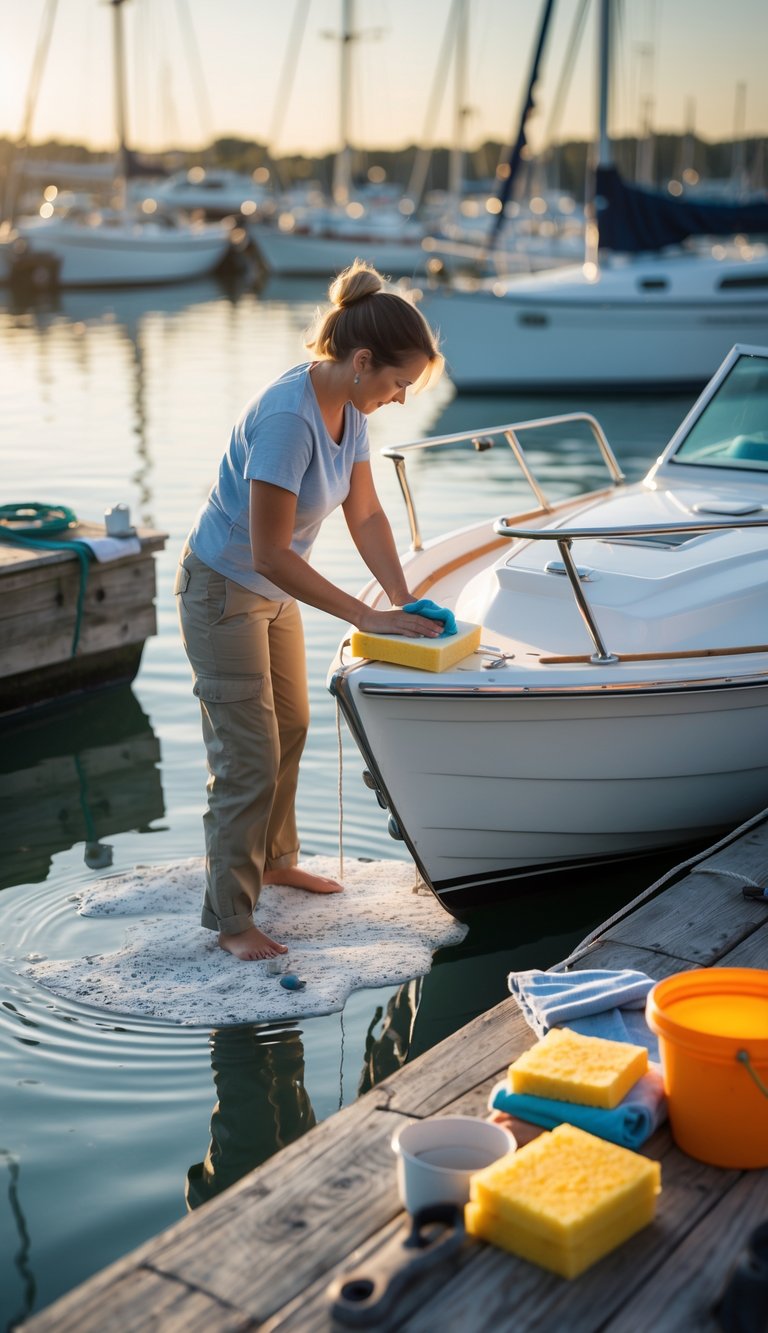
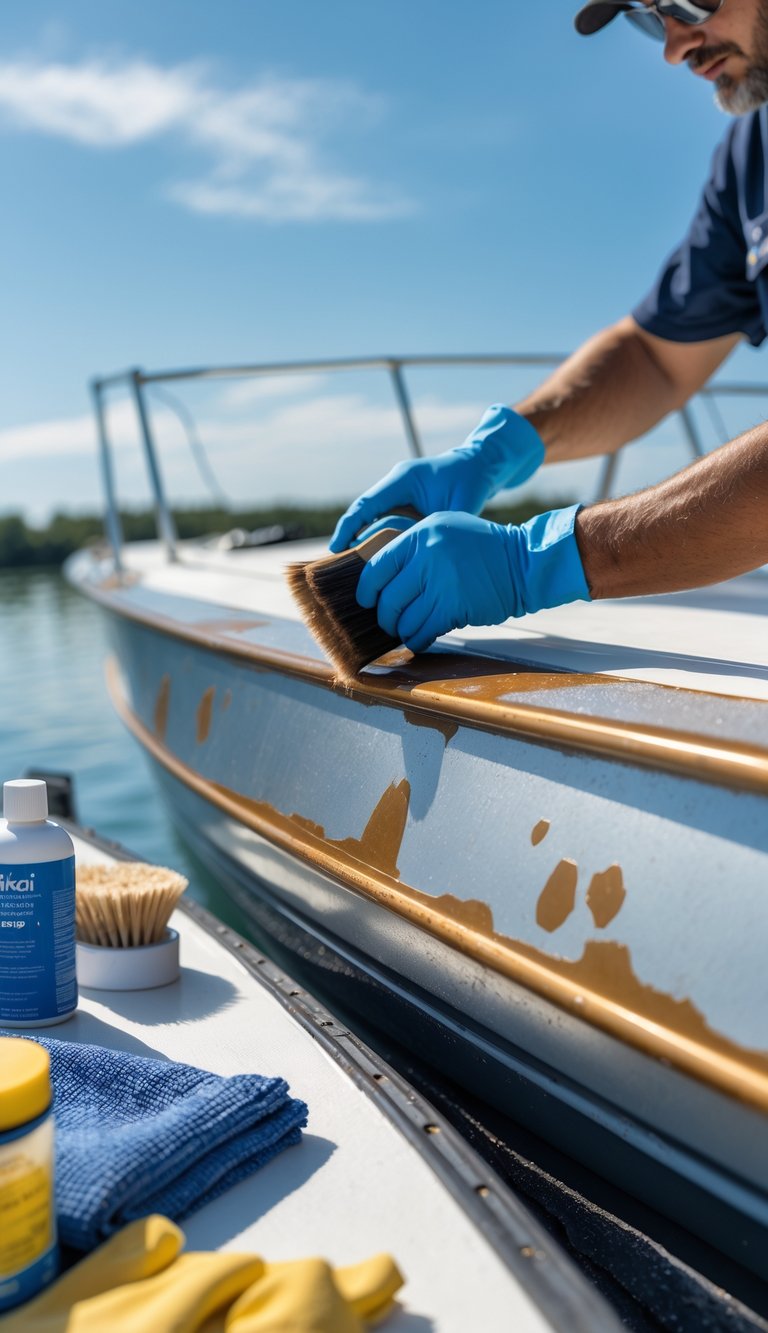
1) Clean the hull thoroughly to remove algae and barnacles
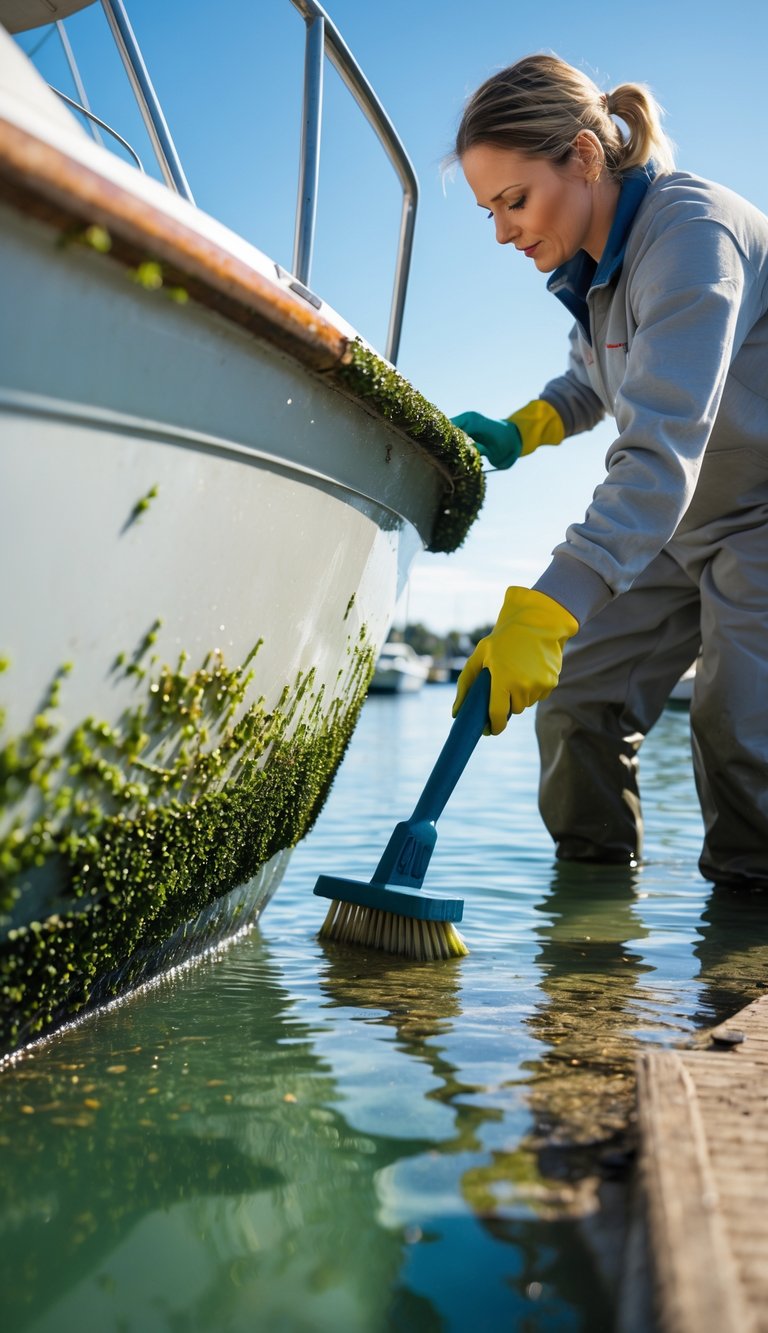
You should start by removing visible growth with a stiff brush or a plastic scraper. Work from the waterline down and take care around fittings and through-hull hardware.
Use a mild boat-safe cleaner for light stains and a tougher marine hull cleaner for stubborn spots. Rinse often to avoid smearing grime back onto the gelcoat.
For barnacles, gently chip them off with a plastic or wooden tool to avoid scratching. If the hull is heavily fouled, consider hauling out so you can inspect and clean the entire surface safely.
PRO TIP
Keep a small supply of scrapers and brushes on board for quick cleanups. Regular quick scrubs prevent heavy buildup and save you time later.
2) Drain and flush the freshwater system to prevent mold

Empty the tank and open all faucets to drain lines. Standing water breeds bacteria and mold, so remove as much water as you can.
Flush the system with fresh water, then use a mild disinfectant or boat-safe sanitizer. Run it through each faucet, shower, and the water heater to reach every section.
Rinse thoroughly until the water runs clear and the disinfectant smell fades. Don’t forget low points like pumps, sumps, and shower pans where water hides.
PRO TIP
Leave vents and tank access panels open to air out the system while the boat dries. A fan or desiccant in the bilge speeds drying and keeps mold from returning.
3) Inspect and clean the bilge area for dirt and moisture
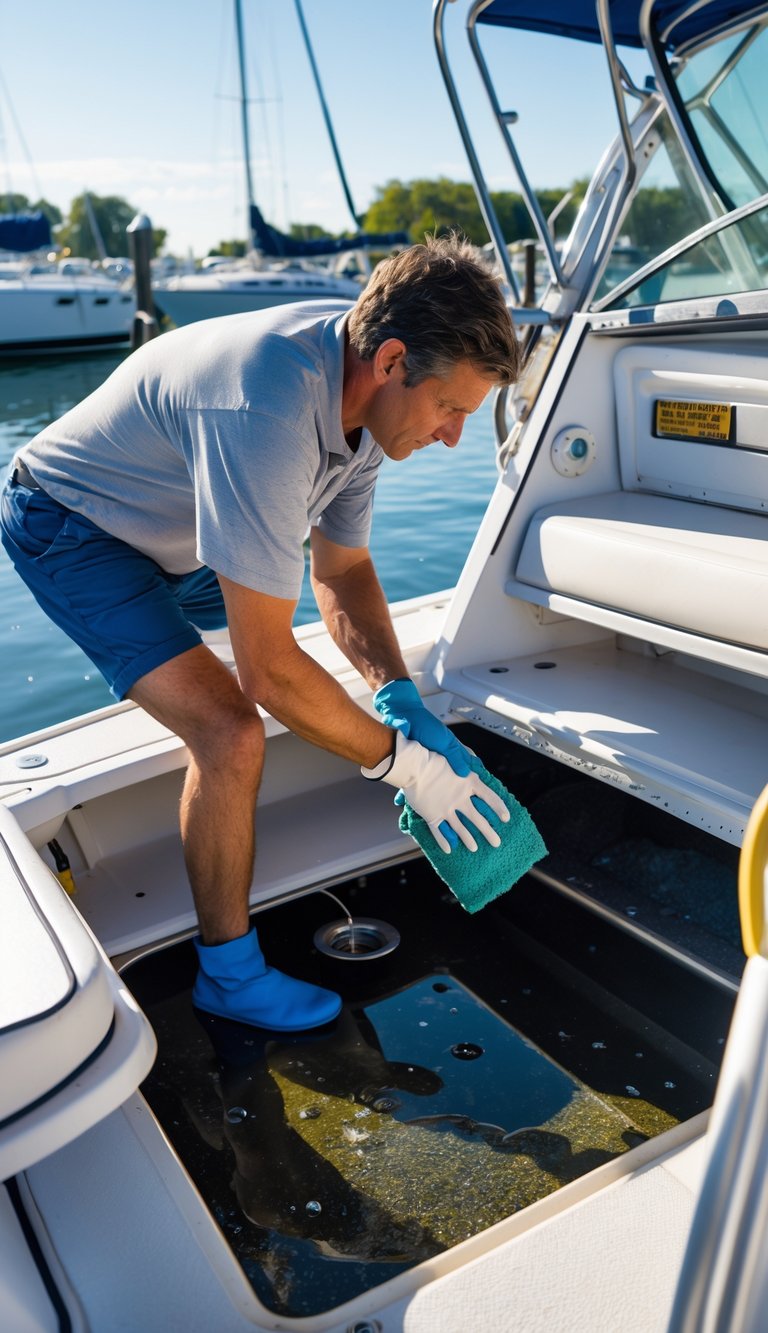
Check the bilge for leaves, trash, and oil after your last trip. Remove solid debris by hand or with a wet/dry vac so the pump can work without clogs.
Look for standing water and feel for damp spots that signal leaks or condensation. Run the bilge pump briefly and watch how fast it clears water.
Rinse the pump housing and strainer with fresh water or a mild vinegar solution to remove slime and mildew. Use a brush or old toothbrush to scrub tight areas and the pump base.
Dry the bilge with rags or a shop vacuum and leave hatches open to air it out. Regular checks will prevent odors and costly repairs.
PRO TIP
Mark a maintenance date in your log and inspect the bilge at least monthly during wet seasons.
4) Wash and protect upholstery with a marine-safe cleaner
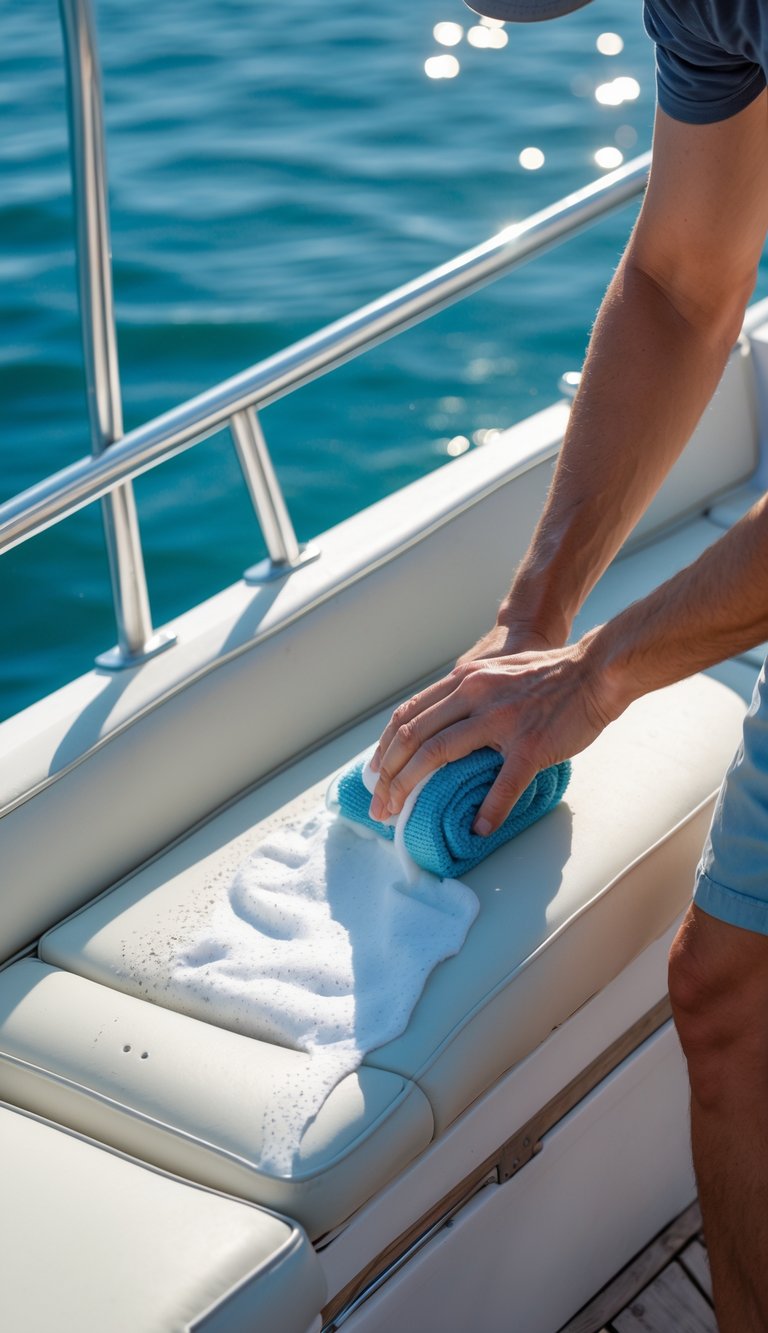
You should start by removing loose dirt with a soft brush or vacuum. This makes cleaning easier and reduces the chance of rubbing grit into the fabric.
Use a marine-safe cleaner made for vinyl or fabric to avoid damage. Apply it with a soft cloth or brush, scrub gently, then rinse thoroughly with fresh water.
Dry seats completely to prevent mildew. Wipe excess water, then let the upholstery air dry in shade to avoid sun fading.
After cleaning, apply a UV protectant or conditioner made for marine materials. This helps repel stains, slows cracking, and keeps your seats looking good longer.
PRO TIP
Test any product on a hidden spot first to check for color change or damage.
5) Check all safety gear and replace expired items
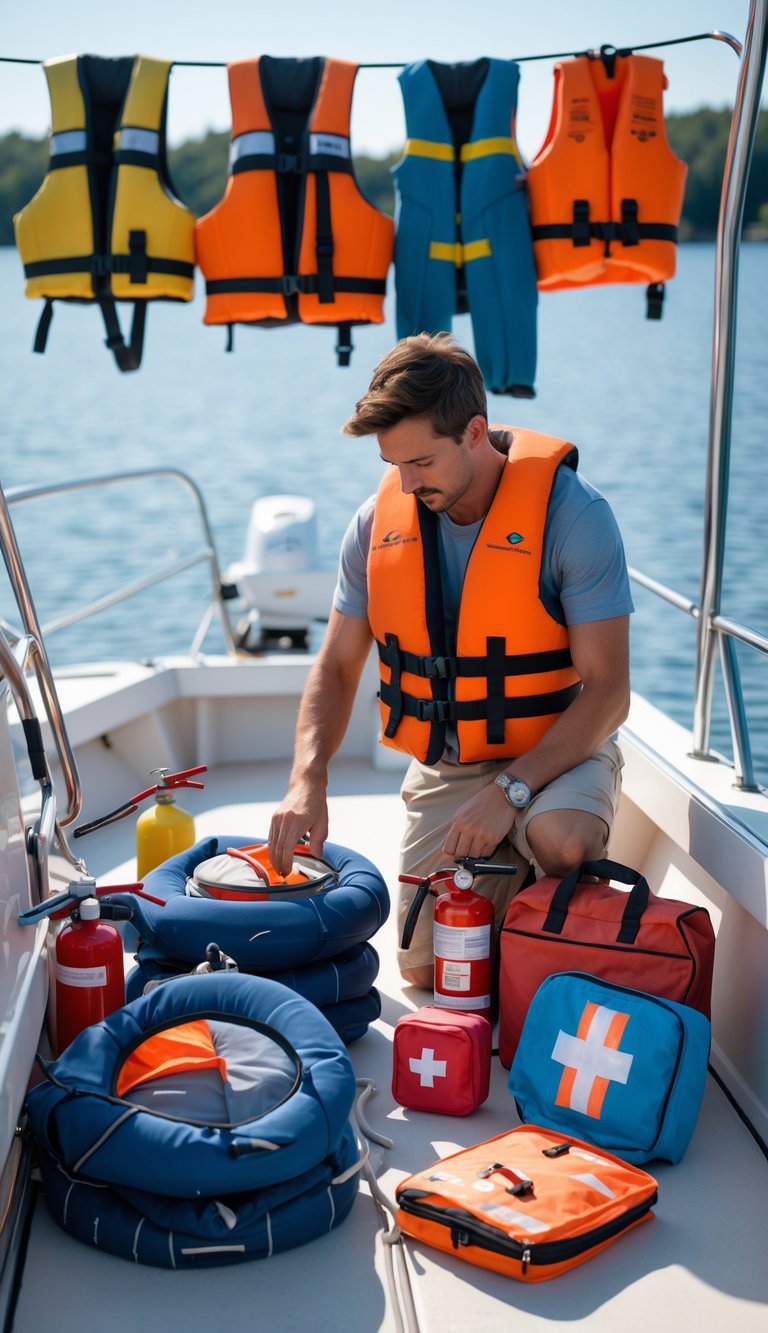
You should go through every piece of safety gear before storing the boat. Inspect life jackets, throwables, fire extinguishers, flares, and first-aid kits for damage, wear, and expiration dates.
Replace any item past its expiration or showing damage. Small faults can make safety gear fail when you need it most, so swap out worn straps, cracked plastic, or old batteries.
Test electronic gear like VHF radios, EPIRBs, and handheld lights. Charge or remove batteries, and note replacement dates so you don’t forget them next season.
PRO TIP
Keep a checklist in your glove box or boat log with buy dates and next-replace dates. That makes seasonal checks quick and reliable.
6) Lubricate steering and throttle cables
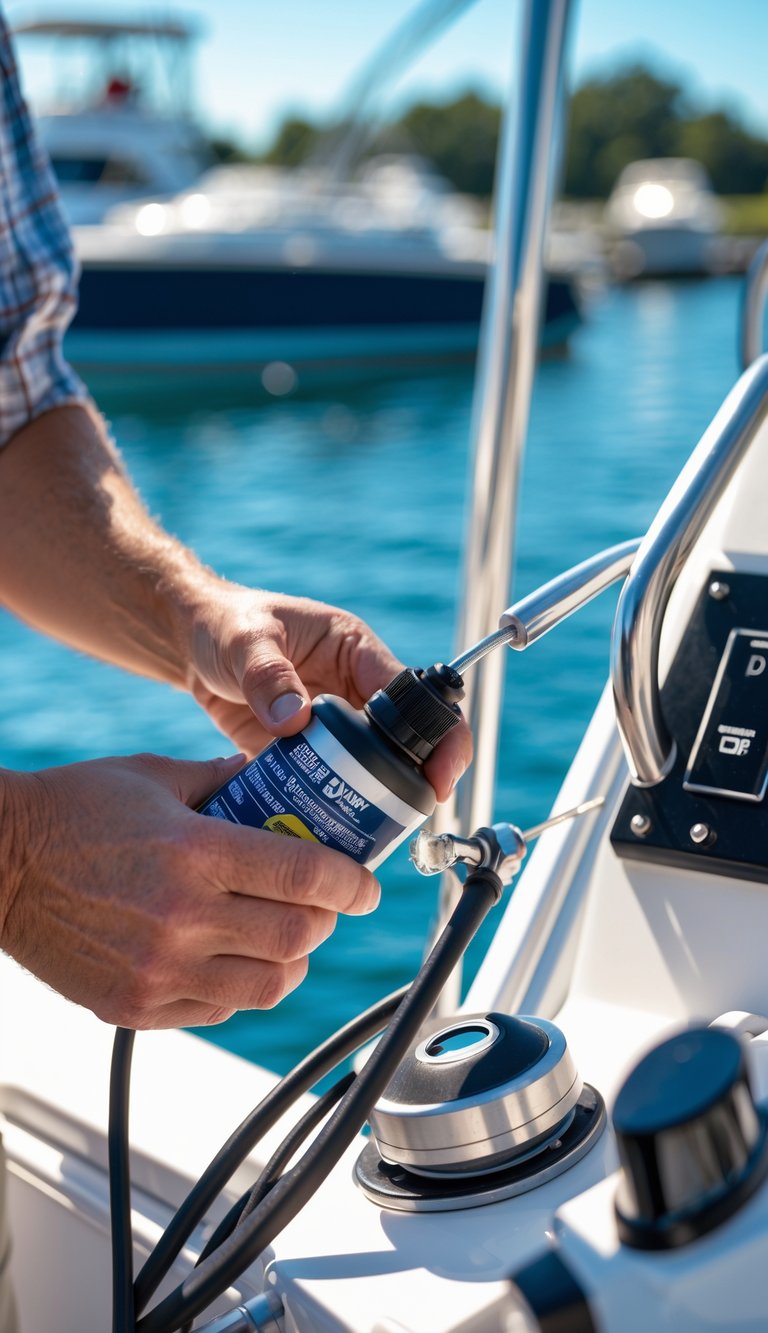
Keep your steering and throttle cables moving smoothly to avoid stiff or sticky response. Pull the wheel and move the throttle back and forth while you work to expose sections of the cable that sit inside the housing.
Use a marine-safe lubricant made for control cables or white lithium grease where metal-on-metal contact occurs. Apply through any accessible zerk fittings, or inject lubricant into the cable housing at the engine end if the cable design allows it.
Wipe away old grease, salt, and grime before lubricating to prevent grit from grinding into moving parts. Check for frays, kinks, or corrosion and replace cables that show significant wear.
PRO TIP
If cables are hard to access or removal is difficult, consider replacing them instead of just lubing. Regular lubrication every season or after heavy saltwater use extends cable life and keeps your controls responsive.
7) Inspect and clean the propeller and shaft
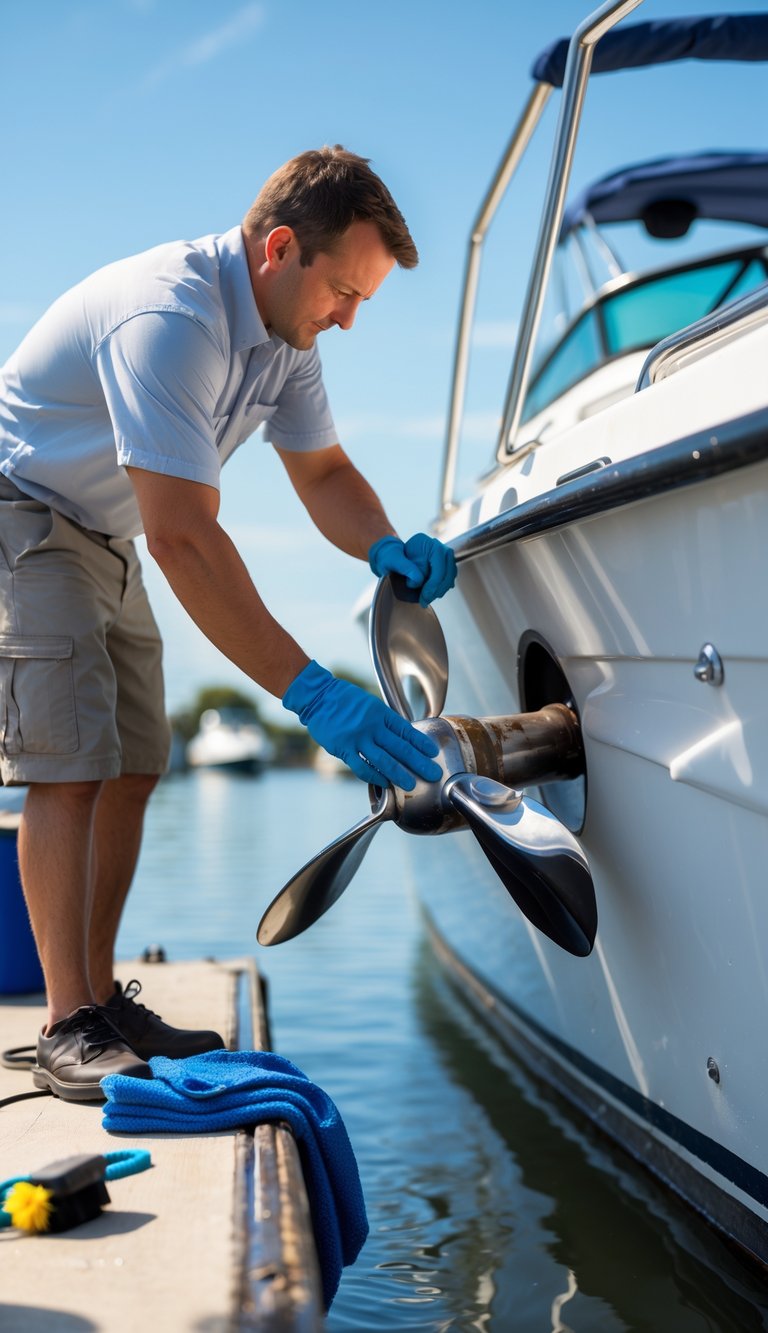
Check your propeller every time you haul the boat. Look for dings, bends, corrosion, and fishing line wrapped around the shaft.
Remove the prop safely before a deeper clean. This lets you inspect the shaft, seals, and splines for wear and damage.
Scrub the prop with a soft brush and mild detergent to remove growth and deposits. Use a plastic scraper for stubborn barnacles and avoid steel tools that can nick the metal.
Grease the prop shaft and replace the cotter pin or lock tab when you reinstall the prop. Proper lubrication and a tight fit help prevent water intrusion and loss of the prop.
PRO TIP
If you find deep damage or vibration, take the prop to a shop for professional repair or balancing.
8) Treat and cover exposed metal to prevent corrosion
Salt and moisture eat away at metal over time. Rinse exposed metal with fresh water after each trip, then dry it to slow corrosion.
Use anti-corrosion sprays, marine-grade wax, or a clear protective coating on fittings and hardware. These products block salt and moisture and make future cleaning easier.
Check for pitting or flaking paint on metal parts. Sand lightly and recoat any bare spots to stop corrosion from spreading.
Cover propellers, trim tabs, and other underwater metal when you store the boat. A tight cover keeps salt air and humidity off vulnerable areas.
PRO TIP
Apply a thin film of corrosion inhibitor to dissimilar metals where they meet, like aluminum next to stainless steel, to reduce galvanic corrosion.
9) Change engine oil and replace oil filters
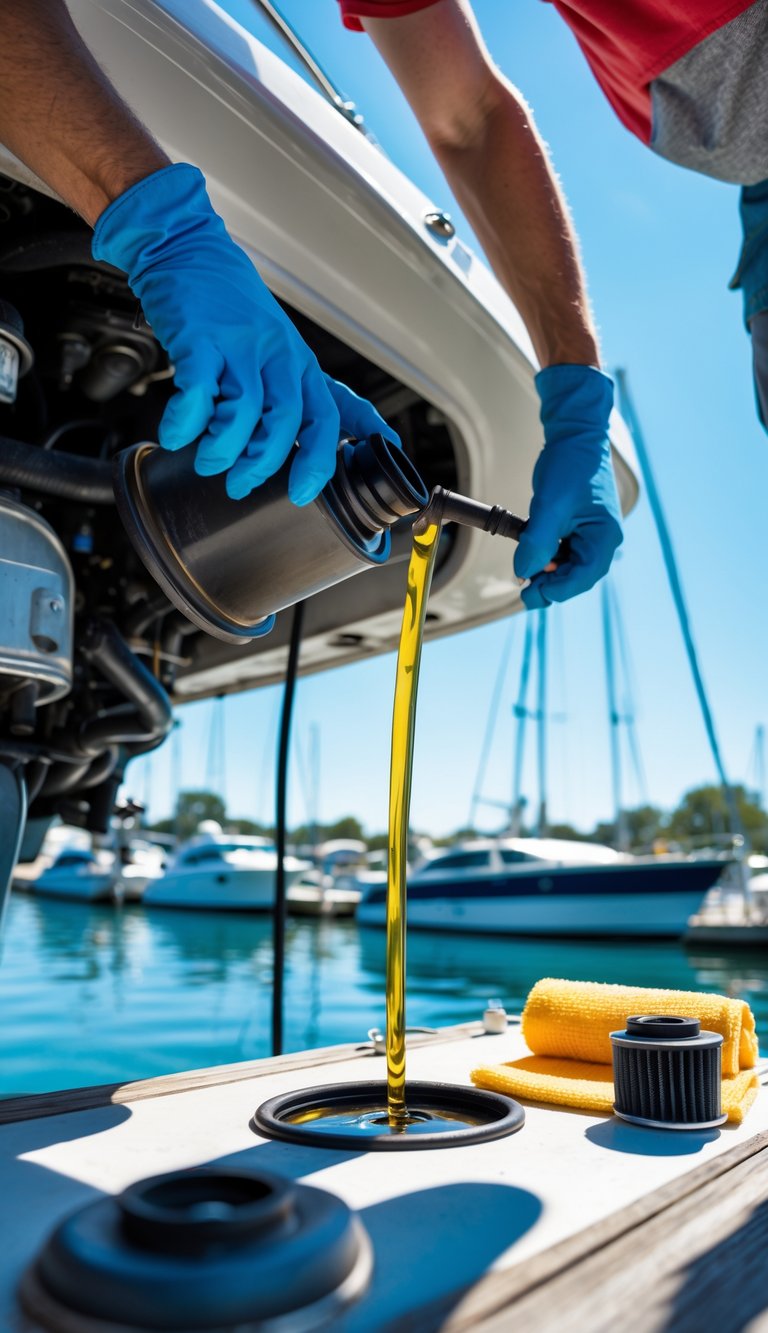
You should change your boat’s engine oil before winter storage or at the end of the season. Fresh oil protects internal parts and removes contaminants that build up during summer use.
Drain the old oil while the engine is warm to help it flow out faster. Replace the oil filter at the same time so the new oil stays clean longer.
Use the oil type and capacity the manufacturer recommends. Dispose of used oil and filters at a proper recycling center; never dump them overboard or in regular trash.
PRO TIP
Use an oil extractor pump if access under the engine is tight. It keeps the bilge clean and makes the job faster.
10) Disconnect batteries and store them in a cool, dry place

Before you put the boat away, disconnect the batteries to prevent parasitic drain and reduce fire risk. Leave terminals clean and dry, and cover them to avoid accidental shorts.
Charge batteries to the level your manufacturer recommends, usually around 50–80% for long-term storage. Put them on a maintenance charger if you plan to keep them on the boat.
Store batteries in a cool, dry spot away from direct sunlight and heat sources. Keep them off bare concrete and away from metal objects, and out of reach of children or pets.
PRO TIP
Label each battery and note its charge level. That makes it easier to rotate, test, and reconnect them next season.
11) Add fuel stabilizer to the gas tank
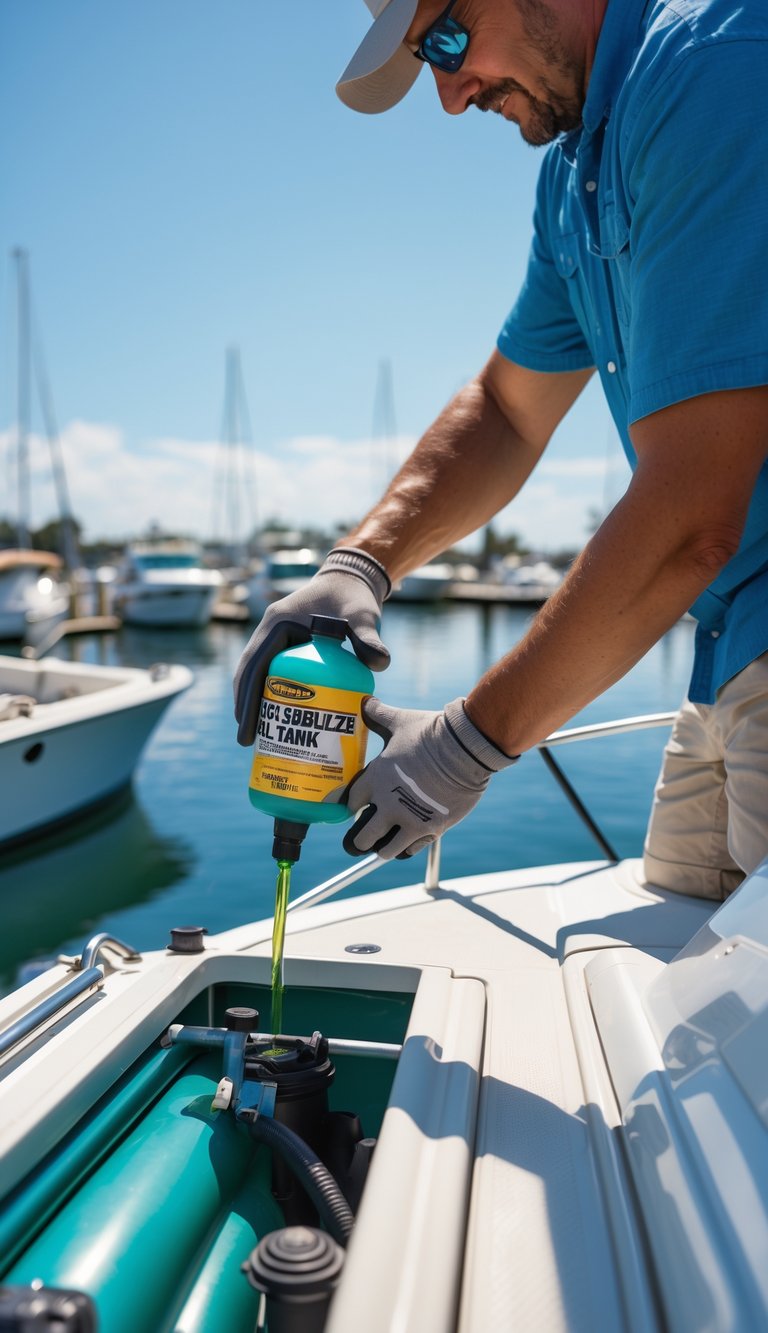
Add fuel stabilizer when you plan to store your boat for 30 days or more. Pour the correct amount into a full tank so the mix stays consistent and the stabilizer can protect all the fuel.
Run the engine for five to ten minutes after adding stabilizer so it circulates through the fuel lines and injectors. This helps prevent varnish, gumming, and corrosion in the whole system.
Use a marine-grade stabilizer formulated for ethanol fuels if that’s what you use. Follow the product directions and measure carefully to avoid over- or under-treatment.
PRO TIP
If possible, add stabilizer at the fuel dock right after filling up. Fresh fuel plus stabilizer gives the best protection during storage.
12) Flush the engine cooling system with freshwater
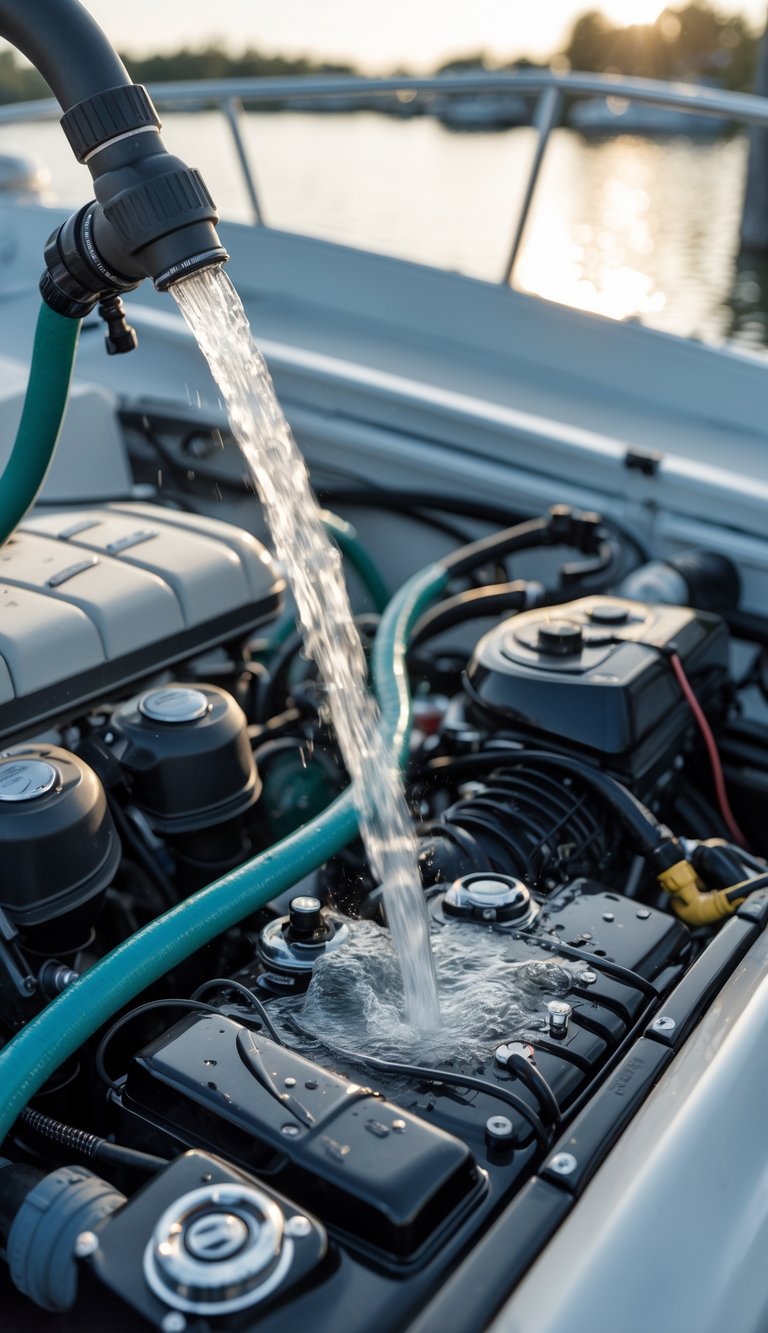
After your last trip, run fresh water through the engine to clear salt, silt, and algae. Saltwater left inside cooling passages causes corrosion and clogs over time. Flushing only takes a few minutes but prevents costly problems later.
Use a hose, muffs, or built-in freshwater connection per your engine manual. Run the engine at idle and let clean water flow until it runs clear from the exhaust. Do this after every salt or brackish-water outing and before winter storage.
Turn off the engine and inspect the lower unit for leaks or loose fittings. Replace the impeller if it looks worn or rubber pieces are missing.
PRO TIP
If you can’t access freshwater on the ramp, carry a small jerry can and a set of muffs. They make flushing easy and protect your cooling system between uses.
13) Remove electronic devices and store indoors
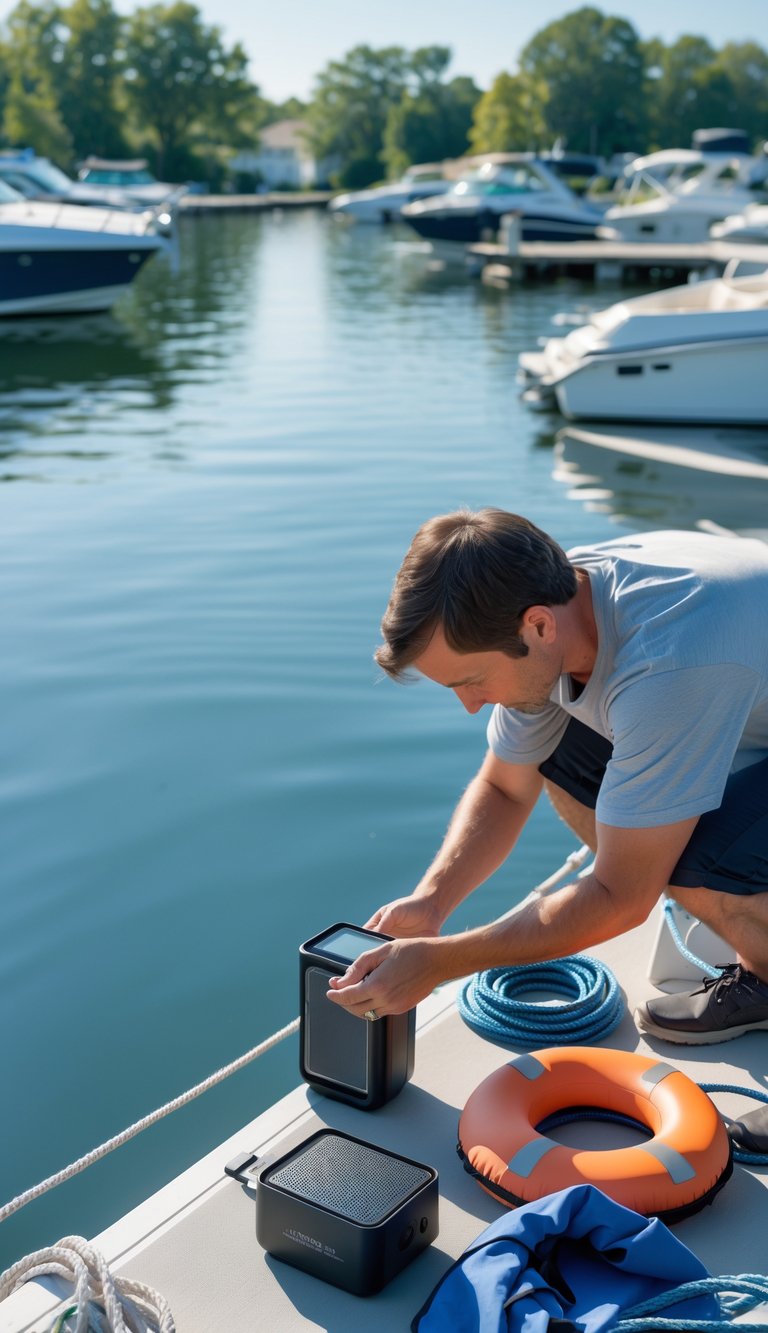
Take out GPS units, fish finders, radios, and any removable displays before you cover the boat. Electronics hate moisture, salt, and wide temperature swings, so storing them inside cuts down on corrosion and failure.
Wipe each device with a soft, dry cloth and leave covers off until fully dry. Place small items in labeled, padded boxes to prevent scratches and make them easy to find later.
Disconnect and remove batteries when possible to avoid leaks and drain. Keep manuals and mounting hardware together so reinstallation goes quickly next season.
PRO TIP
Store devices in a cool, dry spot with silica packets to absorb moisture. Back up settings and waypoints to a cloud or spare drive before removal.
14) Clean and dry all storage compartments
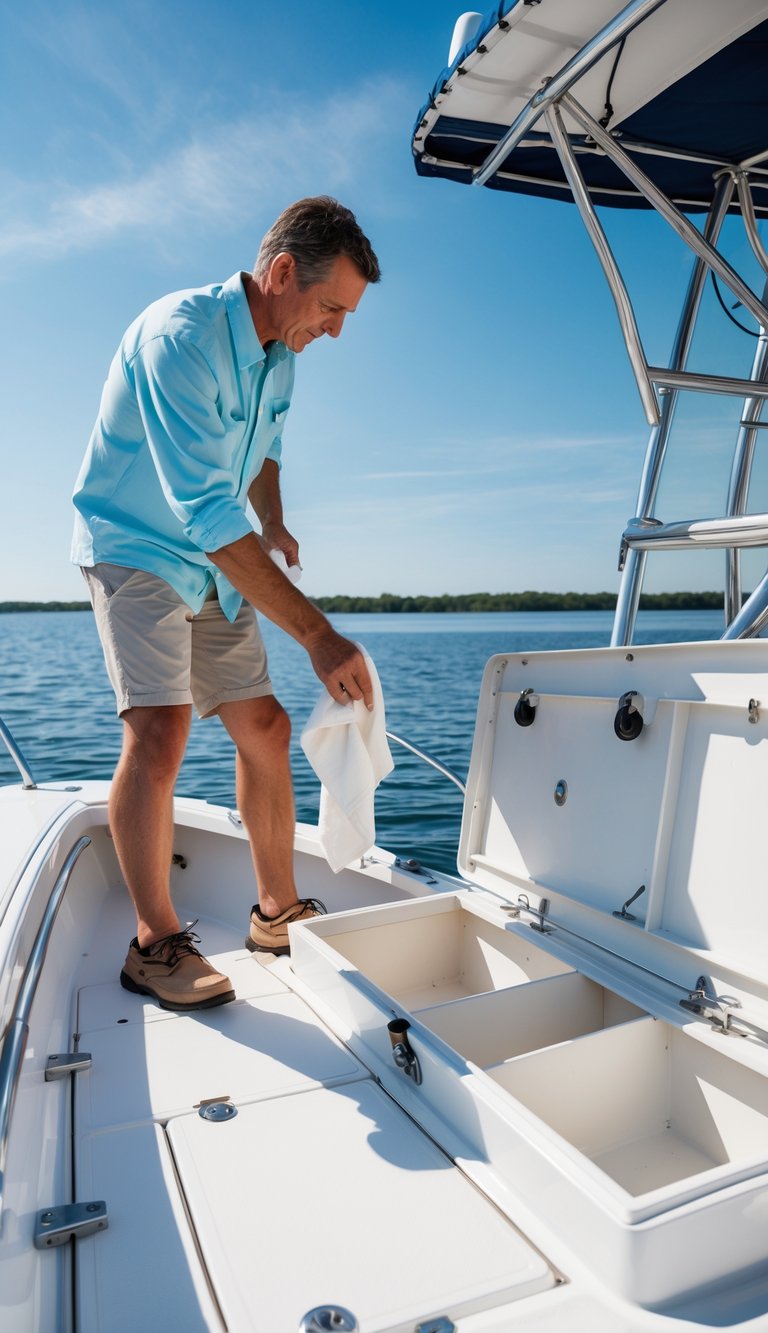
Empty each locker and remove loose items. Take out life jackets, lines, electronics, and any gear so you can see inside and clean thoroughly.
Vacuum or brush out dirt, sand, and leaves. Wipe surfaces with warm, soapy water or a mild marine cleaner to remove grime and mildew.
Leave hatches open and run a fan or two to speed drying. Make sure corners and seams are bone dry to prevent mold growth.
Check seals and drains for clogs, and repair ripped liners or damaged paint. Only return dry items to prevent trapped moisture and odors.
PRO TIP
Place silica gel packs or small desiccant pouches in lockers to absorb leftover moisture. Replace them each season for best results.
15) Cover the boat with a breathable, fitted cover
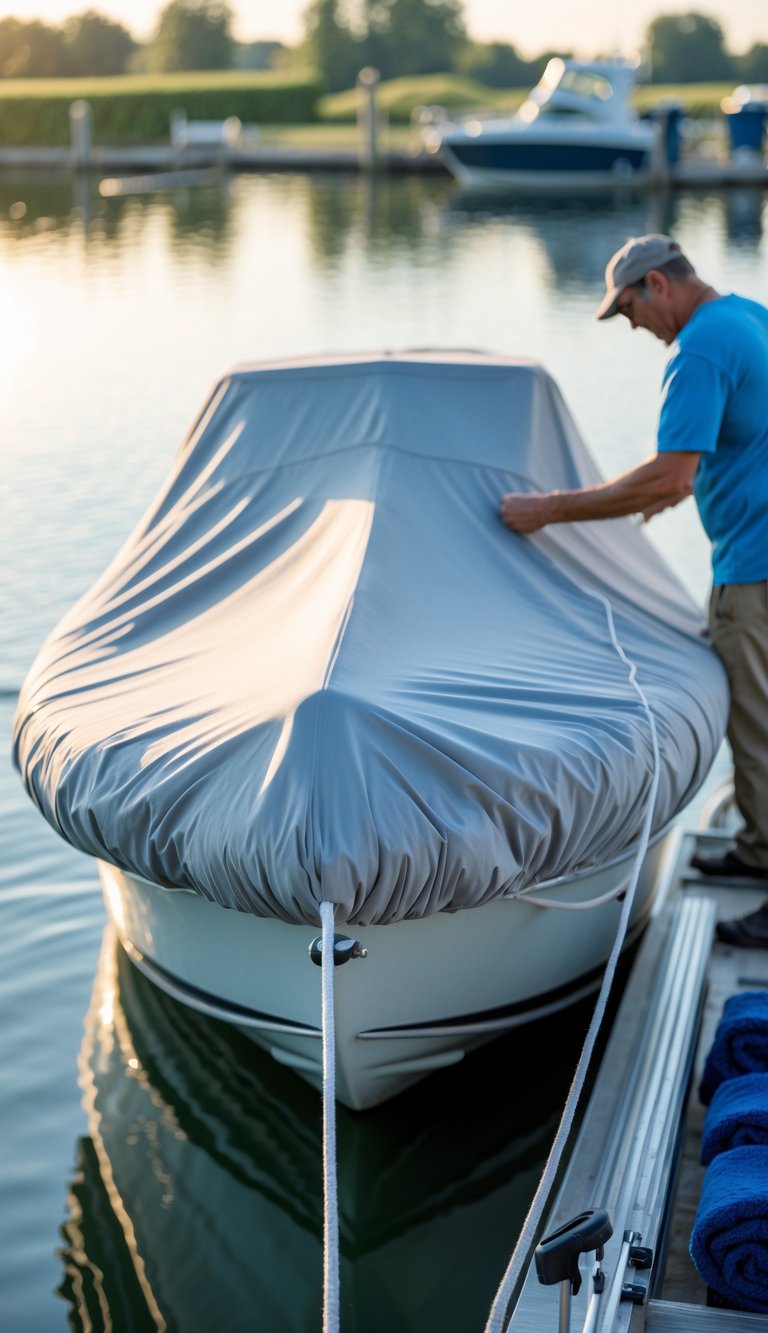
A breathable, fitted cover keeps rain, dirt, and UV rays off your boat while letting trapped moisture escape. This reduces mildew and protects upholstery, electronics, and painted surfaces.
Choose a cover made for your hull type and length so it fits snugly. Look for reinforced seams and straps that secure the cover during wind and travel.
If you store the boat outdoors, pick a UV-resistant fabric and consider a double-coated material for extra water shedding. For trailer or dock storage, ensure tie-down points align and won’t rub against gelcoat.
PRO TIP
Lift the cover occasionally to air out the bilge and cushions. Small vents or breathable panels help prevent condensation buildup and keep your boat fresher.
16) Inspect and reseal hatches and windows
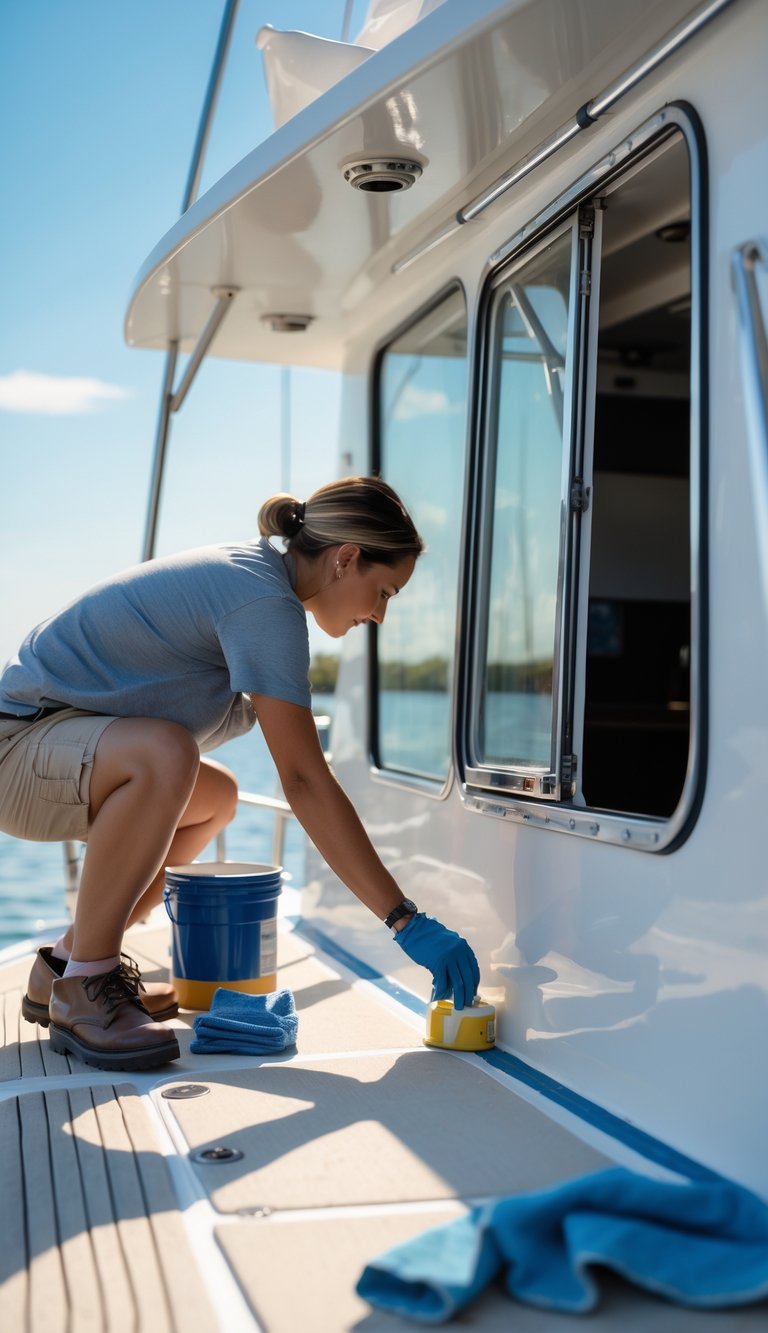
You should check all hatches, portlights, and cabin windows for soft or cracked sealant. Look for dirt, mold, or gaps where water could enter.
Remove old sealant and clean mating surfaces before you reseal. Use the right marine-grade sealant and apply a smooth, continuous bead to prevent leaks.
Tighten loose screws and replace any damaged gaskets. Small repairs now stop bigger water damage later.
Test seals with a hose or water spray after curing. Keep a small tube of sealant and spare gaskets in your kit for quick fixes.
PRO TIP
Work on a cool, dry day and follow sealant cure times on the tube for best results.


