Last Updated on April 18, 2026
You want camping to feel easier, safer, and more comfortable without turning your pop-up into a full-time project. This article shows simple, practical upgrades that cut setup time, boost sleep and climate control, and keep power and sanitation reliable so you can spend more time enjoying the campsite.
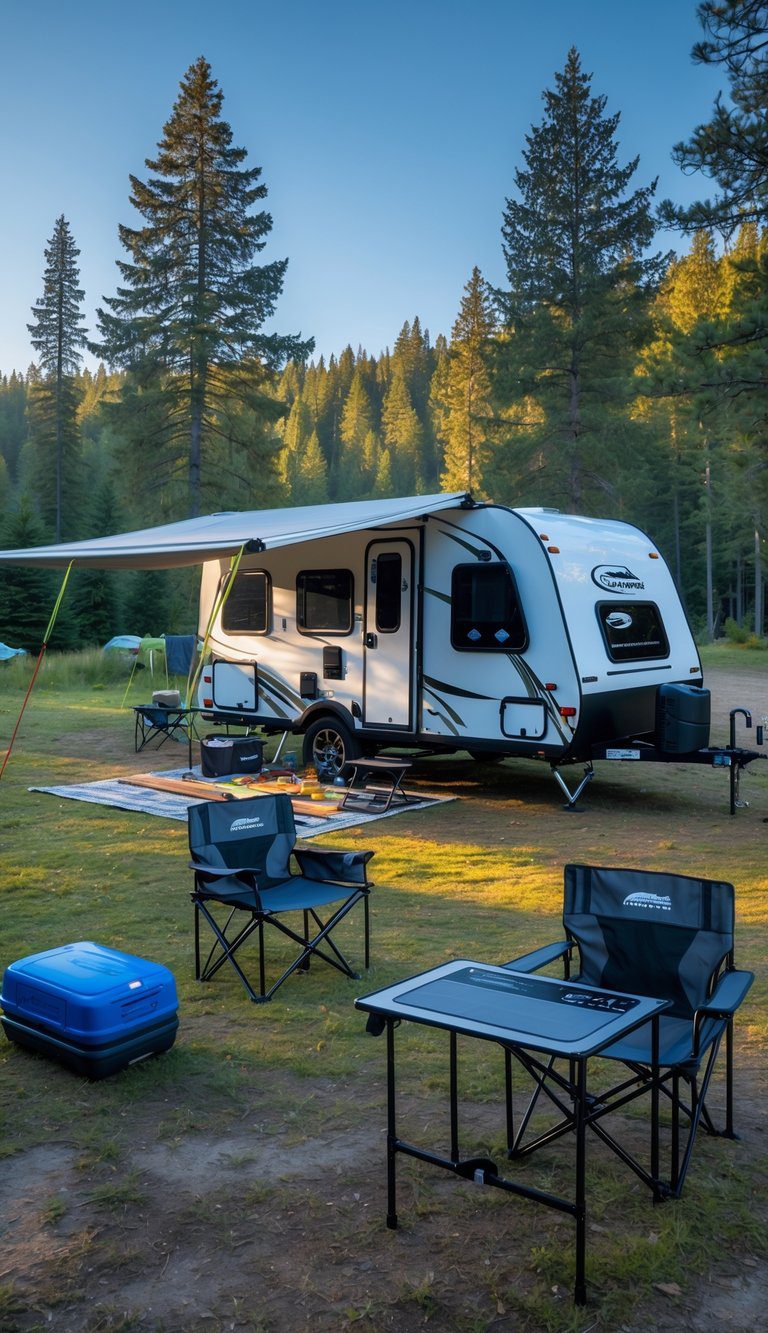
Bold the most important sentence that provides value: You’ll learn nine proven upgrades that make packing, setup, and living in a pop-up camper faster, more comfortable, and more reliable.
1) Install a lithium iron phosphate (LiFePO4) house battery (Battle Born 100Ah)
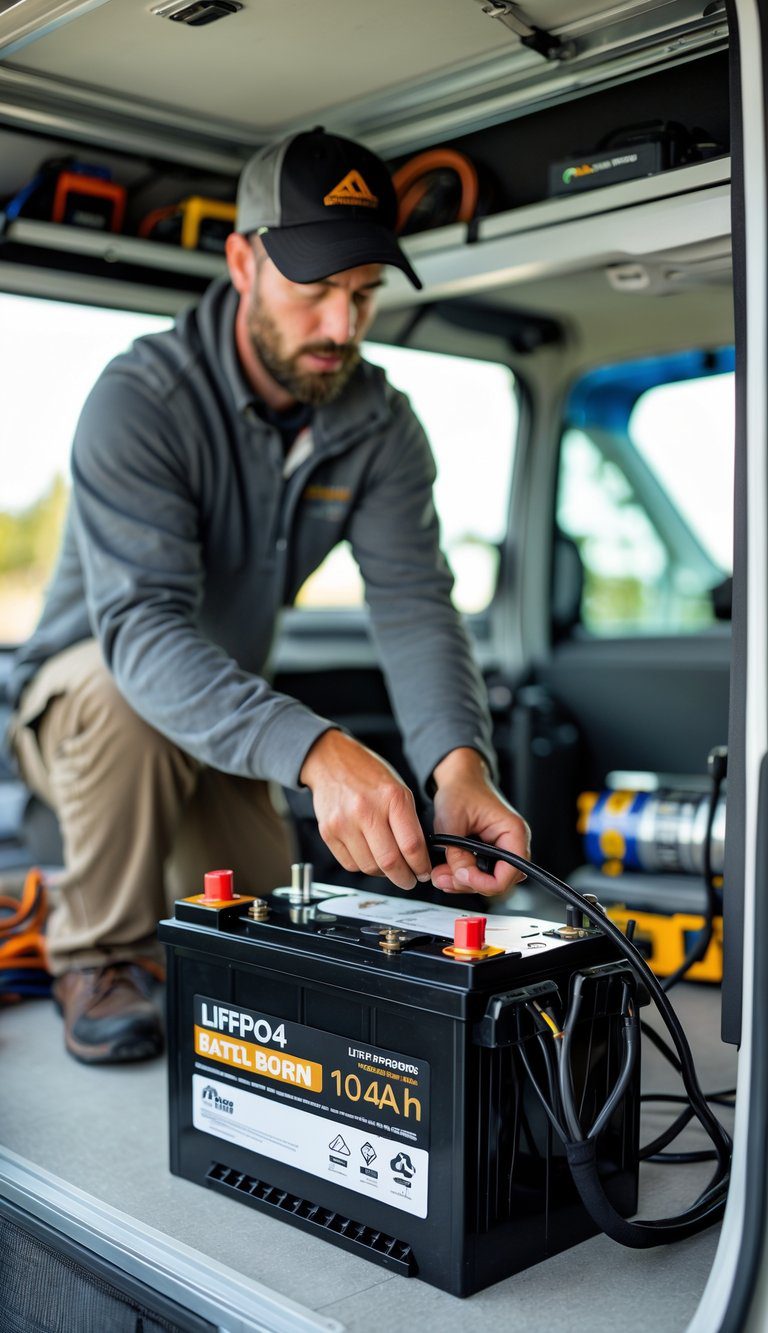
A LiFePO4 house battery gives you more usable power and lasts much longer than old lead-acid batteries. You can run lights, a fridge, and charge devices without worrying about deep-discharge damage.
Battle Born 100Ah is a popular choice because it’s compact and reliable for pop up campers. It cuts weight and lets you use more of the battery’s capacity safely.
You should pair it with a proper charger and a battery management system (BMS). Secure mounting, correct wiring, and good ventilation keep it safe and perform well.
PRO TIP
Install a battery monitor so you always know state of charge. It helps prevent surprises and extends battery life.
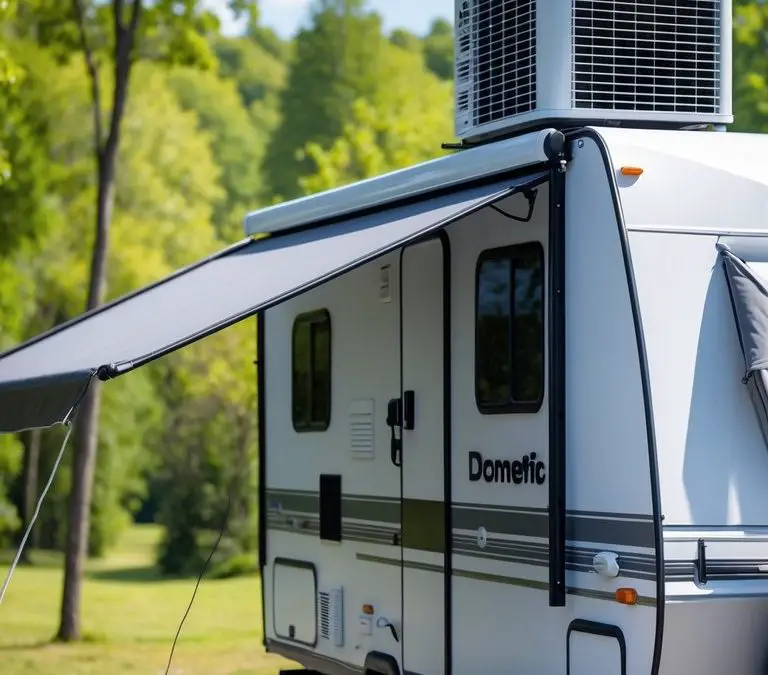
2) Add a Dometic 10,000 BTU rooftop air conditioner
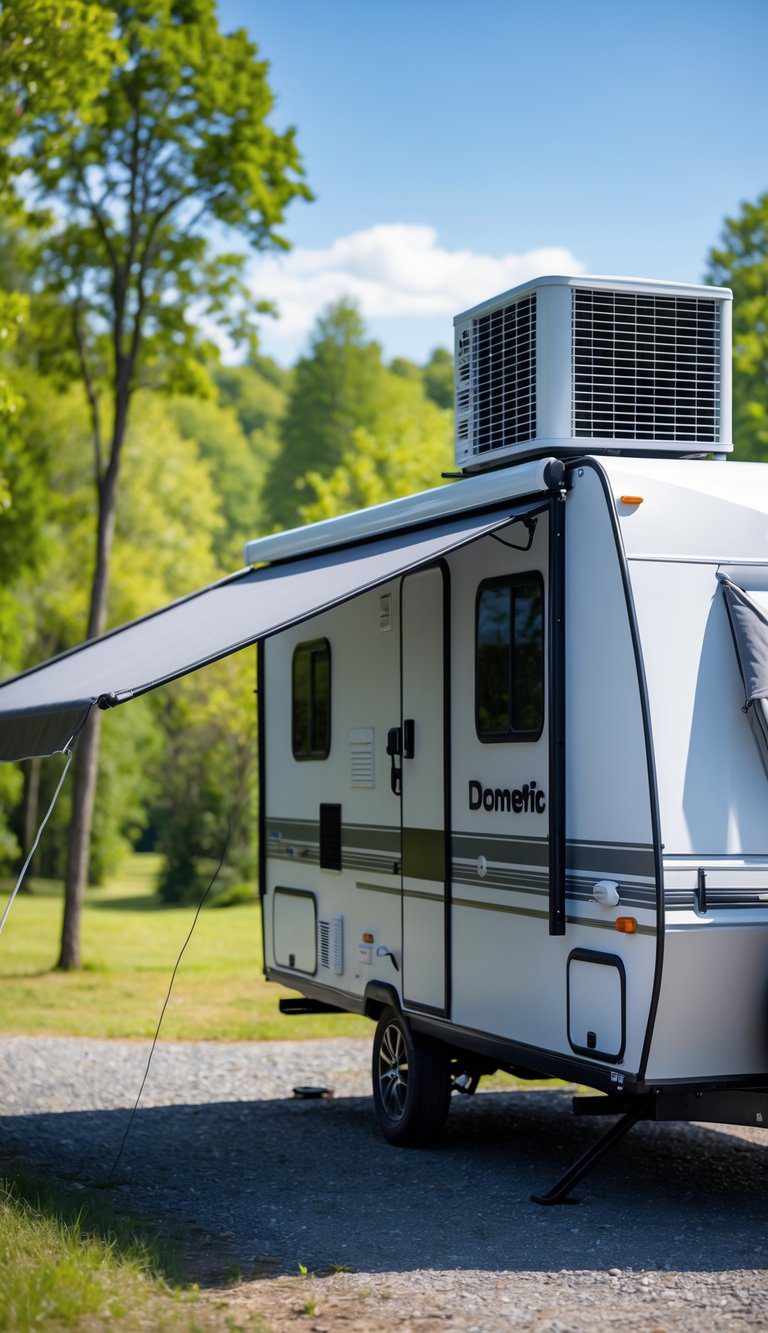
A 10,000 BTU Dometic rooftop unit gives your pop up camper steady cooling without a heavy power draw. It fits standard 14 x 14 inch roof openings and works well for small to mid-size pop ups.
You install it on the roof, so it stays out of your way and saves floor space. Most models run on 115V shore power, and some heat-pump versions add light heating for chillier nights.
Expect quieter operation than portable units and better air circulation across the camper. If you plan to camp in hot weather, this upgrade makes your camper more comfortable and easier to use.
PRO TIP
Measure your roof opening and check your camper’s electrical capacity before buying. Consider a model with a heat pump if you want light heating without a separate heater.
3) Fit a Furrion 12V electric awning with integrated LED
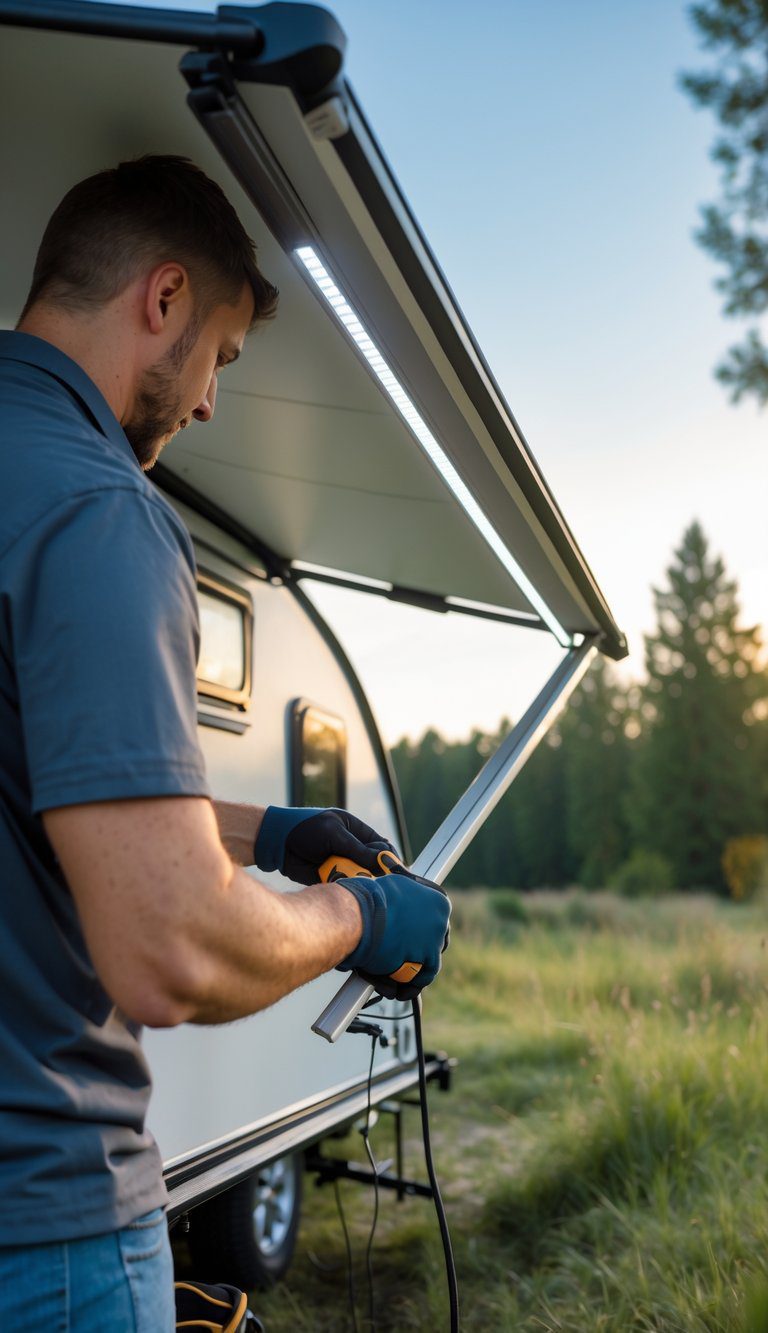
A 12V electric awning from Furrion gives you quick shade and light with one install. You press a button to open or close the awning, which saves time and effort when weather changes or when you arrive late.
Integrated LED lights make evening tasks easier and cut the need for extra lamps. LEDs use little power, so you can run them off your camper battery for several hours without heavy drain.
The unit mounts to the camper wall and often includes solar or plug-in options for power. Choose a size that fits your camper and leaves room for doors and windows to open.
PRO TIP
Measure twice before ordering and check the weight limits on your camper’s wall.
4) Replace stock mattress with a Zedbed tri-fold RV mattress
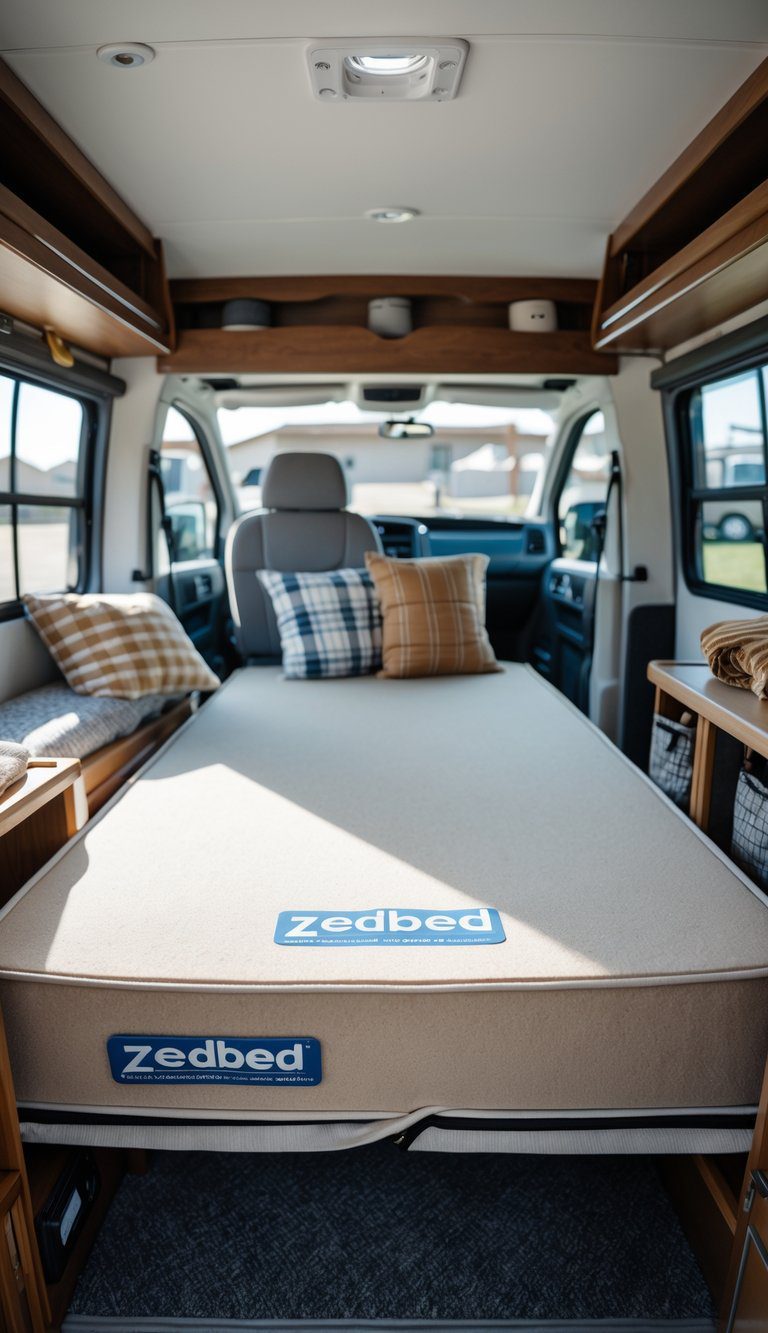
Swapping the thin factory pad for a Zedbed tri-fold mattress gives you firmer, more even support. You’ll sleep better and wake with less soreness on mornings when you hike or paddle.
The tri-fold folds up for storage and fits many pop-up camper shapes. It’s thin enough that your camper top can close, yet thick enough to feel like a real bed.
You can use the folded mattress as extra seating or a daybed during the day. Cleaning is easy because many covers unzip and are machine washable.
PRO TIP
Measure your camper bed area before ordering to get the right size. Consider a topper if you want a bit more plushness without raising the height too much.
5) Install a Thetford C260 cassette toilet
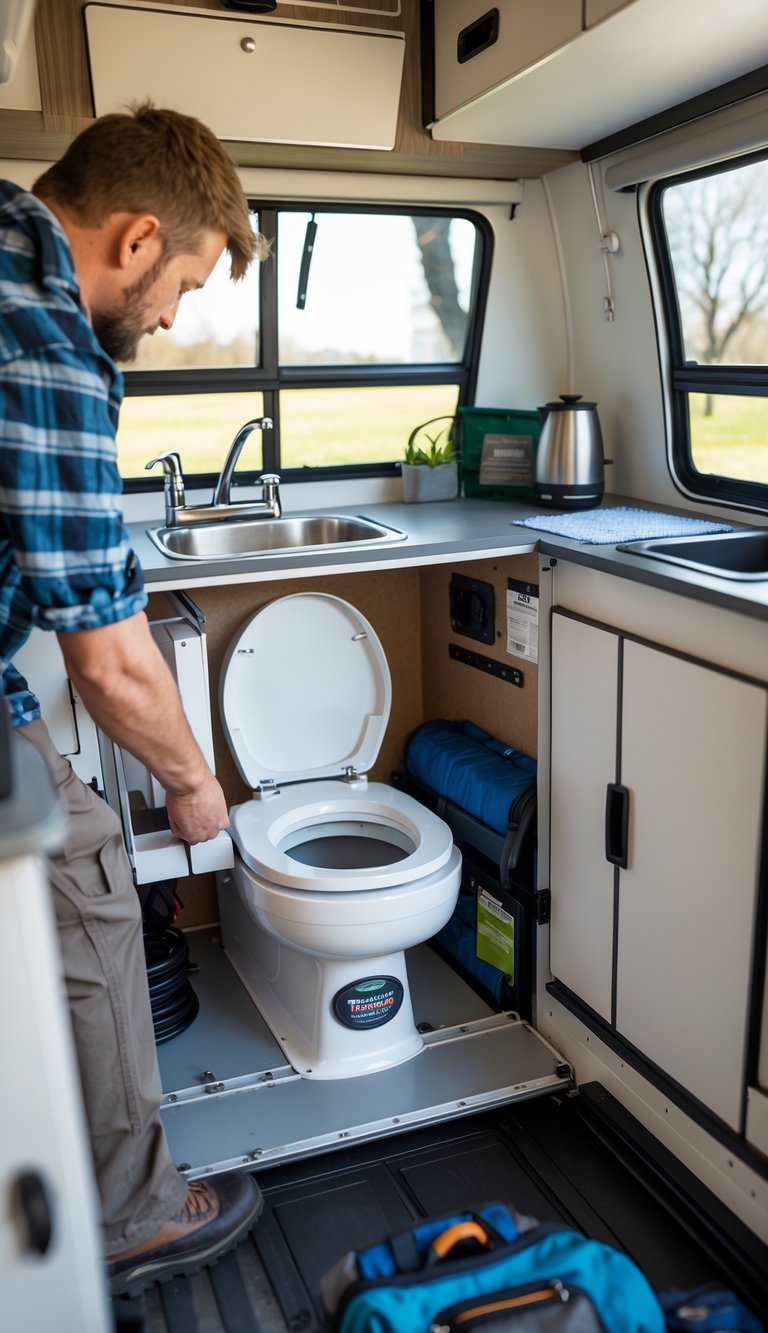
Installing a Thetford C260 cassette toilet brings real convenience to pop up camping. You get a compact, lightweight toilet that fits small spaces and stores waste in an easy-to-remove cassette. That makes emptying faster and cleaner than using a bucket or portable toilet.
The C260 installs into a fixed opening and connects to a small waste cassette you slide out for disposal. The cassette locks securely and seals odors when closed. Many models include a flush system that uses little water, helping conserve your supply.
PRO TIP
Mount the toilet where you can reach the cassette from outside or a low cabinet. Use recommended chemicals and rinse the cassette regularly to avoid smells and keep it working well.
6) Add a Camco PowerGrip 30A locking shore power inlet
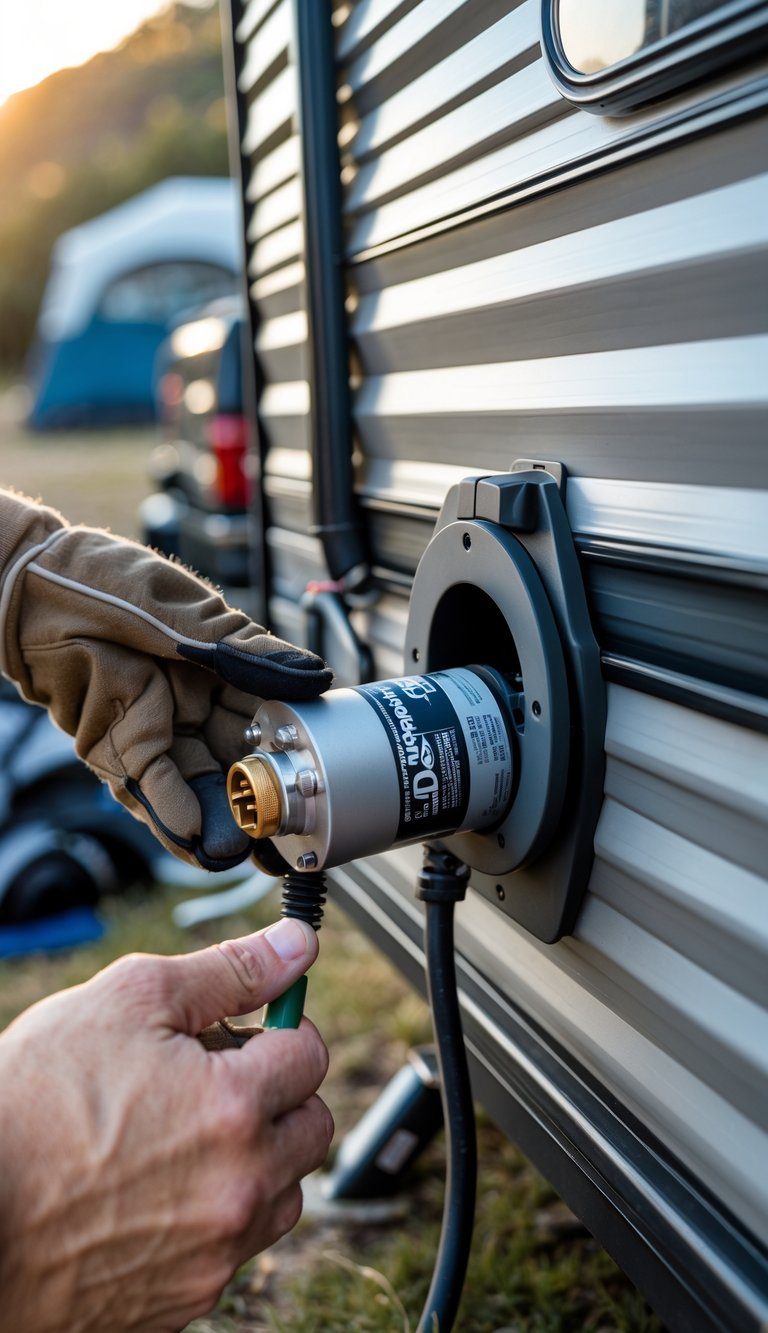
Adding a Camco PowerGrip 30A locking shore power inlet makes plugging in quicker and more secure. The locking ring keeps the connection tight so it won’t work loose while you’re parked or in wind.
This inlet fits many 30-amp systems and gives you a weather-resistant seal. You get a firmer grip when plugging and unplugging, which helps if cords are stiff or wet.
Installation is straightforward if you have basic wiring skills, and the part is common at RV shops. If you’re not comfortable with electrical work, hire a pro to avoid wiring mistakes.
PRO TIP
Match the inlet to your camper’s wiring color codes and turn off power before you start.
7) Mount a Renogy 200W portable solar panel kit with MPPT charge controller
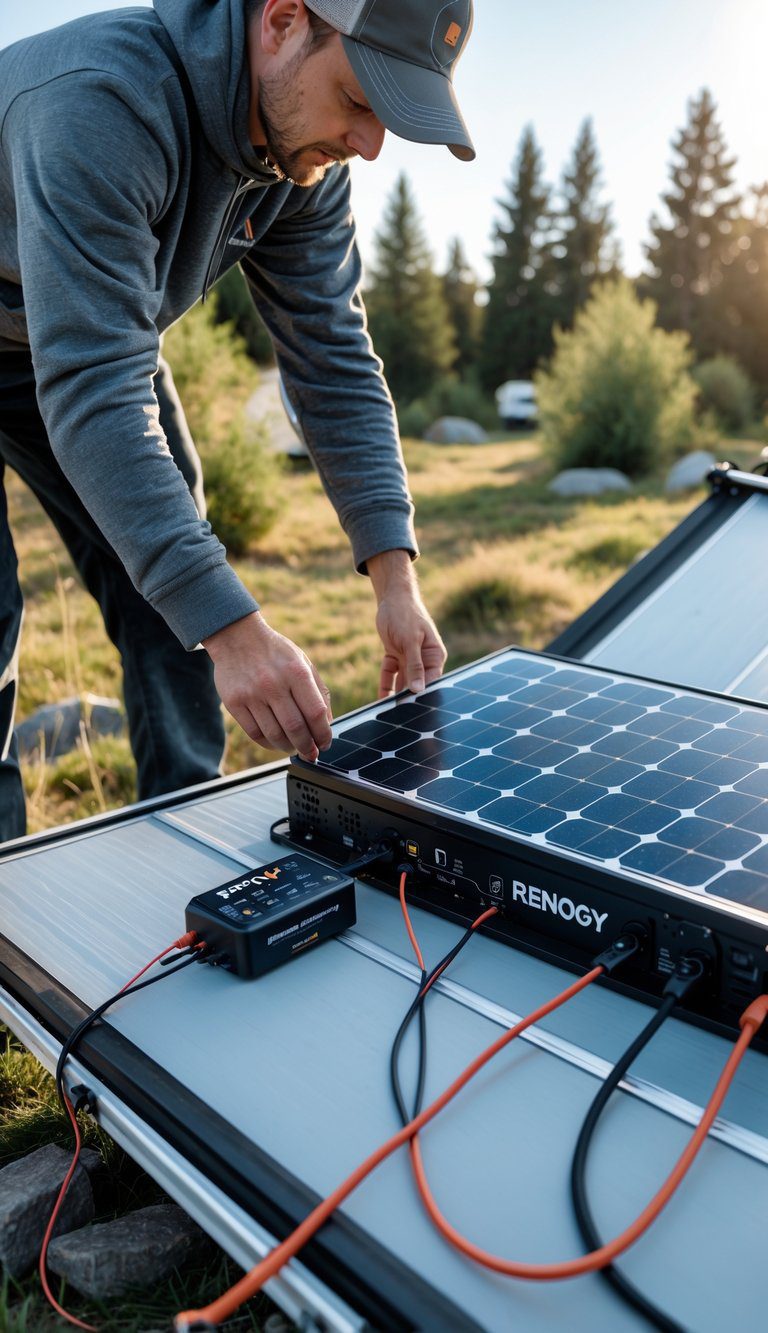
A portable Renogy 200W kit gives you reliable power without rewiring your camper. You can set the suitcase-style panels on the roof or on a stand at camp for easy setup and takedown.
The MPPT charge controller boosts charging efficiency and helps protect your battery from overcharge. That means faster charging on cloudy days and less worry about draining your house battery.
You get USB and 12V outputs for small devices and lights, so you can run fans or charge phones off-grid. The kit is light enough to move by one person, but secure the panels when driving or in wind.
PRO TIP
Angle the panels toward the sun mid-day for best output and use the included MC4 or alligator leads to avoid loose connections.
8) Build slide-out kitchen storage drawers with Soft-Close slides

You can free up counter space and stop digging through piles by building slide-out drawers. Soft-close slides keep items from slamming when you move, which protects glassware and reduces noise at night.
Use hardwood or plywood for the drawer boxes and mount heavy-duty slides to the cabinet floor or side. Measure carefully so the drawers glide smoothly and don’t bind when the camper shifts.
Keep drawer depth shallow for lighter weight and easier access. Label sections for utensils, spices, and cooking tools so you can grab what you need fast.
PRO TIP
Choose full-extension soft-close slides rated for your expected load. That lets you reach the back without removing the drawer and keeps things secure while driving.
9) Install a Mr. Heater Buddy indoor-safe propane heater with CO monitor
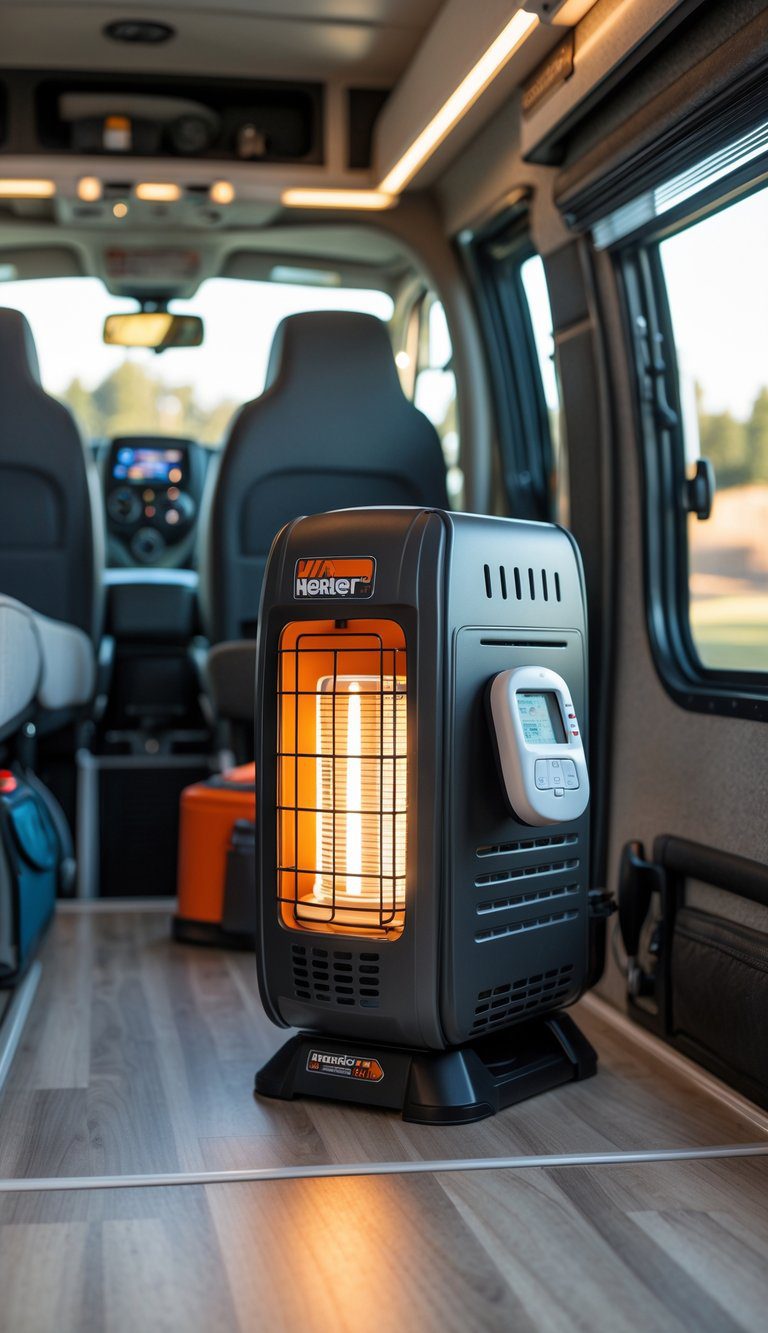
A Mr. Heater Buddy gives you fast, reliable heat in a small pop-up without taking up much space. It’s designed for indoor use in well-ventilated recreational spaces, so it works well in campers when you crack a window or vent.
Place the heater on a stable, level surface away from fabrics and gear. Use only approved fuel cylinders or a proper adapter hose for larger tanks, and check connections for leaks before each use.
Always run a carbon monoxide (CO) monitor near sleeping areas. A CO monitor alerts you to unsafe gas levels so you can turn off the heater and ventilate the camper immediately.
PRO TIP
Keep a small fan or vent open to boost airflow when the heater runs. Test the CO monitor and replace batteries yearly.


