Last Updated on June 8, 2026
You’ll find smarter ways to lift, secure, and maintain your bike so work flows faster and safer. This guide shows useful setup ideas for lifting, lighting, storage, and basic service tools, helping you pick what fits your space and skill level. You’ll learn practical options to make routine maintenance easier, safer, and more organized.
Use these ideas to plan a shop that suits weekend wrenching or regular upkeep. The tips cover sturdy lift options, wheel and fork supports, tool and parts storage, lighting, and simple DIY solutions to improve access and protect your bike.
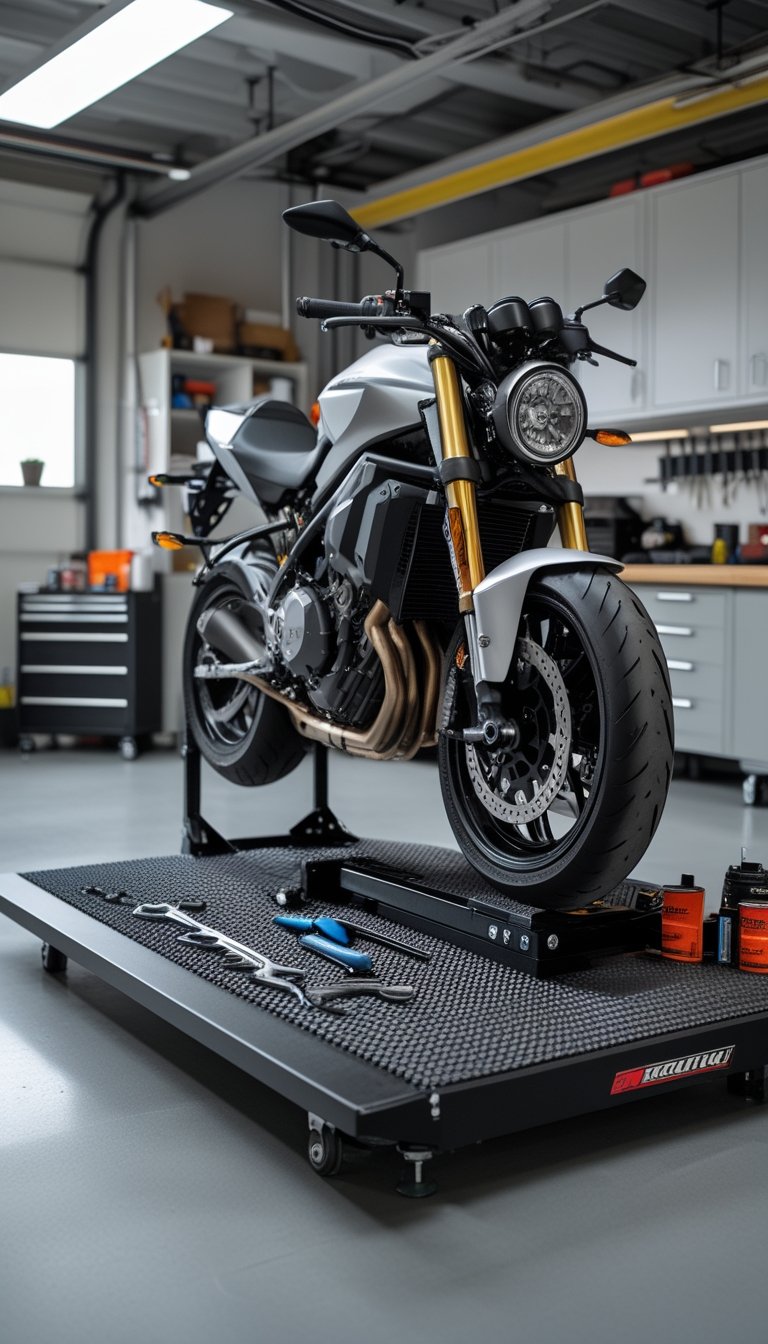
1) Hydraulic Motorcycle Lift Table (1,100 lb capacity)
A hydraulic lift table lets you raise your bike to a comfortable working height. You can avoid bending and reach parts more easily, which saves your back during long jobs.
The table supports most street and small touring bikes up to the stated limit. Use the locking mechanism and safety bar to keep the platform stable while you work.
Place the lift on a flat, solid floor and check the hydraulic fluid and bolts before each use. Wear gloves and eye protection when cleaning or adjusting parts to stay safe.
PRO TIP
Lower the table slowly when removing a wheel or when someone is nearby. Keep a small drip tray under the lift to catch oil or cleaning fluids.
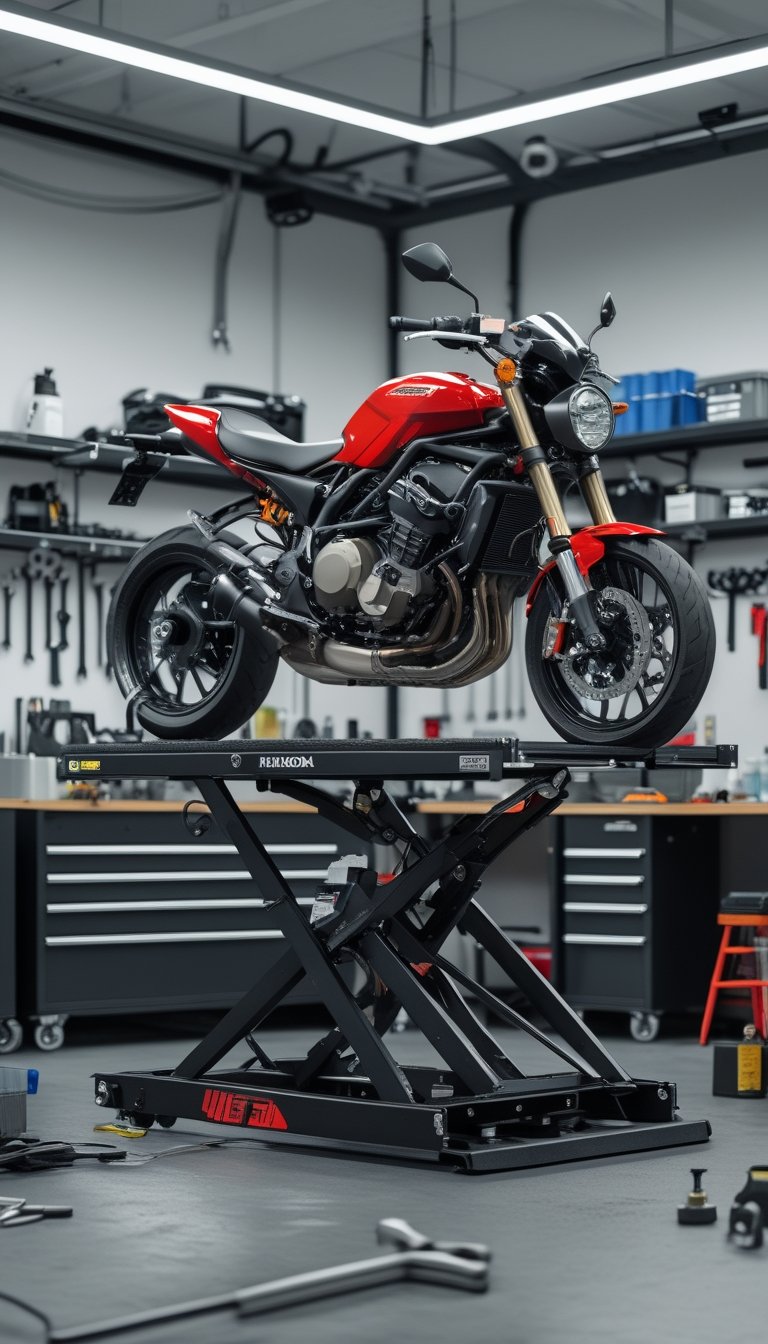
2) Scissor Jack Bike Lift with Built-in Wheel Chock
A scissor jack lift raises your bike safely and stays compact when not in use. The built-in wheel chock holds the front wheel steady so you can work without the bike shifting.
You can lift to a comfortable height for cleaning, oiling, or tire work. The simple crank or handle makes it easy to raise and lower, even in a small garage.
Look for a model with a wide base and non-slip feet for extra stability. Use dedicated tie-downs if you plan to run the engine or do heavier maintenance.
PRO TIP
Place a piece of plywood under the lift on soft floors to spread the load. Check pins and fasteners before each use to keep the lift safe.
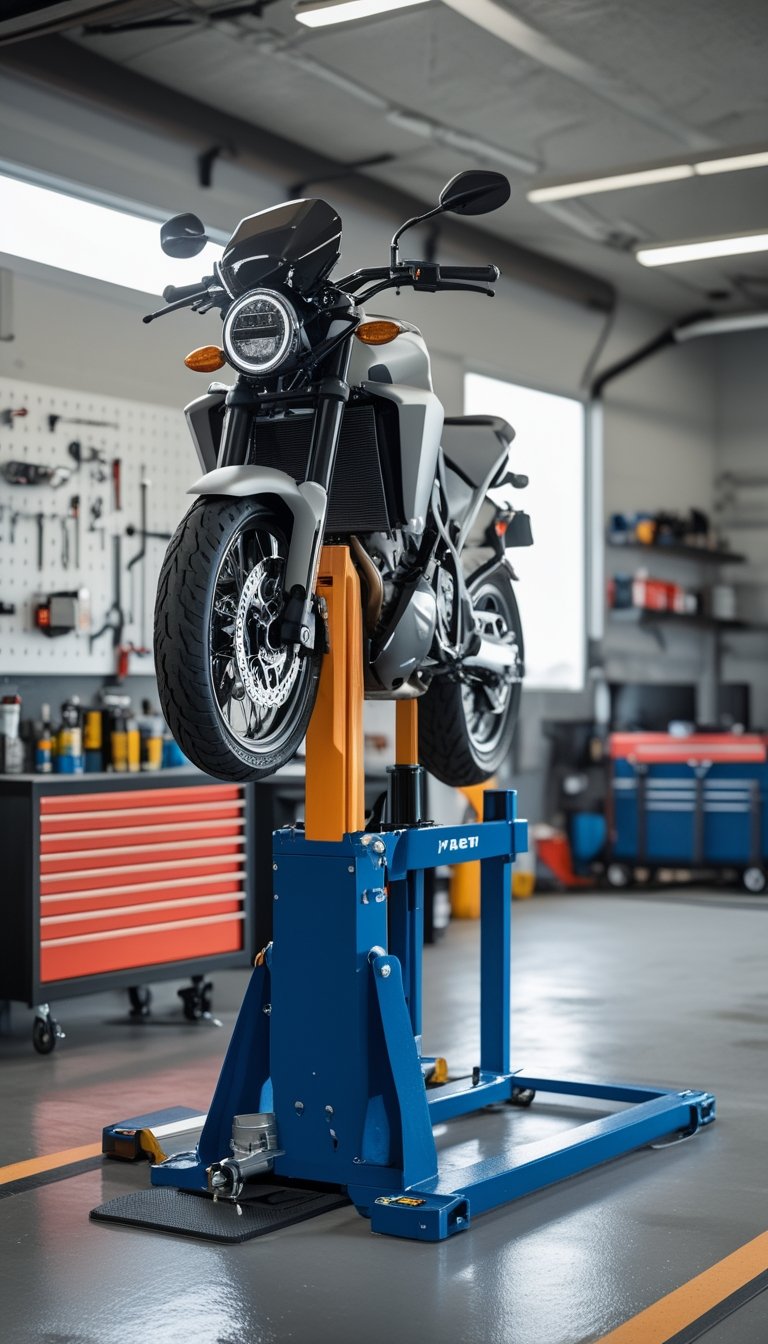
3) Beadlock Wheel Chock for Front Wheel Stabilization
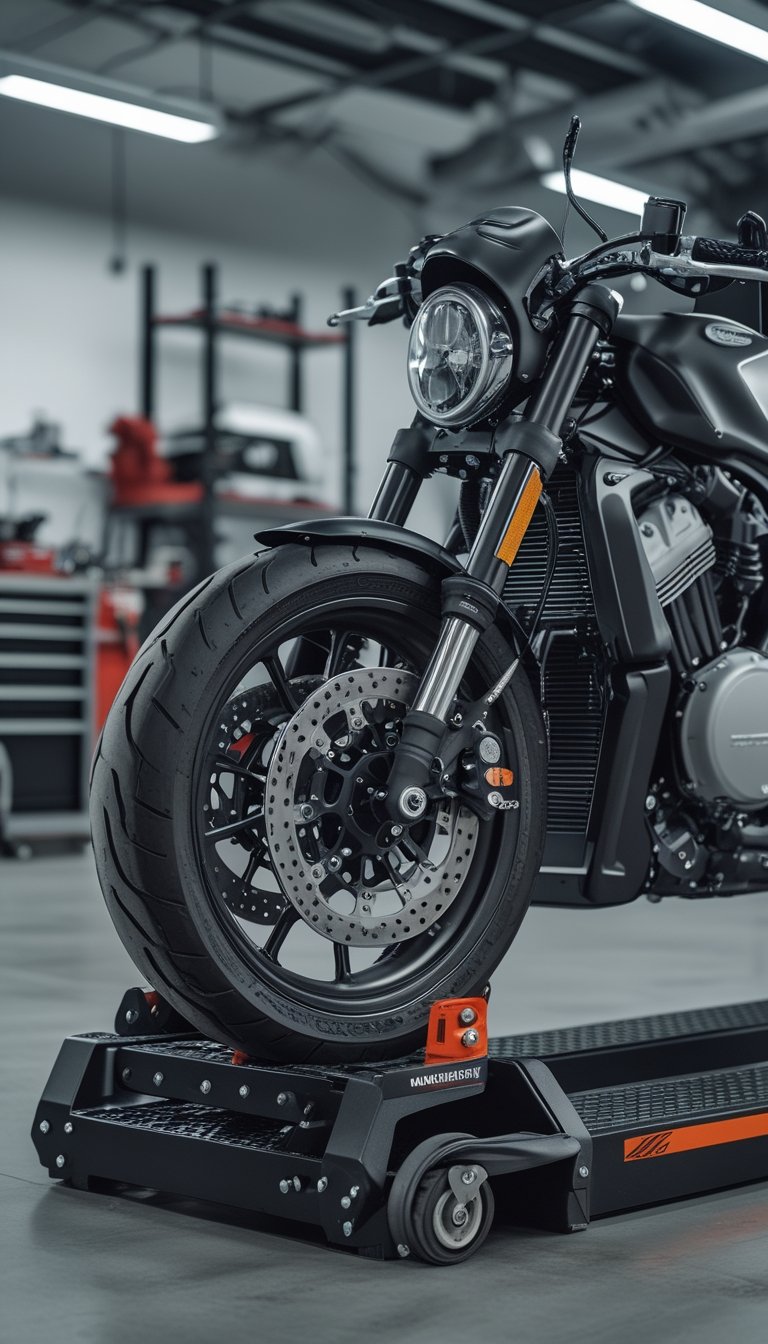
A beadlock wheel chock holds your front wheel steady while you work. It clamps around the tire and keeps the bike from rolling or tipping forward during maintenance.
You can use it when lifting the rear, changing tires, or doing fork work. The chock fits many wheel sizes and lets you work with both wheels on the ground.
Choose a chock that mounts securely to your lift or bench. Make sure it grips the tire without crushing the bead, and check tightness before you start any task.
PRO TIP
Place a non-slip mat under the chock to reduce movement. Recheck the clamp after a few minutes of use, especially if you push the bike forward or backward.
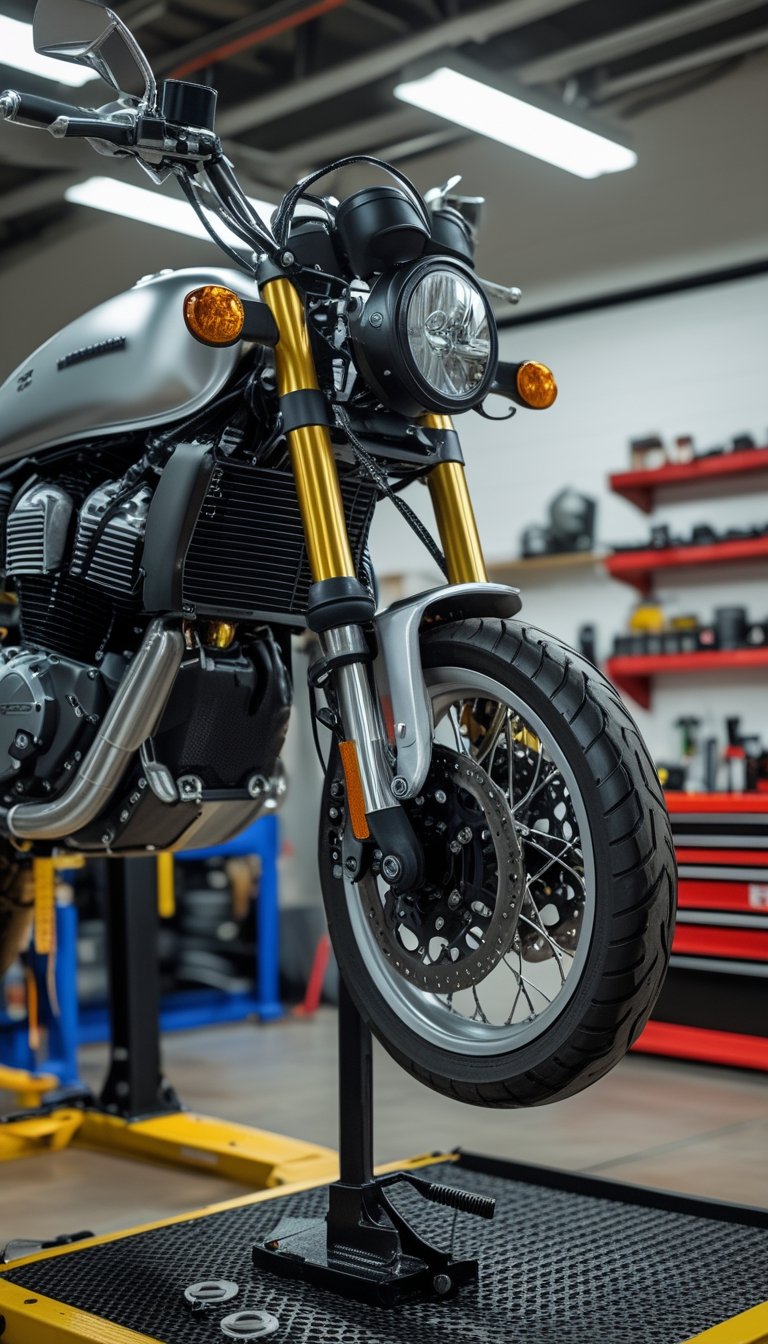
4) Adjustable Paddock Stand Set (front and rear)
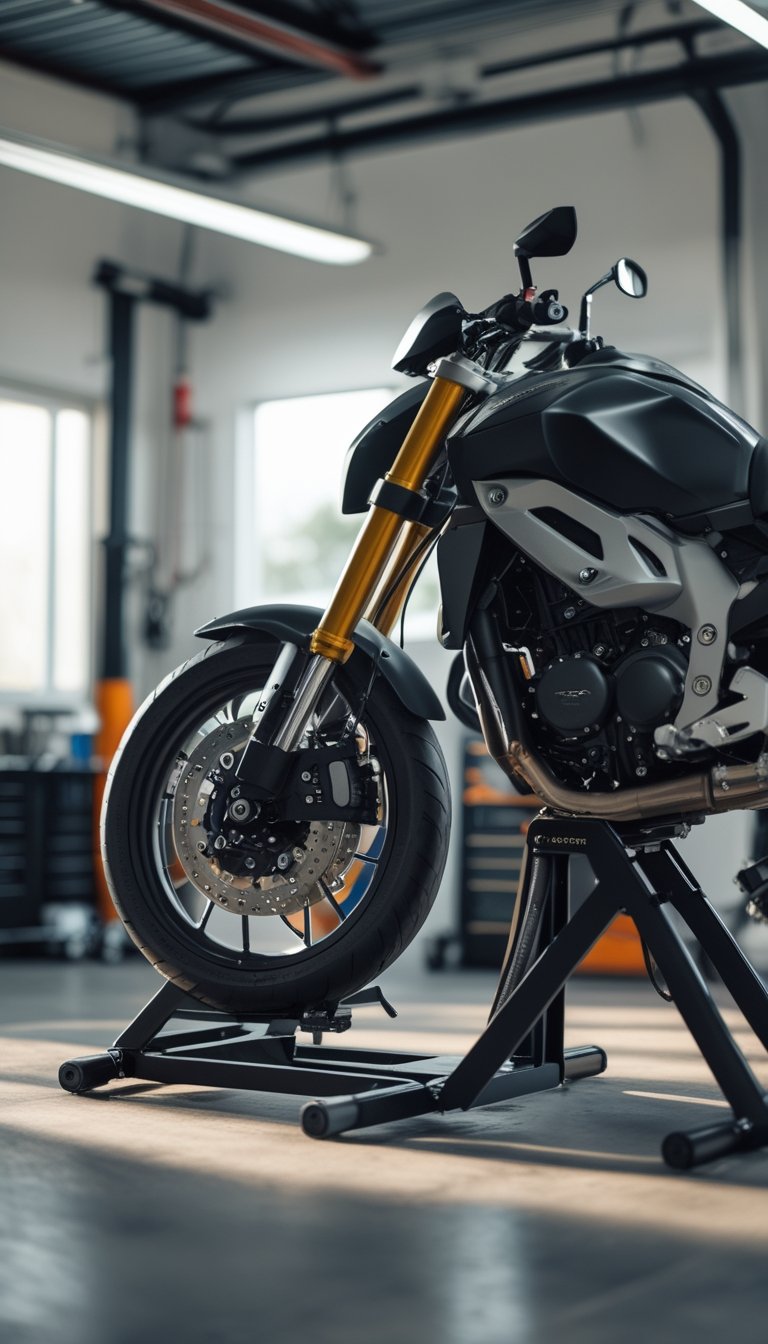
An adjustable paddock stand set lifts both wheels so you can work on the chain, brakes, and tires. You get better balance and access compared with tipping the bike or using one stand alone.
Look for stands with adjustable width and height so they fit your bike. Strong construction and rubber contact points help protect your swingarm and fork.
Use the rear stand for chain cleaning and wheel removal. The front stand stabilizes the bike for brake bleeding or tire changes.
PRO TIP
Place stands on flat, solid ground and chock the front wheel if needed. Check fasteners and contact pads before each use for safe lifting.
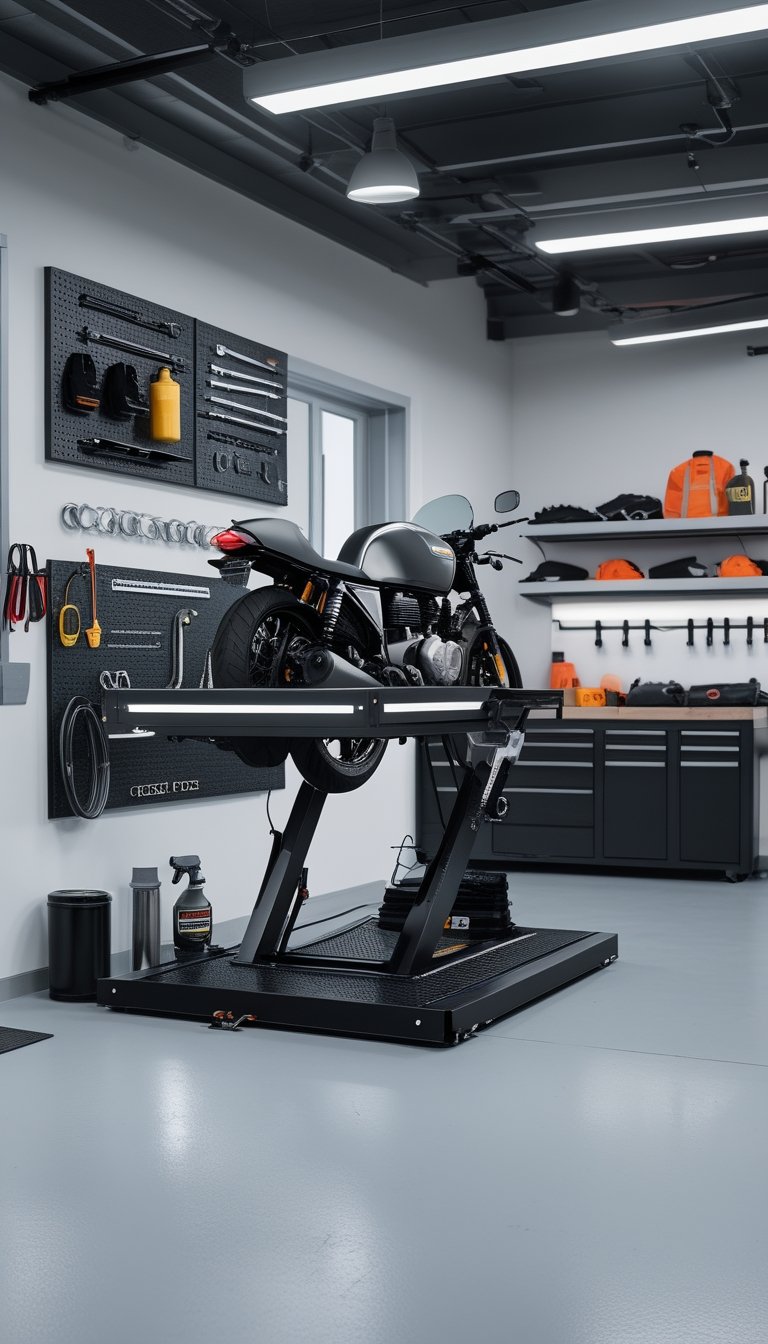
5) DIY Folding Motorcycle Workbench Plan
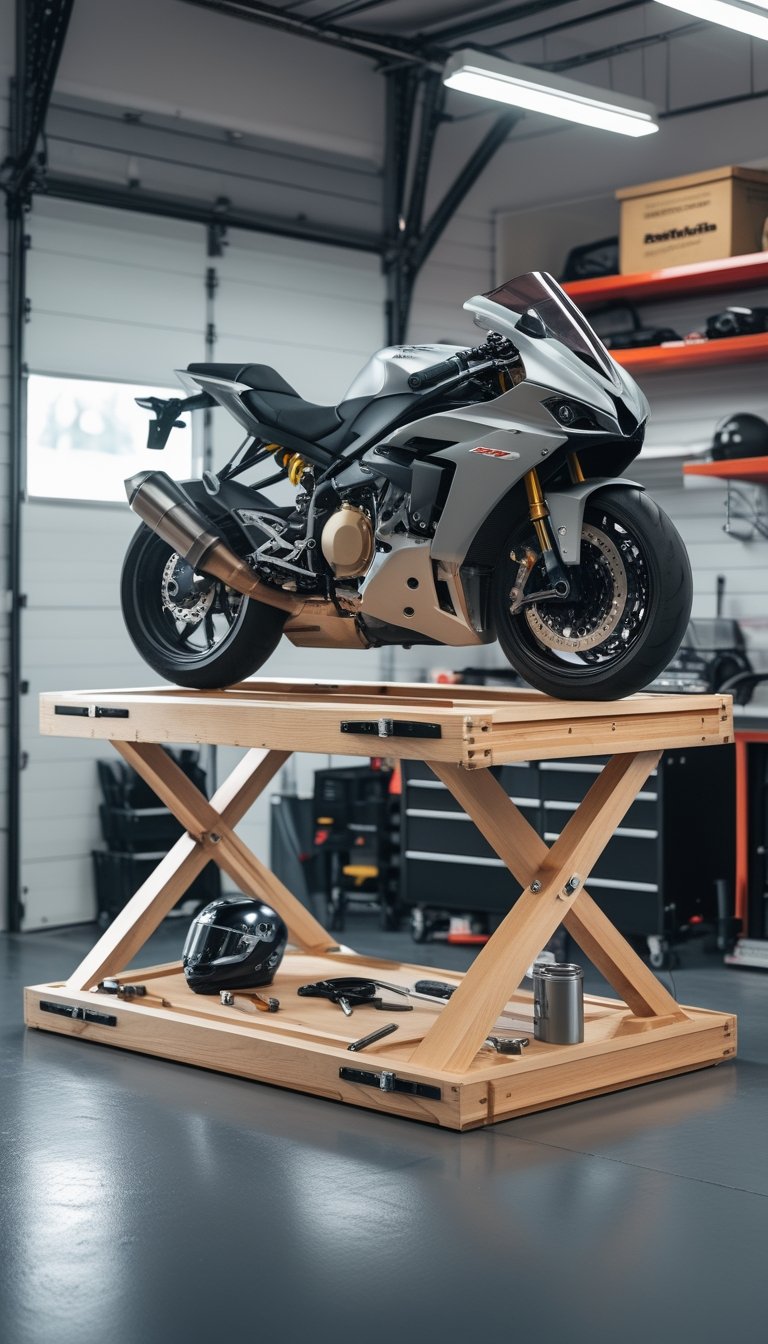
A folding workbench saves space and gives you a sturdy place to work on your bike. You can build one with plywood, folding legs, and simple hardware. Make the top at a comfortable height for you so you avoid bending and strain.
Include a lip or clamp points to keep parts from rolling off. Add a lower shelf for tools and a quick-release panel for small parts. Use weatherproof finish if your workspace is damp.
PRO TIP
Mount a power strip and small light under the top so they fold with the bench. Test the hinge strength with weight before you rely on it.
6) Motorcycle Lift Table Ramp Kit (aluminum)
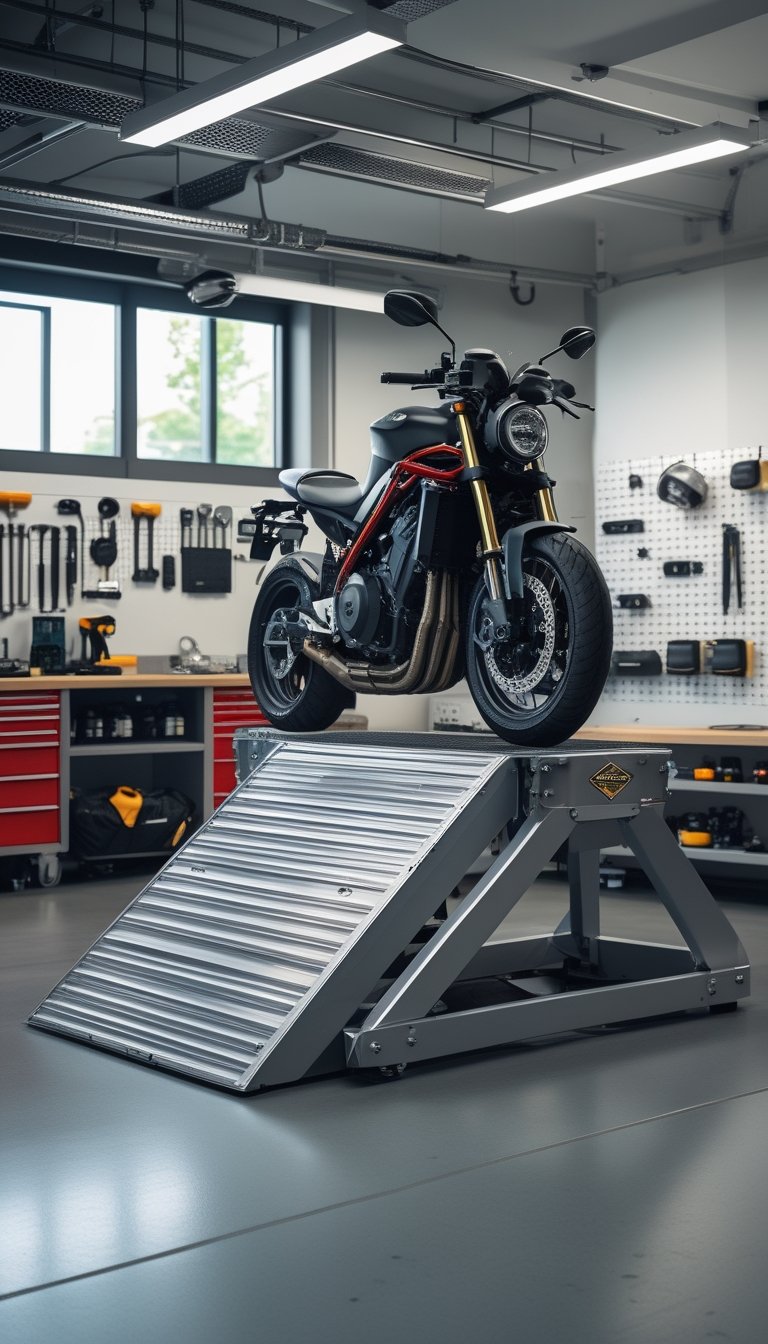
A lightweight aluminum ramp kit makes it easier to load and unload your bike onto a lift table. The low weight keeps it simple to move, and the non-slip surface helps keep tires steady as you roll up.
Choose a ramp with a gentle angle so you don’t strain when pushing or riding the bike up. Look for secure attachment points to prevent the ramp from shifting while you load the bike.
Aluminum resists rust, so it stays reliable in a damp garage. Check the weight capacity to match your motorcycle and inspect bolts and hinges regularly for wear.
PRO TIP
Place a wheel chock at the top of the ramp before you lift to stop the bike from rolling. Use a helper when loading heavier bikes to reduce risk.
7) Impact-Resistant Anti-Slip Lift Top Mat
You get a firmer, safer surface for your bike when you place an impact-resistant anti-slip mat on the lift top. It cushions against drops, resists oil and grease, and helps keep parts from sliding off while you work.
Choose a mat with textured patterns so tools and small parts stay put. The thick material also reduces noise and protects the lift’s finish from dents or scratches.
Clean the mat with mild soap and water to keep its grip. Replace it if you notice deep cuts, hard glazing, or reduced traction so your bike stays stable during maintenance.
PRO TIP
Trim the mat to fit snugly on your lift top. Use adhesive-backed strips if the mat shifts during heavy work.
8) 4-Drawer Locking Tool Chest (mechanic’s style)
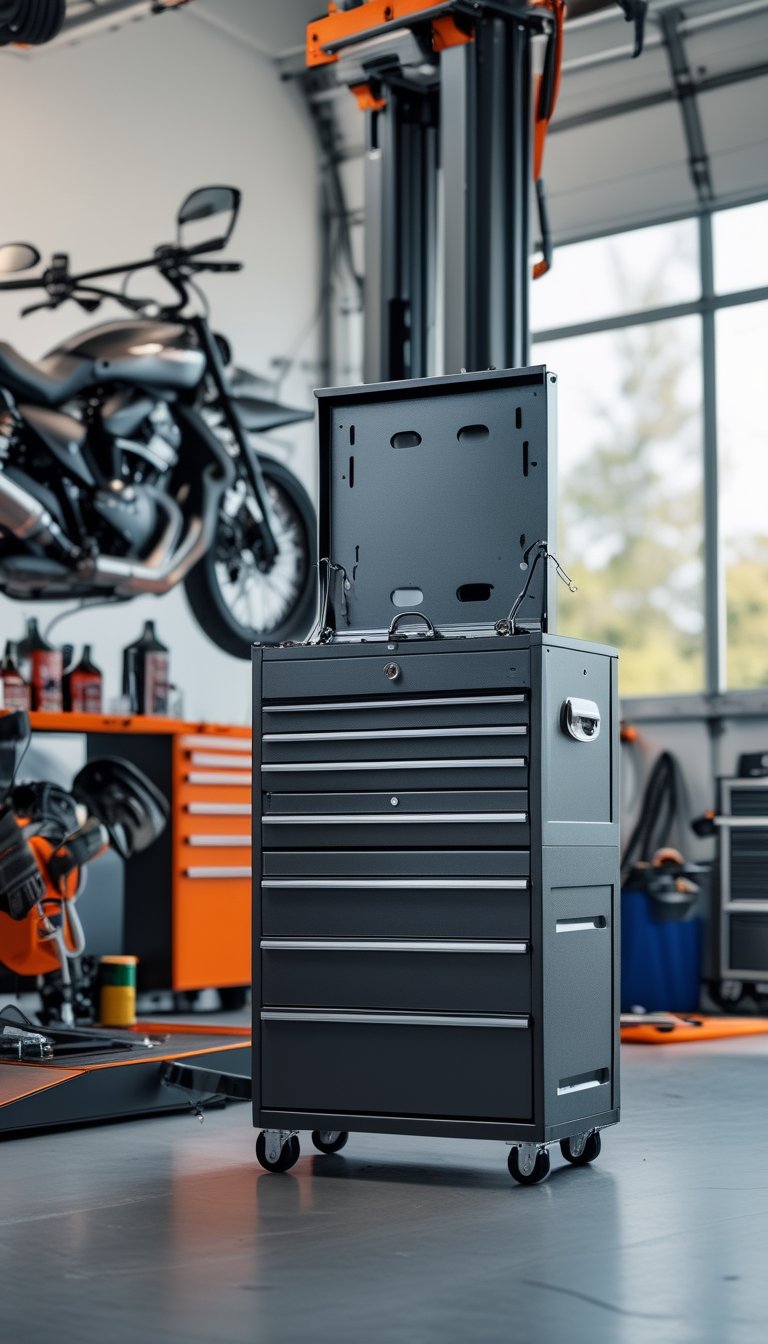
A 4-drawer locking tool chest keeps your tools organized and secure. You can sort wrenches, sockets, and screwdrivers by drawer so you spend less time looking for what you need.
Place the chest near your workspace for quick access during routine maintenance. Lock it when you leave or store expensive items inside to reduce loss or misuse.
Choose one with smooth drawer slides and a sturdy top that doubles as a small work surface. Make sure it fits under or beside your lift without blocking movement or access.
PRO TIP
Label each drawer by tool type or task to speed up work. Keep a small tray on top for current projects so parts don’t get lost.
9) Magnetic LED Work Light with Flexible Gooseneck
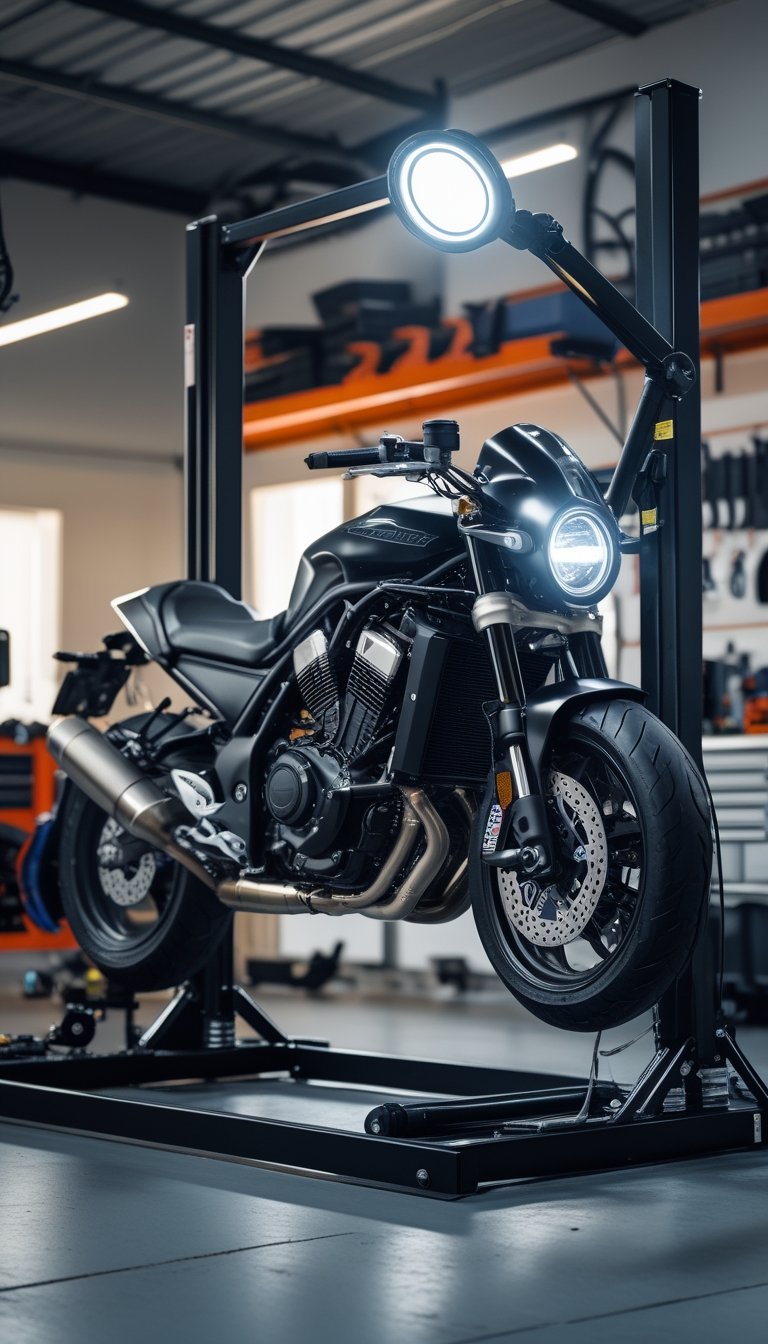
A magnetic LED work light with a flexible gooseneck helps you see tight spots on your bike. You can stick it to the frame or lift and bend the neck to aim light where you need it.
The light is bright and uses little power, so your battery or charger lasts longer. It frees both hands, which makes tasks like wiring, spark plug checks, and chain work easier.
The magnet holds well on metal, but test the grip before leaning on it. Keep the lens clean and avoid getting oil on the magnet to maintain strong contact.
PRO TIP
Aim the beam from different angles to reduce shadows. Use multiple small lights instead of one big light for even coverage.
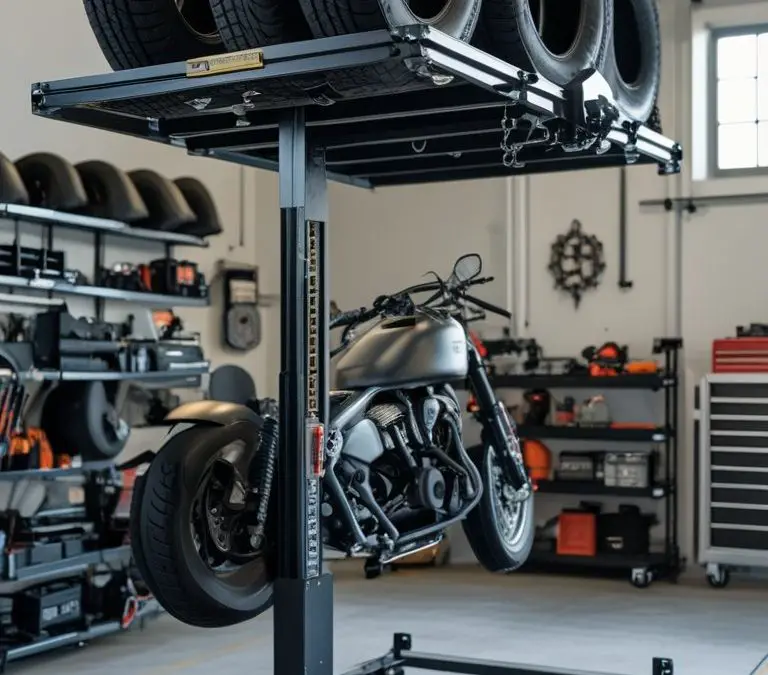
10) Overhead Tire Hanger and Storage Rack
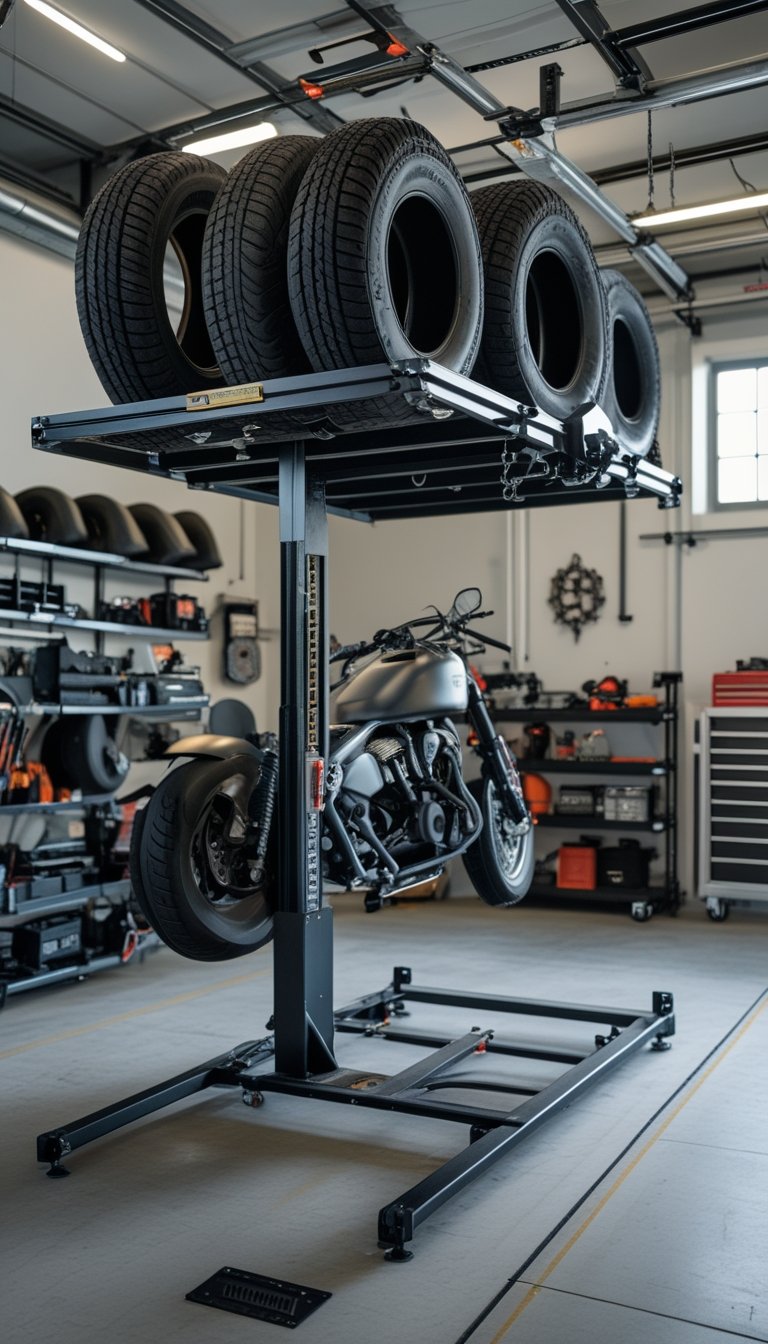
An overhead tire hanger keeps spare wheels out of your way and off the floor. You gain floor space for lifts and work areas while protecting tires from flattening and dust.
Mount the rack to ceiling joists or solid beams for safety. Use proper anchors and check weight limits so the rack holds your tires without sagging.
Hang tires vertically or store them flat, whichever fits your space best. Label each tire with date and use to track wear and rotation.
PRO TIP
Position the rack above your main work area so tires are easy to reach but not underfoot. Add straps to secure tires during removal or if you have a workshop fan running.
11) Battery Tender Junior with Smart Charger
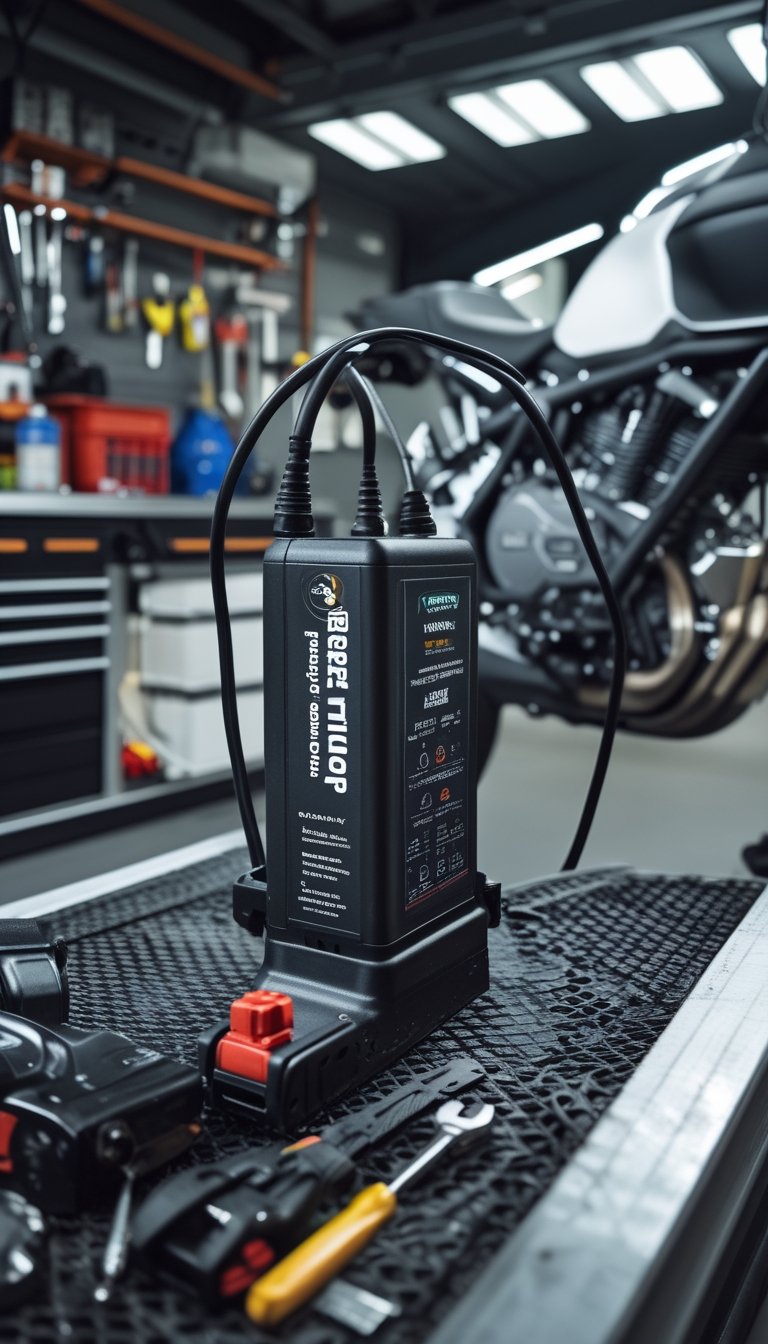
A small smart charger keeps your battery healthy when your bike sits for weeks. It attaches to the battery and uses low, steady current to prevent overcharging. You can leave it connected safely during long storage.
The charger has simple lights that show charge status, so you know when the battery is full. It also has protection against sparks and reverse polarity, which reduces risk during hookup. You won’t need to babysit it, just check occasionally.
PRO TIP
Mount the charger where it stays dry and gets airflow. Use a quick-disconnect lead on the battery for easy hookup before and after rides.
12) Oil Drain Pan with Funnel and Spout
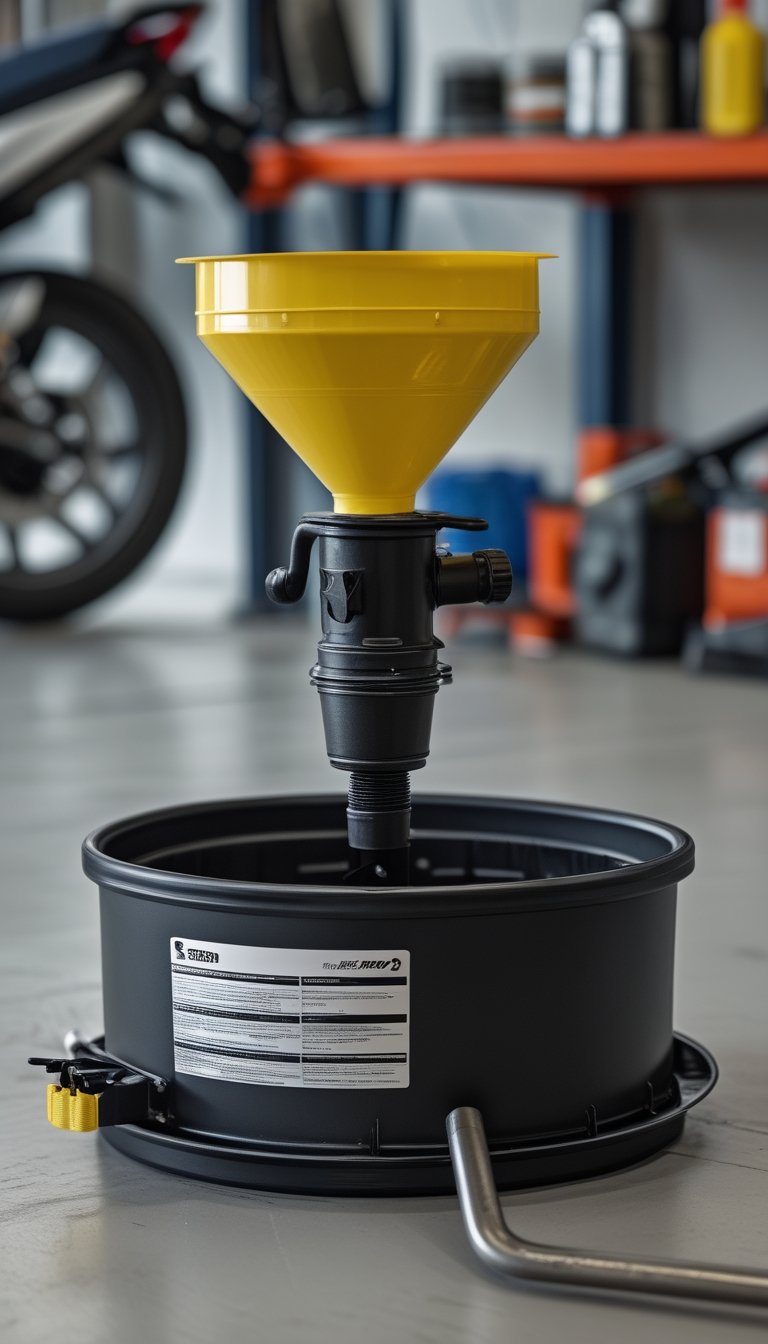
An oil drain pan with a built-in funnel and spout makes oil changes cleaner and faster. You place the pan under the drain plug, pour used oil into the funnel, and then use the spout to pour oil into a container for recycling.
Choose a pan with enough capacity for your bike’s oil and a wide funnel to catch drips. Look for a spout that closes securely to avoid spills when you carry used oil to a disposal jug.
Keep the pan clean and check for cracks before each use. Wipe up small spills right away and store the pan away from direct sunlight to prevent warping.
PRO TIP
Warm the engine briefly so the oil drains easier, but let it cool enough to touch safely. Use a filter wrench and gloves to avoid burns and keep your hands clean.
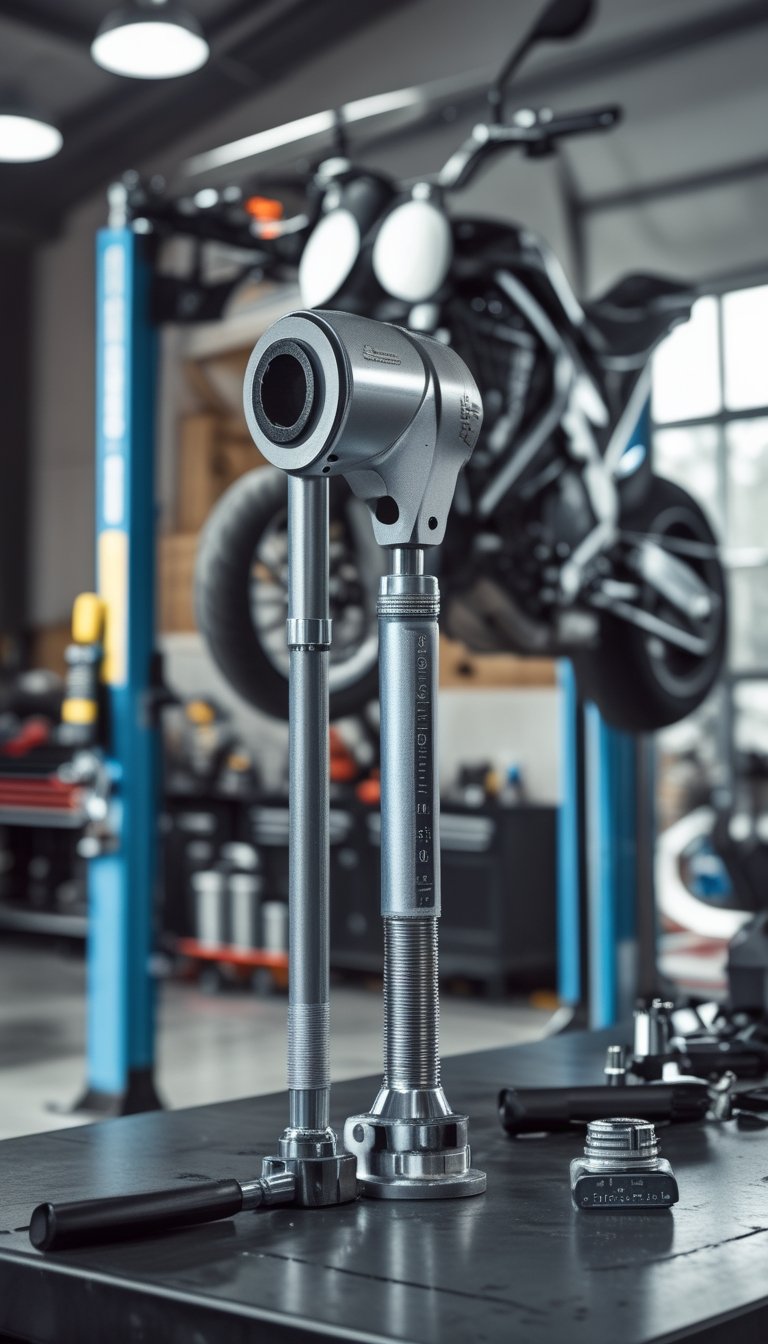
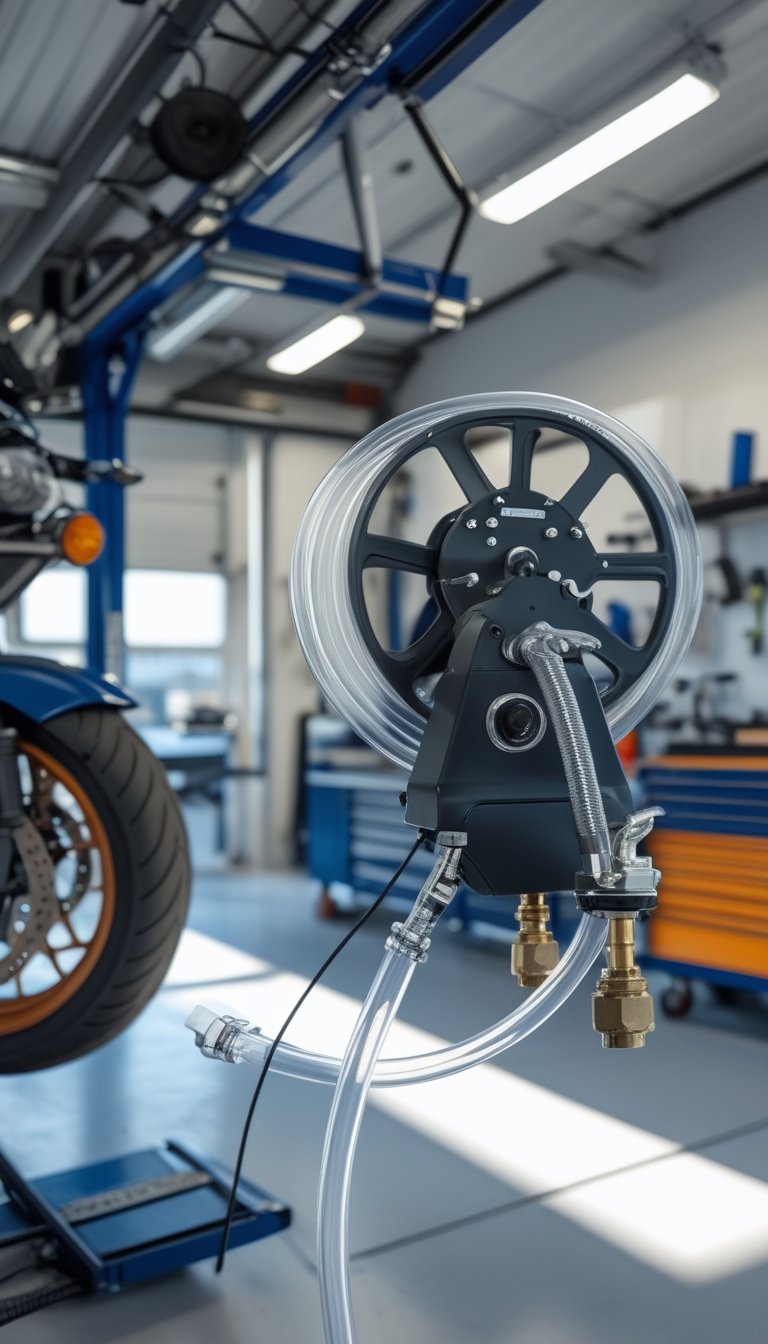
13) Fork Seal Repair Stand Attachment
A fork seal repair stand attachment holds the front end steady while you replace seals. You secure the bike by the triple clamps so the forks hang free and you can slide the seals out without the wheel or axle in the way. This reduces strain and keeps the bike safe during the job.
Some attachments include a soft cradle and adjustable clamps to fit different fork sizes. You can spin forks, push them up and down, and work at a comfortable height. That makes cleaning, inspecting, and installing new seals easier.
Use gentle force and the right tools to avoid nicking the fork tubes. Keep replacement seals and fork oil within reach before you start. Regularly check the attachment’s bolts so nothing loosens while you work.
PRO TIP
Support the bike’s weight evenly and use a pinch bolt or strap for backup. This prevents sudden shifts while you press seals into place.
14) Torque Wrench (1/2″ drive, 10–150 ft·lb)
A 1/2″ drive torque wrench helps you tighten bolts to the exact tension your bike needs. You can avoid stripped threads and parts that come loose by using the right torque value for each fastener.
Choose a wrench that covers 10–150 ft·lb so you can work on axle nuts, engine mounts, and suspension bolts. Work slowly and stop when you hear or feel the click to get consistent torque every time.
Keep the wrench clean and store it at its lowest setting to preserve accuracy. Calibrate it yearly or after drops to make sure it stays reliable.
PRO TIP
Write down torque values from your service manual and label common bolts on your bike. This saves time and keeps your work consistent.
15) Roller Trolley Creeper for Underside Access

A roller trolley creeper lets you slide under your bike with ease. You lie on it and roll on smooth casters to reach the frame, engine, and exhaust without straining your back.
Look for a low-profile deck so you sit close to the ground. Padded support keeps you comfortable during long jobs, and sturdy casters help you move steadily across concrete or shop floors.
Keep the creeper clean and check the wheels often. Replace any casters that wobble to avoid sudden stops while you work.
PRO TIP
Use a small tray on the creeper to keep sockets and bolts within reach. This cuts trips back and forth and saves time.
16) Compressed Air Reel with Quick-Connect Fittings
A retractable air reel keeps hoses tidy and out of the way. You pull the hose to the spot you need, then it locks and retracts when you release it.
Quick-connect fittings let you swap tools fast. You can change a tire inflator, blow gun, or air ratchet without wasting time.
Mount the reel near your lift or workbench for easy reach. Secure it to a wall or ceiling so the hose doesn’t drag across the floor.
PRO TIP
Choose a reel with a durable hose and a smooth retract mechanism. Check fittings often for leaks and replace worn seals to keep pressure steady.
17) Portable Breather Filter and Dust Cover
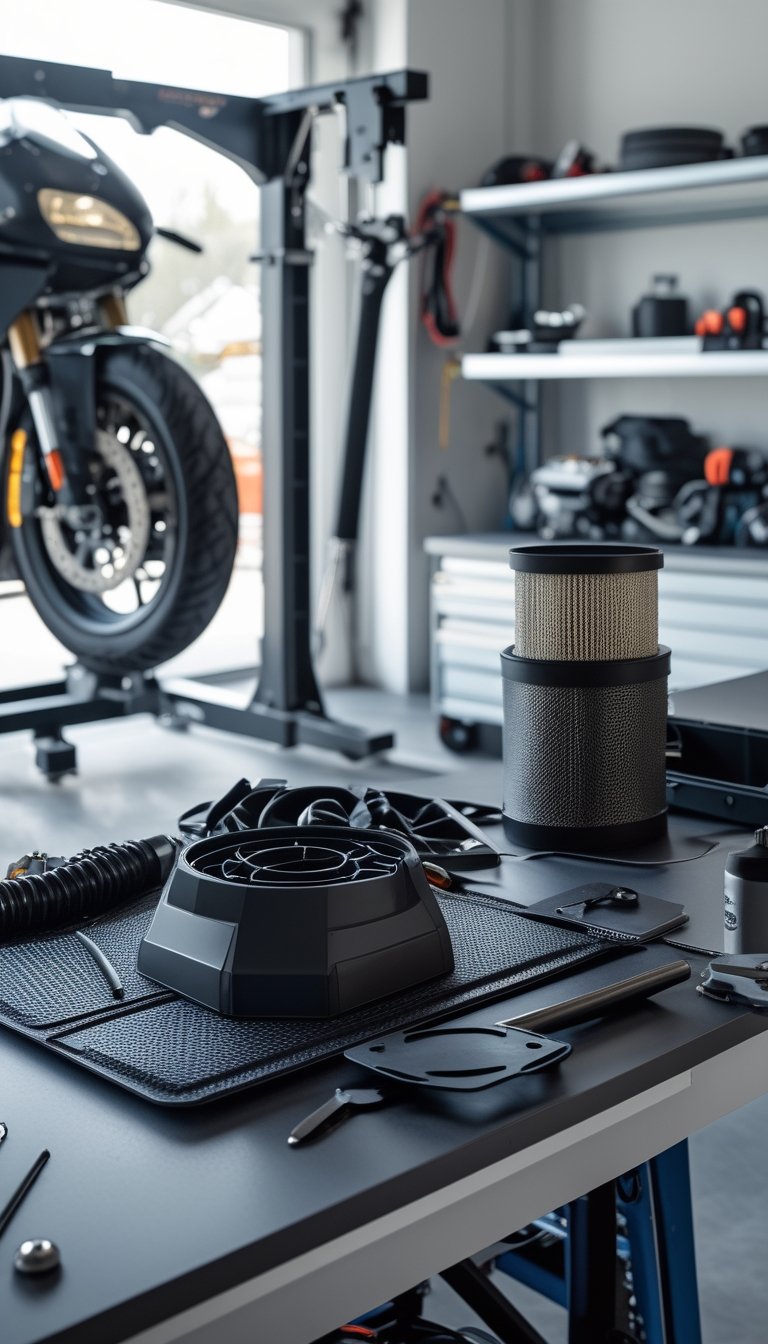
A portable breather filter helps keep dust and moisture out of your bike’s intake or engine when you store or work on it. You slip it onto the vent or breather hose to stop particles while still allowing air to move. It’s lightweight and easy to carry in your tool bag.
A dust cover protects the whole bike from grime, rust, and UV damage during storage. Choose one that breathes so condensation doesn’t build up under the cover. Make sure it fits snugly to prevent wind from blowing it off.
PRO TIP
Use a breathable filter and cover together for best results. Clean the filter regularly and inspect the cover for tears to keep your bike in top shape.
18) Magnetic Parts Tray and Fastener Organizer
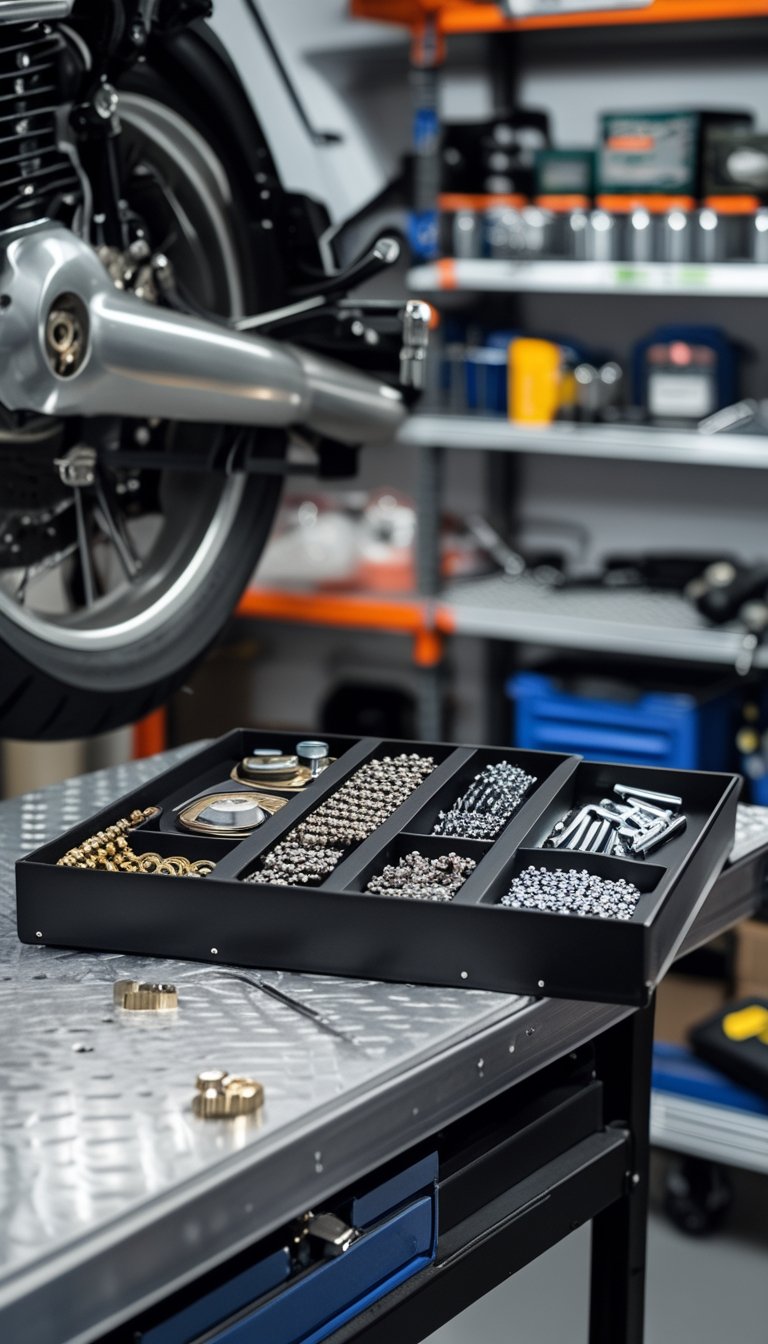
A magnetic tray keeps small parts from rolling away while you work on your bike. Place bolts, nuts, and washers in the tray so you can find them fast. The magnet holds pieces steady, even on uneven surfaces.
Use several trays to sort by size or type. Labeling or arranging them in order saves time when you reassemble parts. You can also stick a tray to metal surfaces to free up workbench space.
An organizer with compartments helps keep similar fasteners together. Clear lids let you see contents without opening them. Choose one that resists oil and won’t corrode from long-term use.
PRO TIP
Keep a small parts mat nearby to catch anything that falls. Transfer parts to a parts tray as soon as you remove them to avoid losing critical pieces.
19) Bench Vise with Soft-Jaw Covers
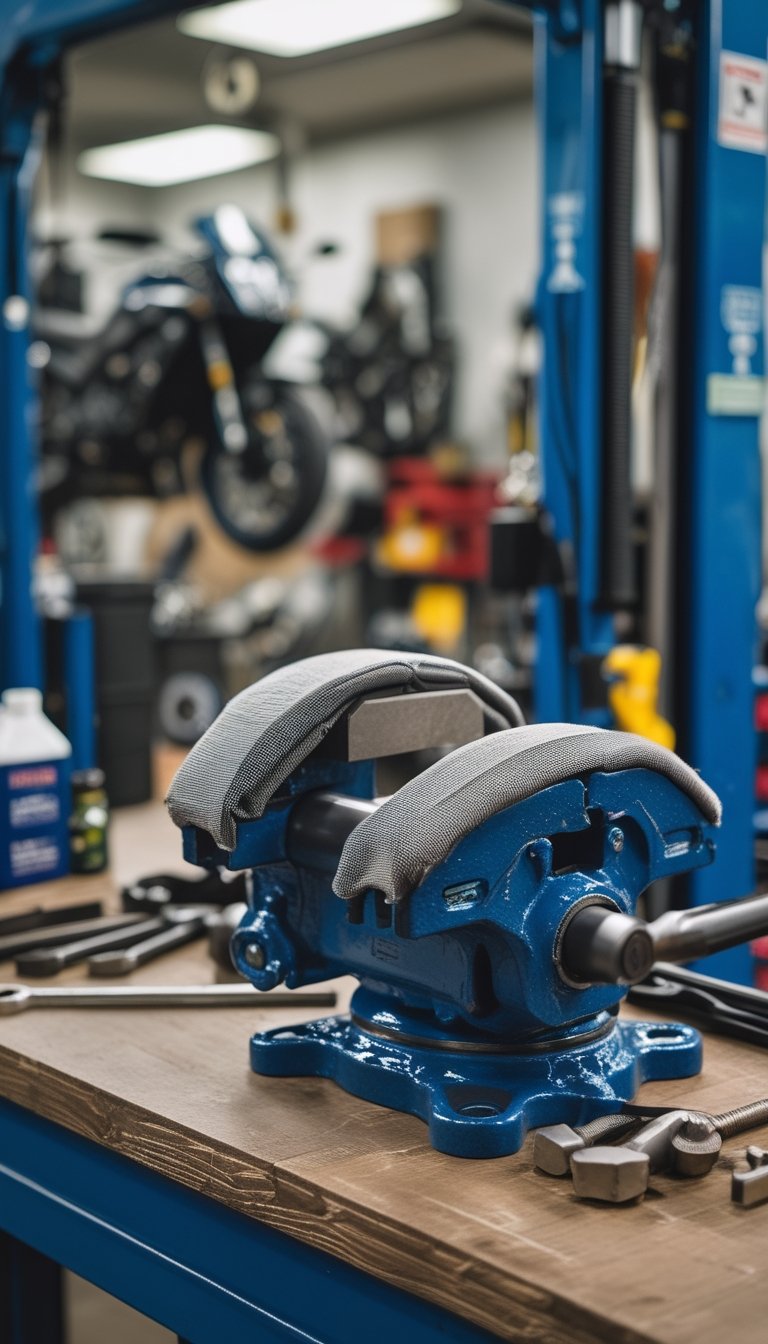
A bench vise gives you a steady grip on small parts when you work on brakes, cables, or brackets. You can clamp metal, plastic, or thin tubing without marking the surface because soft-jaw covers protect the finish.
Mount the vise near your workbench edge so you reach it easily while sitting or standing. Use quick-release jaws for faster adjustments when you move between tasks.
Keep a set of different soft-jaw materials on hand—rubber, leather, and plastic each suit different jobs. Replace worn covers to avoid slipping and to keep parts secure.
PRO TIP
Wrap the soft jaws in tape for a tighter grip on oddly shaped pieces. This adds thickness and prevents sudden slips during filing or bending.


