Last Updated on June 8, 2026
You want a garage floor that looks good, lasts long, and fits your budget. This article walks you through 19 practical coating and flooring ideas so you can pick the option that suits your needs and wallet.
You will learn simple, cost-aware choices for protection, traction, and style so you can improve your garage without overspending.
You’ll find options from easy DIY paints and roll-out mats to longer-lasting overlays and tile systems. Use the tips to weigh cost, effort, and durability so you can choose the best path for your space.
1) Concrete floor paint (masonry paint)
Concrete floor paint gives your garage a clean look without costing much. You apply it with a roller after sweeping and cleaning the floor. It hides stains and evens out color, making the space look brighter.
It works best on sound, dry concrete. Crack repair and etching may be needed so the paint bonds well. Apply at least two thin coats for even coverage and better durability.
An indoor-rated option resists light oil and water, but heavy vehicle traffic will wear it over time. Recoat every few years to keep the finish looking fresh and to protect the concrete.
PRO TIP
Work on a calm, dry day and follow drying times between coats for a stronger finish.
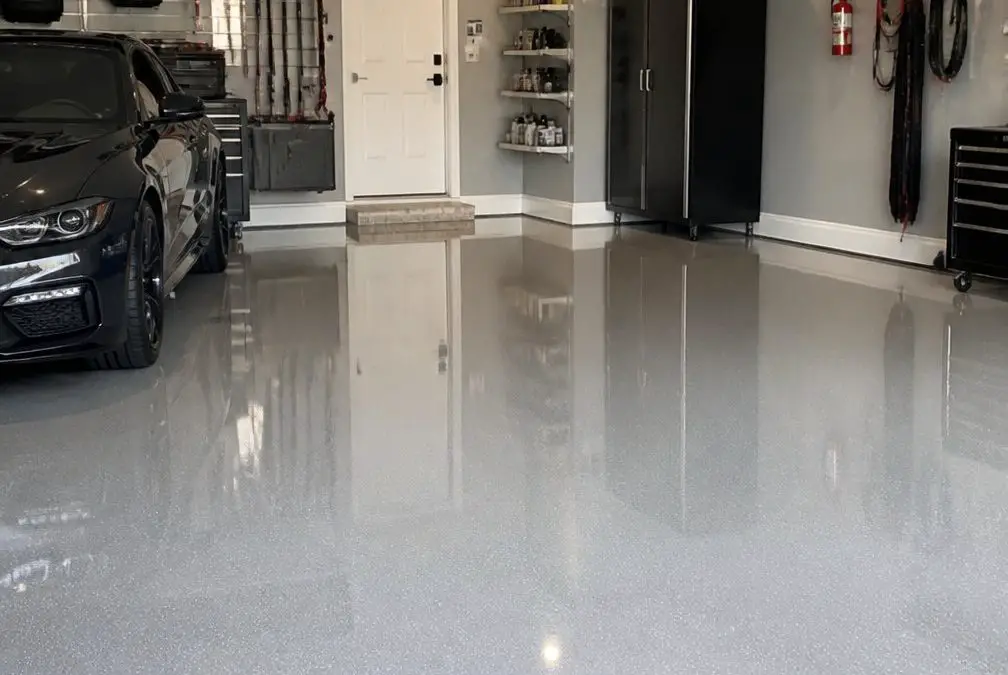
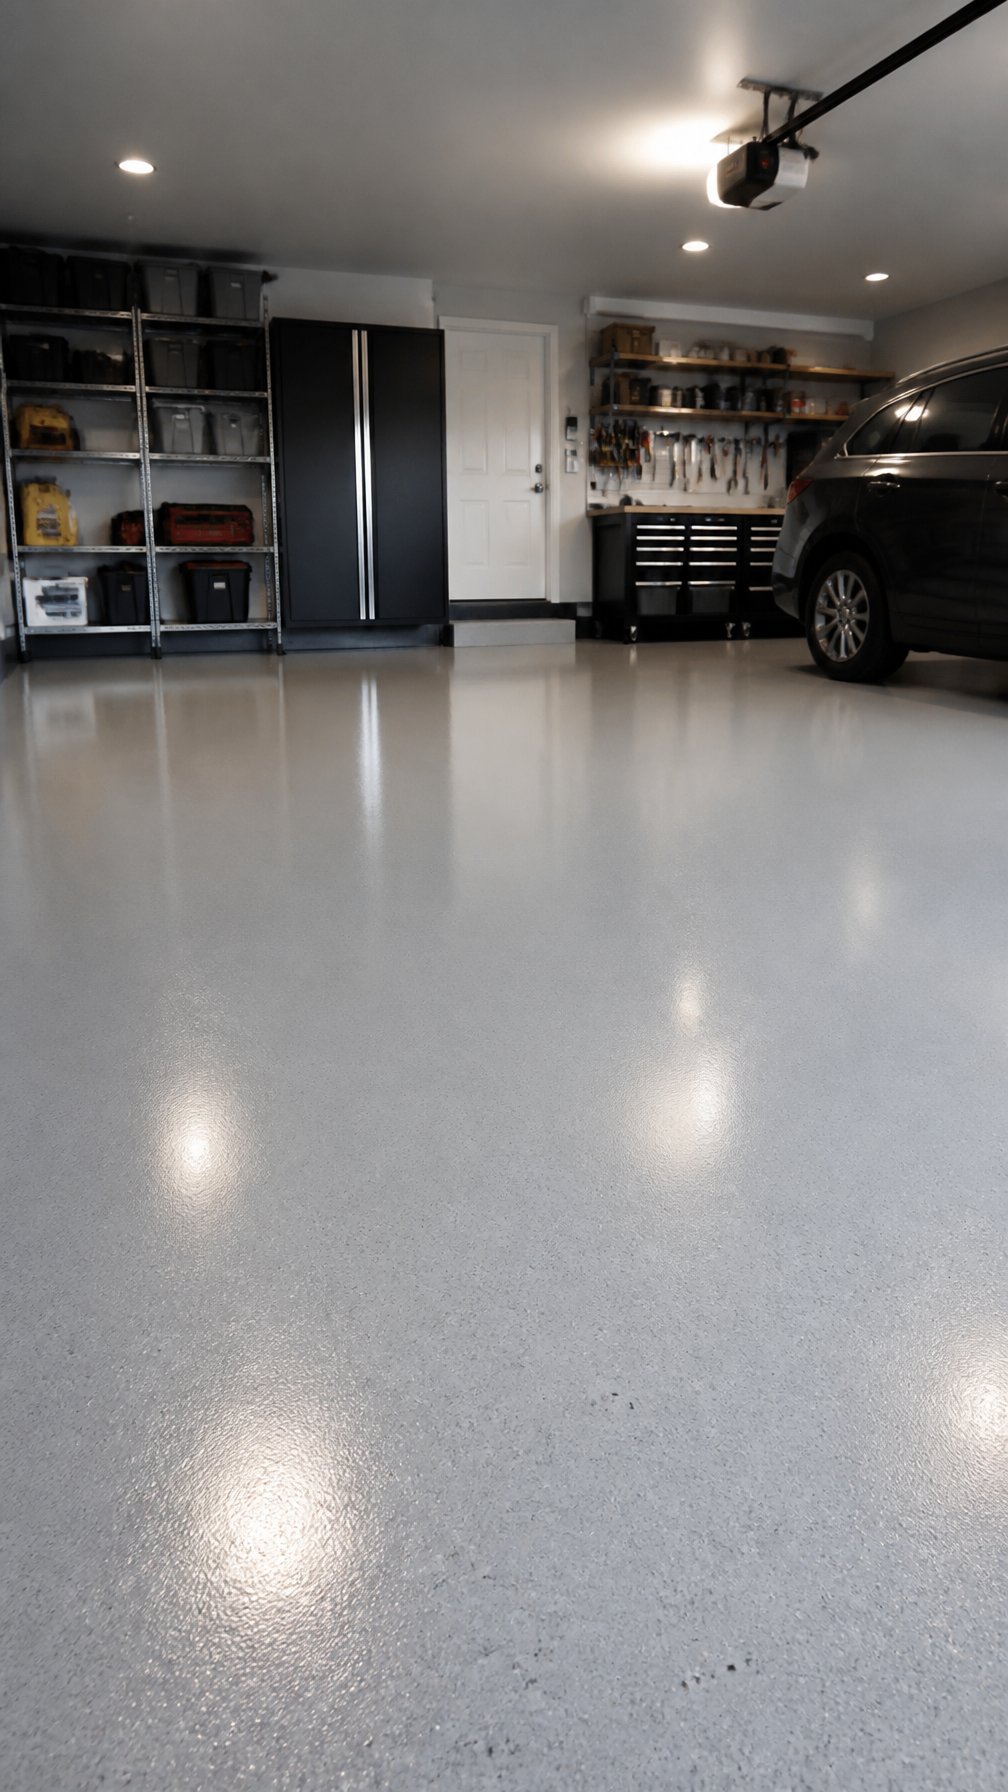
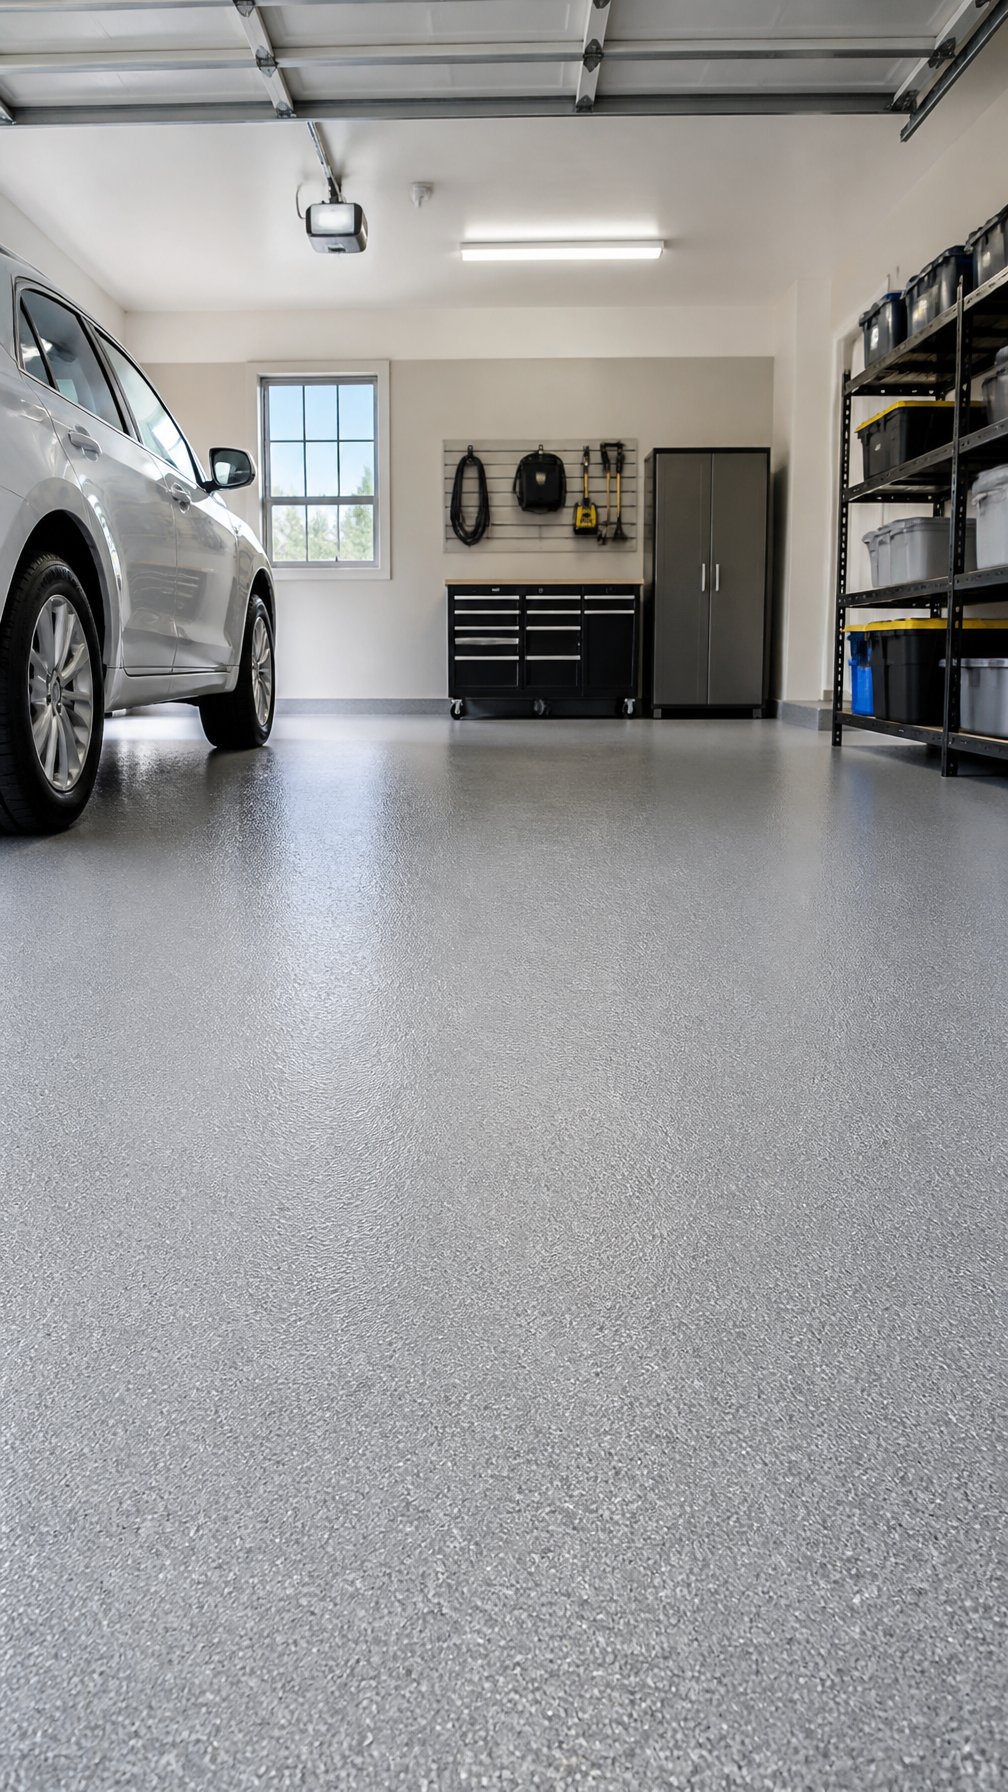
2) Rust-Oleum RockSolid Epoxy Garage Floor Kit
This epoxy kit gives your garage a tough, glossy finish that hides stains and small cracks. It comes in a kit that includes base and hardener, so you can mix and pour the epoxy yourself.
You should clean and etch the concrete first for a strong bond. Apply the epoxy in thin, even coats and work in small sections to avoid lap marks.
The kit also lets you add color flakes for a decorative look and extra slip resistance. Wear gloves and a mask, and keep the area well ventilated while you mix and apply the epoxy.
PRO TIP
Plan for slow curing when temperatures are low; warm days speed up curing and help the finish level out.
3) Behr Concrete and Garage Floor Paint
You can get a durable, low-cost floor coating that sticks well to bare concrete. It spreads easily with a roller, so you can cover a two-car garage in a weekend with basic tools. The finish resists light stains and makes cleaning simpler.
Prep matters: clean, etch, and let the floor dry fully before you start. Apply two thin coats for best coverage and allow proper dry time between coats. Work in cool, dry weather for the easiest application and best bond.
PRO TIP
Test a small patch first to check adhesion and color under your lighting. Use non-skid additive if you want extra traction without a big cost increase.
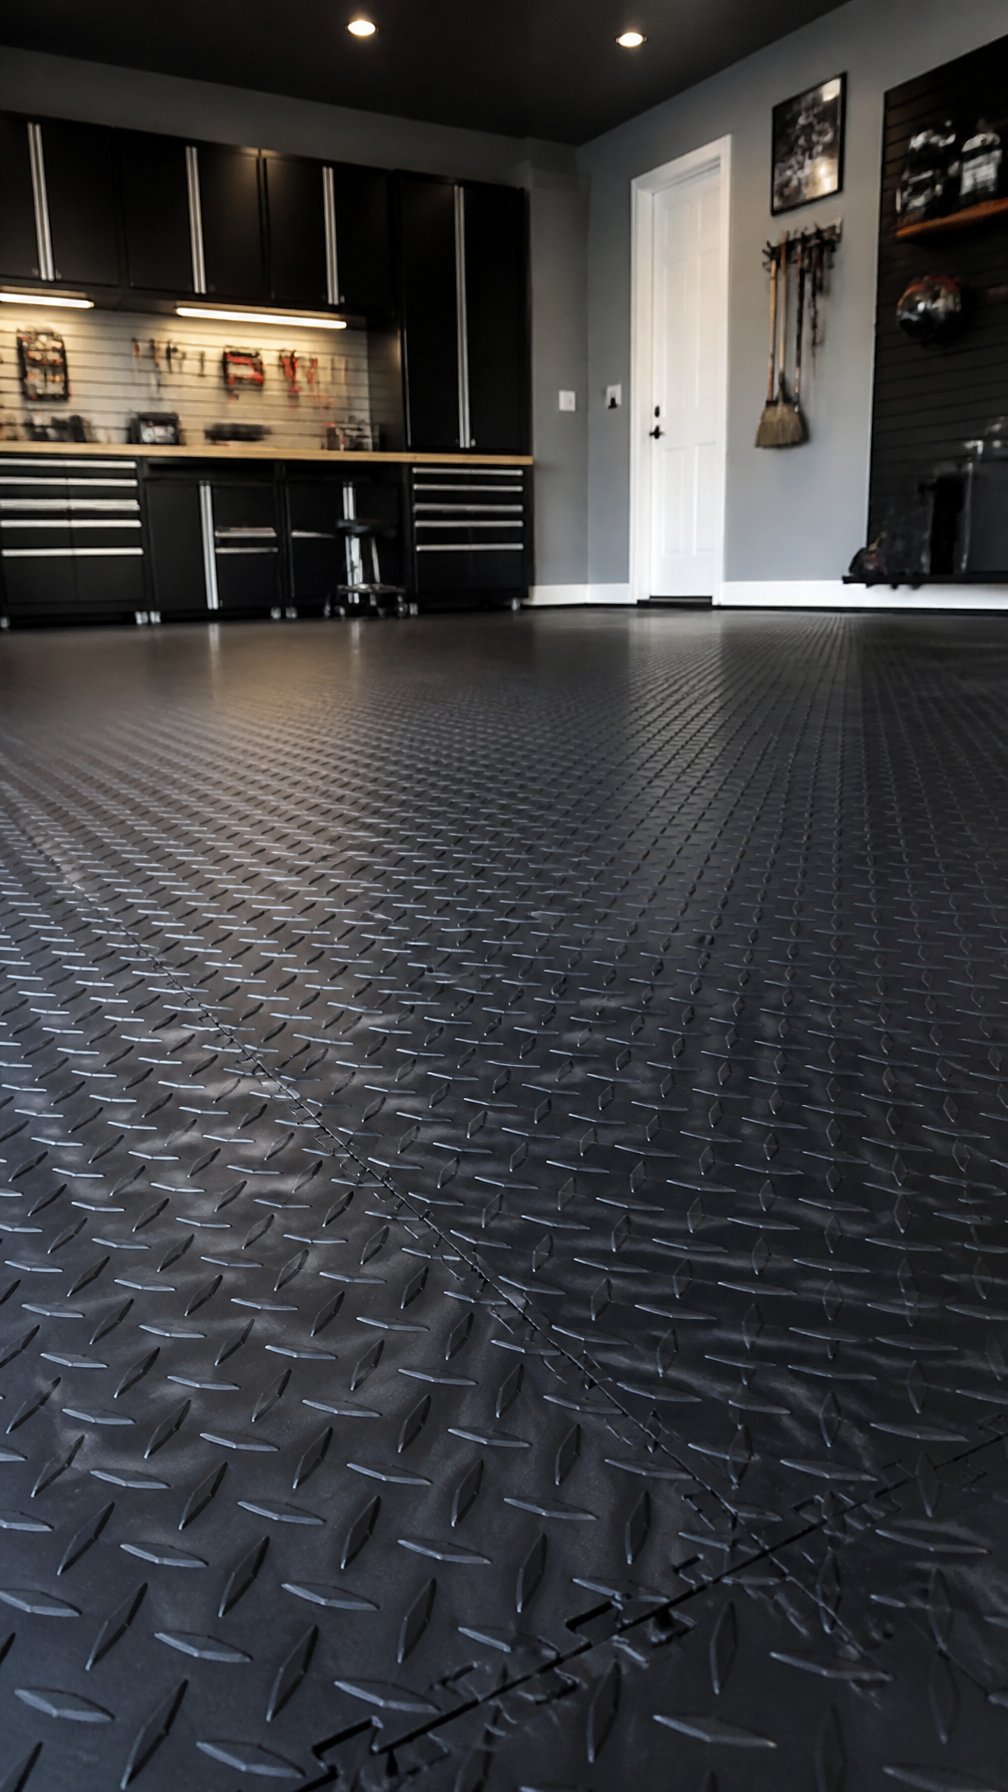
4) Peel-and-stick vinyl plank flooring (commercial-grade)
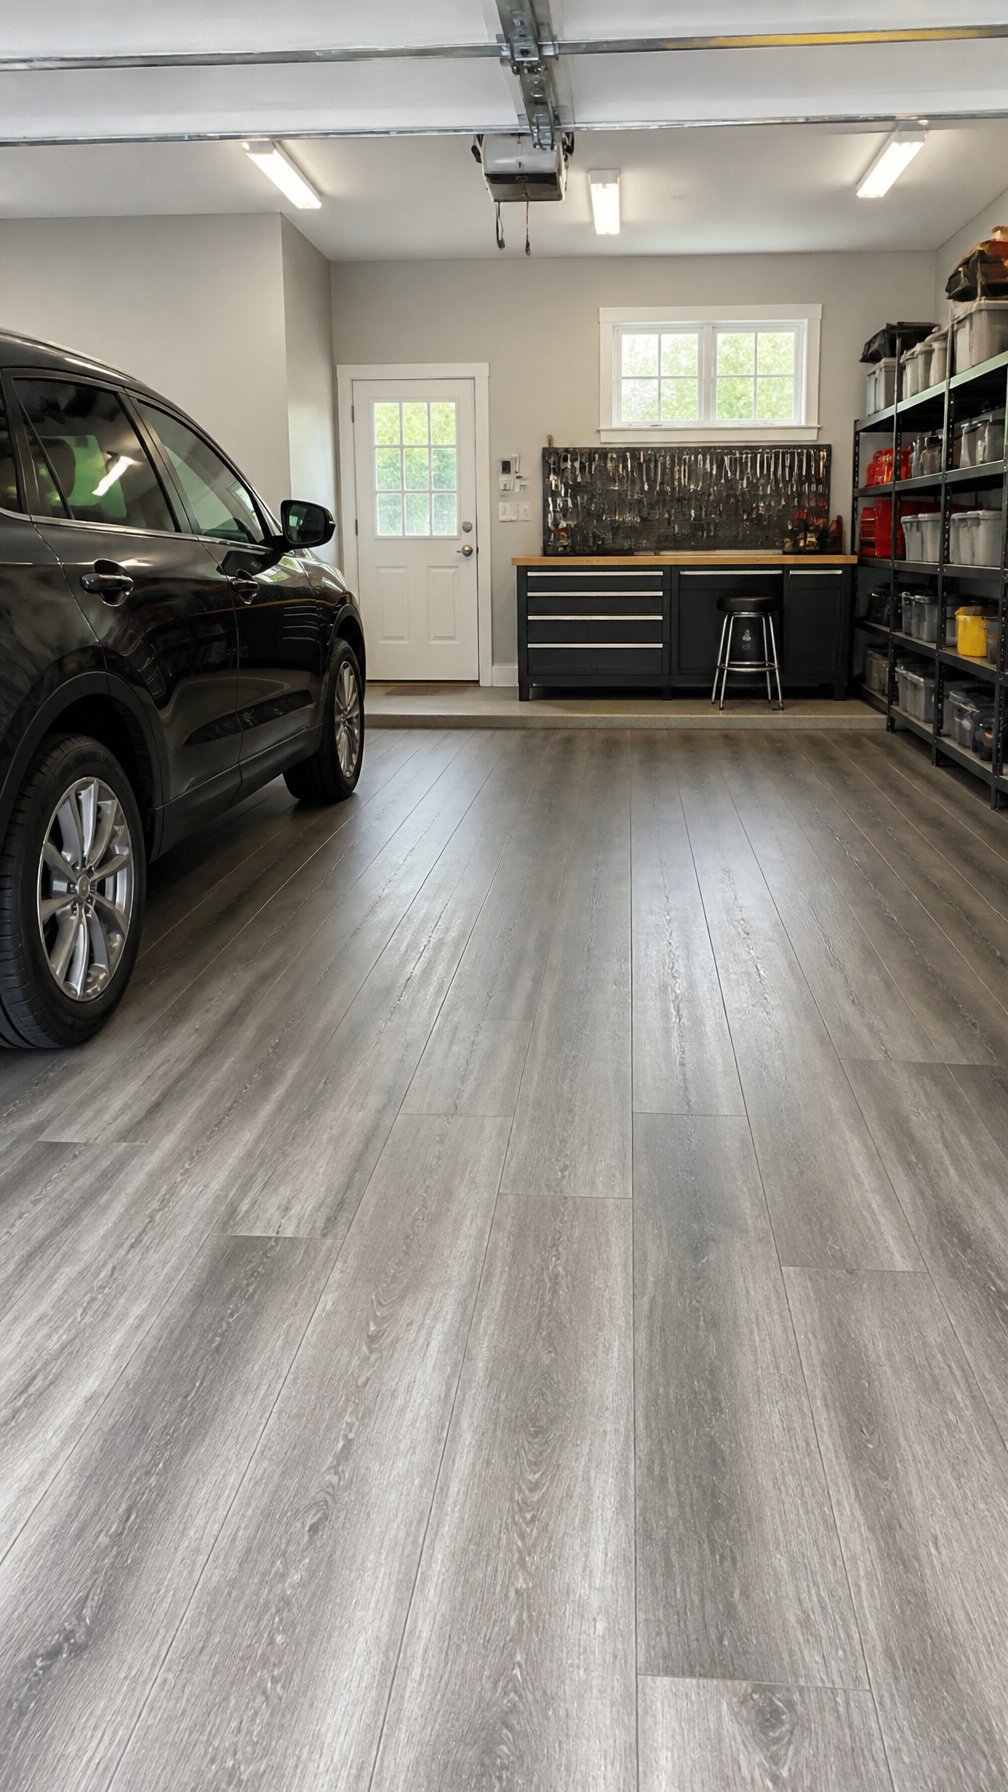
Peel-and-stick vinyl planks give your garage a clean, finished look without a big budget. You can install them over a smooth, dry concrete floor in a weekend, and the surface feels softer underfoot than bare concrete.
Choose commercial-grade options for better wear resistance and thicker backing. These hold up to foot traffic, tool drops, and occasional vehicle entry better than thin residential types.
Prepare the floor by cleaning and repairing cracks so the adhesive sticks well. Work from one side to the other, pressing each plank firmly and staggering seams for strength and a natural look.
PRO TIP
Allow the adhesive to set for 24–48 hours before driving on it. Use a floor roller or a heavy hand to remove air bubbles and ensure full contact.
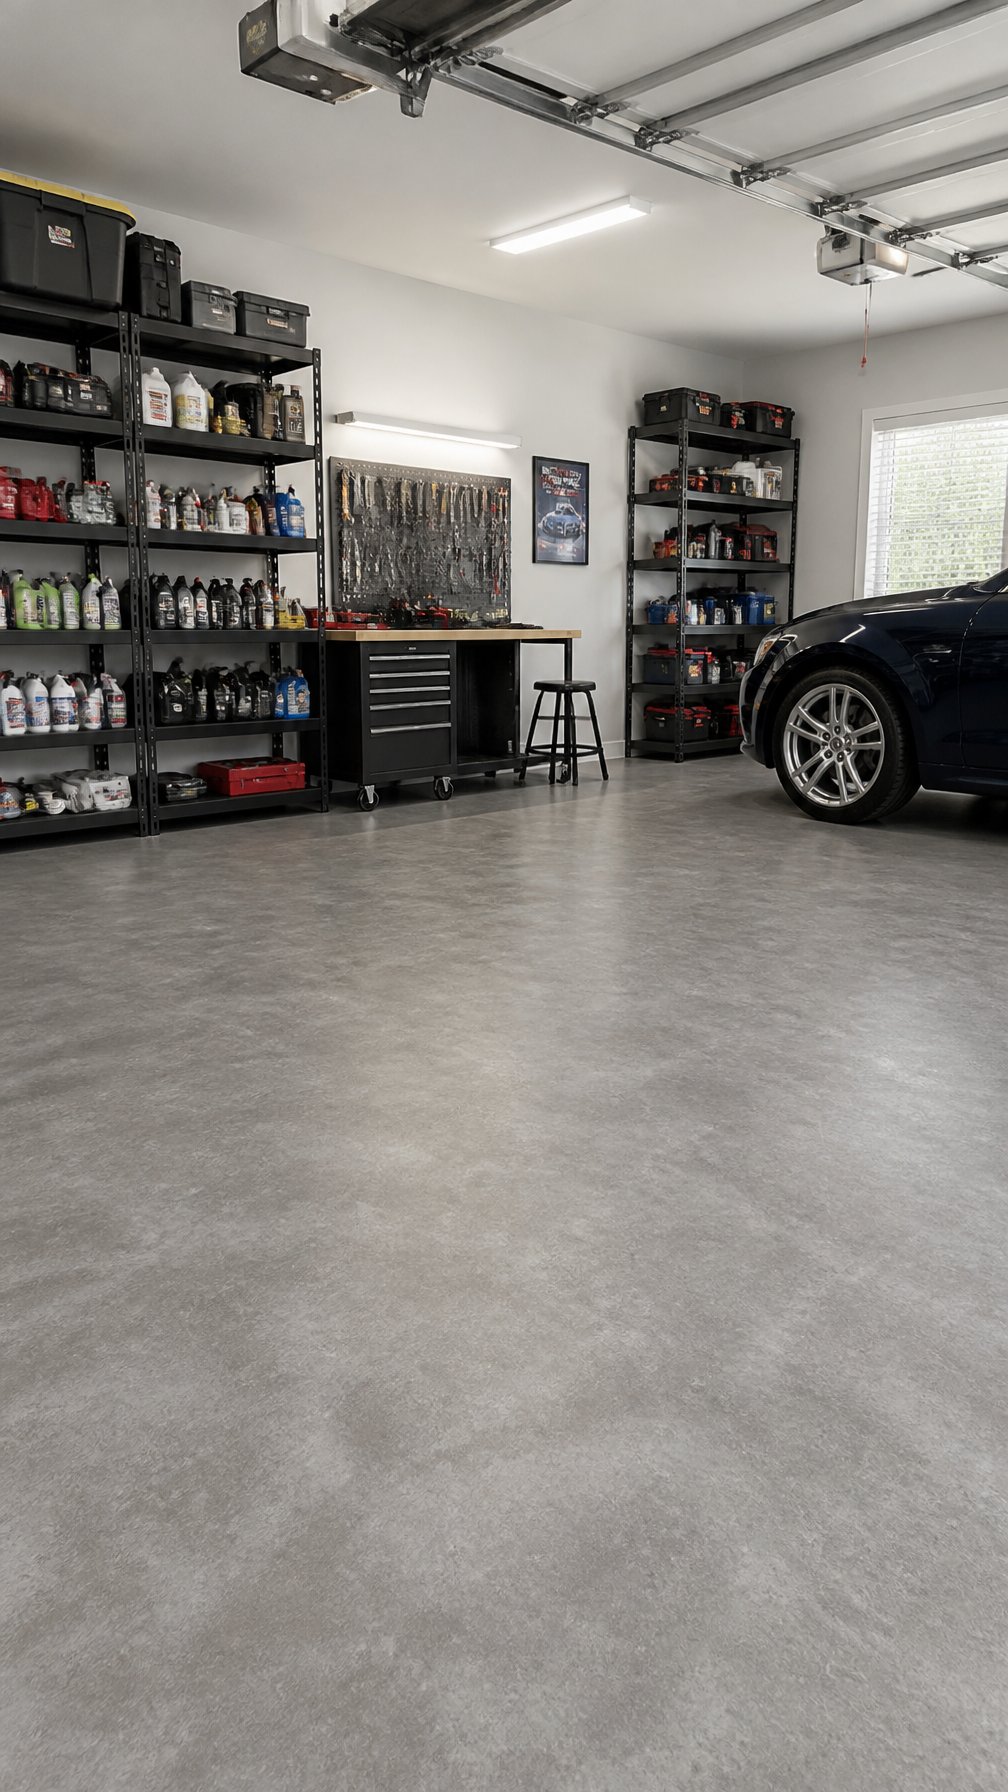
5) Interlocking recycled rubber tiles (e.g., Greatmats Rubber Tiles)
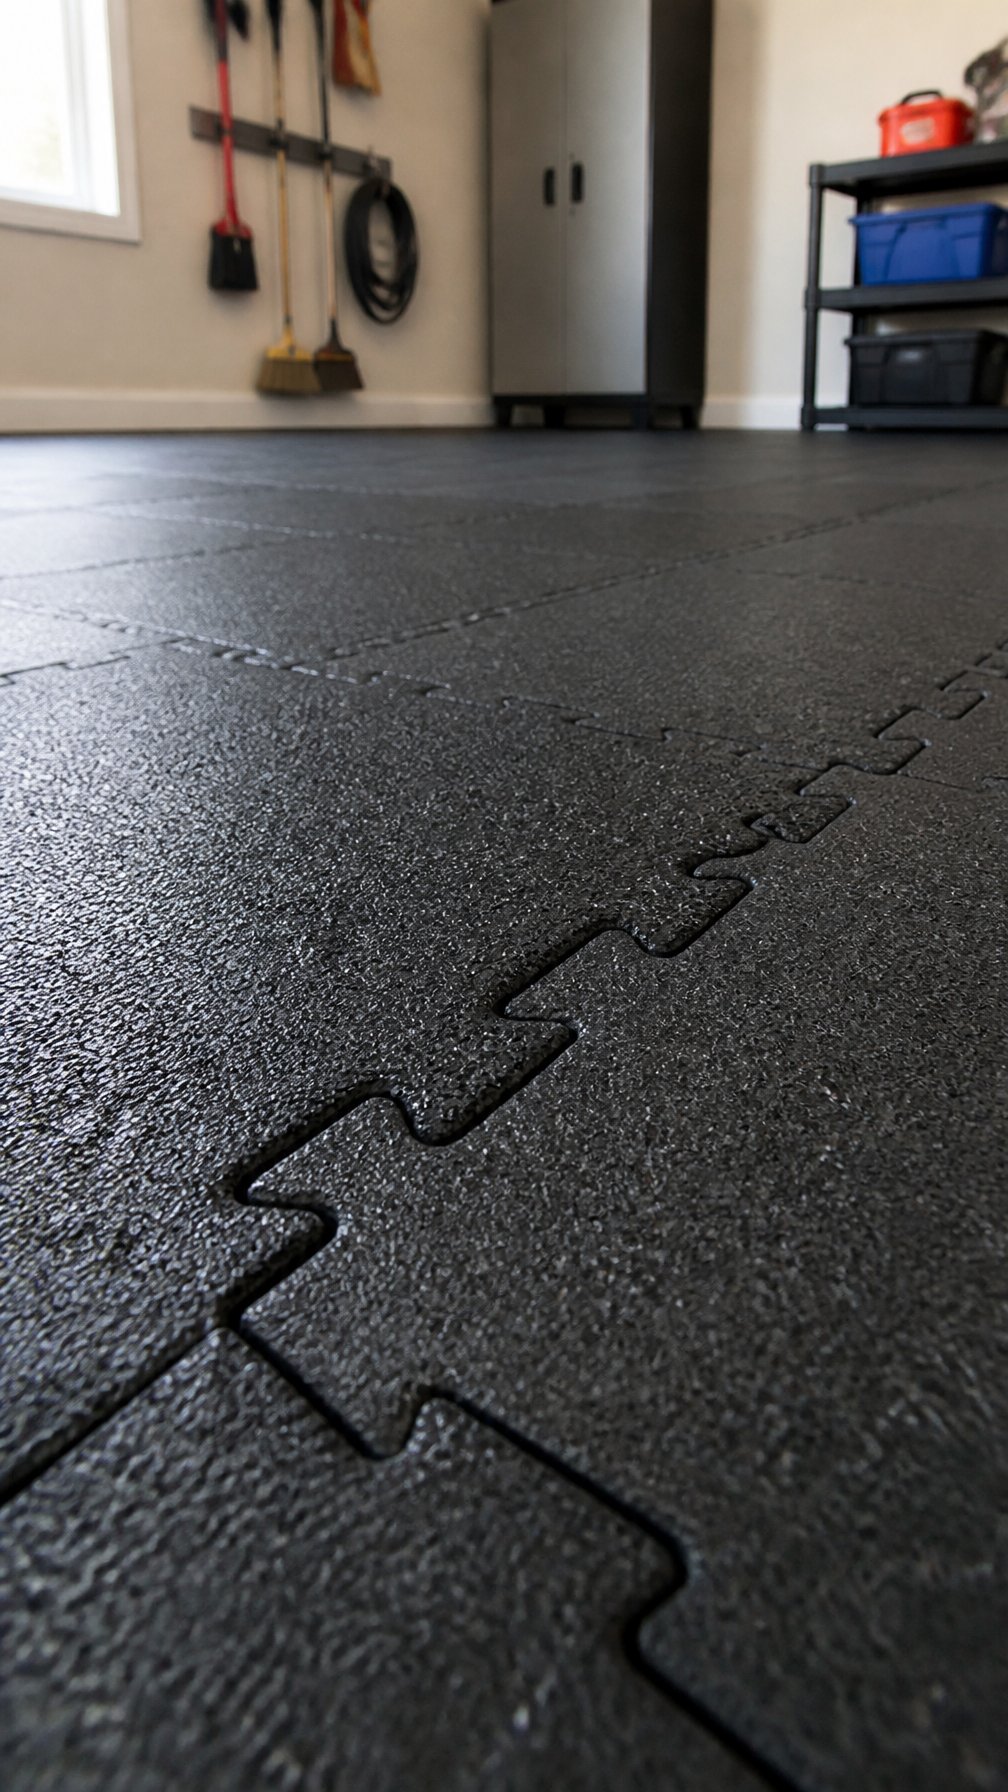
Interlocking recycled rubber tiles snap together for an easy install. You can lay them over concrete without glue, and you’ll be standing on a finished floor in a few hours.
These tiles cushion drops and reduce noise, so they’re good for a home gym or workshop. They resist stains and don’t show scuffs as much as painted floors.
Cut tiles with a utility knife to fit edges and corners. Clean the concrete first and work from one side to the other for best results.
PRO TIP
Buy a few extra tiles to replace any that get damaged later. Store them flat and out of sunlight to keep the edges from warping.
6) Roll-out PVC garage floor mats (e.g., Genstone Roll-Out)
Roll-out PVC mats lie flat and cover large areas quickly. You unroll them, cut to fit, and secure edges with tape or adhesive strips.
They resist oil, stains, and water better than plain paint. The surface is slightly textured to help grip shoes and tires, so slips are less likely.
Installation takes little time and needs only basic tools. You can remove or replace sections as needed without major work.
They add a clean look without changing the concrete. Expect some odor at first; airing the garage for a day or two usually helps.
PRO TIP
Measure carefully and leave a small gap at walls for expansion. Clean the floor first so the mat lies flat and stays put.
7) Water-based acrylic concrete sealer
A water-based acrylic sealer gives your garage floor a thin, clear protective layer. It soaks into the concrete surface and helps resist stains, dust, and light wear.
You can apply it with a roller or sprayer, and it dries fast. That makes it easy to do in a day and reduces downtime for your garage.
This sealer stays breathable, so moisture under the slab can escape. It won’t build a thick film like some coatings, but it improves cleaning and extends the life of the concrete.
PRO TIP
Prep the floor well by cleaning and letting it dry completely. Apply thin, even coats and follow the recoat window for best adhesion.
8) Polished concrete finish with topical densifier
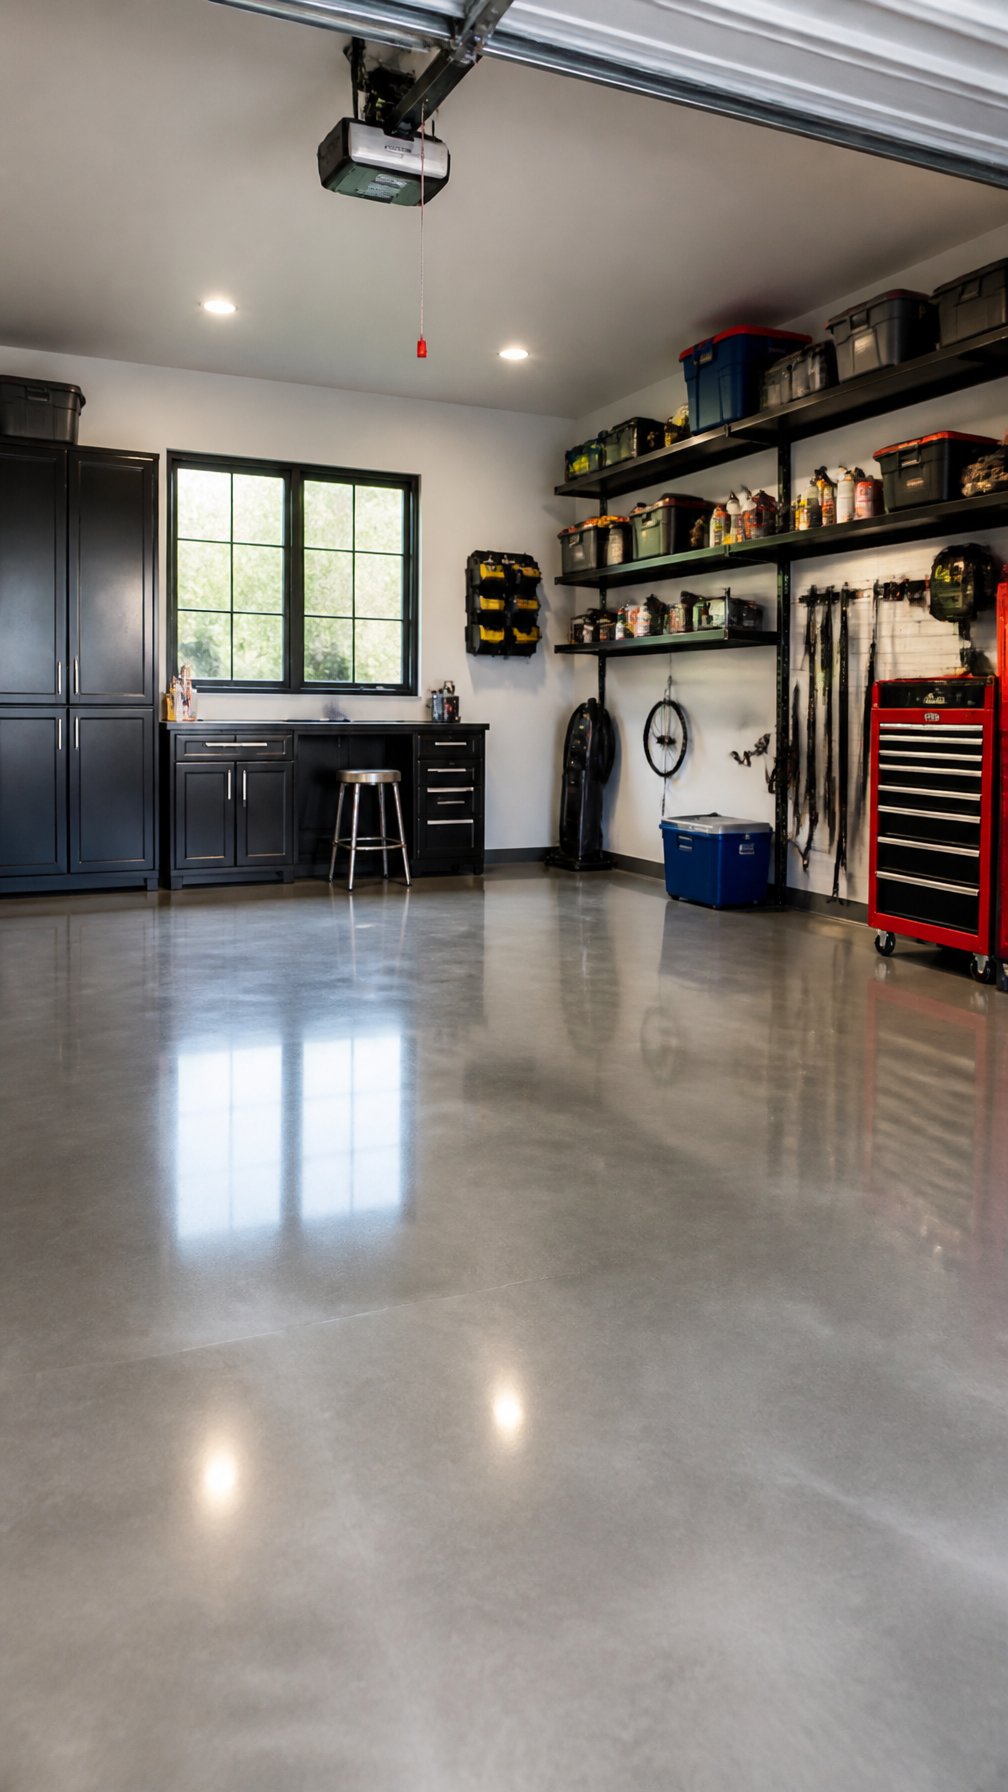
A polished concrete finish gives your garage a clean, low-maintenance floor without a thick coating. You grind and polish the slab, then apply a topical densifier to harden the surface and reduce dust. The result is a smooth, slightly glossy floor that resists staining better than bare concrete.
This option keeps costs down because you don’t add layers of resin or paint. It works well if your slab is in good shape; cracks or heavy damage need repair first. Expect a professional job to last years with simple sweeping and occasional damp mopping.
PRO TIP
Polish in stages, starting coarse and moving finer. That helps achieve an even shine. Work in good ventilation and seal small cracks before polishing for a smoother finish.
9) DIY metallic epoxy kit (e.g., Epoxy-Coat Metallic Kit)
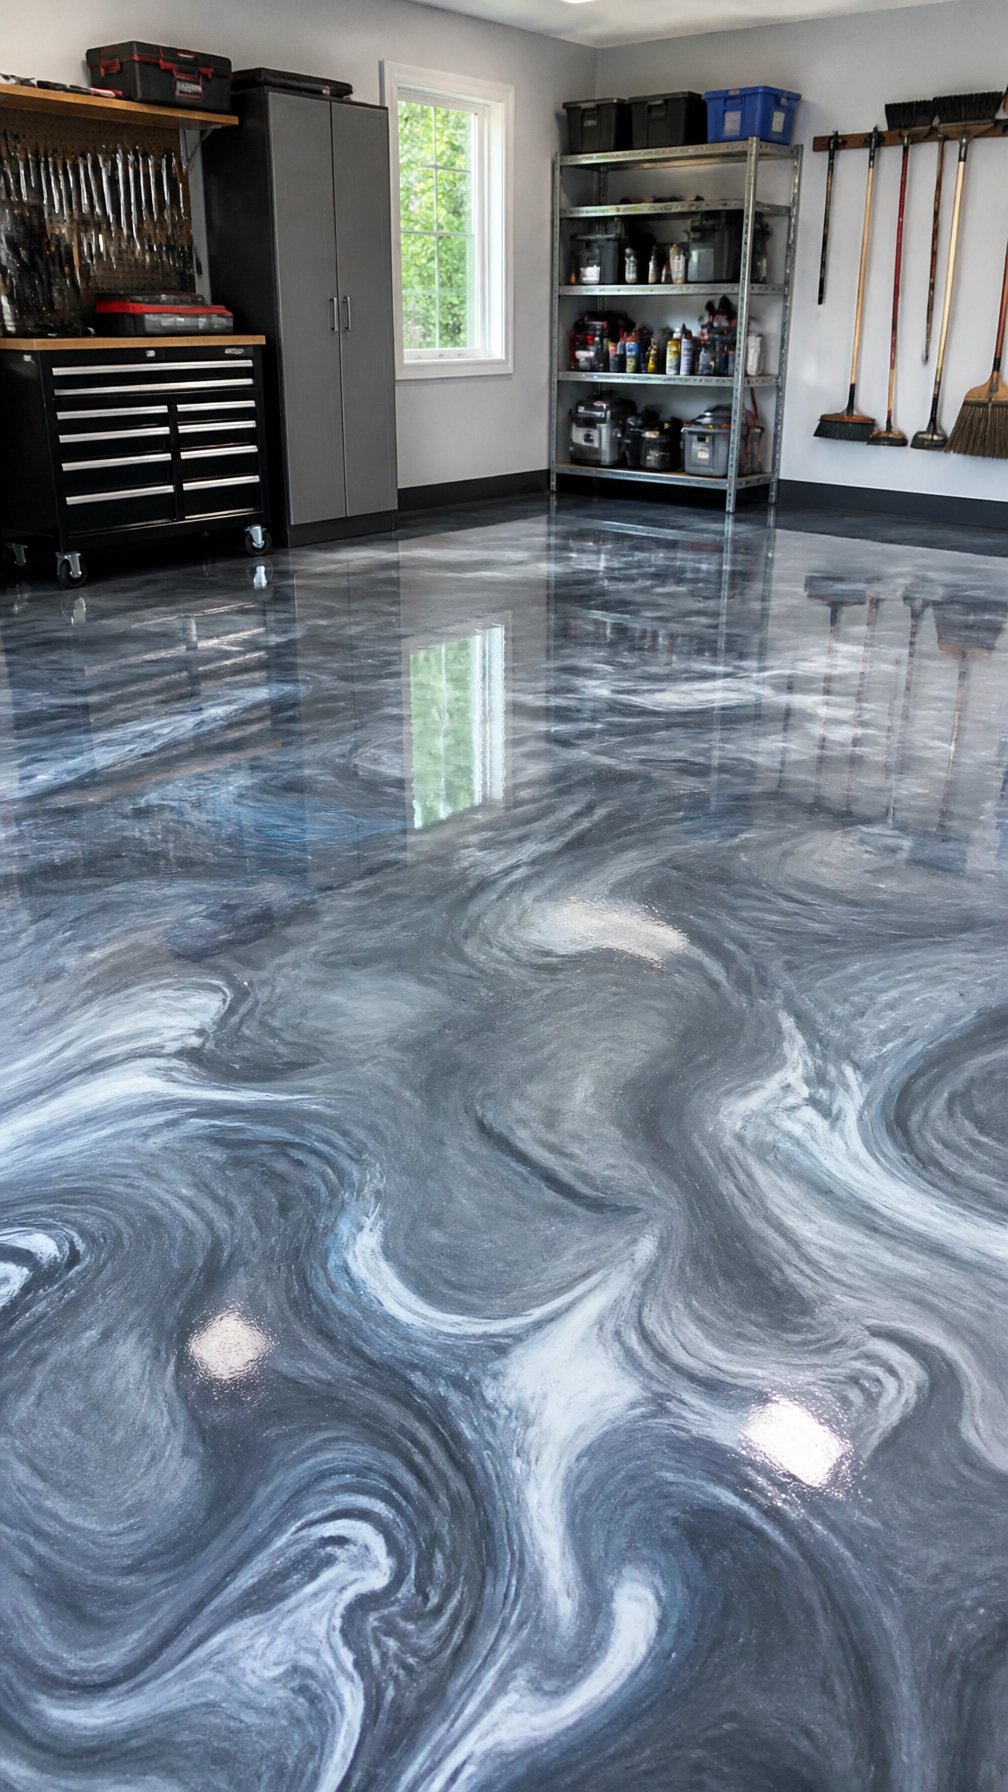
A DIY metallic epoxy kit lets you get a high-end look without a big price tag. You mix resin, hardener, and metallic pigments, then pour and spread them over a prepped concrete floor.
Work in small areas and use a roller and a squeegee for even coverage. The finish hides minor imperfections and offers a glossy, marbled look that changes with light.
Cure times vary, so keep traffic off the floor until it hardens fully. You’ll need gloves, a respirator, and good ventilation to stay safe while you work.
PRO TIP
Do a small test patch first to practice technique and to check color and depth.
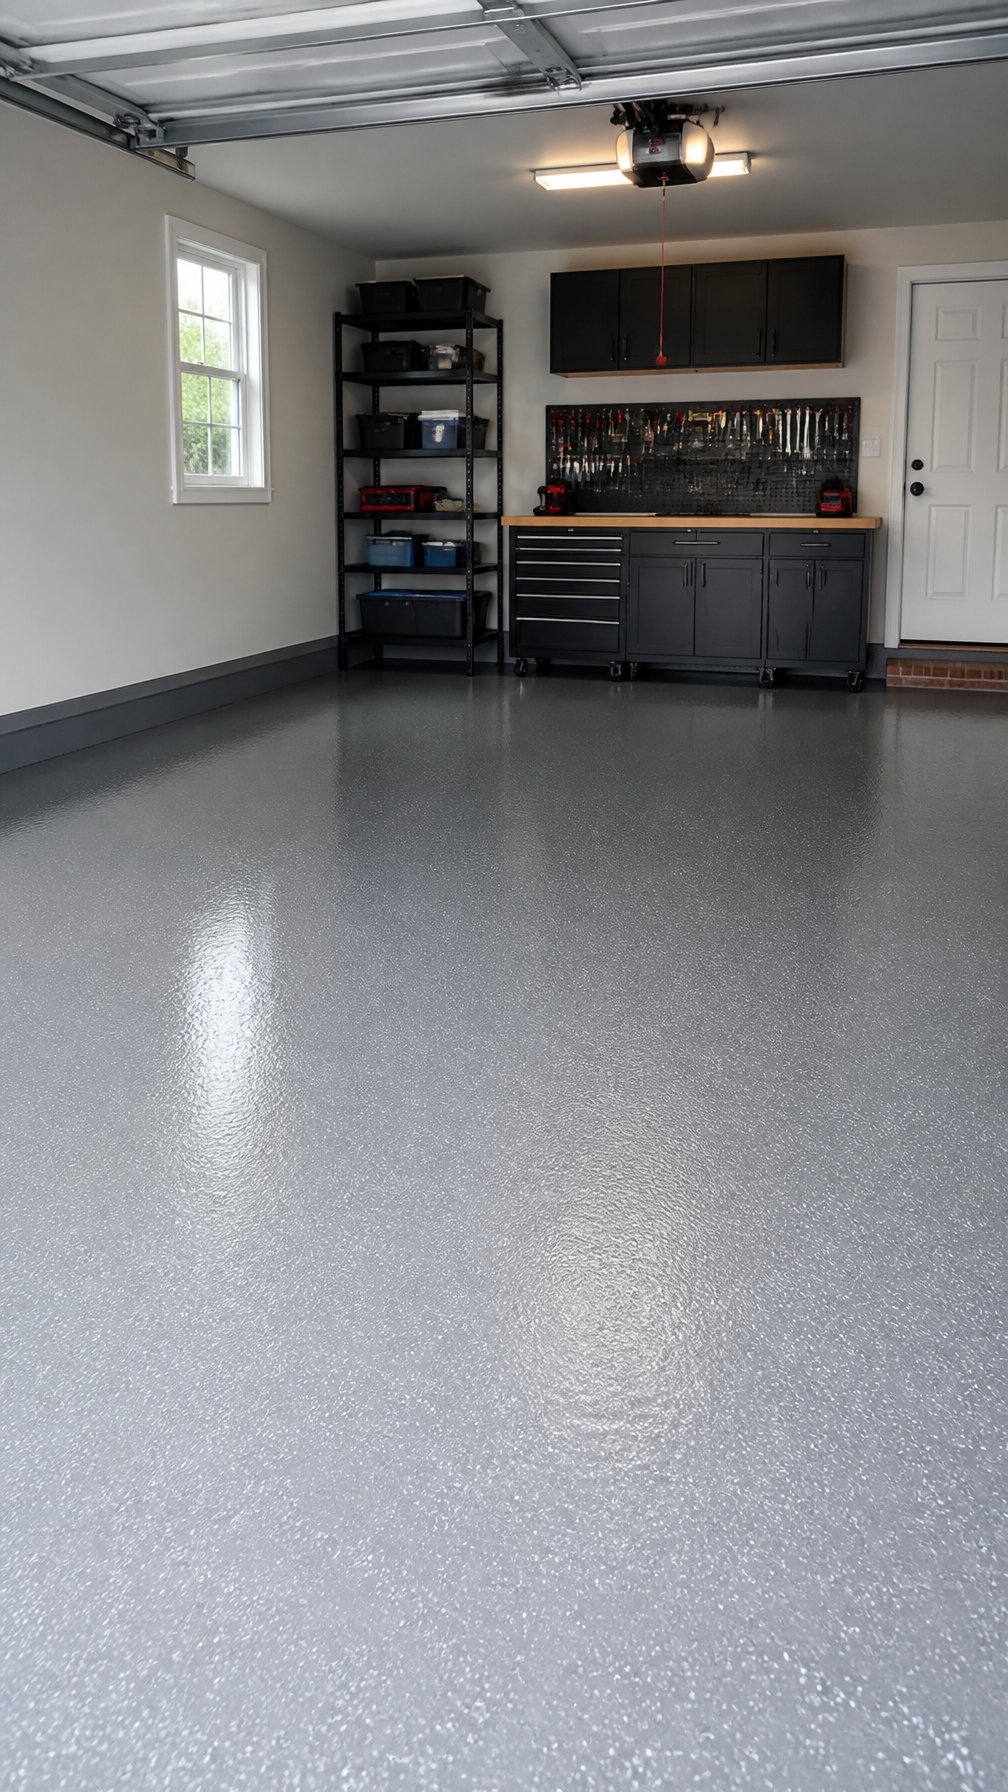
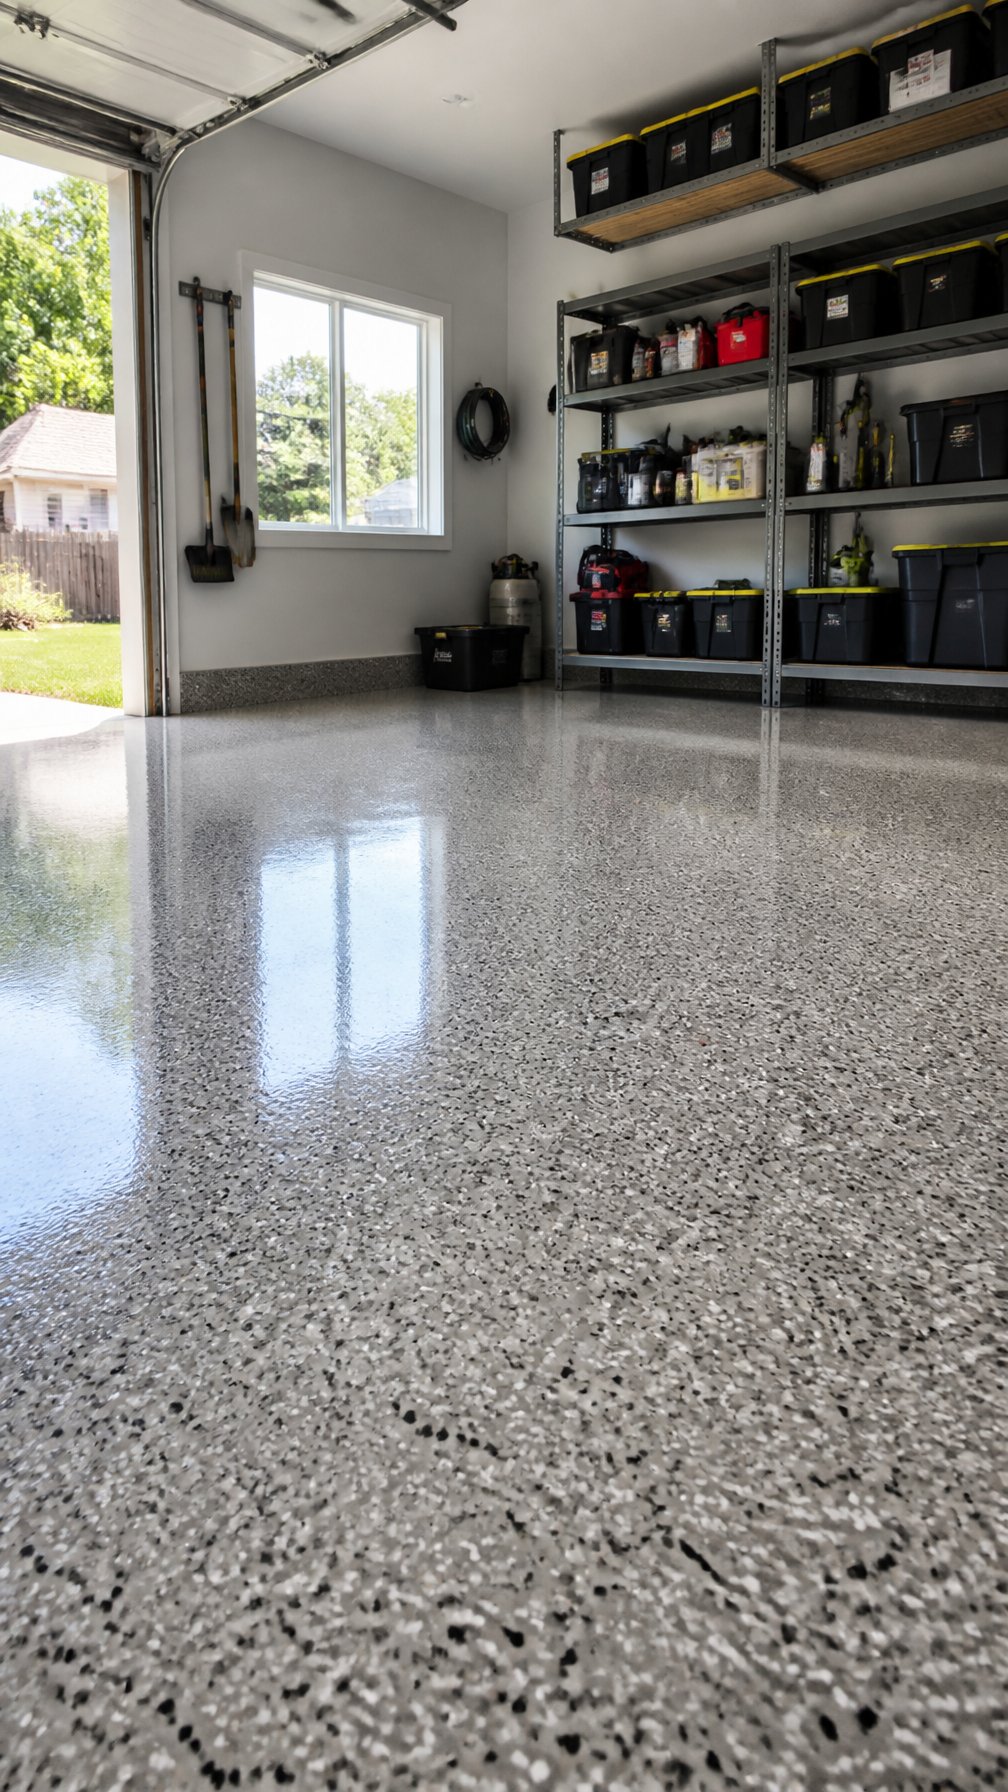
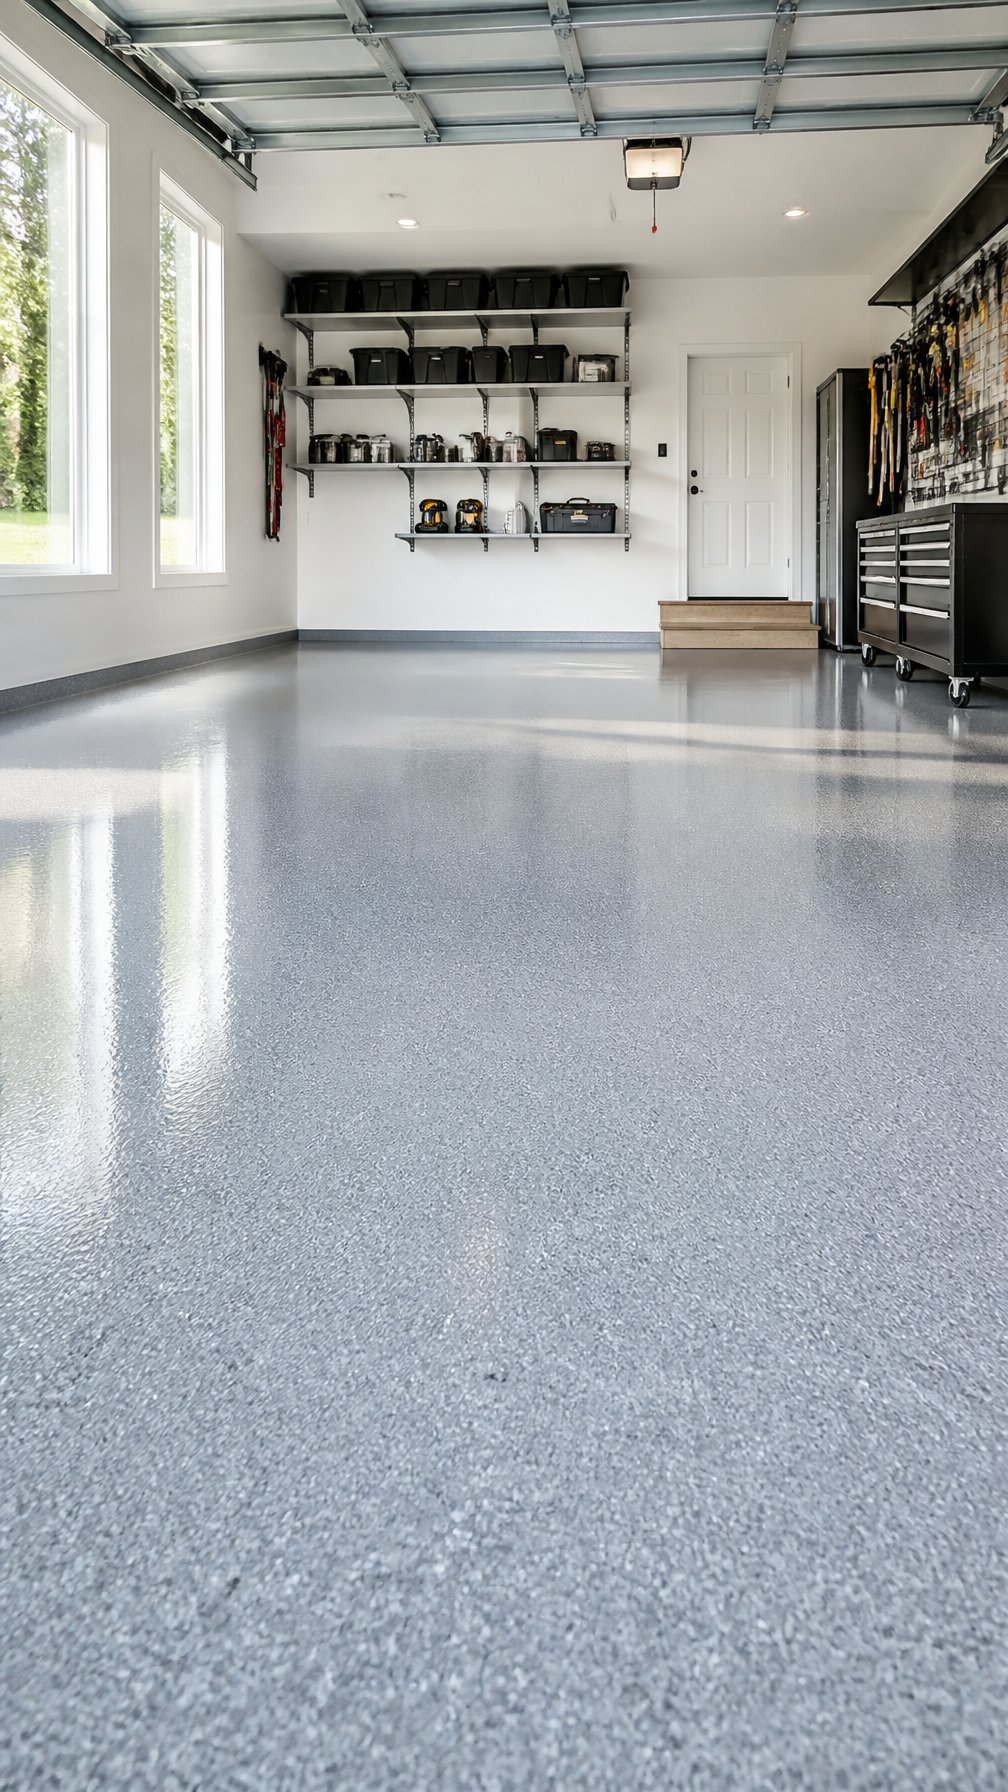
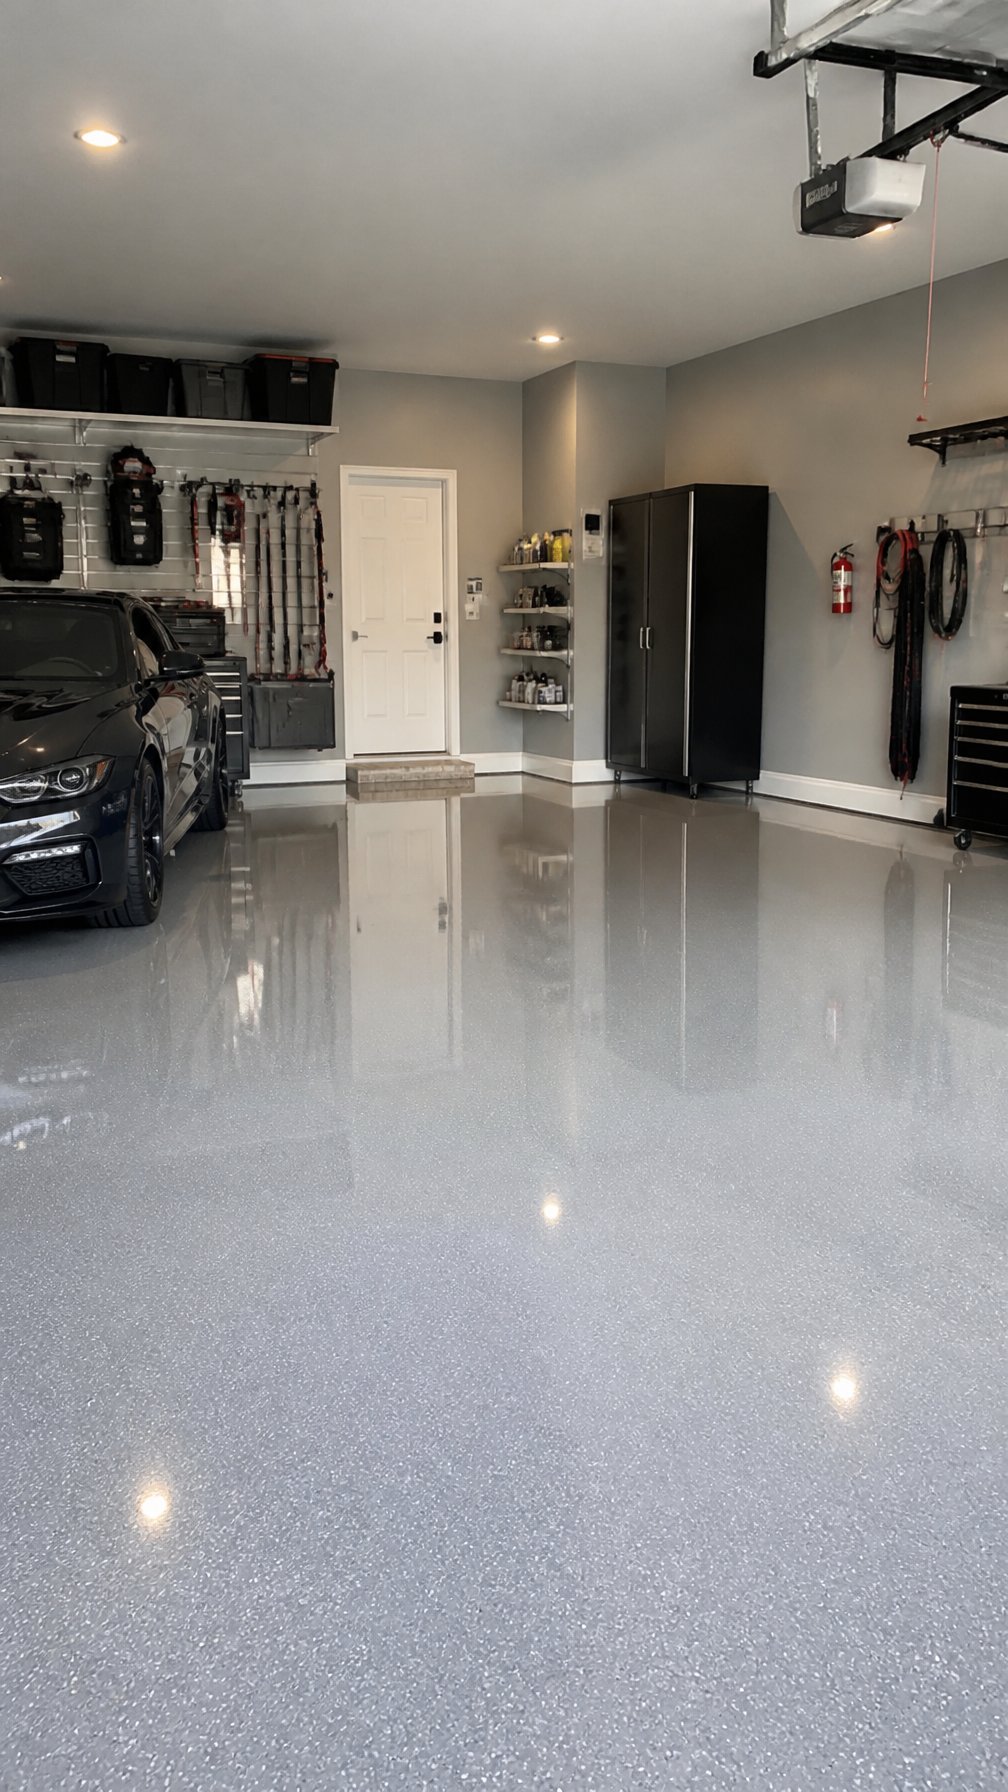
10) Chip-style epoxy kit (vinyl flake)
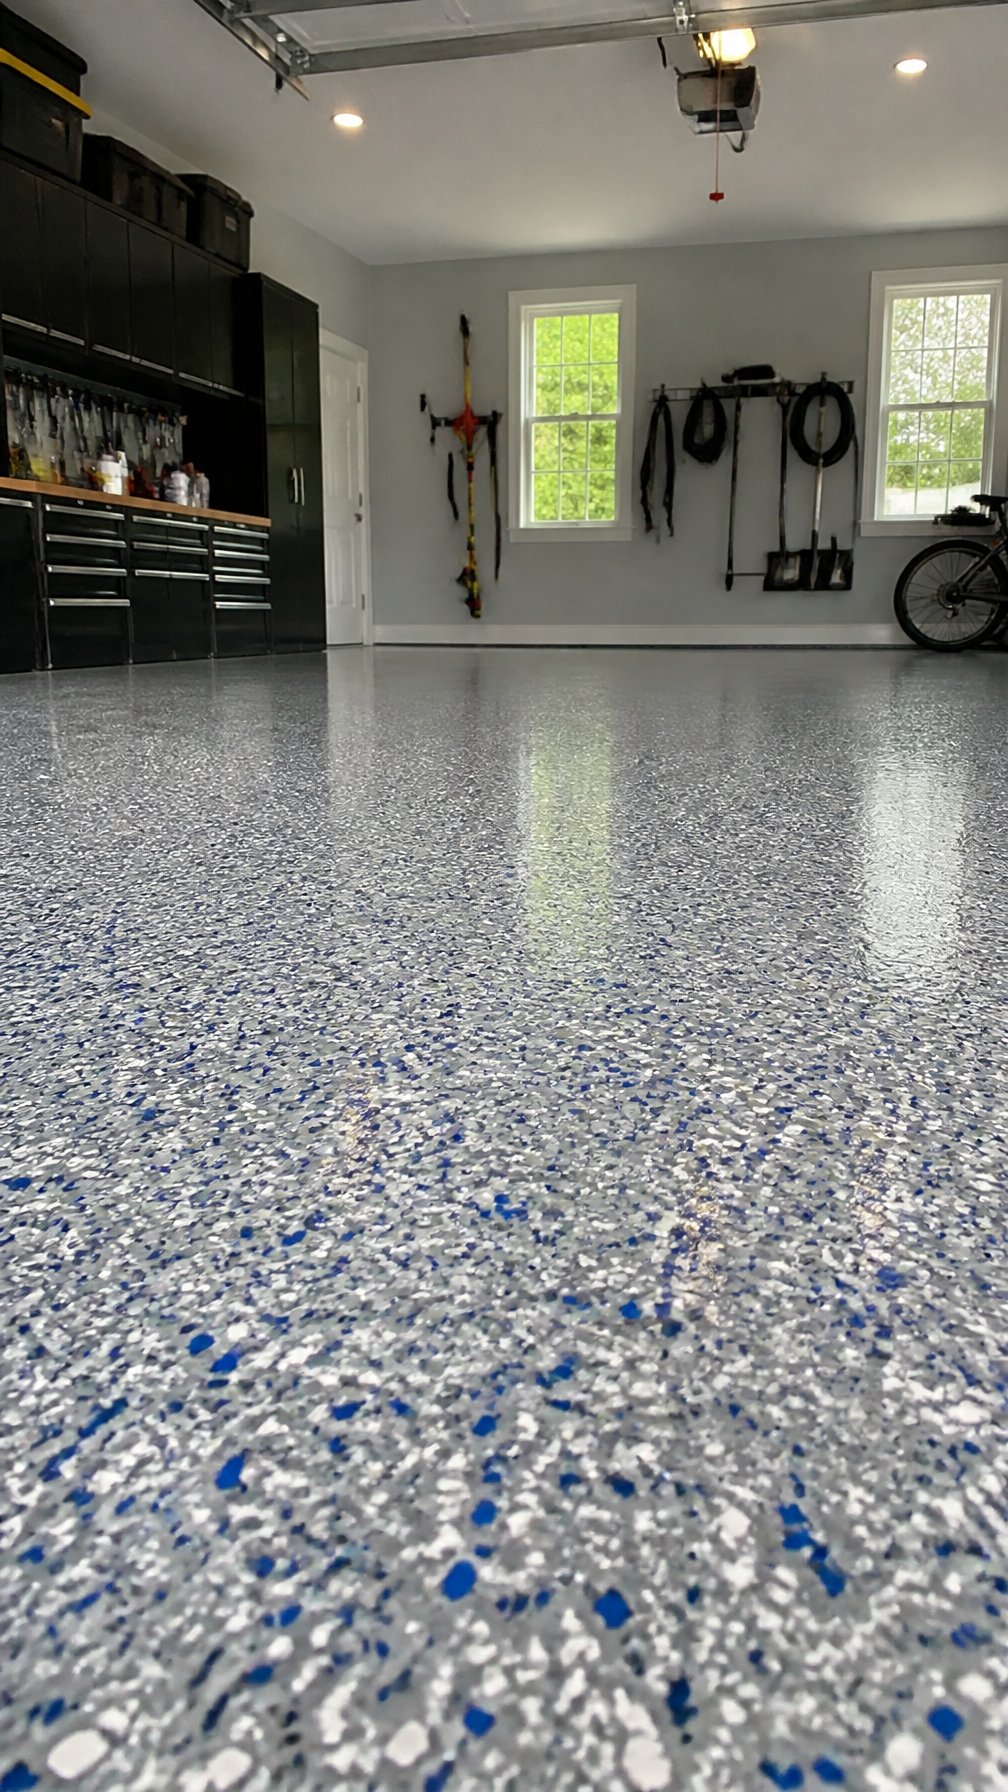
Chip-style epoxy gives your garage floor a textured, decorative look without a big cost. You spread a base coat, broadcast colored flakes over it, then seal with a clear topcoat. This hides stains and small cracks and brightens the space.
You can pick flake colors to match your garage or hide dirt. The flakes add grip so the floor isn’t slippery when wet. Mixing and applying takes a weekend for most DIYers.
PRO TIP
Work in small sections when broadcasting flakes to get even coverage. Use gloves and a respirator for sanding and coating to protect your lungs and skin.
11) Rust-Oleum EpoxyShield Patch & Repair Kit
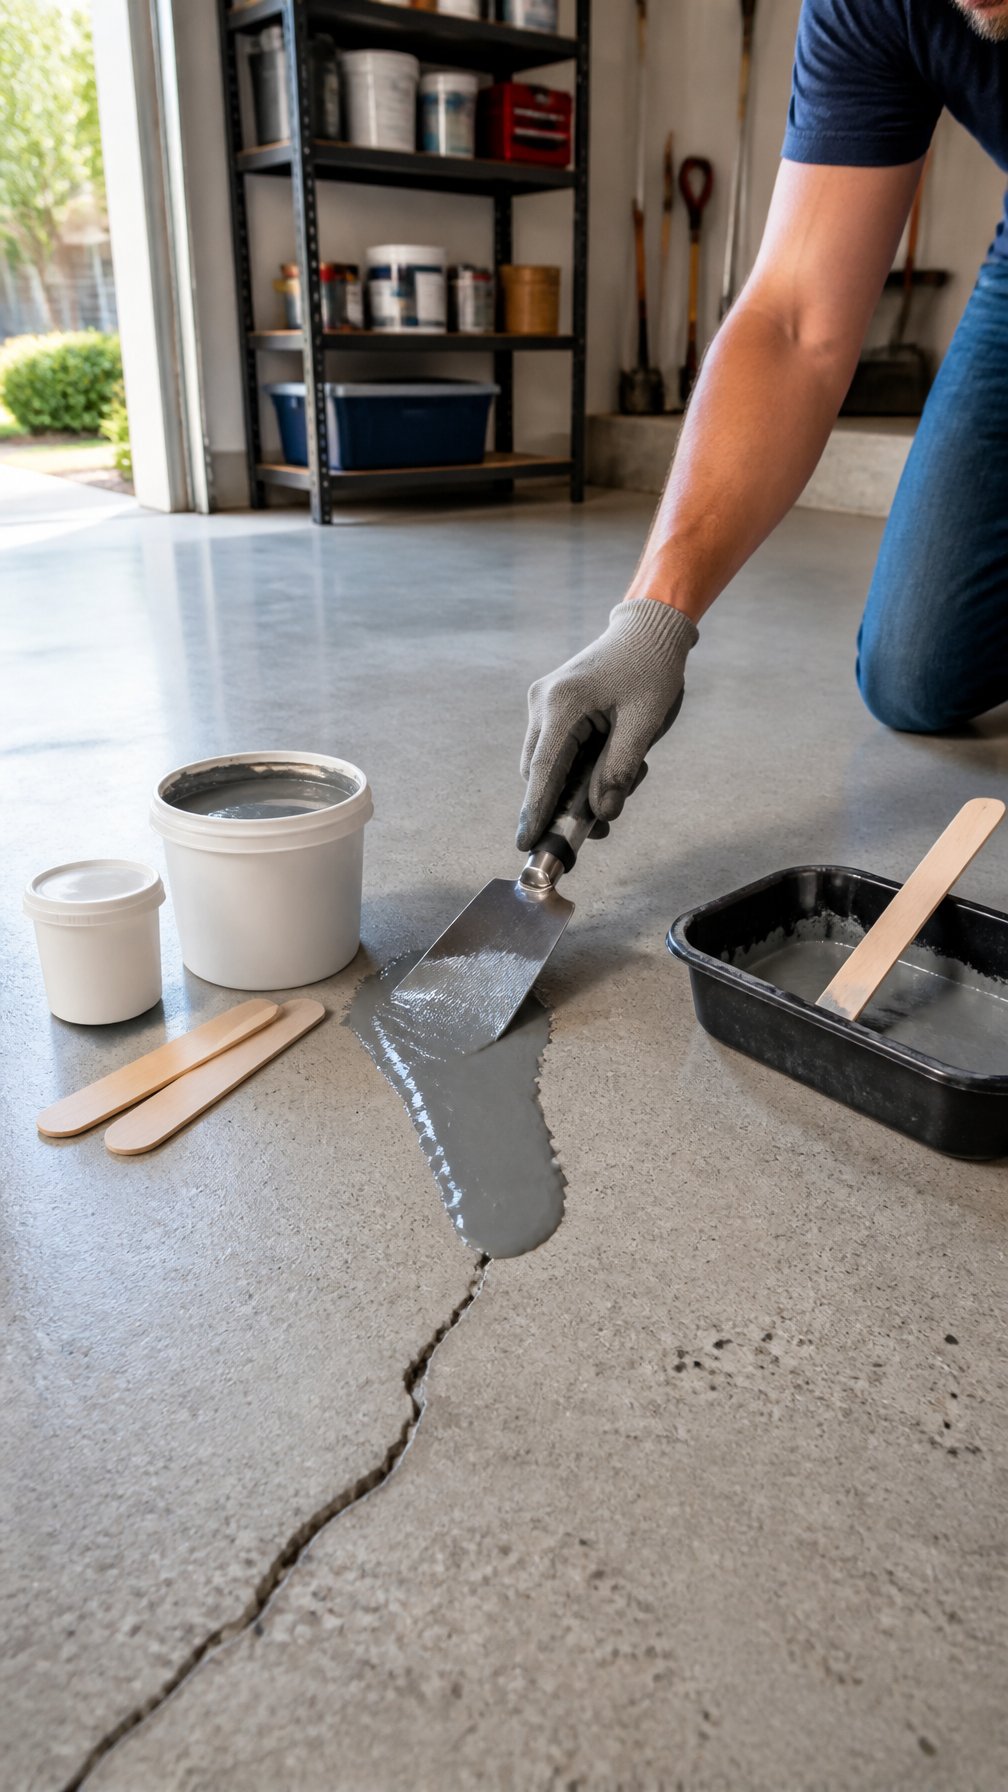
This kit helps you fix cracks, chips, and rough spots on concrete before coating. You mix a small batch, apply it into the damaged area, and smooth it out. It bonds well to clean, dry concrete and sets fast enough to keep your project moving.
Use a putty knife or trowel for best results. Sand lightly after curing to create an even surface for the topcoat. Work in small sections so the material doesn’t skin over before you finish.
PRO TIP
Clean the area of dust, oil, and loose debris first. A slightly damp but not wet surface improves adhesion. Wear gloves and follow the cure time on the package for a strong, long-lasting repair.
12) Porous concrete primer + low-VOC epoxy topcoat
A porous concrete primer soaks into old or rough concrete and improves adhesion. You get a stronger bond for the epoxy topcoat, which helps the finish last longer on a budget.
Choose a low-VOC epoxy topcoat to reduce fumes and make application safer indoors. Apply primer first, let it fully cure, then roll on the epoxy in thin, even coats for best results.
Work in a well-ventilated area and wear a respirator rated for organic vapors if needed. Patch cracks and clean oil or dirt before priming to ensure the primer penetrates properly.
PRO TIP
Use a broom or vacuum, then grind or etch small areas to open pores if the surface is very smooth. This step helps the primer soak in and improves final adhesion.
13) Diamond grind and clear seal (mechanical prep)
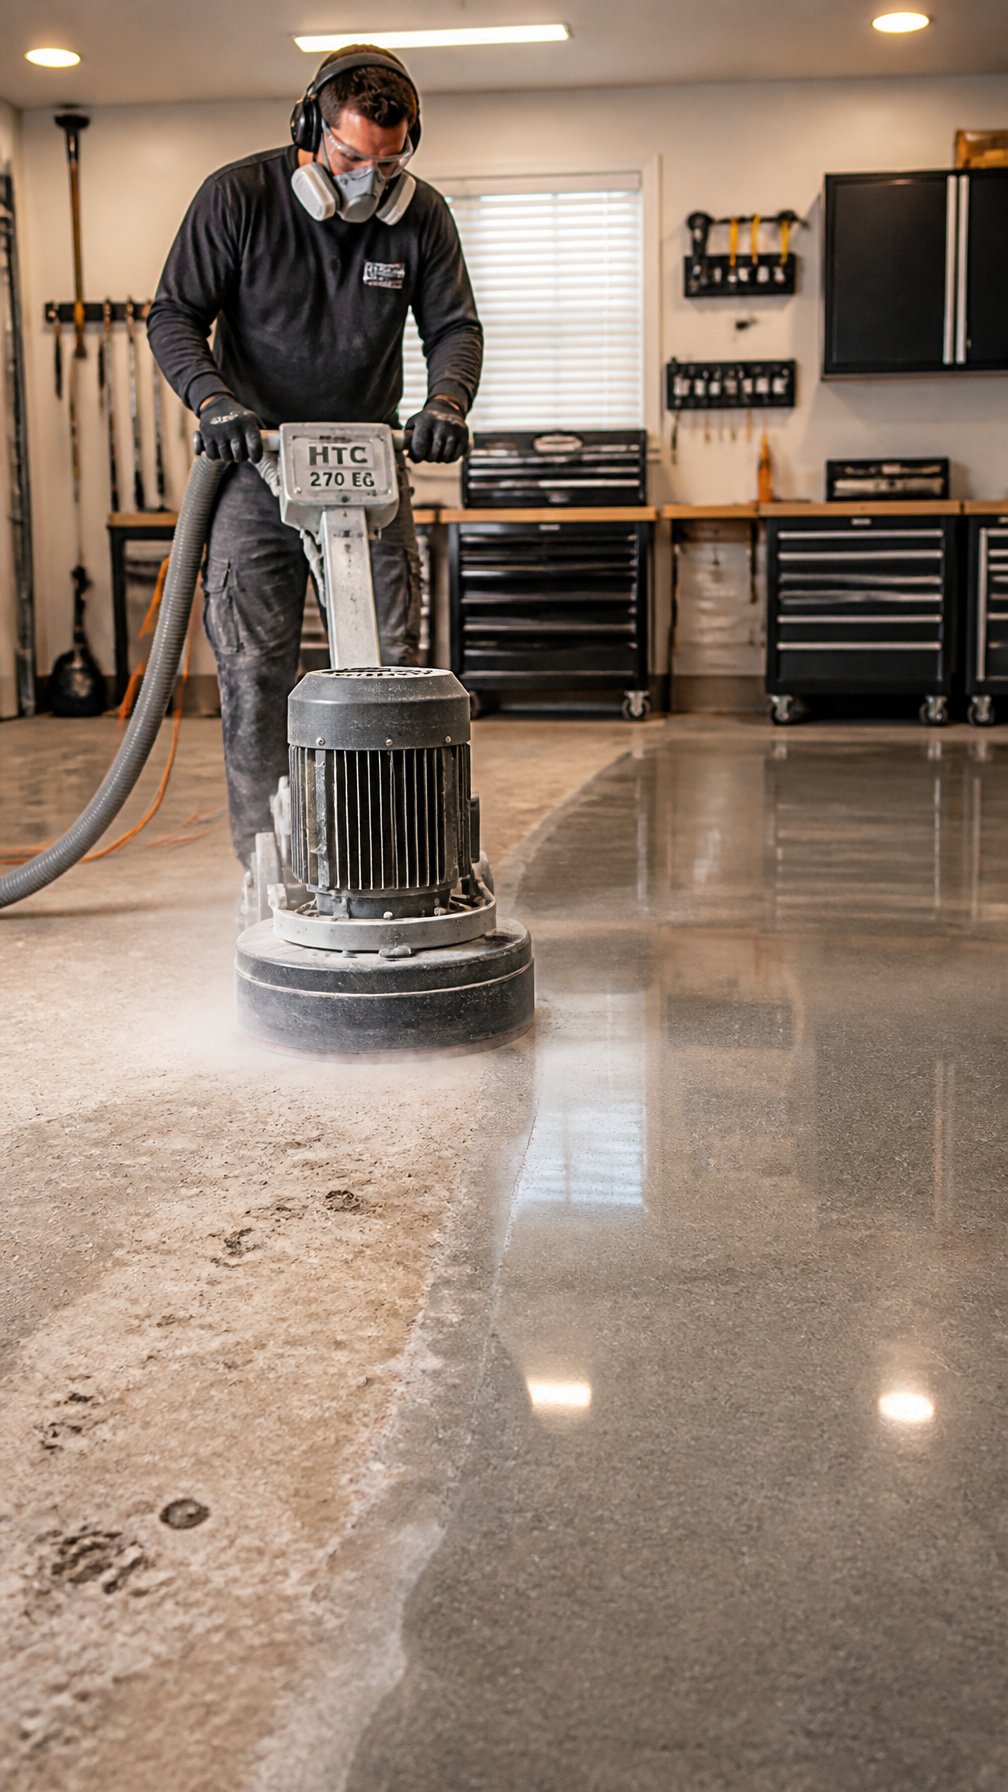
Diamond grinding removes surface paint, stains, and minor bumps using a machine with diamond discs. You get a smooth, even concrete surface that helps coatings stick better. This step costs more than simple cleaning but avoids expensive repairs later.
After grinding, sweep and vacuum dust thoroughly. A tack cloth or damp mop helps pick up fine particles. Let the floor dry fully before sealing.
Apply a clear concrete sealer to lock in the surface and slow moisture. The sealer keeps the floor looking clean and provides a good base for future coatings. Follow cure times on the sealer instructions for best results.
PRO TIP
Test a small area first to check adhesion and appearance. Work in small sections and keep airflow steady while the sealer dries.
14) Rubber anti-fatigue garage tiles (e.g., IncStores Garage Tiles)
Rubber anti-fatigue tiles give your garage a softer, safer floor without a big cost. You will find them easy to install — they often click together like puzzle pieces so you can do it yourself in an afternoon.
These tiles resist oil, water, and light chemicals, so spills clean up quickly. They also reduce leg and back strain when you stand for projects, making long chores less tiring.
PRO TIP Lay tiles over a clean, dry surface and trim edges for a neat fit. Use heavy-duty tape at seams in high-traffic areas to keep tiles from shifting.
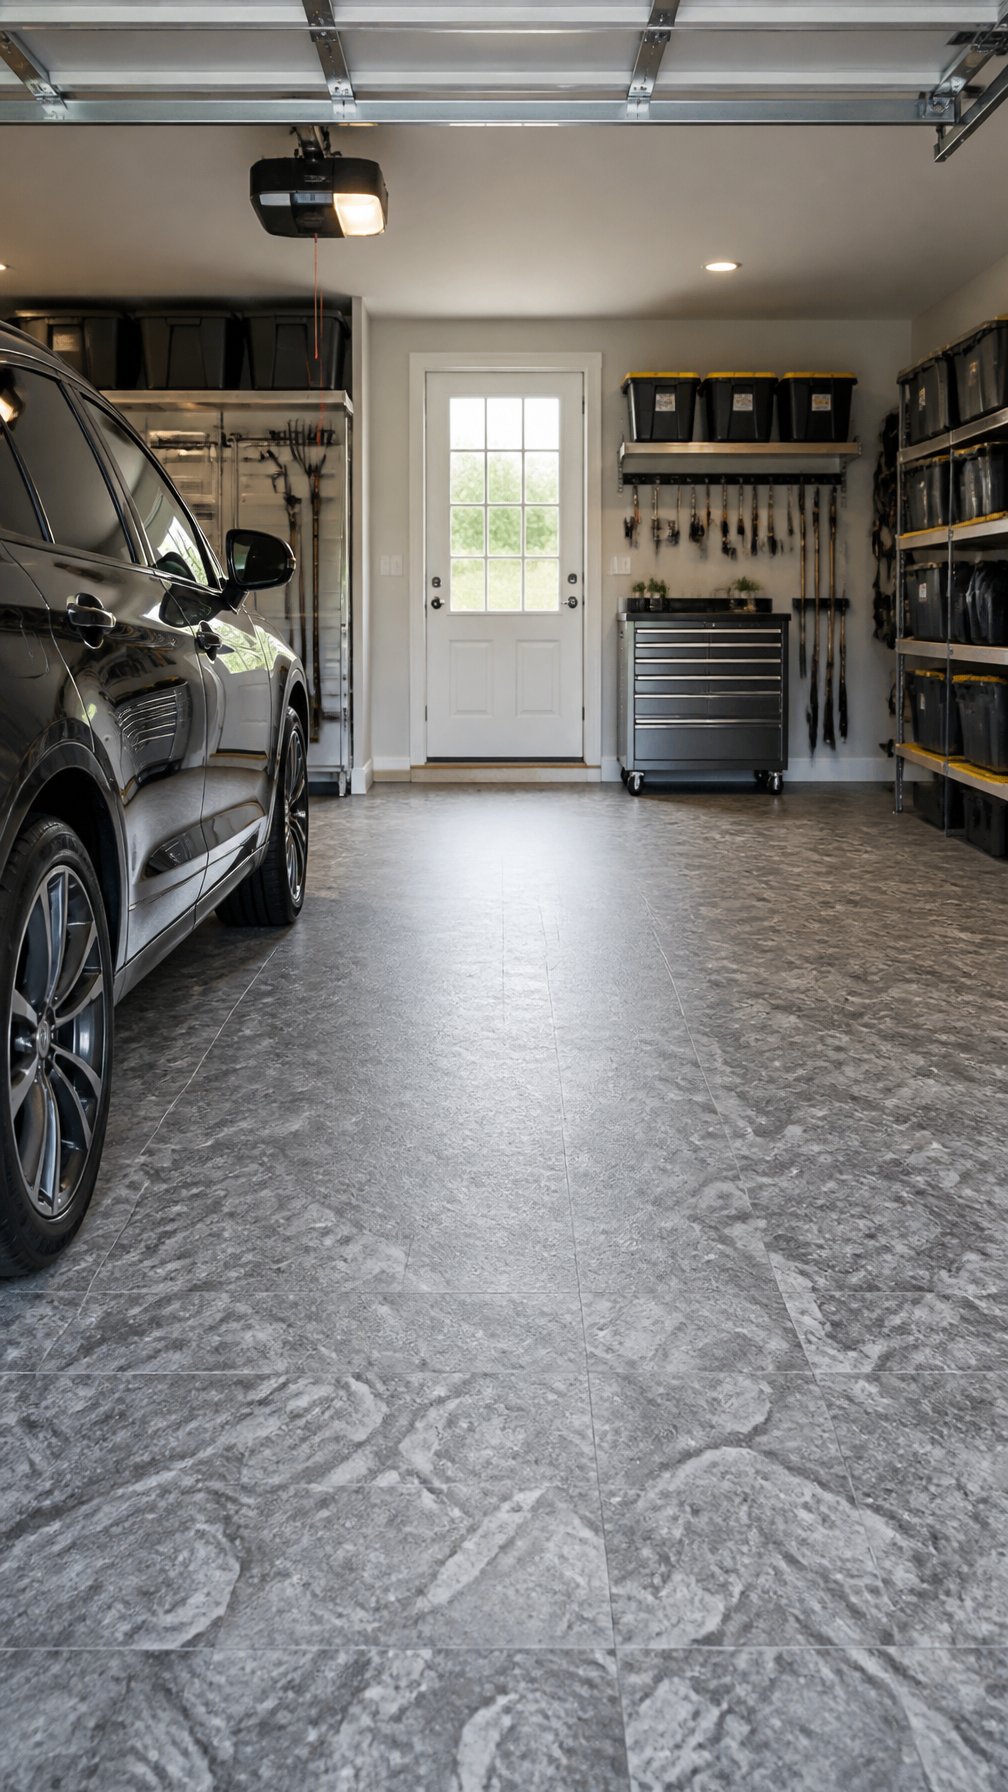
15) Sheet vinyl (commercial-grade, glue-down)
Sheet vinyl is a tough, low-cost option that holds up well to traffic and spills. You can cover large areas with fewer seams, which makes cleaning easier and reduces places for dirt to hide.
Glue-down installation makes the floor more stable and prevents edges from lifting. You’ll need a clean, flat concrete surface and the right adhesive for a long-lasting bond.
This flooring comes in many styles and is water resistant, so it handles oil drips and wet shoes. It’s not as hard as tile, but it offers good cushioning and quieter footsteps.
PRO TIP
Measure twice and order extra to cover mistakes and pattern matching. Use a floor roller after laying to press out air pockets and improve adhesion.
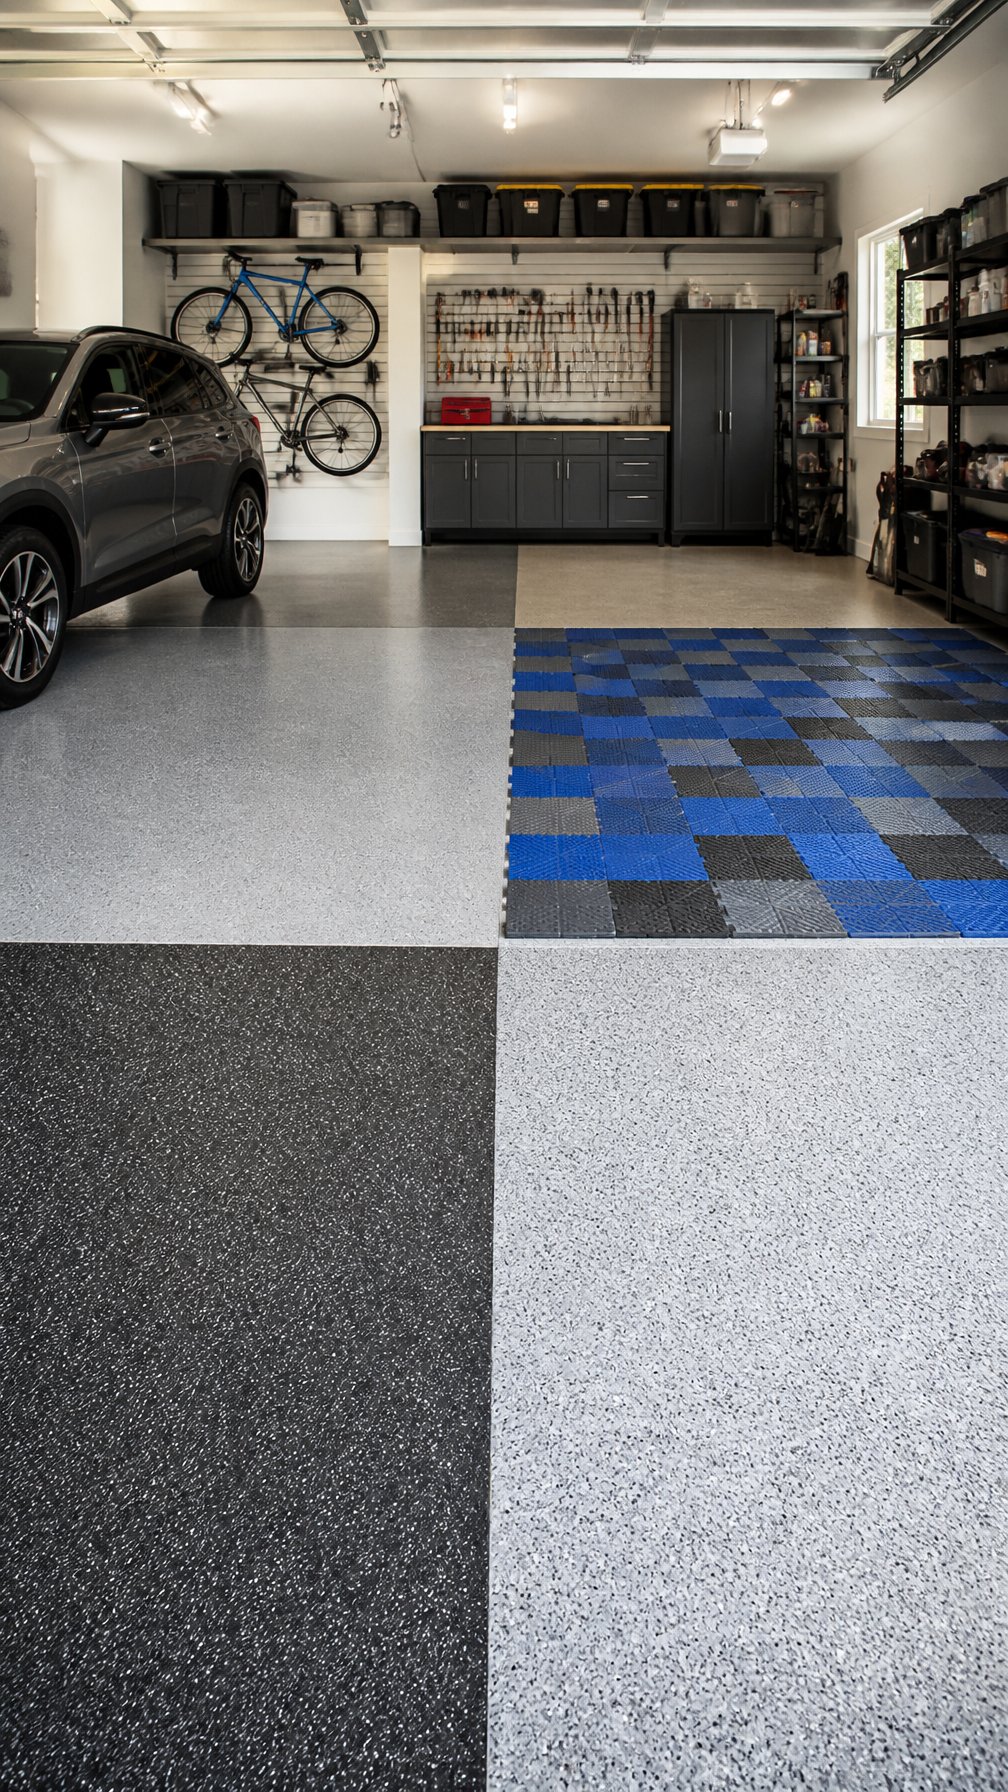
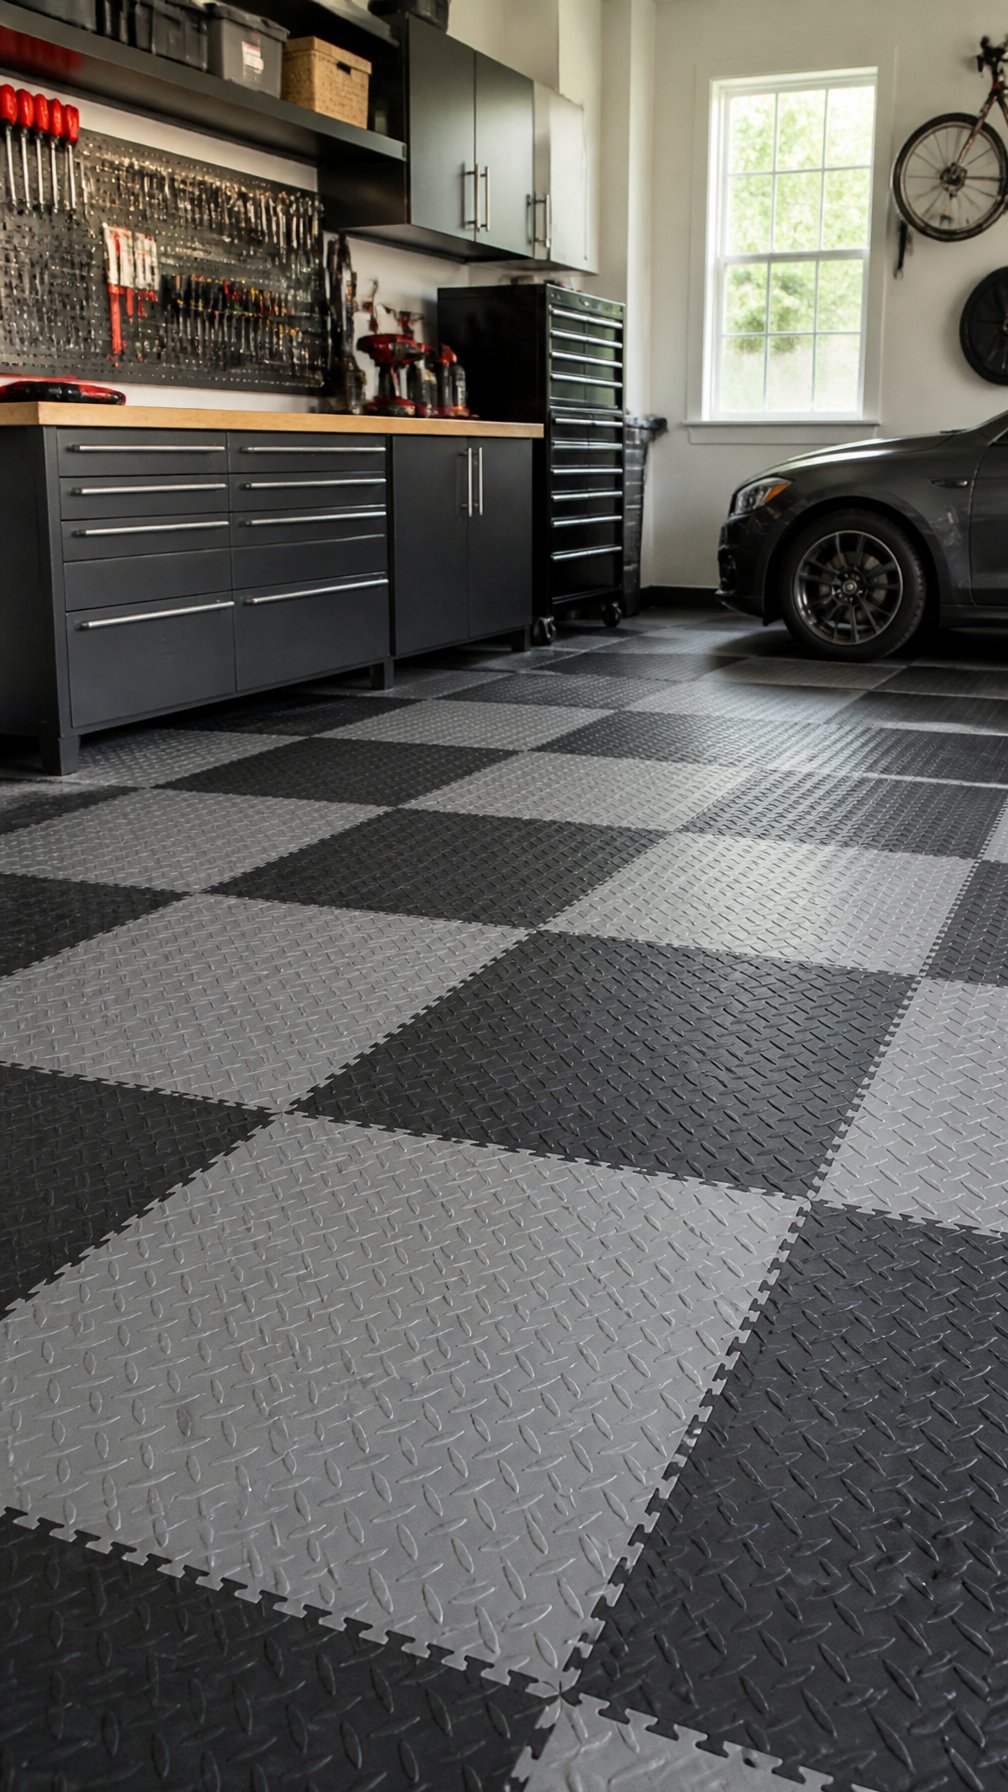
16) Interlocking polypropylene tiles (e.g., RaceDeck Diamond Tile)
Interlocking polypropylene tiles snap together for fast, DIY installation. You can cover large areas without special tools, and replace single tiles if damaged.
These tiles resist stains, oil, and water, so they work well in garages and workshops. They also provide a non-slip surface and some cushioning underfoot.
They come in many colors and patterns, letting you customize your floor on a budget. Trim pieces and edging help create a finished look around walls and doorways.
PRO TIP
Measure carefully and lay tiles from the center outward to keep patterns even. Allow for a small gap at walls for expansion and use a utility knife to make precise edge cuts.
17) Concrete stain (acid-based or water-based)
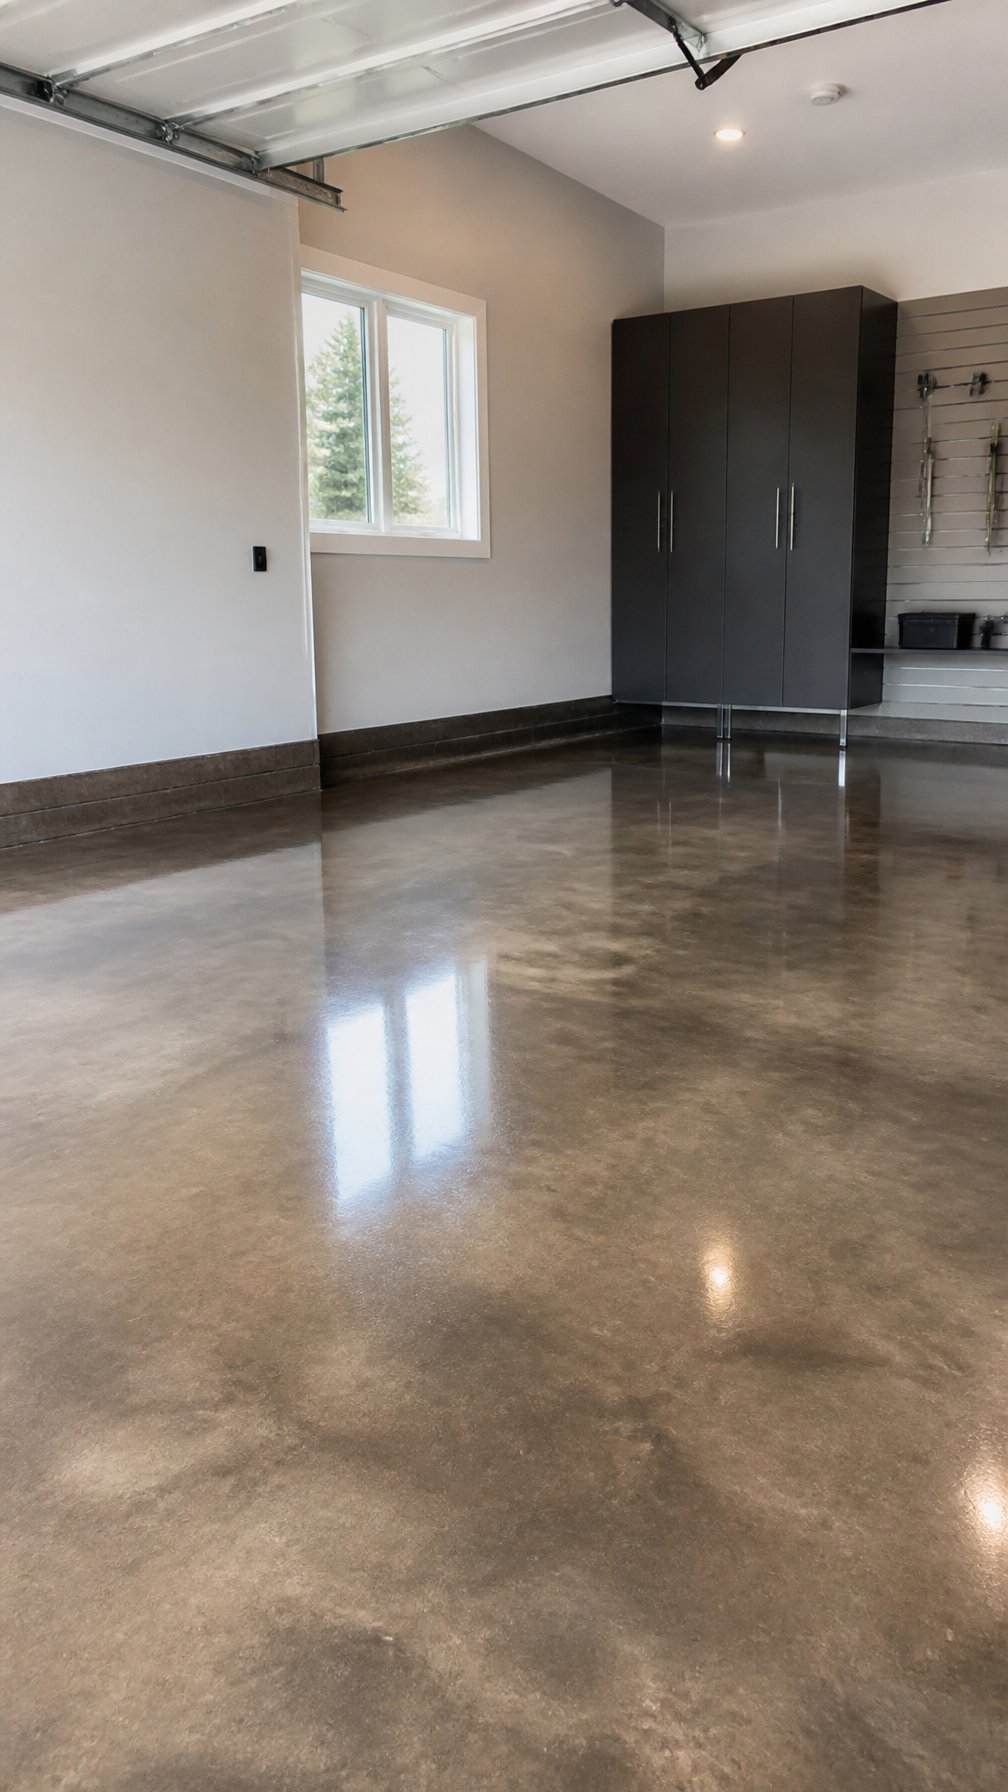
Concrete stain changes the color of your garage floor without hiding the natural texture. You can pick subtle earth tones or richer colors to suit your space. Stains soak into the concrete, so they resist peeling and stay looking natural.
Acid-based stains react with the concrete to create variegated, mottled effects. Water-based stains give more uniform color and are easier to apply and clean up. Both need a clean, dry surface and mild etching for best results.
After staining, you should seal the floor to protect color and make cleaning easier. Sealer also adds slip resistance if you choose a matte finish. Test a small area first so you know how the color will look on your concrete.
PRO TIP
Work in small sections and follow the stain’s drying times. This helps you avoid streaks and uneven color while keeping the job manageable.
18) Garage floor paint with non-slip additive (sanded finish)
You can mix a non-slip additive into garage floor paint to create a sanded finish that gives traction. Apply thin, even coats and let each layer dry fully before adding the next to avoid clumps.
Sweep and degrease the floor first so the paint bonds well. Use a roller for even coverage, and scatter the additive while the paint is wet for best grip.
The sanded finish reduces slipping when the floor is wet or oily. It wears like painted concrete, so plan to touch up high-traffic spots over time.
PRO TIP
Wear a mask and gloves when spreading the sand; the dust can irritate lungs and skin. Work in a well-ventilated space and clean tools before the additive hardens.
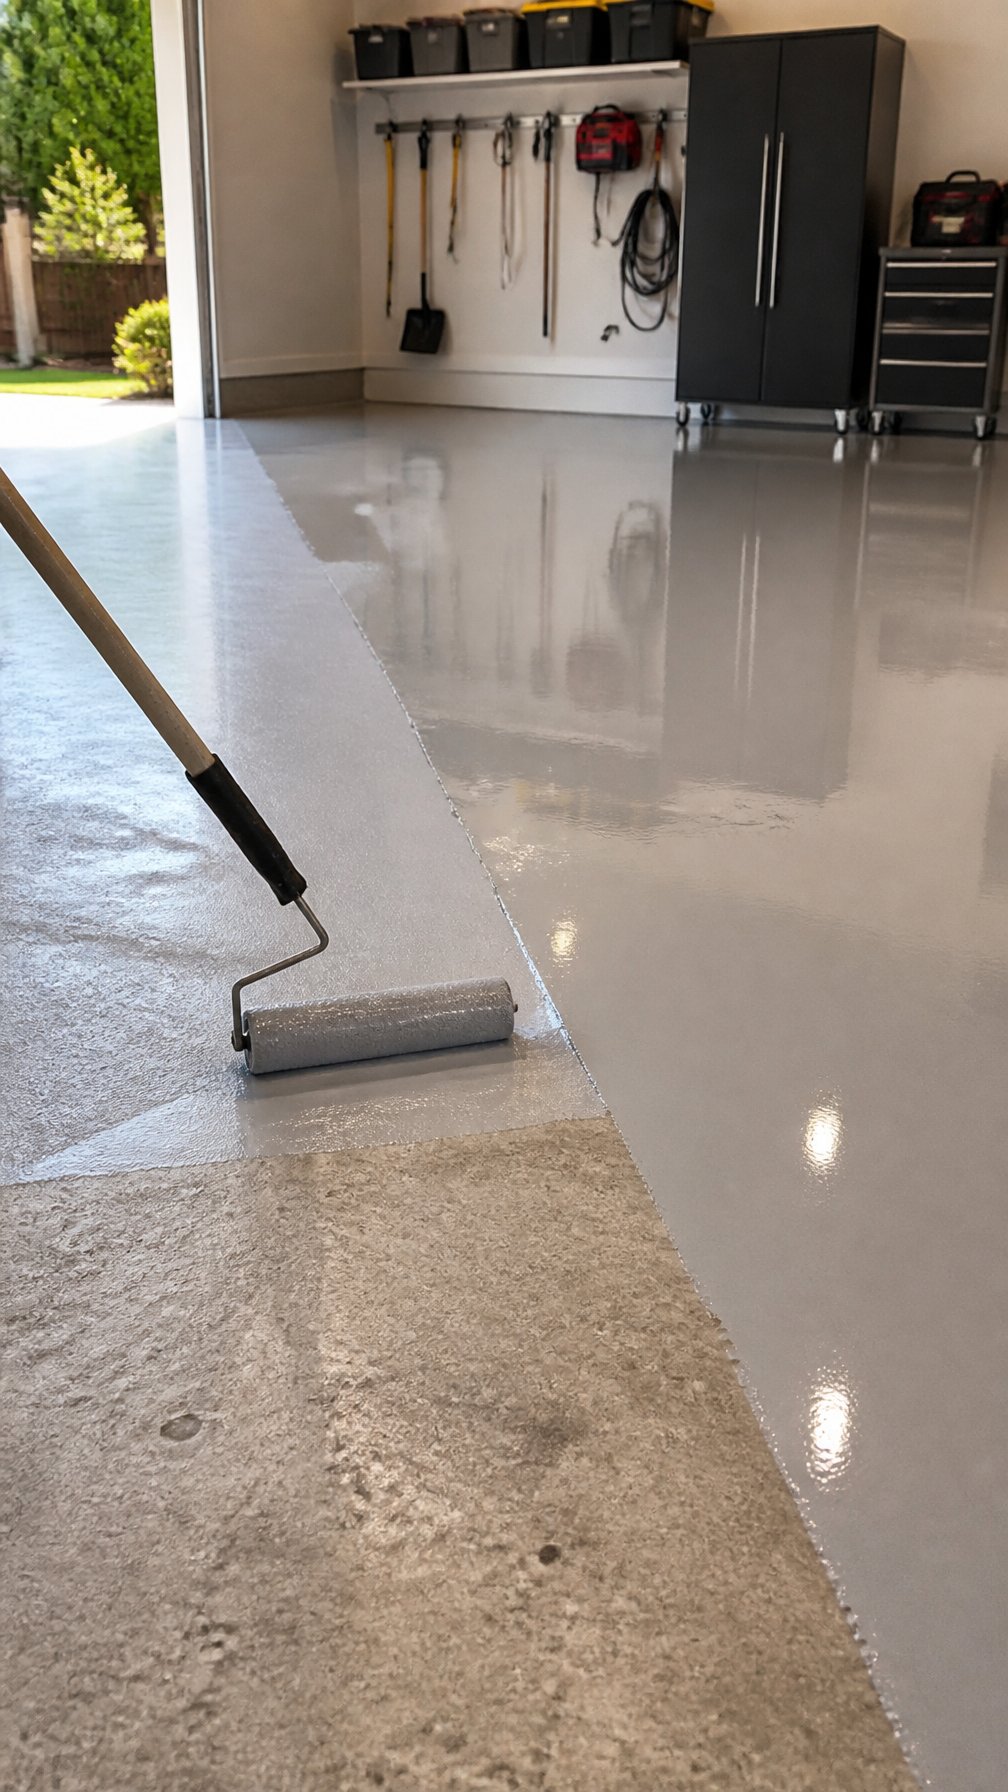
19) Epoxy overlay (thin film epoxy resurfacer)
An epoxy overlay gives your garage floor a fresh, smooth look without a thick pour. You spread a thin layer over the existing concrete to cover minor cracks and stains.
The surface must be clean and dry for the overlay to stick well. You should repair any big cracks first and use a grinder or acid etch to open the concrete pores if needed.
Curing time is usually shorter than full epoxy floors, so you can use the garage sooner. The finish resists oil and dirt, and you can add a slip-resistant texture if you want more traction.
PRO TIP
Test a small corner first to check adhesion and color. Work in thin, even coats and follow safety steps like ventilation and gloves.


