Last Updated on June 22, 2026
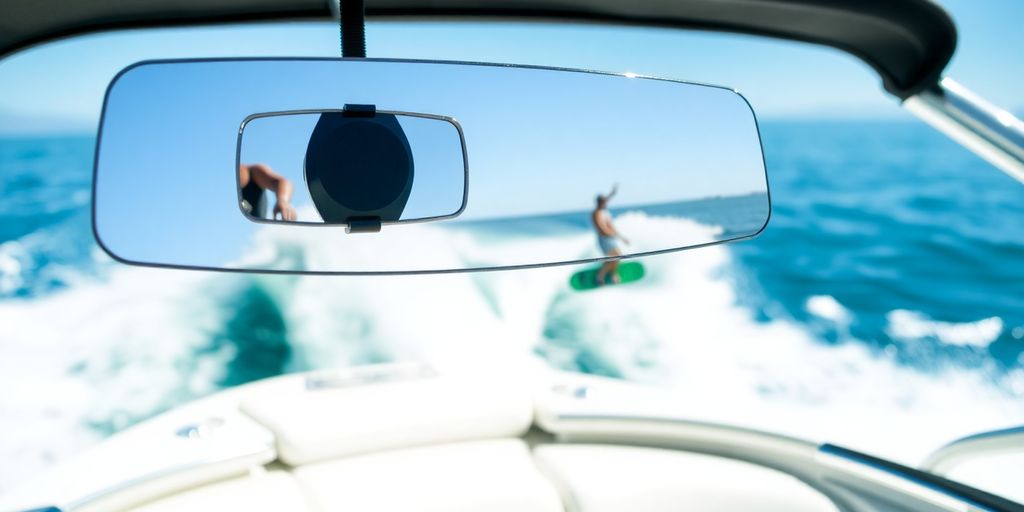
Enhance safety and situational awareness on your center-console boat by installing a watersports mirror. This essential upgrade allows the helmsman to monitor riders and surrounding boat traffic without diverting attention from the forward view, making watersports activities and even fishing safer and more enjoyable.
Why a Watersports Mirror is Essential for Center-Consoles
Modern center-consoles are increasingly equipped for family-oriented activities, including watersports, with features like ski pylons and tow bars. However, watersports rearview mirrors are often overlooked. A wide-angle mirror, especially when paired with a spotter, significantly improves safety by allowing the helmsman to maintain forward vision while keeping an eye on those in tow or other elements astern. Beyond watersports, these mirrors are useful for monitoring anglers in the aft cockpit or approaching boat traffic.
Recommended Mirror and Installation Overview
One highly recommended option is the PTM Watersports Edge VX-140 center-console mirror. This mirror is constructed from powder-coated billet-aluminum and features a prescription-grade mirror measuring 20 inches wide by 4.5 inches tall, offering a 140-degree viewing range.
- Skill Level: 1 of 5
- Finish Time: Approximately 1 hour
Tools and Supplies Needed
- PTM Edge VX-140 center-console mirror
- VX-140 2-inch spacer (if needed to lower mirror)
- Marking pen
- Power drill and bits
- Allen wrench set
- Box/open-end wrench set
Mounting Options
The VX-140 mirror is designed for overhead mounting, slightly forward to prevent obstructing forward visibility. PTM offers two primary mounting choices:
- 1.315-inch Tube Mount: Ideal for the pipework of a T-top above the helm.
- Flat-Surface Mount: Suitable for locations such as the underside of an overhead electronics box.
Both versions are available with powder-coated white or black housing and brackets to match your boat’s aesthetic.
Installation Steps for Surface Mount
- Mark Mounting Holes: Choose an overhead location that provides a clear view astern without obstructing forward visibility or risking head bumps. A common spot is the centerline of an overhead electronics box. Use the supplied backing plate as a template to mark four holes, then drill them with a 5/16-inch bit.
- Install the Bracket: Detach the mounting bracket from the mirror by removing the three retaining bolts and pressure plates. Apply the supplied peel-and-stick gasket to the bracket’s mating surface. Align the bracket with the drilled holes, place the backing plate inside the electronics box, and secure with the supplied 1/4-inch stainless-steel hardware. Tighten the hardware.
- Reassemble the Mirror: With the bracket secured, reattach the mirror using the three Allen bolts and pressure plates. Have a helper hold the mirror to prevent damage. Loosely tighten the bolts to allow for angle adjustment. Once the optimal viewing angle is achieved, fully tighten the bolts.
Installation Steps for Tube Mount
- Position the Clamp: No drilling is required for the tube-mounted version. Position the clamp in the center of the T-top pipe horizontally above the helm area.
- Adjust and Tighten: The clamp allows for slight rotation of the mirror to best suit the helmsman and boat. Once satisfied with the position, tighten the clamp bolts. Slightly loosen the three bolts on the pressure plates behind the mirror to adjust the viewing angle, then retighten them.
After installation, remove any protective film and clean the mirror with the provided microfiber cloth for optimal clarity.


