Last Updated on January 30, 2026
You want your garage to feel useful and comfortable all year, not just a cold storage spot. This article guides you through practical ways to warm and improve the space so you can work, store items safely, or relax without shivering. You will learn many tested options that match different budgets, garage sizes, and comfort goals so you can pick what works best for your situation.
You’ll find simple fixes like sealing gaps and adding insulation, plus bigger upgrades like ductless mini-splits, radiant floors, and safe gas or electric heaters. Each idea focuses on comfort, safety, and cost so you can plan smart changes that last.
Start by protecting heat before buying an expensive heater: air-seal gaps, add weatherstripping to the garage door, and upgrade insulation to R-13 or higher in walls and ceiling. These steps cut heat loss dramatically and lower the size and cost of the heater you’ll need. Combine sealing with reflective barriers or garage door insulation kits to block radiant heat loss. If you plan to spend time in the garage regularly, add a thermostat-controlled heater or a ductless mini-split for steady comfort. Always follow safety rules for gas and propane units and use carbon monoxide detectors. Small investments in insulation and sealing often save more on energy and give faster, more even warmth than jumping straight to the largest heating option.
1) Insulate Garage Walls and Ceiling with R-13 or Higher Batts
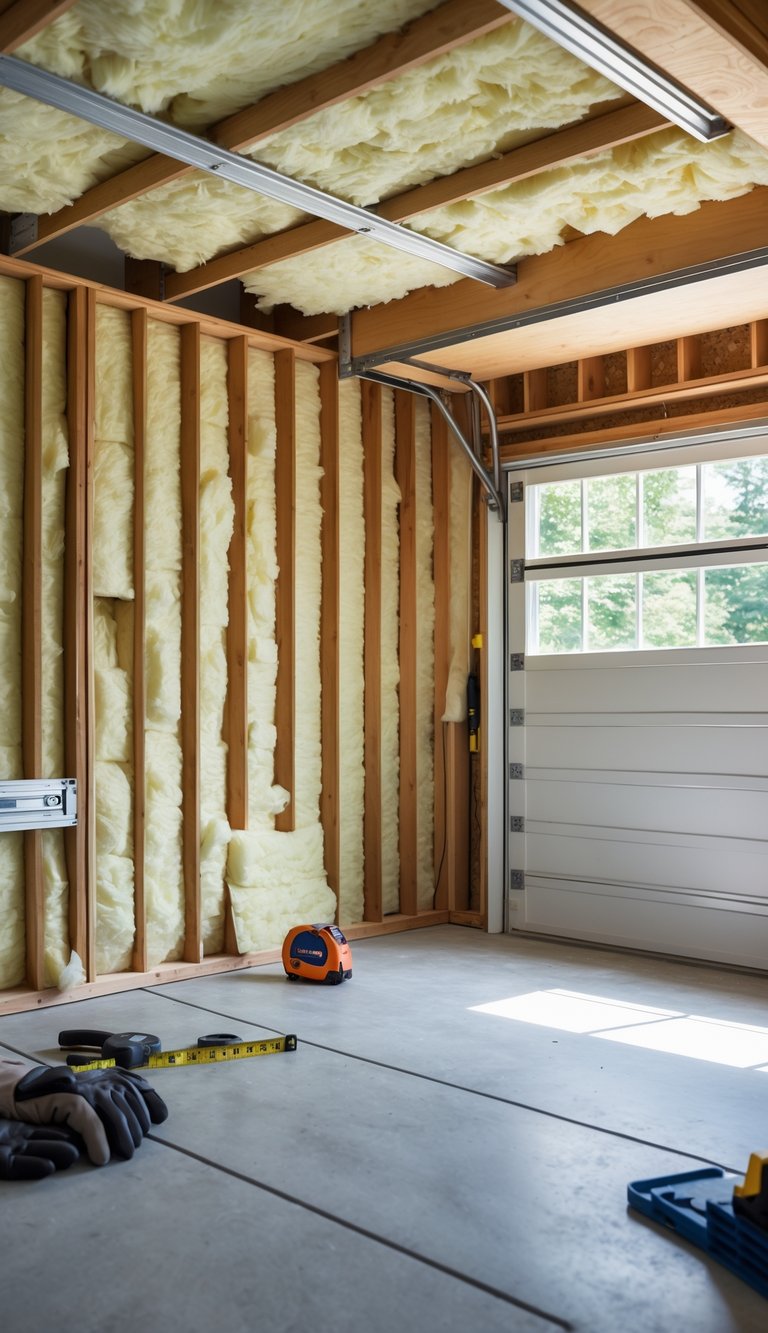
You should insulate garage walls and the ceiling with R-13 or higher fiberglass batts to keep the space warm and reduce heat loss. Batts fit between studs and joists and work well if your walls already have framing. They help stabilize temperature and reduce drafts, so your heater runs less and your tools face less moisture damage.
Install batts snugly without compressing them; compression lowers their R-value. Use faced batts toward the living space for a vapor retarder, or add a separate vapor barrier if needed. Seal gaps around windows, doors, and electrical boxes with foam or caulk before installing insulation.
PRO TIP
If you plan to finish your garage with drywall, install the insulation first and then add a thermal break like 1/2-inch plywood to reduce cold bridging through studs. For better air sealing, spray foam around rim joists and top plates before placing batts. In colder climates, consider upgrading to R-19 in walls or R-30–R-38 in ceilings for improved comfort. Wear safety gear when handling fiberglass, and check local codes for vapor barrier and fire safety rules. Proper installation makes the biggest difference in performance and comfort.
2) Install Weatherstripping on Garage Doors

Weatherstripping seals gaps around your garage door to keep cold air, dust, and pests out. It helps stabilize the temperature inside so your heater works less and your energy bills can drop.
Choose a durable rubber or vinyl seal that matches your door type and climate. Clean the door edges first so the new strip sticks well, and measure carefully for a snug fit.
Use simple tools: tape measure, utility knife, and a drill or screws for metal tracks. Replace worn bottom seals and side jambs to stop drafts and moisture from seeping in.
PRO TIP
Before you buy, inspect your door for warps or gaps that weatherstripping alone won’t fix. If the door doesn’t sit square, the seal can wear out fast. Consider fixing hinges or tracks so the door closes evenly. Buy weatherstripping made for garage doors rather than window foam; garage strips handle heavy use and temperature swings better. Measure twice and cut once, and keep spare material for future repairs. Apply adhesive where recommended and allow it to set before using the door. Check the seal each season and replace any cracked or flattened sections to keep your garage warm and dry.
3) Use a Wall-Mounted Electric Heater
A wall-mounted electric heater saves floor space and gives steady warmth where you need it most. You can install a 240-volt unit for stronger output, or a 120-volt version for smaller garages and lighter use.
Place the heater on a wall that faces your workbench or parking spot so heat moves across the room. Many models have built-in fans or infrared panels to spread warmth faster, which helps when you enter a cold garage.
Electric units are low-maintenance and safe when installed correctly, but you should hard-wire larger models or hire a pro. Make sure your garage has proper insulation and a dedicated circuit for the heater to run efficiently.
PRO TIP
Choose a heater with a built-in thermostat and adjustable settings so you can control temperature and cut energy use. Pair the heater with a wall-mounted timer or smart plug to warm the space only when you need it, such as before you start a project or arrive home. Check the heater’s clearance requirements and mount it at the recommended height to avoid blocking airflow. If your garage is poorly insulated, add weatherstripping to doors and seal gaps around windows first to keep heat from escaping. Regularly clean the heater’s intake and fan to maintain efficiency and reduce fire risk.
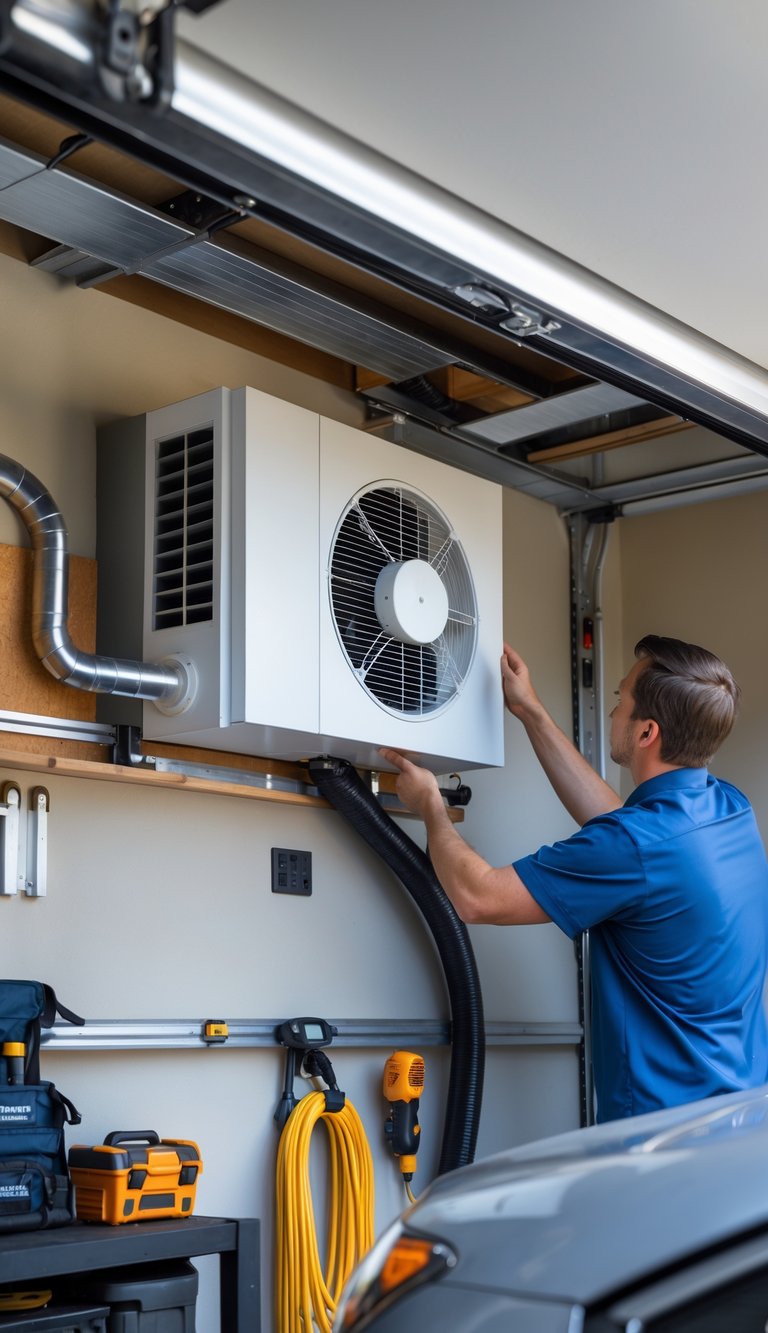
4) Set Up a Ductless Mini-Split System
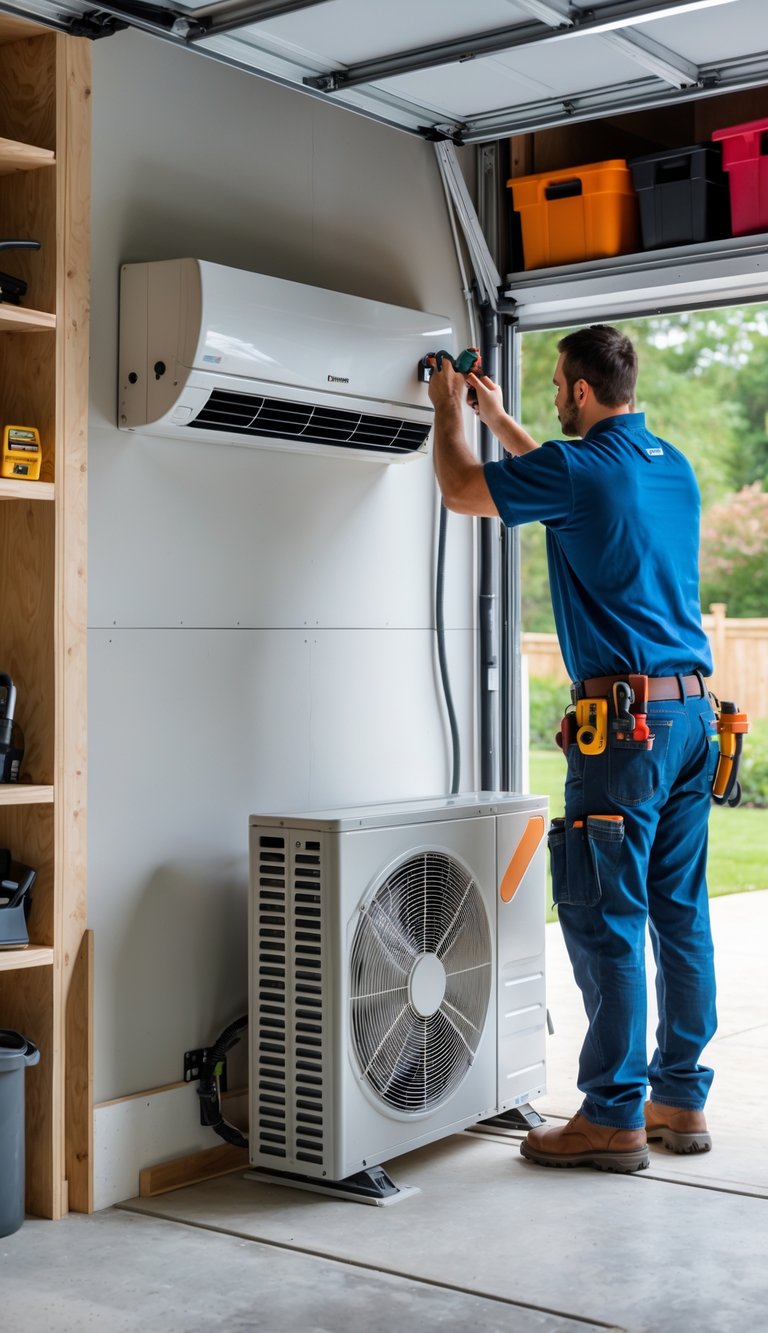
A ductless mini-split gives your garage fast, efficient heating and cooling without new ductwork. You mount a small indoor unit on the wall and place the compressor outside, so installation is less invasive than extending your home system.
You can heat and cool only the space you use, which saves energy. Mini-splits work well in converted garages, workshops, or home gyms where you want quiet, steady comfort.
Choose a unit sized for your garage square footage and insulation level. Position the indoor unit where airflow reaches your work area, and keep the outdoor compressor clear of debris for best performance.
PRO TIP
When planning your mini-split, factor in both BTU needs and insulation quality to avoid oversizing. A unit too large cycles on and off too often, wasting energy and shortening equipment life. Consider professional load calculation if your garage has high ceilings, poor insulation, or large windows. If you prefer DIY, many systems come with clear guides and require only a small hole for the refrigerant lines and wiring. Also check local codes and permits before you start work. Regularly clean filters and clear space around the outdoor unit to keep efficiency high and reduce maintenance costs.
5) Add a Radiant Floor Heating Kit
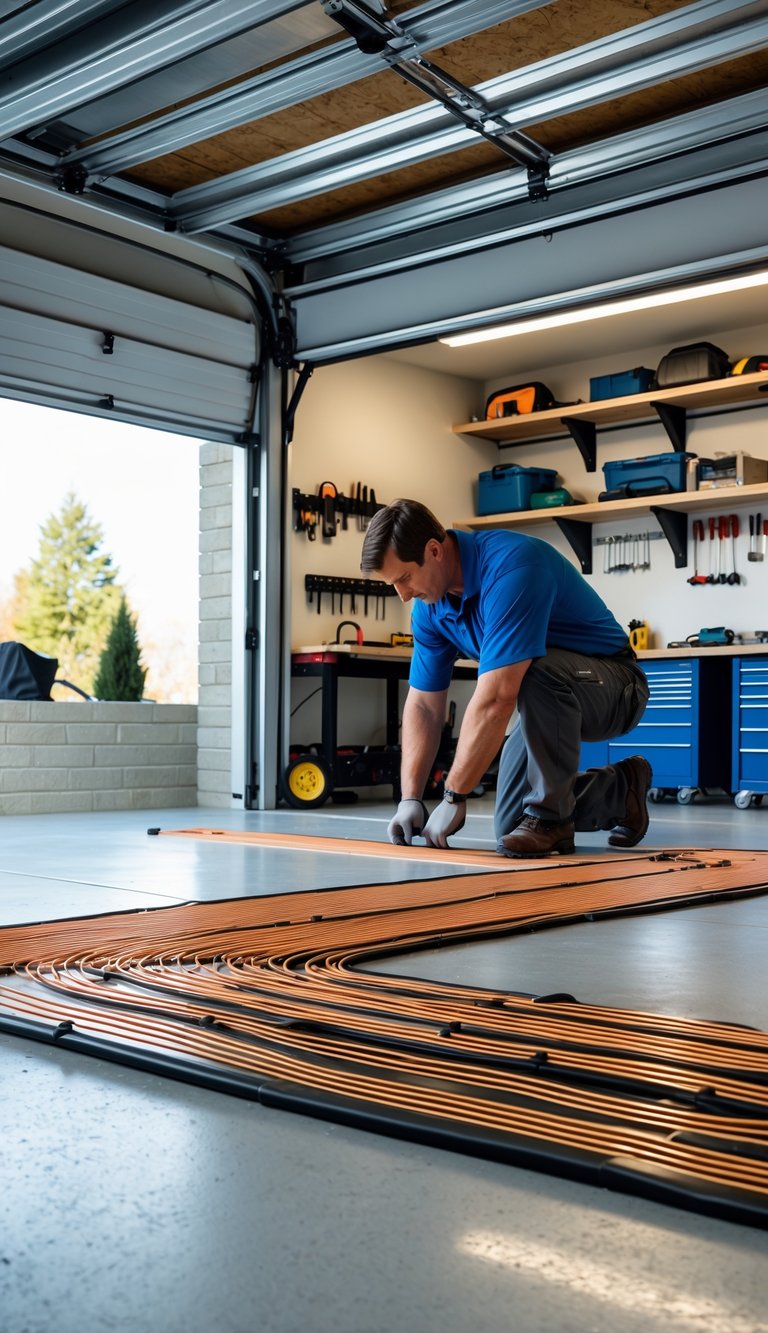
A radiant floor heating kit warms the floor so heat rises evenly through your garage. You can choose electric mats for simpler installs or hydronic tubes if you plan bigger heating needs. Both types tuck under or inside the slab to keep the floor dry and comfortable.
Kits often include mats, thermostats, and clear install instructions to help you do much of the work yourself. If your garage has a concrete slab, crews place the system before a new pour or in a thin topping layer. For retrofit work, electric mats are usually less invasive and quicker to install.
PRO TIP
Pick a kit sized to your garage layout and check the thermostat features before buying. A programmable thermostat saves energy by letting you set different temperatures for work times and idle hours. For garages attached to your home, consider a system that links to your main smart thermostat or a dedicated Wi‑Fi controller so you can preheat from your phone. Insulation beneath the heating layer matters — add a thermal barrier to reduce heat loss into the ground. Finally, if you plan to cover the heated slab with floor coatings or mats, confirm compatibility so the floor can still transfer heat efficiently.
6) Use a Portable Propane Garage Heater
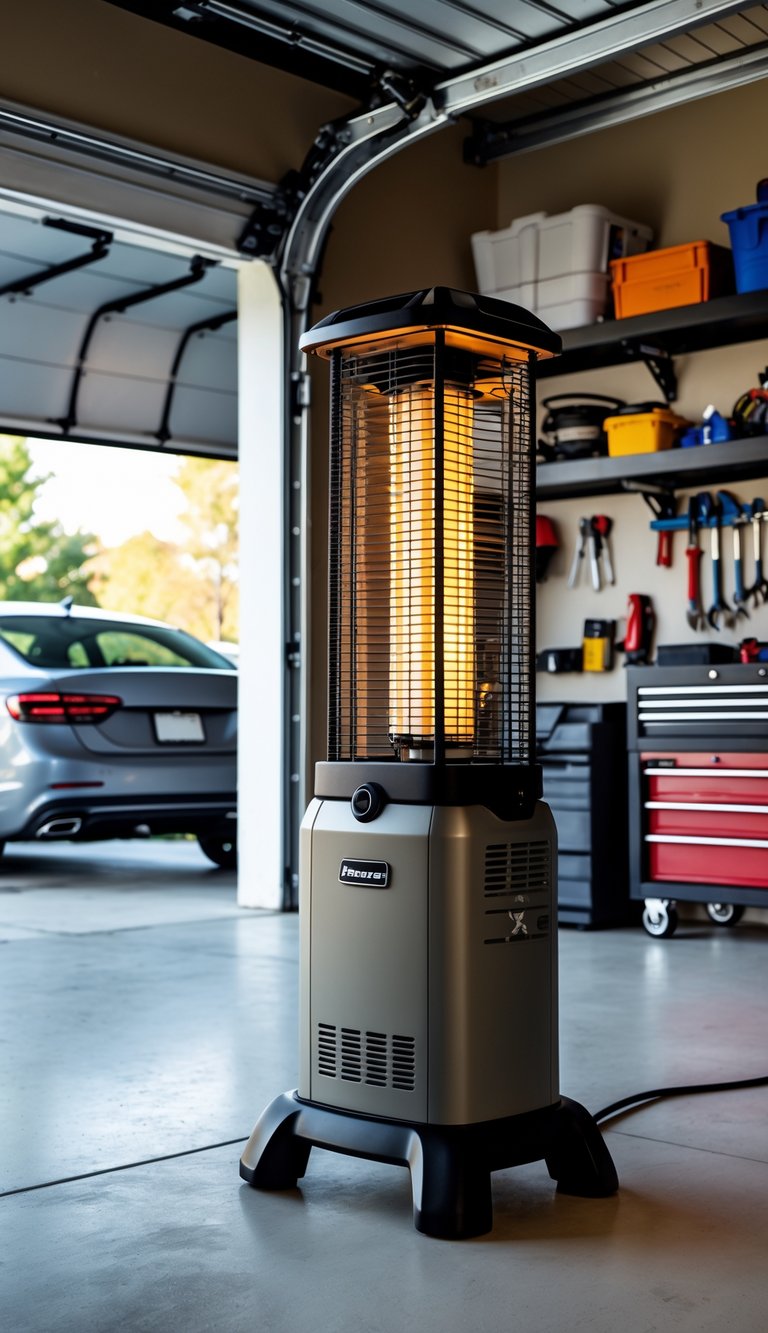
A portable propane heater gives you fast, strong heat for work or hobbies. You can move it where you need warmth and heat large areas more cheaply than many electric heaters. These heaters work well if your garage has good ventilation and you only heat occasionally.
Pick a model with safety features like an automatic shutoff and tip-over protection. Keep the tank outside or in a well-ventilated spot, and follow the manufacturer’s rules for hose and connector use. Never leave the heater running unattended.
PRO TIP
When you use a portable propane heater, place it on a flat, stable surface away from clutter and flammable materials. Use a carbon monoxide detector in the garage and test it often. If your garage is attached to your house, open a window or door slightly to keep fresh air moving. Consider pairing the heater with weatherstripping on doors and simple insulation to reduce heat loss and save fuel. Buy spare propane tanks and store them outside in an upright position away from direct sun and heat sources. Regularly inspect hoses, fittings, and the regulator for wear, cracks, or leaks; replace any damaged parts before use.
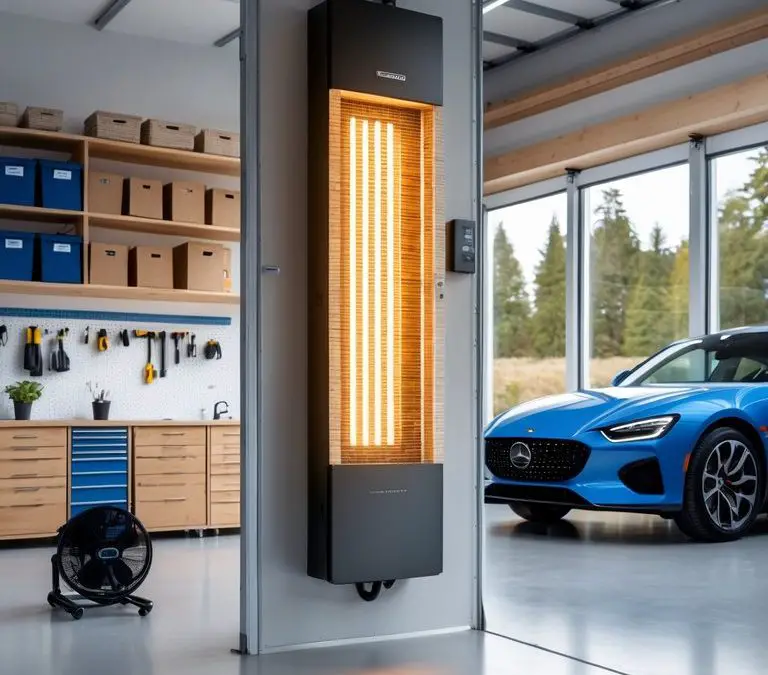
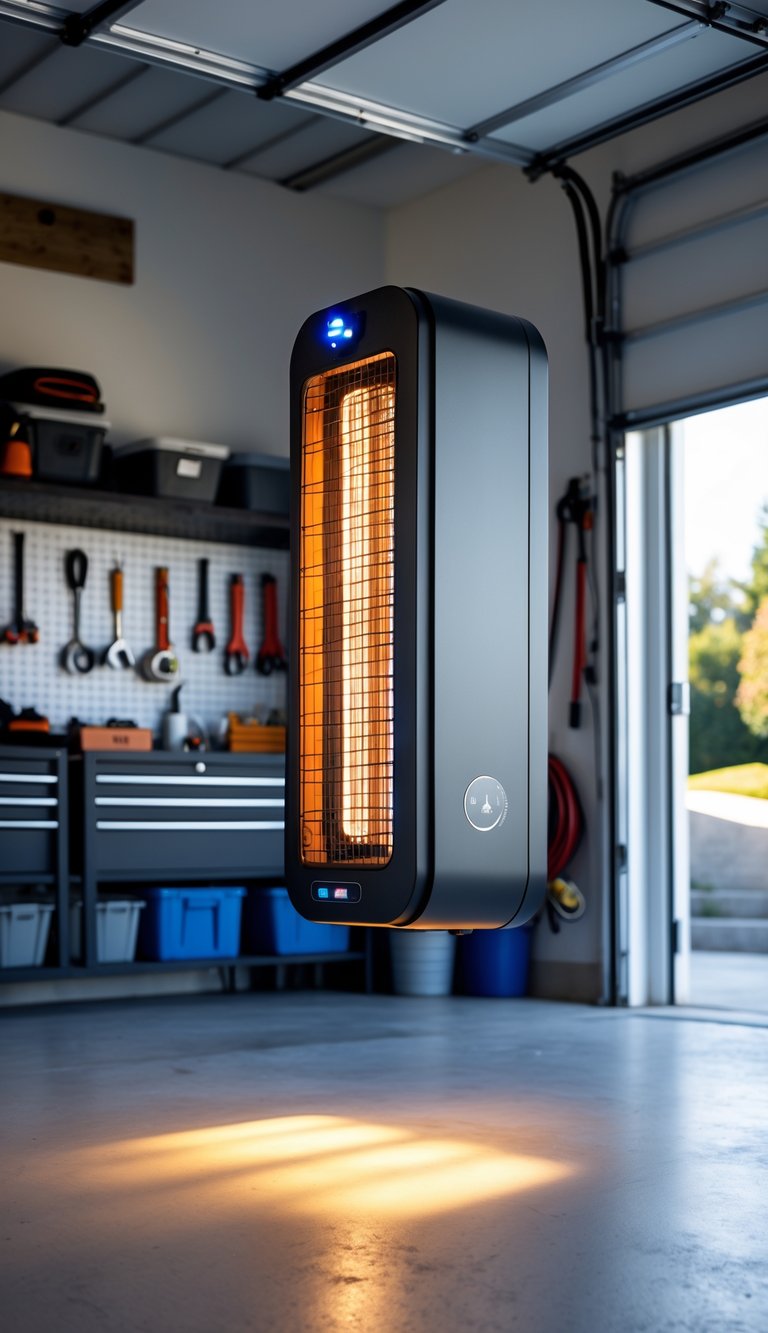
7) Install a Ceiling-Mounted Infrared Heater
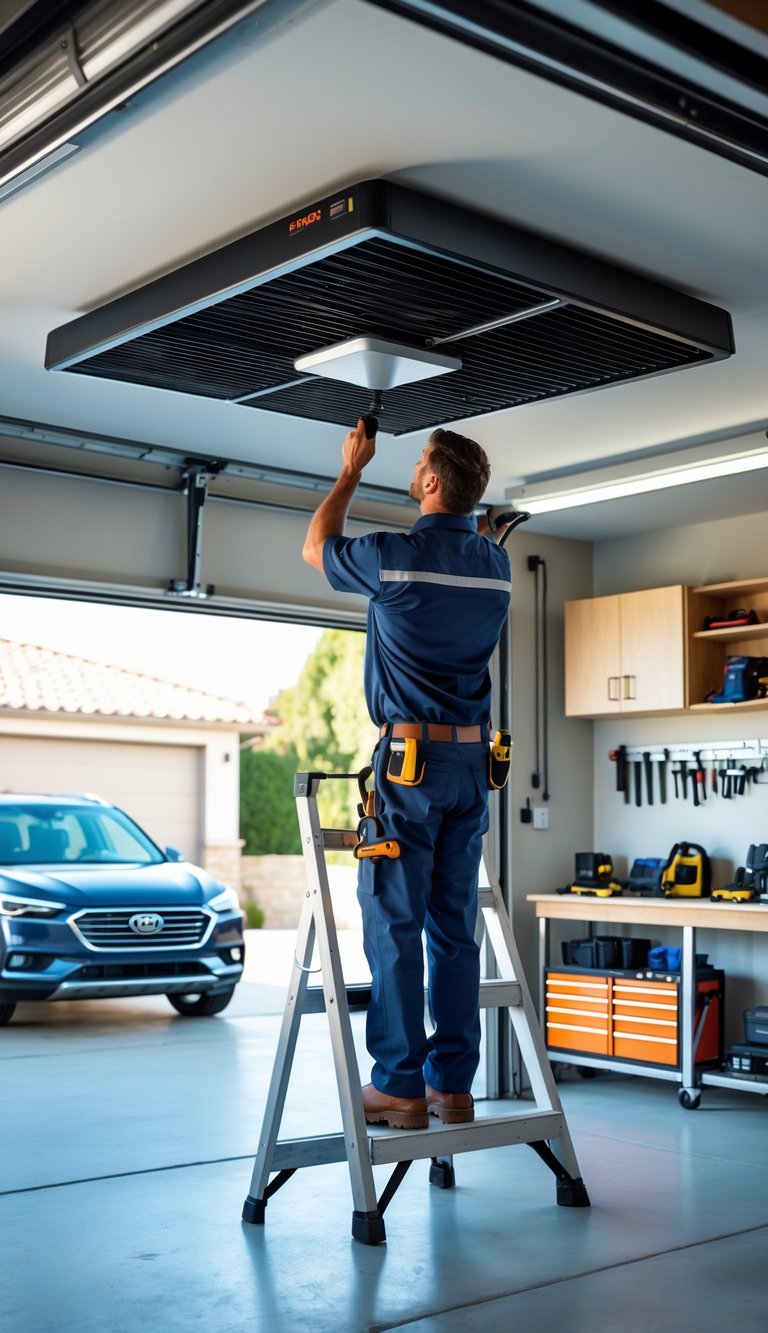
A ceiling-mounted infrared heater warms objects and people directly instead of heating all the air. You feel warmth quickly, which is great when you work in the garage for short periods.
Mount the heater to a solid joist or bracket and follow the manufacturer’s clearance rules. Keep combustible items away and route wiring through a licensed electrician if you are not comfortable with electrical work.
Ceiling placement saves floor space and directs heat down to your workspace. Choose a model sized for your garage height and square footage so you get consistent, even warmth without wasting energy.
PRO TIP
When choosing an infrared heater, match the unit’s output to your garage size and ceiling height for best results. Calculate the square footage and check the heater’s recommended coverage; higher ceilings reduce effective heat, so consider a higher-output model or multiple units for tall garages. Look for adjustable mounting brackets so you can angle the heater toward work areas, and select models with built-in thermostats or controls for easier temperature management. Prioritize safety features like tip-over protection, thermal cutoffs, and proper clearances to combustibles. If you plan DIY installation, verify local codes and, when in doubt, hire a licensed electrician to handle wiring and gas connections.
8) Seal Gaps Around Windows and Doors
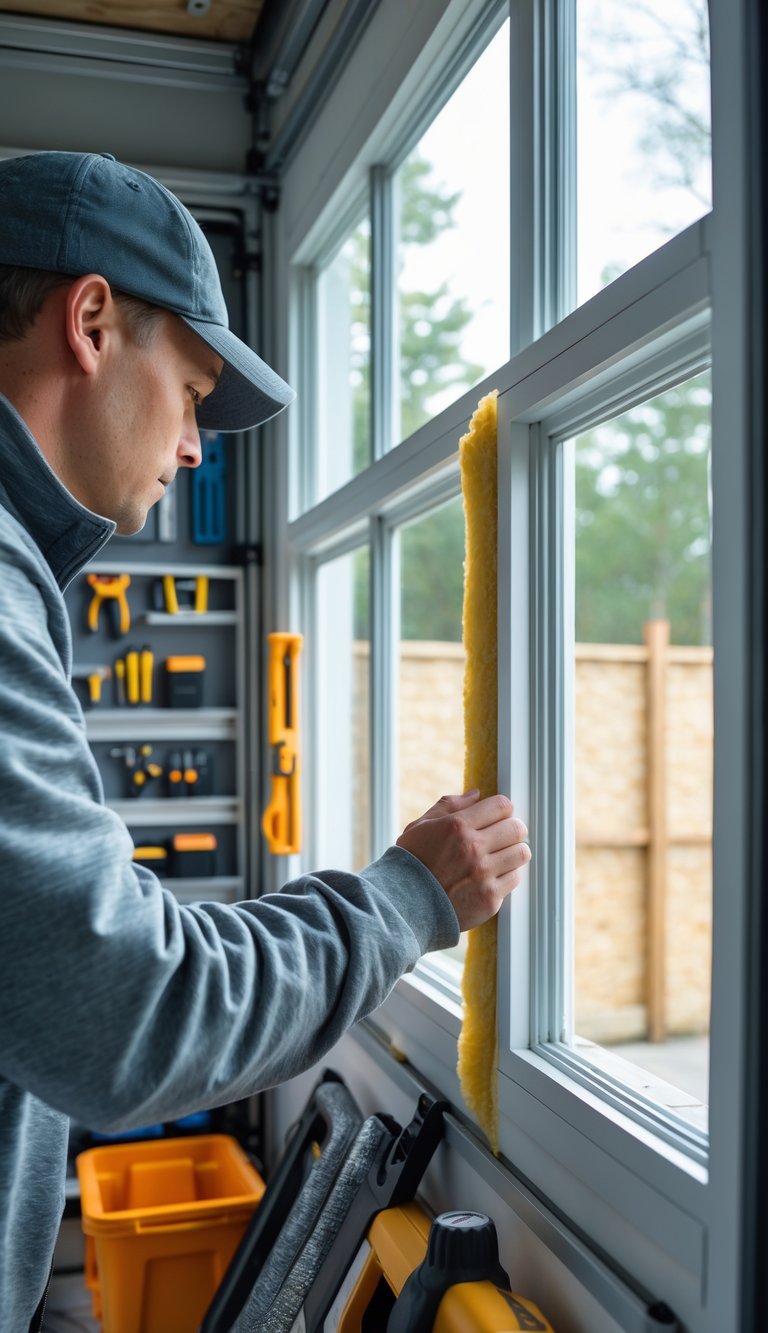
You can stop most drafts by sealing gaps around windows and doors. Use caulk for small cracks and expanding foam for larger openings to keep warm air in and cold air out. This simple step can make your heated garage feel more comfortable fast.
Weatherstripping works well on moving parts like door edges and sashes. It’s cheap, easy to install, and you can buy strips that fit metal, wood, and vinyl frames. Check seals every year and replace any that are flattened or cracked.
Sealing also keeps pests and dust from entering your space. That helps maintain a cleaner, healthier garage while reducing energy waste. Take time to inspect the perimeter, and seal any visible gaps you find.
PRO TIP
When you seal gaps, do a full perimeter check while the garage door is closed and on a windy day to spot air leaks. Use a smoke stick, lit incense, or a thin strip of tissue held near seams to find drafts. For consistent results, remove old caulk and clean the surfaces before applying new sealant; this improves adhesion and longevity. Choose low-expansion spray foam around pipes or irregular gaps to avoid bowing frames. For windows, apply low-VOC caulk to limit fumes in enclosed spaces. Finally, seal both interior and exterior sides when possible for the best thermal barrier and pest protection.
9) Use a Garage Door Insulation Kit

A garage door insulation kit is a fast way to cut drafts and keep your space more comfortable. You can buy kits with foam, foil-faced panels, or reflective materials that fit most standard doors.
Installing a kit usually takes a few hours and basic tools. You press or tape panels into the door sections, seal the edges, and add weatherstripping around the frame to stop air leaks.
Insulation raises the door’s R-value and reduces heat gain in summer and heat loss in winter. That makes your heater or AC work less and can lower energy bills if you use the garage often.
PRO TIP
Choose a kit with an R-value that matches your climate and plans for the garage. In colder regions, pick higher R-values and denser materials like foam board or insulated panels. For hot climates, reflective foil or radiant barrier kits help reduce heat from sunlight. Always add new or improved weatherstripping at the bottom and around the sides of the door to stop drafts. Measure door sections carefully before ordering to avoid gaps or wasted material. If you plan to use the garage as a workshop or living space, consider combining door insulation with wall and ceiling insulation for the best comfort and efficiency.
10) Add Heavy-Duty Thermal Curtains
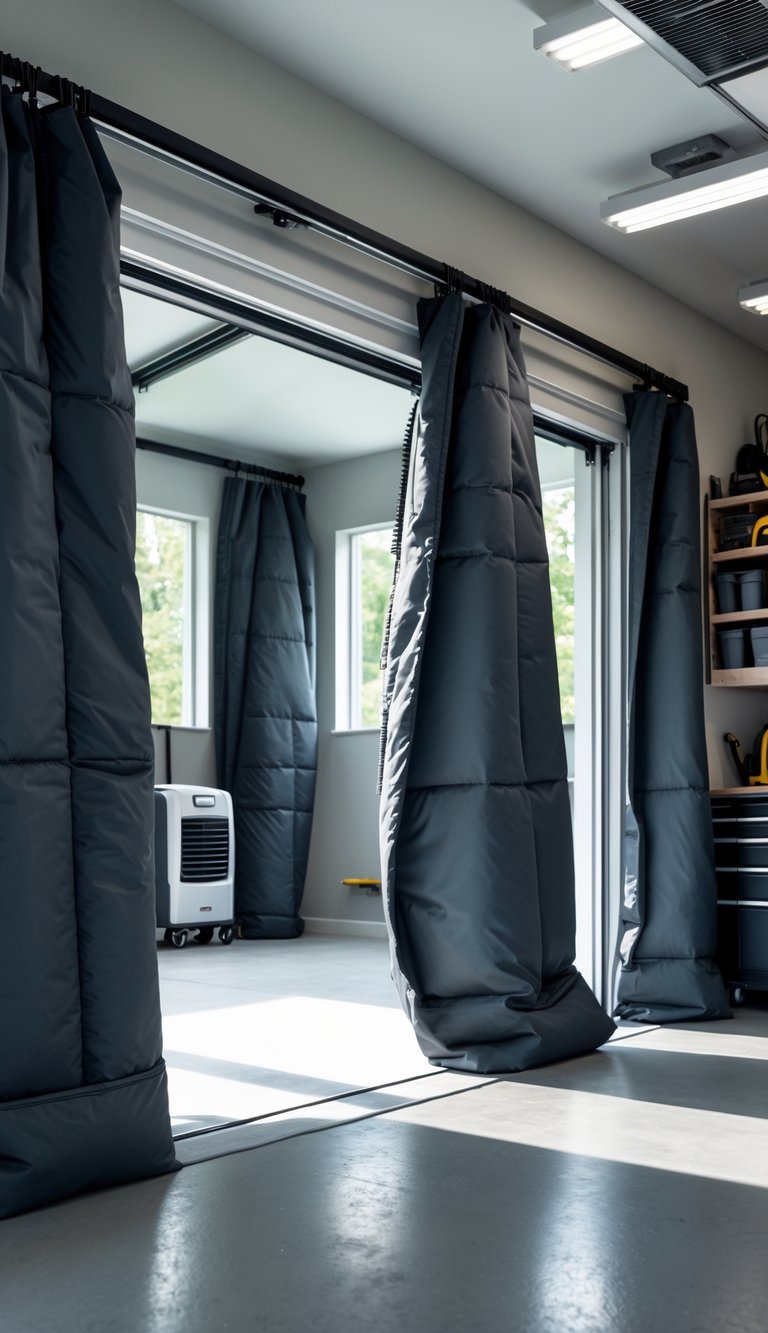
You can cut heat loss and keep drafts out by hanging heavy-duty thermal curtains across your garage door or windows. These curtains use thick, insulated fabric to trap warm air inside and block cold air from coming in. They also help reduce noise and give the space a cozier feel.
Install a ceiling-mounted track or sturdy curtain rod to make opening and closing easy. Measure carefully so curtains overlap seams and seal tightly when closed. Choose materials like thermal-backed polyester or heavy vinyl for durability and easy cleaning.
PRO TIP
Pick curtains with a tight weave and backing rated for thermal performance to get the best results. Add magnetic or Velcro strips along the edges to close gaps where cold air sneaks through. If you use the garage as a workshop, consider a split-panel design so you can move around without exposing the whole area to cold air. For extra insulation, pair curtains with weatherstripping on the door frame and insulated panels on the door itself. Finally, check that curtain materials are safe near heat sources and that they won’t block vents or the path of any heaters you use.
11) Install a Gas-Powered Unit Heater
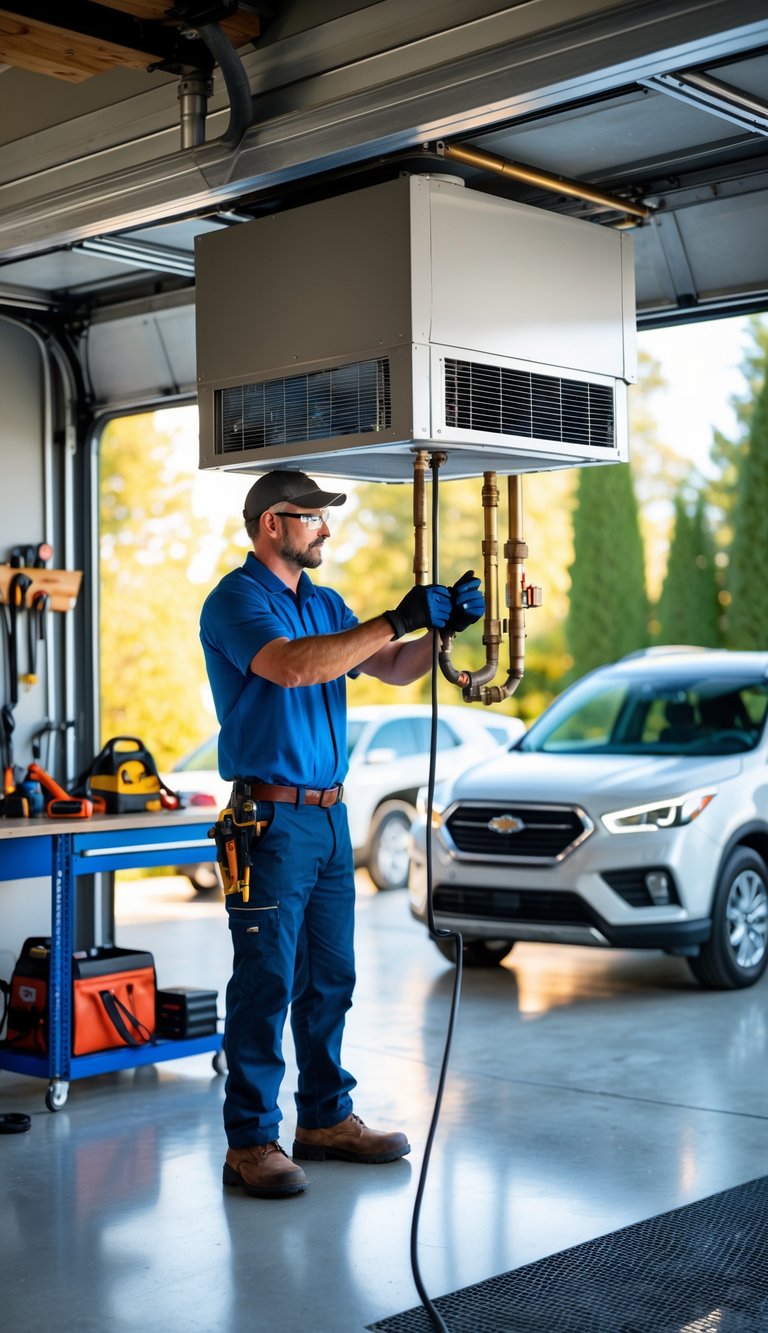
A gas-powered unit heater gives steady, fast heat for larger garages. You can heat the space quickly without running high electric loads, which helps if you use big tools or work long hours.
Hire a qualified pro for gas line hookup and venting to meet codes and keep your family safe. Proper placement near the work area and high enough to avoid contact keeps the heater efficient and reduces drafts.
Choose a model sized for your garage square footage and insulation level. Look for units with thermostat control and safety features like flame failure protection.
PRO TIP
When you plan a gas heater install, think about airflow and clearance as much as BTUs. Measure your garage, note door and window locations, and calculate heat loss—this keeps the heater from short-cycling or running too long. Ask your installer about venting options; direct-vent models exhaust outside and reduce indoor combustion risks. Also confirm local codes and permits before work starts. Finally, schedule a yearly safety check and clean the intake and exhaust to maintain efficiency and prevent carbon monoxide risk.
12) Place a Space Heater with Thermostat
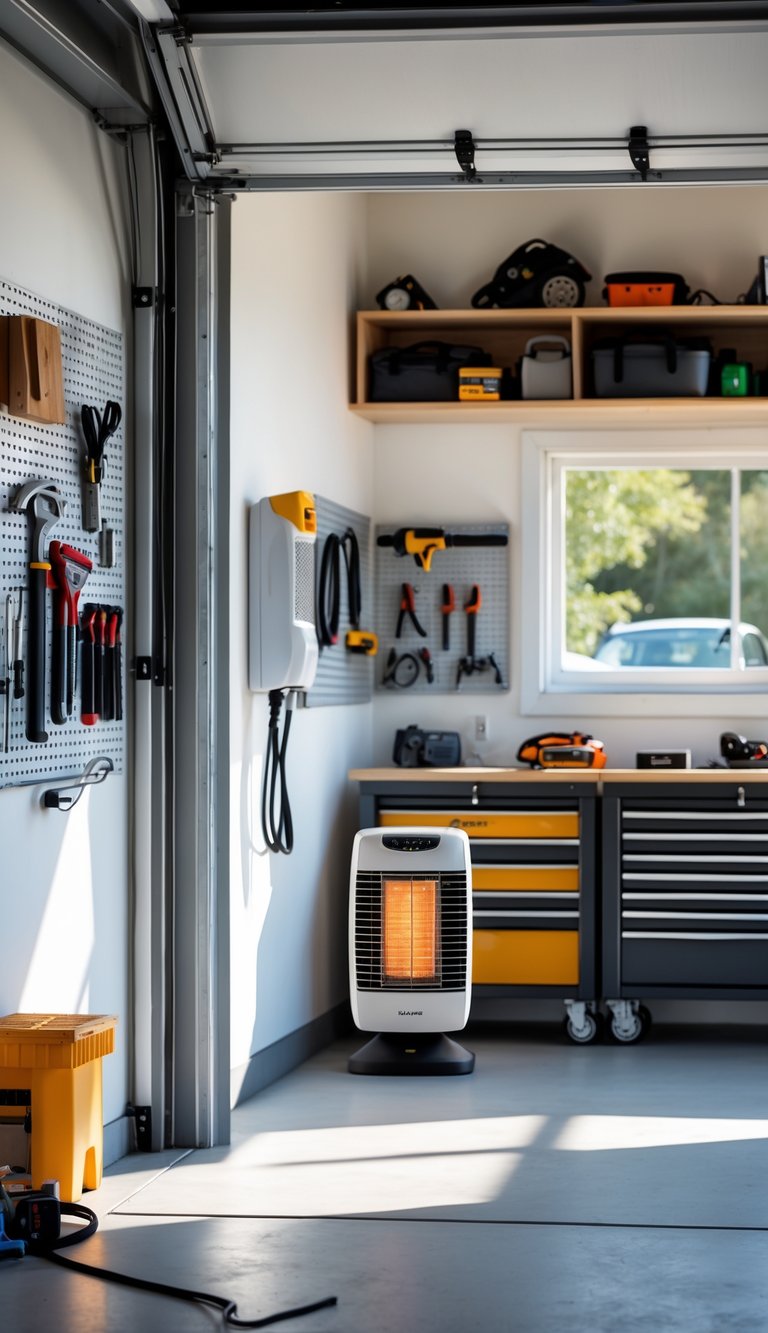
A space heater with a built-in thermostat gives you precise control of garage temperature. You can set it to maintain a steady warmth without wasting energy. This works well if you use the garage for short projects or as a hobby space.
Choose a model rated for the garage size and follow safety guidelines. Keep the heater on a flat surface and away from flammable items like paint cans or cardboard. Plug it into a dedicated circuit if possible to avoid tripping breakers.
Position the heater to warm the area where you work, not just the garage door. A thermostat prevents the heater from running nonstop, saving energy and extending the unit’s life. Regularly check cords and clean dust to reduce fire risk.
PRO TIP
Pick a space heater that offers an external thermostat or pairs with a smart plug so you can program schedules and monitor energy use from your phone. Place the heater near the workspace and aim it slightly toward the center of the room, not directly at people or objects that could overheat. If your garage has poor insulation, combine the heater with weatherstripping and a heavy door sweep to keep heat in. For larger garages, use multiple lower-wattage units with thermostats to spread heat evenly. Always read the manufacturer’s safety instructions and keep a working smoke detector in the garage.
13) Upgrade to an Insulated Garage Door
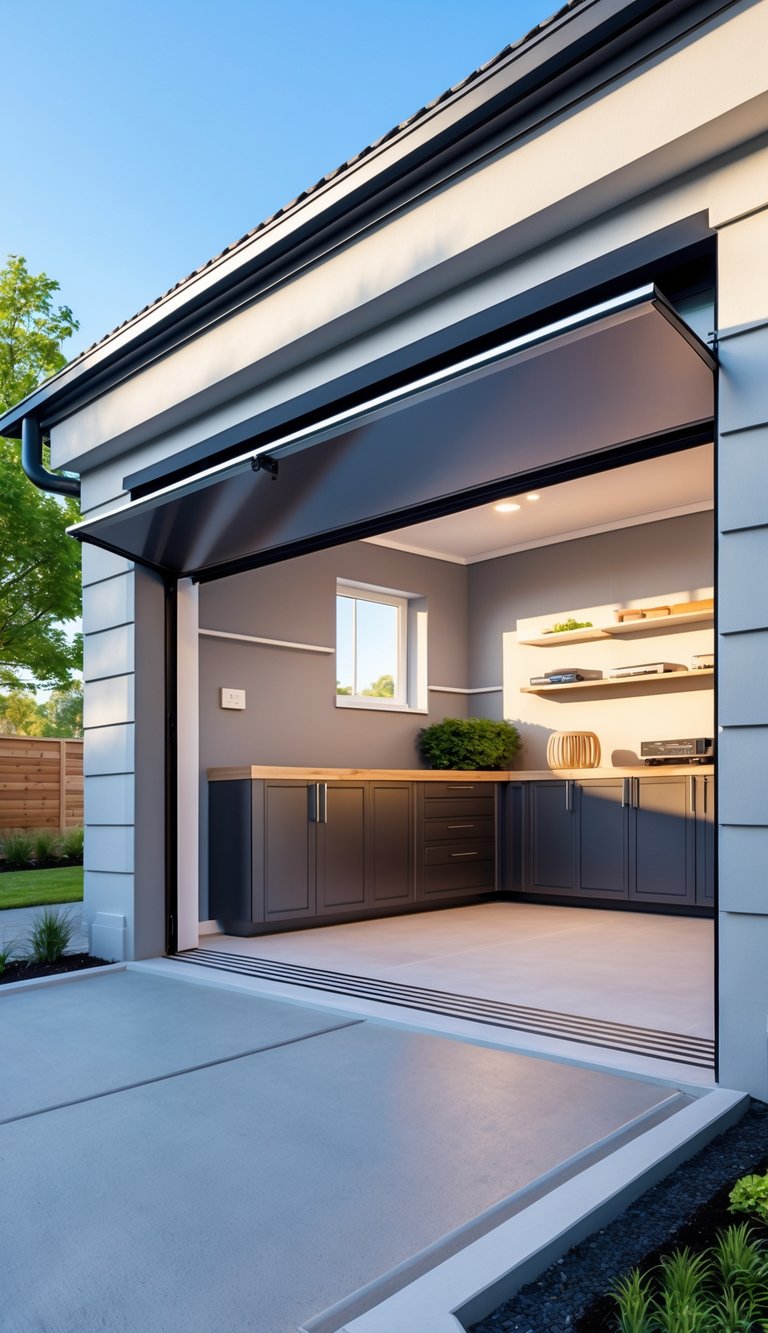
An insulated garage door cuts heat loss in winter and keeps out unwanted heat in summer. That helps your garage hold a steady temperature and reduces work for your heater or AC.
You will notice less noise from outside when the door has insulation. It also protects stored items from temperature swings and can make your garage feel more like a usable room.
Choose a door with a good R-value and durable materials like steel with foam cores. Proper sealing around the edges and professional installation will prevent drafts and maximize savings.
PRO TIP
When you pick an insulated garage door, think about the whole system. Match the door’s R-value to your climate—higher R-values work best in cold areas, while moderate values suit milder climates. Check the door’s weatherstripping and bottom seal; small gaps can erase insulation gains. Look for doors with thermal breaks to reduce heat transfer through metal parts. If you plan to use the garage as a workshop or living space, consider windows with double glazing for light without heat loss. Budget for professional installation unless you have solid DIY skills; installers will ensure proper alignment, tension, and sealing. Finally, combine the door upgrade with insulation for walls and the ceiling to get the biggest comfort and energy benefits.
14) Use a Smart Thermostat for Temperature Control
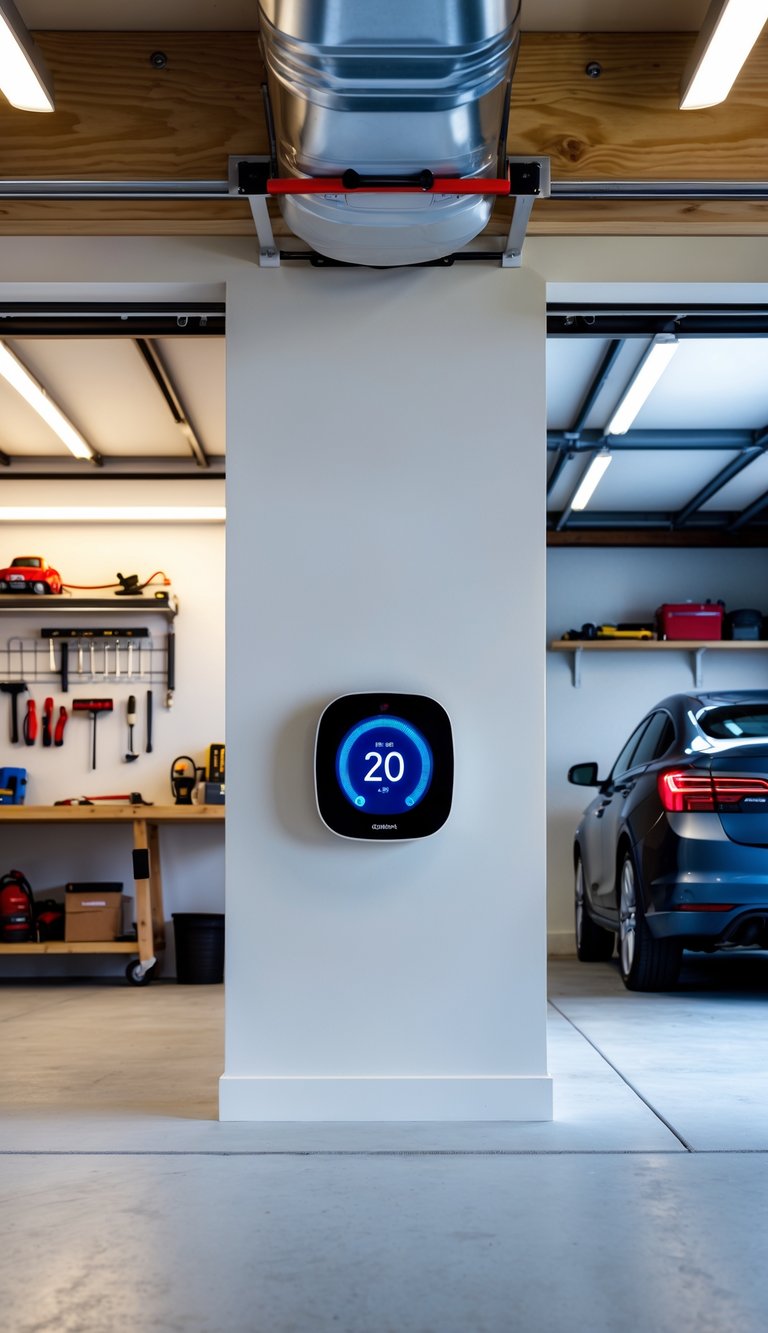
A smart thermostat helps you keep your garage at the right temperature without constant adjustments. You can set schedules to warm the space before you arrive or lower the heat when you’re away to save energy.
Many smart models work with low-voltage systems, while high-voltage electric heaters may need a relay or compatible interface. Check compatibility before buying so your thermostat can safely control the heater.
Smart thermostats let you change settings from your phone and add motion or door sensors for automation. That makes the garage more comfortable and protects tools and materials from cold damage.
PRO TIP
Choose a smart thermostat that matches your heater type and wiring to avoid extra parts or unsafe wiring changes. If your garage heater is high-voltage, plan to install a relay or use a thermostat built for high-voltage systems. Add one or two remote sensors inside the garage so the thermostat measures the actual workspace, not just the wall near the door. Place sensors away from direct heat sources and the garage door to get accurate readings. Use schedules to lower temperature overnight and boost it before you start work. Finally, enable alerts for extreme temperatures so you can act quickly if the heater fails.
15) Add Baseboard Electric Heaters

Baseboard electric heaters are a simple way to add steady warmth to your garage. They mount low on the wall and use convection to warm the air, which helps keep the floor and workbench areas comfortable.
You can choose units with built-in thermostats or connect them to a separate thermostat for better control and energy savings. Installation is usually straightforward, but follow local electrical codes and consider hiring an electrician if you’re unsure.
Baseboard heaters work quietly and require little maintenance compared with forced-air systems. They’re best for garages with decent insulation; otherwise you’ll lose heat too quickly and costs will rise.
PRO TIP
Choose heaters with overheat protection and an adjustable thermostat to avoid wasted energy and to keep temperature swings small. Place units on walls that allow even heat flow across the room and away from flammable materials or clutter. If you plan to use the garage as a workshop, consider pairing baseboard heaters with a programmable thermostat so you only heat the space when you need it. For larger garages, install multiple units for balanced warmth rather than a single high-power heater. Always check circuit capacity before adding units to prevent tripping breakers, and consult an electrician for hardwired installations.
16) Set Up a Ventilation Fan with Heat Recovery
A heat recovery ventilator (HRV) moves stale air out and brings fresh air in while saving most of the heat. You get steady airflow without losing warmth, which keeps your heated garage comfortable and energy efficient.
Install the fan where it can pull the most stale air, like near workspaces or the car area, and route intake away from exhaust to avoid short‑cycling. Choose an HRV sized for your garage volume and local climate for best results.
Keep filters clean and balance the system so incoming and outgoing air match. You can add a simple timer or humidity sensor to run the unit only when needed and cut energy use.
PRO TIP
Pick an HRV with easy filter access and clear airflow settings so you can maintain it without special tools. Regular filter checks—about every 3 months in dusty garages—keep the unit efficient and protect your tools and stored items from particulates. If you use paints, solvents, or fuel, consider a slightly higher air exchange rate and add a dedicated exhaust near the source. Hire a qualified HVAC tech for duct connections and balancing if you’re unsure; proper setup prevents backdrafts and keeps your house air separate from the garage.
17) Use Reflective Radiant Barriers
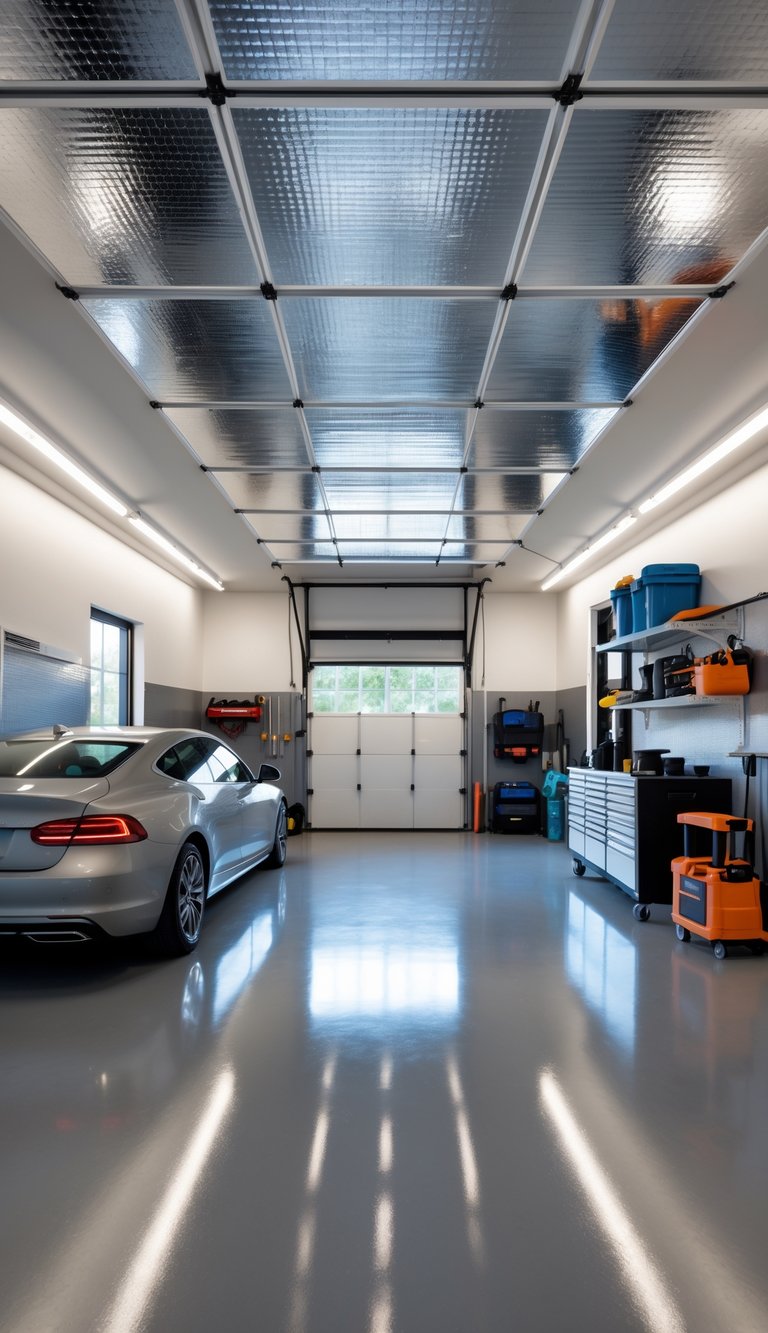
Adding a reflective radiant barrier to your garage door can cut the amount of heat that comes through on hot days. It works by reflecting radiant heat away from the interior, so your space stays cooler without extra cooling equipment.
These barriers also help keep warmth inside during cold spells. They won’t replace full insulation, but they add an extra layer that improves comfort and lowers energy use.
You can buy kits made for garage doors or use reflective bubble or foam panels. Many kits are easy to install with adhesive or fasteners and fit most door types.
PRO TIP
When you install a radiant barrier, pair it with a seal around the door edges to stop drafts. A barrier reflects heat but won’t stop air leaks. Use weatherstripping and check hinges and tracks for gaps. If your garage is attached to the house, improving the barrier helps protect interior rooms from temperature swings. In climates with high humidity, choose a product that resists condensation to avoid moisture problems. Finally, measure the door carefully before buying a kit and follow the manufacturer’s instructions for best results.
18) Install Underfloor Heating Mats

You can add electric underfloor heating mats under new or existing garage flooring to bring even warmth across the floor. These mats sit just under tile, thin concrete overlays, or some floating floors and warm the space without visible radiators.
Installation is straightforward for many DIYers when the surface is prepared and a compatible thermostat is used. Mats heat quickly and provide steady, low-level warmth that helps keep your feet, tools, and vehicles from getting too cold.
Look for mats rated for garages and check the floorcovering compatibility. Hire a licensed electrician to connect the system and set up a thermostat for safety and efficient control.
PRO TIP
When choosing underfloor heating mats, focus on system compatibility with your garage floor type and local electrical codes. Measure the floor area carefully and avoid placing mats under permanent fixtures or heavy storage that could block heat. Use a dedicated circuit sized by a licensed electrician; garages often need specific wiring and a ground-fault circuit interrupter (GFCI) for safety. Pick a thermostat with a floor sensor so the system reads actual floor temperature, not just air temperature. Insulate below the mats when possible to reduce heat loss into the slab and improve efficiency. Finally, keep wiring diagrams and manufacturer instructions for future maintenance and any resale needs.
19) Add a Wood Stove for Rustic Warmth

A wood stove gives your garage steady, cozy heat and a classic look. It works well when you want a reliable heat source that does not rely on electricity.
Place the stove on a noncombustible pad and keep clearances from walls and stored items. Install a proper chimney or vent pipe that follows local building codes to avoid smoke and carbon monoxide risks.
Use seasoned hardwood for cleaner burns and better heat output. Keep a fire extinguisher nearby and install a carbon monoxide detector in the garage and adjacent rooms.
PRO TIP
When you add a wood stove, follow local codes and get any needed permits before you start. Proper siting and venting are crucial for safety and for passing inspections. Hire a qualified installer for chimney and clearance work if you are unsure. Routinely inspect the stove pipe and chimney for creosote buildup and clean them as needed to reduce fire risk. Store fuel outside the main garage area, off the ground, and away from the stove to prevent accidental ignition. Finally, keep a simple fire safety kit and teach family members how to use it and how to safely operate the stove.
20) Install Electric Wall Panels
Electric wall panels give steady, quiet heat without taking up floor space. You mount them low on a wall and they warm the air and surfaces nearby. They work well if your garage is insulated and you want a simple, low-maintenance option.
These panels come in slim designs and can match garage decor. Many models have built-in thermostats so you can set a comfortable temperature and avoid wasted energy. They are safer than open-flame heaters and don’t need ventilation.
Installation is usually straightforward for a qualified electrician. Choose panels sized for your garage square footage and place them where people spend time, not just near the door.
PRO TIP
When picking electric wall panels, check the panel’s wattage and match it to your garage size to get reliable warmth. If your garage is poorly insulated, insulating walls and sealing gaps first will reduce the panel size and energy cost you need. Look for models with programmable thermostats or smart controls so you can schedule heat for work times and save energy when unused. Consider panel placement to avoid blocking tools or cabinets, and keep the area clear for airflow. Finally, hire a licensed electrician for hardwired panels to ensure safe wiring and proper circuit capacity.
21) Create a Cozy Workspace with Area Rugs
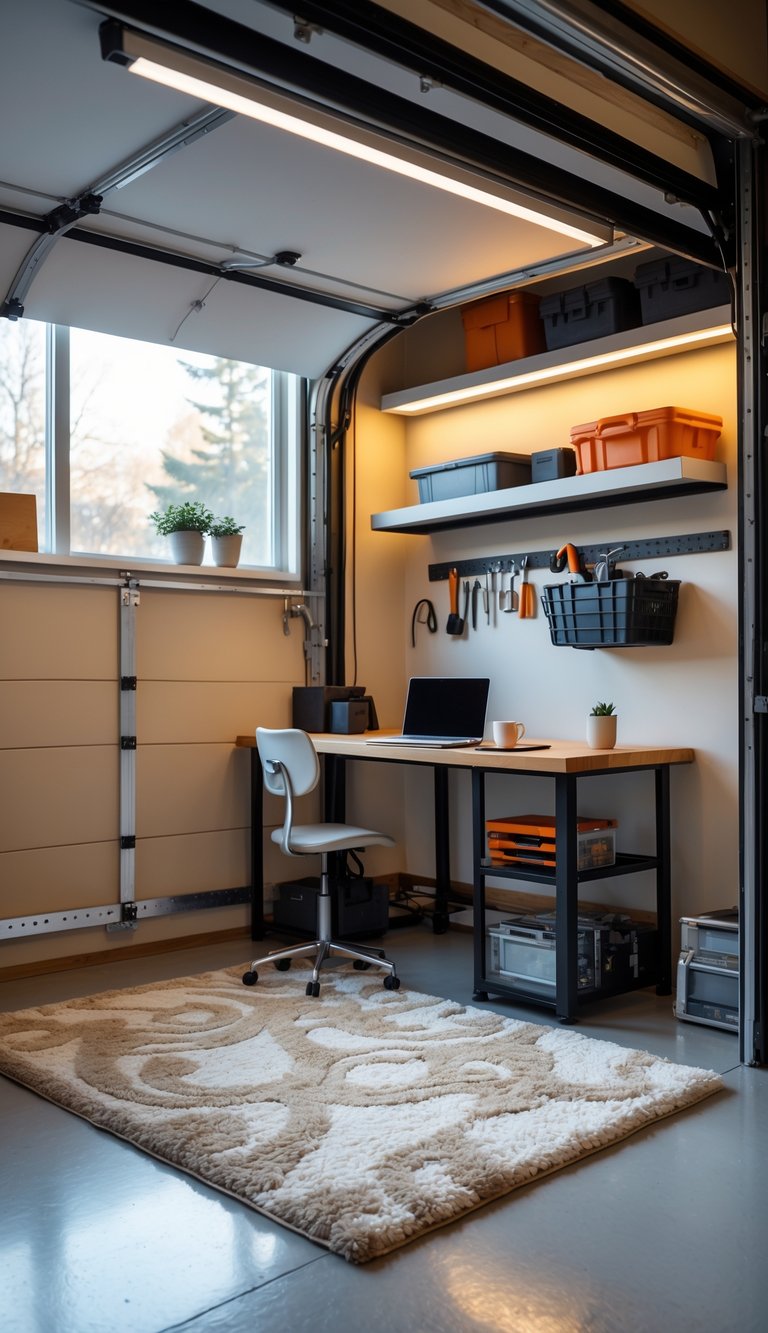
Area rugs make a big difference in a heated garage. They add softness underfoot and help trap warm air near your workspace, so your feet stay comfortable during long projects.
Pick a rug that fits your desk and chair area. A low-pile rug works best for rolling chairs, while a thicker rug creates a cozy sitting nook for breaks.
Choose durable, stain-resistant materials that handle foot traffic and occasional spills. Rugs with non-slip pads keep the rug in place and protect any finished floor beneath.
Layer rugs to define zones and add visual warmth. Colors and patterns can make the space feel more like an indoor room and less like a utility area.
PRO TIP
When you pick rugs for a garage office, think practical and comfy at the same time. Measure the area first so the rug covers the whole desk zone and keeps your chair on the rug while you move. Use a non-slip pad under the rug to prevent slipping and to protect the floor from moisture or grit that blows in. For chair-friendly surfaces, choose low-pile or flatweave rugs so your casters roll smoothly without catching. If you want extra insulation, add a secondary rug or a rug pad with thermal properties to help trap heat. Clean regularly with a vacuum and spot-treat stains quickly to keep the rug looking fresh. Select colors and textures that match your workspace vibe; a subtle pattern hides dirt better than a solid light color, so maintenance stays easier over time.
22) Use a Garage Heater with Safety Shutoff
Choose a garage heater that includes an automatic safety shutoff to reduce fire risk. These heaters turn off if they overheat or tip over, which protects your tools, cars, and stored items.
Place the heater on a stable surface or mount it per the maker’s instructions to lower the chance of tipping. Keep flammable materials, like paint cans and rags, well away from the heater at all times.
Look for additional safety features such as cool-touch housing and a certified listing (UL, ETL, or similar). Test the shutoff periodically by following the manufacturer’s steps so you know it works before the cold weather hits.
PRO TIP
When you buy a heater, check that the safety shutoff covers both overheat and tip-over scenarios. Register your product and keep the manual in a safe place so you can find reset steps or troubleshooting tips quickly. Consider hardwiring a wall-mounted electric unit or using a dedicated outlet to avoid overloaded extension cords. Install a smoke detector and a carbon monoxide alarm if you use fuel-burning heaters, and test them monthly. Finally, schedule a quick annual inspection of wiring and venting by a qualified technician to keep the system safe and reliable.
23) Build a DIY Heated Workbench

You can make a heated workbench to keep your hands and tools warm while you work. Start with a solid, insulated top and a thin electric heating mat or flexible silicone heater under a heat-resistant surface. Mount a thermostat or temperature controller so you can set a comfortable level and avoid overheating.
Keep wiring tidy and use a GFCI outlet for safety. Add a layer of rigid foam or reflective insulation under the heater to focus heat upward. Choose a durable finish like sealed plywood, metal, or butcher block that tolerates warmth and wear.
PRO TIP
When planning your heated workbench, pick components rated for workshop use and match voltage and current to your circuit. Use a dedicated circuit if your garage loads are already high. Make the heater easy to remove for maintenance or replacement by using screws or clips rather than permanent adhesives. Place a small thermostat probe under the top surface near where you work, not next to the heater edge, so temperature reads where your hands will be. Consider adding a thin diffusion layer—like a metal plate or cement board—above the heater to spread heat evenly and prevent hot spots. Finally, label switches and keep a fire extinguisher nearby; safe setups last longest.


