Last Updated on January 31, 2026
You want your boat ready for the water without surprises or last-minute repairs. This article shows 18 practical de-winterizing tips that save time, protect gear, and help you launch with confidence.
You’ll find clear steps on engine checks, battery care, plumbing, safety gear, hull cleaning, trailer prep, and simple tests to run before launch. Follow these tips and you’ll avoid common winter-related damage and enjoy more days on the water.
1) Check nighttime temperatures consistently stay above freezing before starting
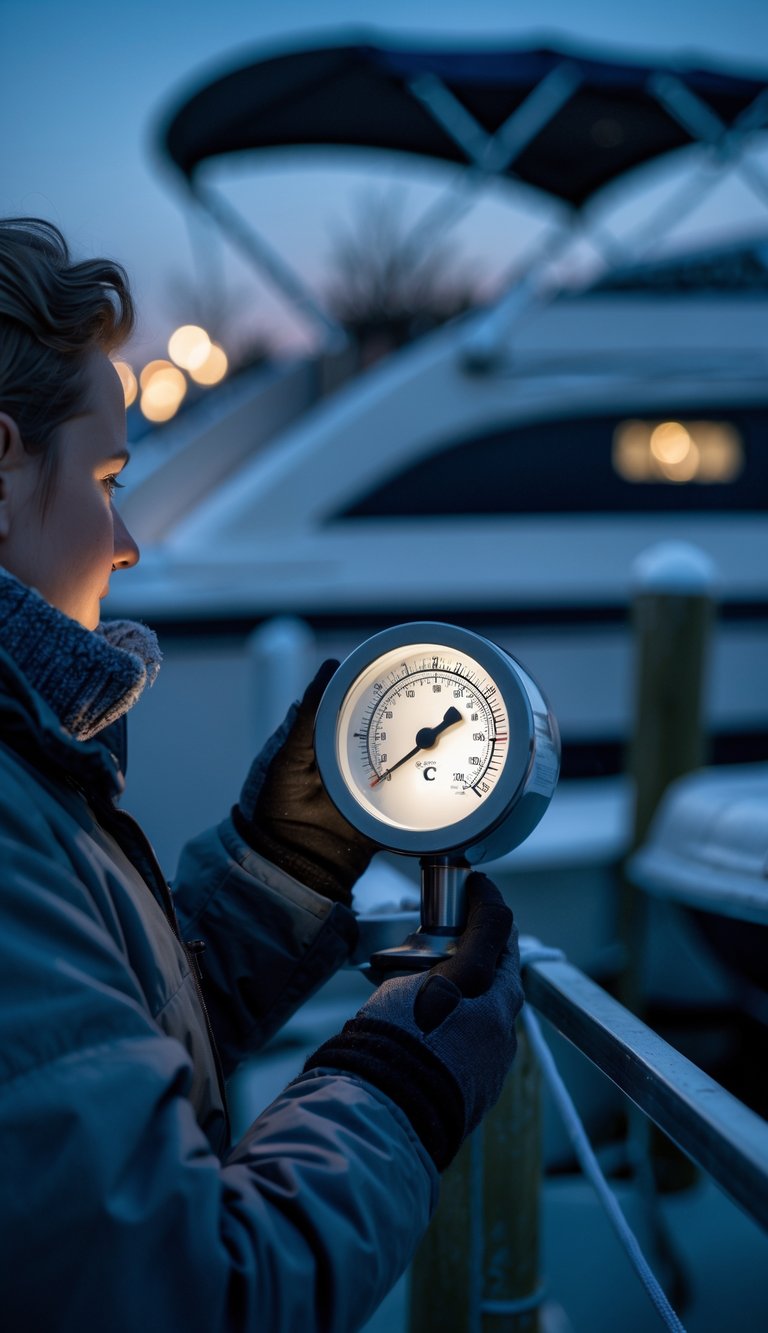
You should wait until nighttime lows stay above 32°F (0°C) for several days before de-winterizing. A single warm day won’t protect hoses, pumps, or engine parts from a cold night that can cause cracks or other damage.
Check local forecasts and nighttime temperature records for your area. Use a reliable weather site or app and look at the coming week, not just the next day.
If you keep your boat in a marina, ask staff about recent temperature trends near the water. Water temperatures can delay or reduce overnight cooling, but air temps still matter for exposed systems.
PRO TIP
Set alerts on your phone for nighttime lows so you get notified if a freeze is expected.
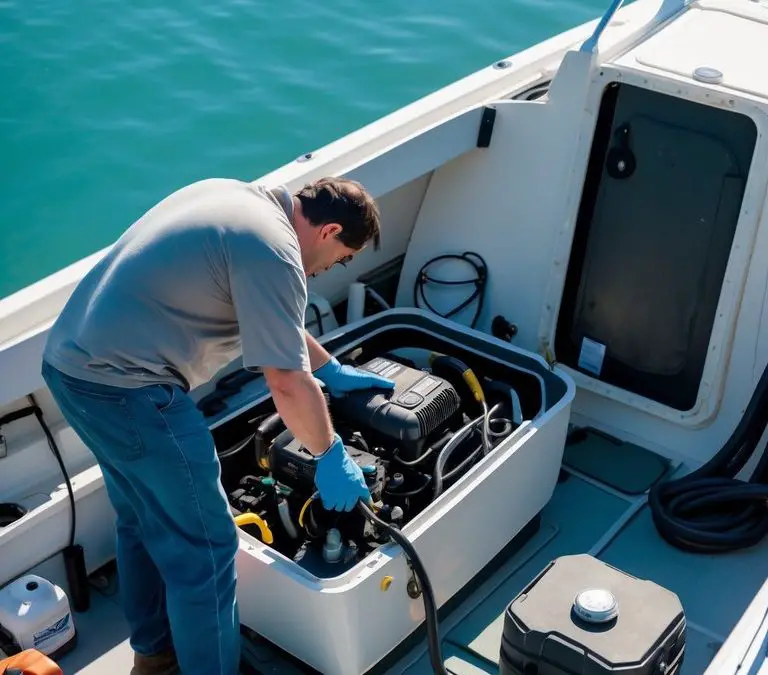
2) Inspect the engine thoroughly for any signs of wear or damage

Start by looking for visible wear, cracks, or corrosion on the engine block, mounts, and exhaust. Check hoses and clamps for brittleness or leaks; small cracks can turn into big problems once you run the engine.
Look at fuel lines and connections for staining or soft spots that signal leaks. Inspect belts and pulleys for fraying, glazing, or uneven wear and replace any that look suspect.
Check the prop, shaft, and lower unit for nicks, dents, or water intrusion. Turn the prop by hand to feel for rough bearings or binding that could mean internal damage.
Run a careful compression or crank test if you can, and note odd noises, smoke, or poor starting. Keep detailed notes or photos to track issues and show your mechanic if needed.
PRO TIP
Bring a flashlight and a mirror to see tight spaces, and wear gloves to keep your hands clean while you inspect.
3) Flush and clean the cooling system to prevent corrosion
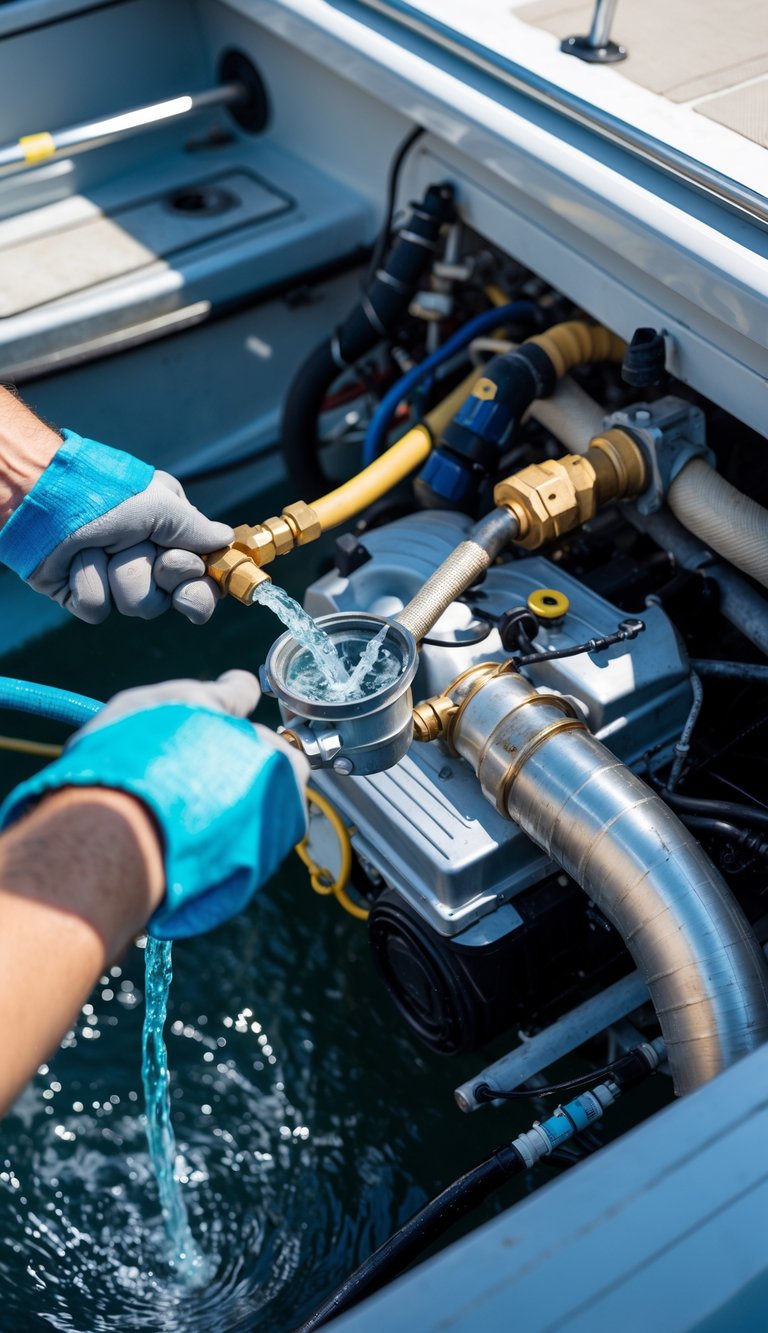
You should flush the cooling system after winter storage to remove old coolant, salt, and debris. Run fresh water through the system until it flows clear to protect passages and pumps.
If your boat has a raw-water intake, use earmuffs or a flushing port and a garden hose. For closed systems, follow the manufacturer steps to circulate fresh water or a flushing solution.
Inspect and replace worn hoses, clamps, and the impeller while you have the system open. Small parts fail fast if left corroded, so swap them now to avoid breakdowns on the water.
PRO TIP
Use a mild descaler if you see mineral buildup, but avoid harsh acids that can damage metals and seals.
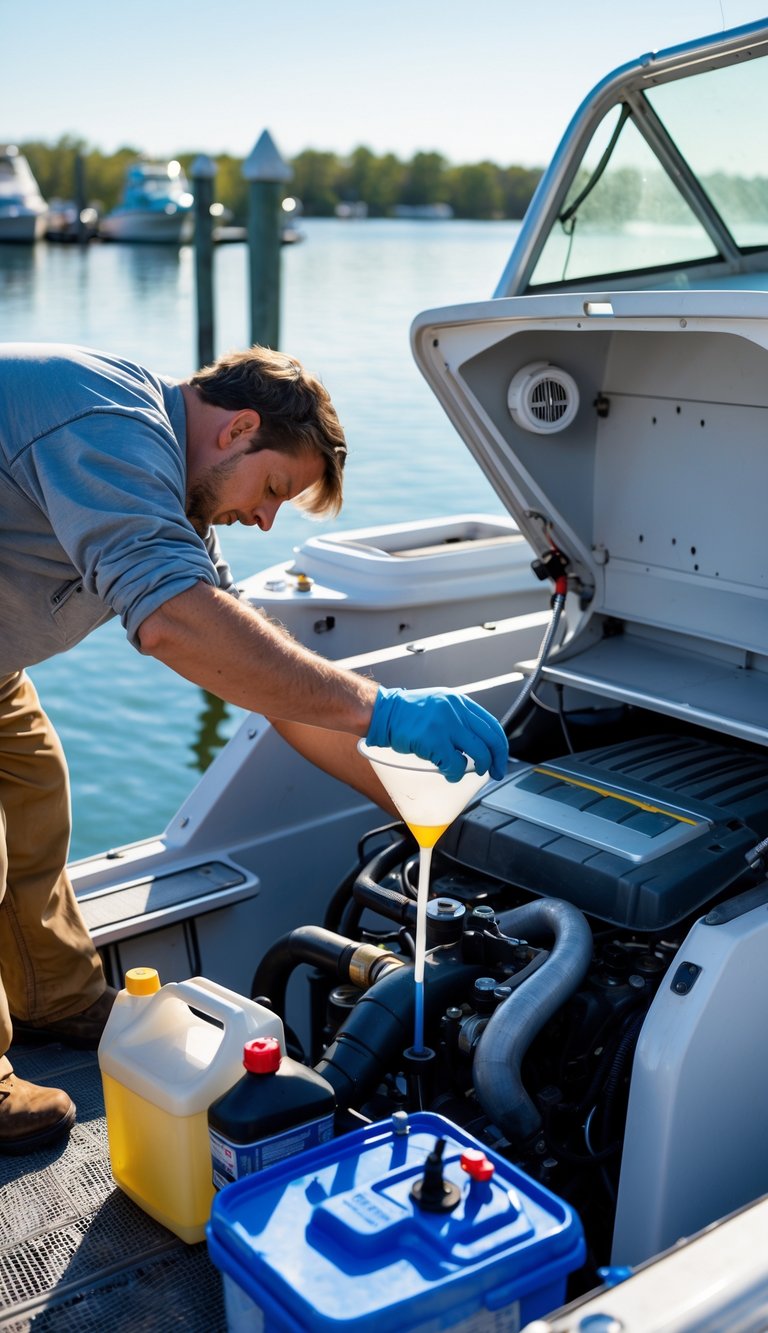
4) Change engine oil and replace oil filters
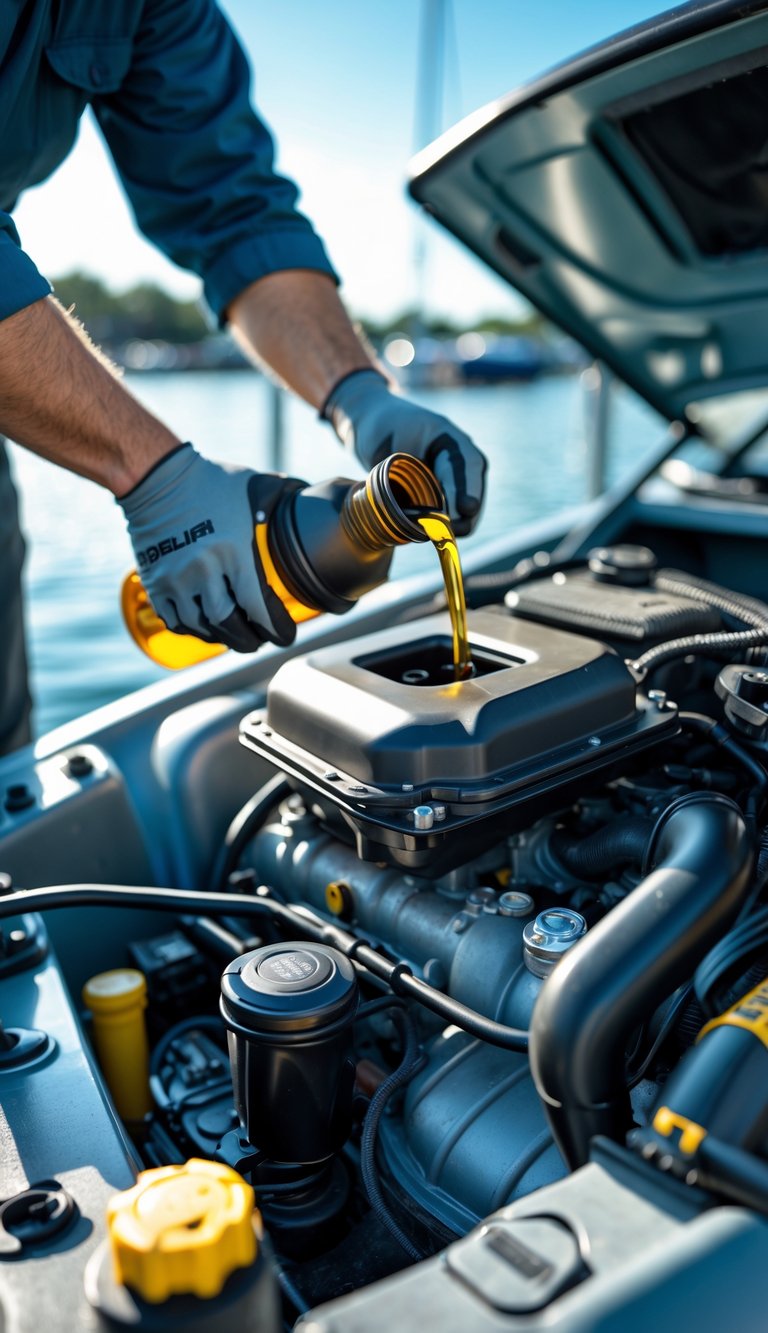
You should change the engine oil before you run the motor for the season. Old oil can hold water and contaminants that harm moving parts. Fresh oil reduces wear and helps the engine reach proper pressure quickly.
Replace the oil filter at the same time. A clogged filter limits flow and lets dirty oil circulate. Use the filter type your owner’s manual specifies.
Drain and fill both the engine and lower unit if applicable. Warm the engine briefly to help the oil flow out, then refill to the correct level.
PRO TIP
Keep a simple record of oil type, brand, and date. It makes future maintenance faster and helps you spot recurring issues.
5) Test and charge the boat battery fully
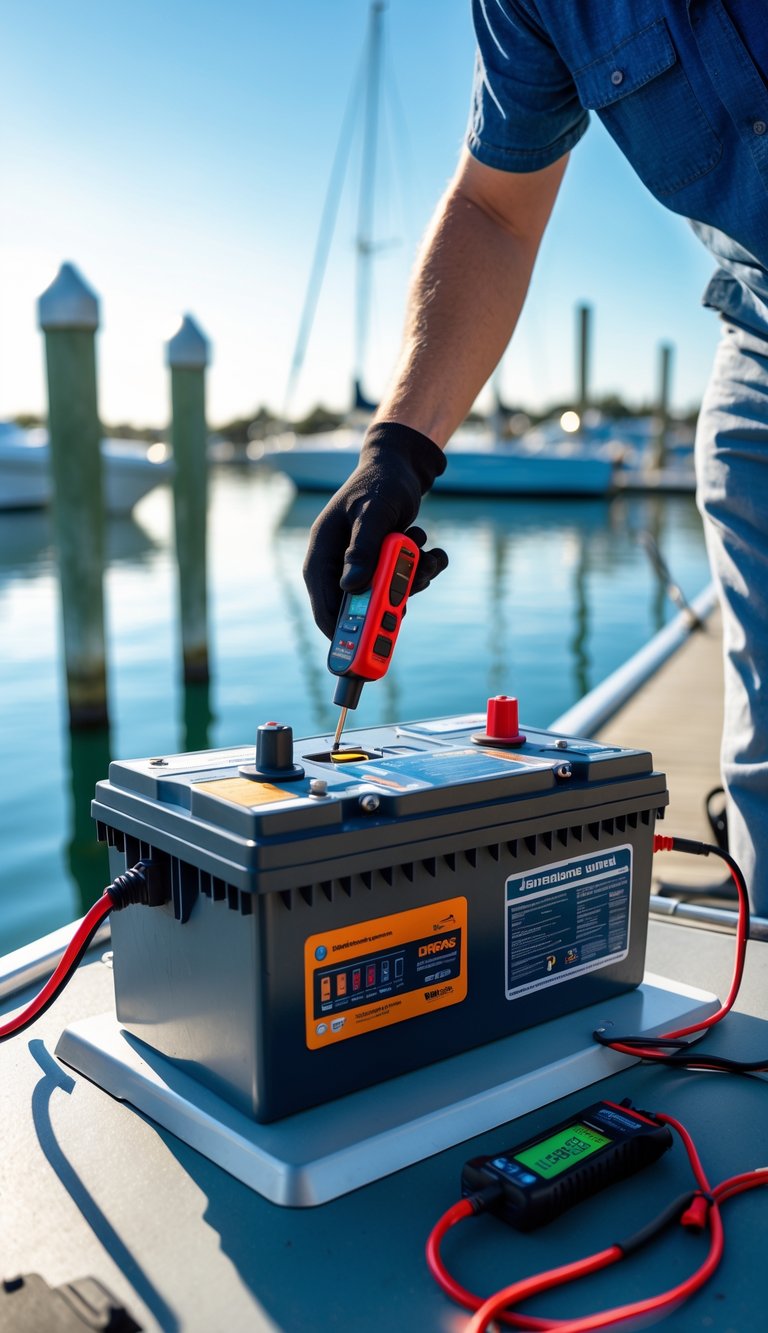
You should remove corrosion from the terminals and check for cracks or bulges before you do anything else. A quick visual check helps you spot leaks or damage that could make charging unsafe.
Use a multimeter to test the resting voltage. If it’s below the manufacturer’s recommended level, give the battery a slow, full charge with a proper marine charger.
After charging, load-test the battery to confirm it holds charge under use. If it fails a load test or won’t reach full voltage, replace it to avoid being stranded.
PRO TIP
Store lithium batteries at about 50–60% charge if you remove them for winter. For lead-acid, keep them fully charged and use a maintainer during long storage.
6) Inspect all fuel lines and replace damaged ones
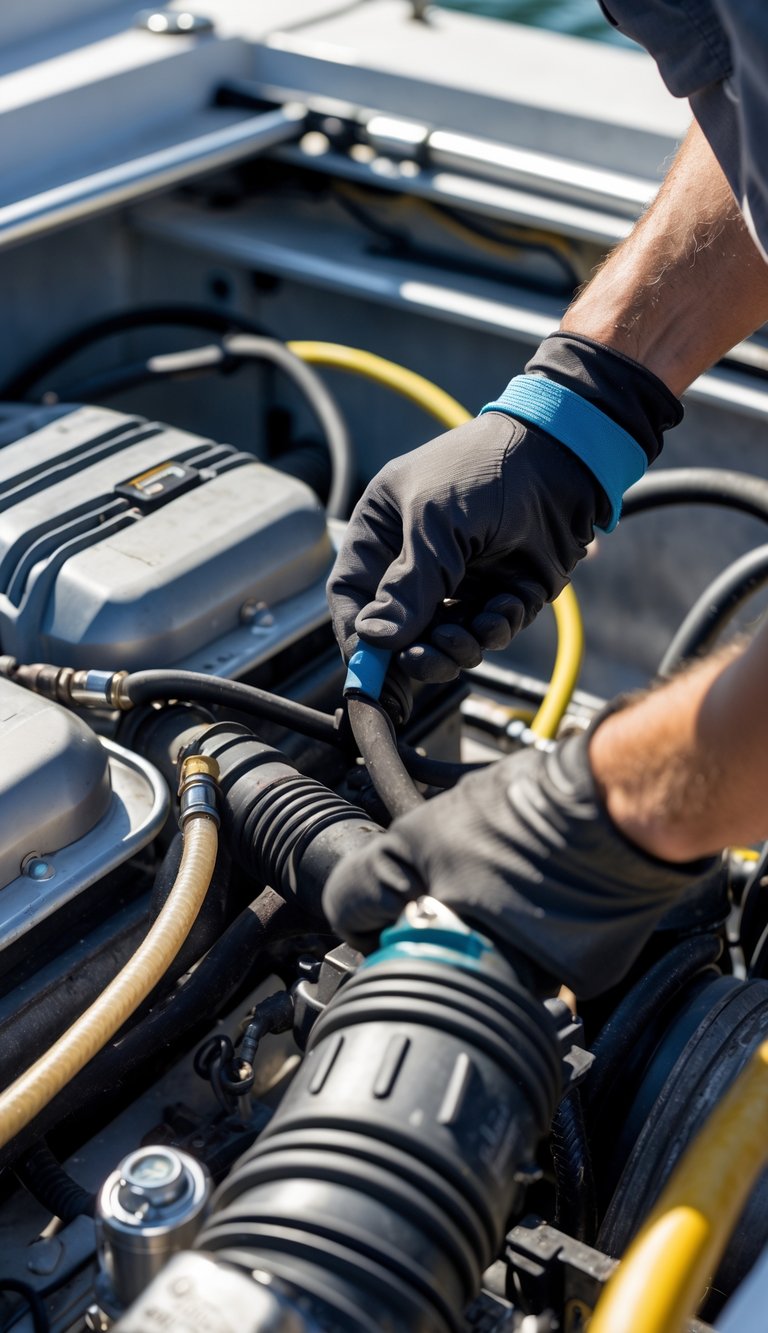
Check every fuel line from the tank to the engine. Look for cracks, soft spots, hardening, or fuel smells that signal a leak.
Touch fittings and clamps to feel for looseness or corrosion. Replace any line that shows age or damage; cheap lines can fail and cause a fire or engine stall.
Use fuel-rated hose and quality clamps when you replace parts. Make sure routing avoids chafe points and heat sources, and secure lines so they don’t move during use.
Run the engine briefly after repairs and watch for drips. If you smell fuel or see wet spots, stop and re-check fittings before you head out.
PRO TIP
Label the new lines with install date so you know when to inspect them next season.
7) Clean and lubricate the steering system
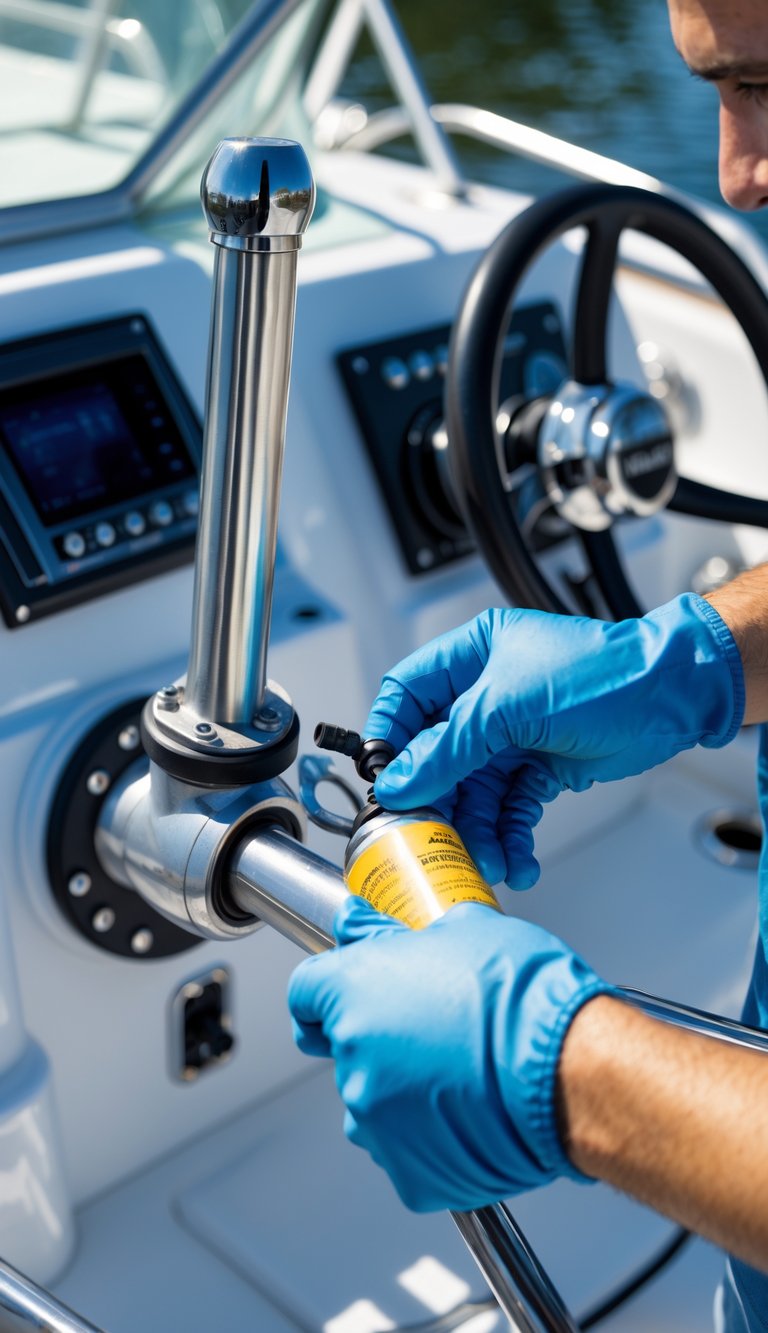
Inspect the steering system for dirt, salt, and corrosion before you try to turn the wheel. Small deposits can bind linkages and make steering stiff or unpredictable.
Wipe exposed parts with a gentle cleaner and fresh water, then dry them thoroughly. Check boots, tie rods, and fittings for cracks or wear while you clean.
Apply the correct marine grease or lubricant to pivot points and bearings. Use a product rated for marine use and follow the manufacturer’s directions to avoid over-greasing.
Operate the wheel through its full range several times to work the lubricant into the joints. Listen and feel for smooth, even motion and address any remaining stiffness right away.
PRO TIP
Mark lubricated points with a small tag or paint dot. That helps you track maintenance and prevents missed spots next time.
8) Check and refill all fluid levels including coolant and transmission fluid
You should check engine oil, coolant, and transmission fluid first. Low or dirty fluids can cause engine damage or overheating once you run the boat.
Inspect power steering, brake, and bilge pump fluids too. Look for leaks or milky discoloration, which can mean water contamination in transmission fluid.
Top off fluids to the manufacturer’s recommended levels. Use the exact coolant and transmission fluid types listed in your owner’s manual to avoid harm.
Change oil and filters if they look old or if you didn’t before winter. Fresh fluids protect seals and moving parts when you start the engine after storage.
PRO TIP
Run the engine briefly after refilling to circulate fluids, then recheck levels and look for leaks.
9) Remove antifreeze from all water systems
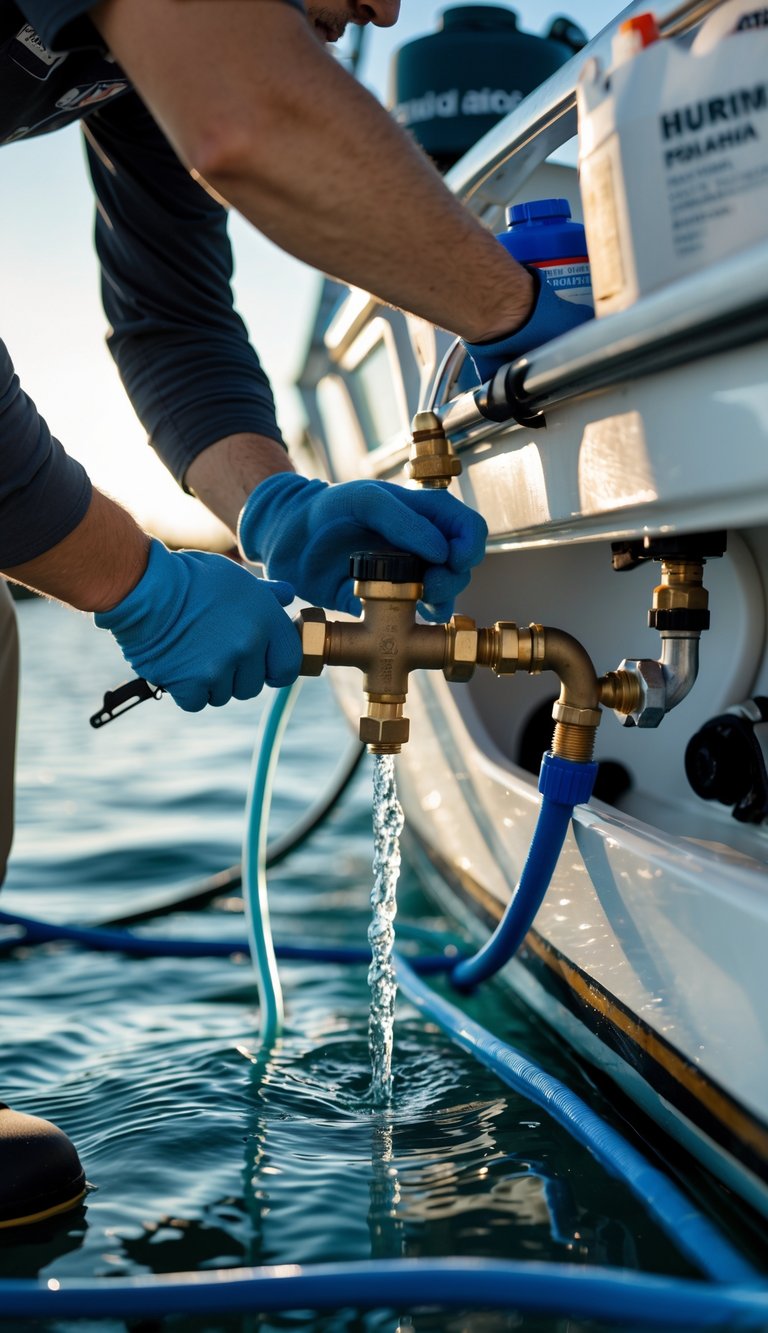
You likely poured non-toxic antifreeze into engine cooling lines, freshwater tanks, toilets, and bilge pumps before storage. Now you must flush each system fully to avoid taste issues, clogs, or damage.
Start by flushing the freshwater tank and lines with clean water until the antifreeze taste is gone. Run sinks, showers, and the head until clear water flows.
For engines and cooling systems, follow the manufacturer’s flushing steps and use fresh coolant or water as required. Flush bilge and livewell pumps, and inspect seals and hoses while you run them.
PRO TIP
Collect and dispose of old antifreeze properly, and label systems once they’re flushed so you know they’re ready for the season.
10) Inspect bilge pumps and ensure proper functionality
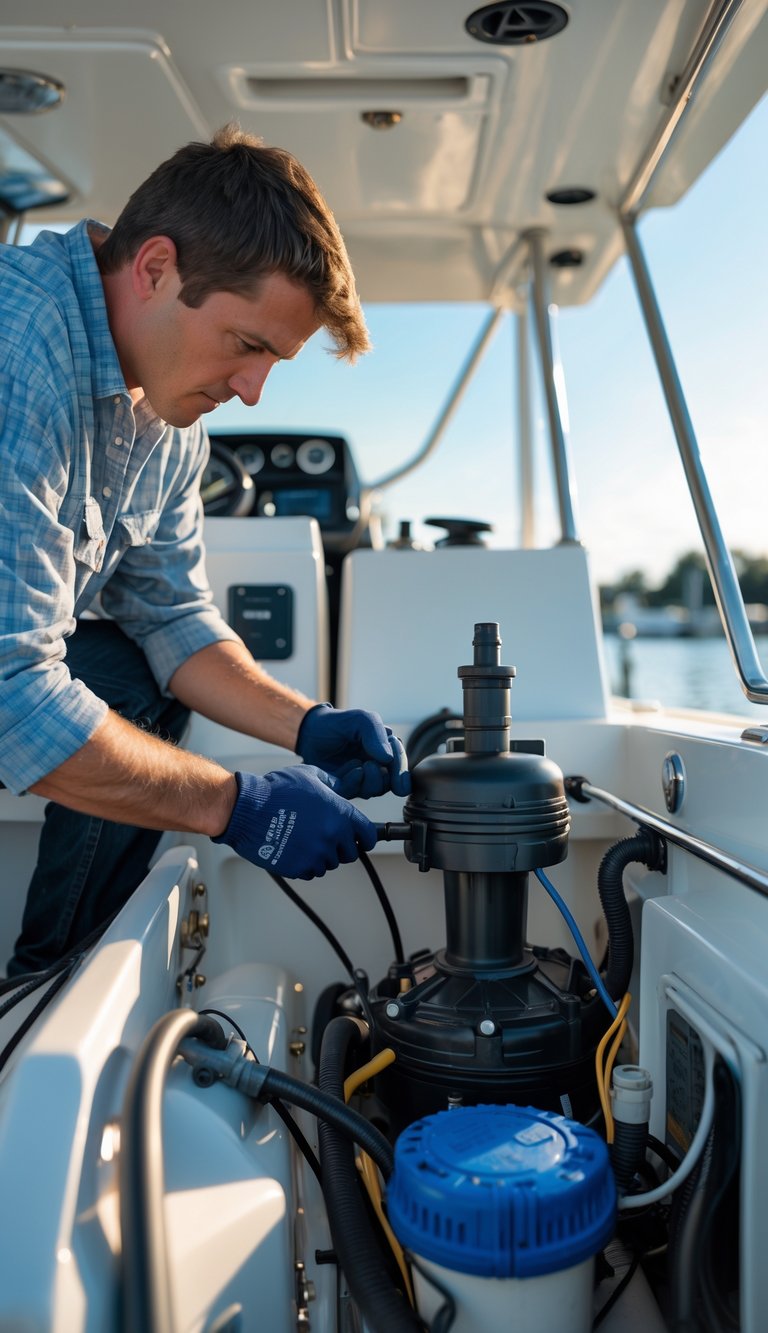
Check your bilge pump before launch. Run it with a bucket of water to confirm it kicks on and pumps water out fast enough for your boat size.
Inspect the float switch and wiring for cracks, corrosion, or loose connections. Replace frayed wires and clean terminals to avoid failures when you need the pump most.
Look over hoses and clamps for blockages, kinks, or leaks. Make sure hose clamps are tight and the discharge hose directs water clear of the hull and away from vents.
Test any automatic and manual switches several times. If the pump runs but moves little water, consider cleaning the impeller or replacing the pump.
PRO TIP
Carry a small spare bilge pump or a manual pump and extra hose on board for emergencies.
11) Test navigation lights and replace any faulty bulbs
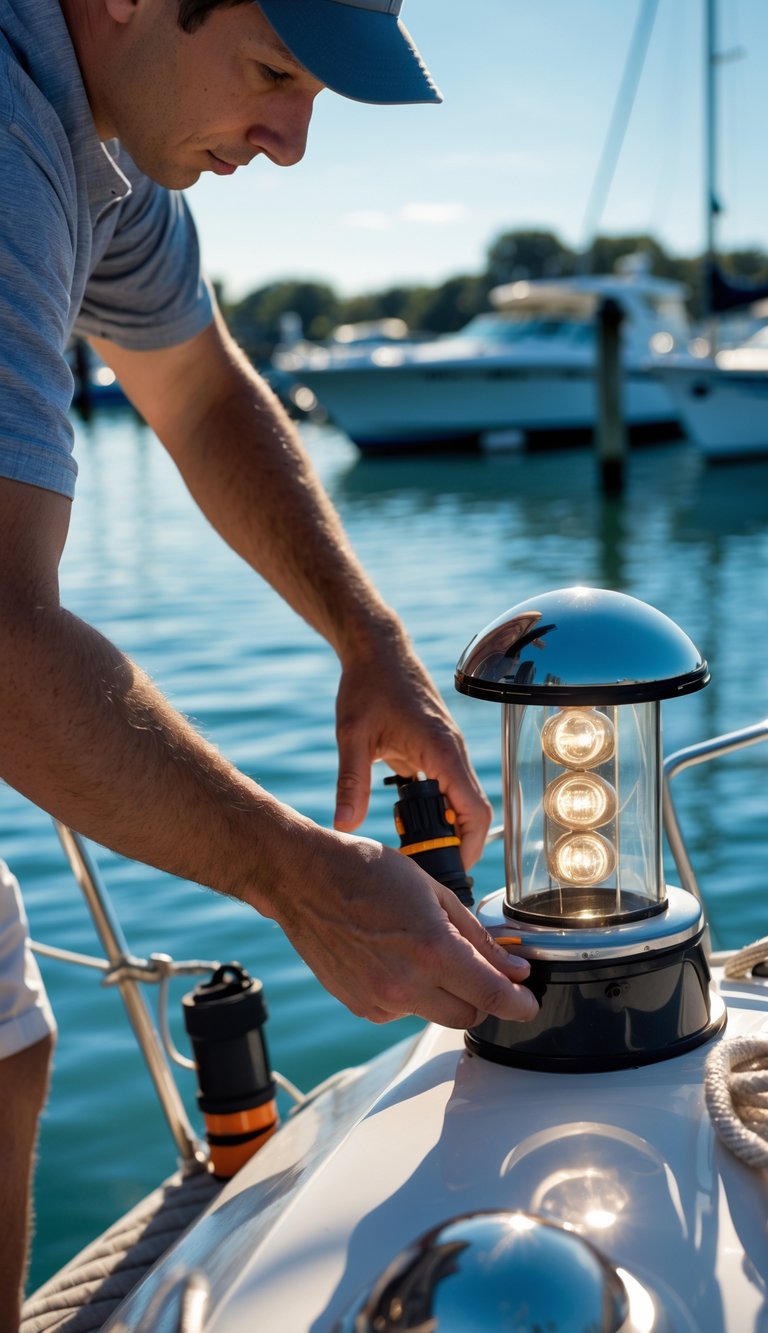
You should test all navigation lights at dusk or in a dark area so you can see color and brightness clearly. Turn on bow, stern, and anchor lights one at a time and check that red, green, and white lamps work and aim correctly.
If a bulb is dim or not working, replace it with the correct marine-rated type. Check sockets for corrosion and clean contacts before installing a new bulb to ensure a solid connection.
Also inspect wiring, switches, and fuses in the circuit. A working switch and good fuse save time; if a wire looks frayed or green with corrosion, replace it.
PRO TIP
Carry spare bulbs, fuses, and a small contact cleaner on board so you can fix lights quickly during a trip.
12) Inspect and repair safety equipment like fire extinguishers and life jackets
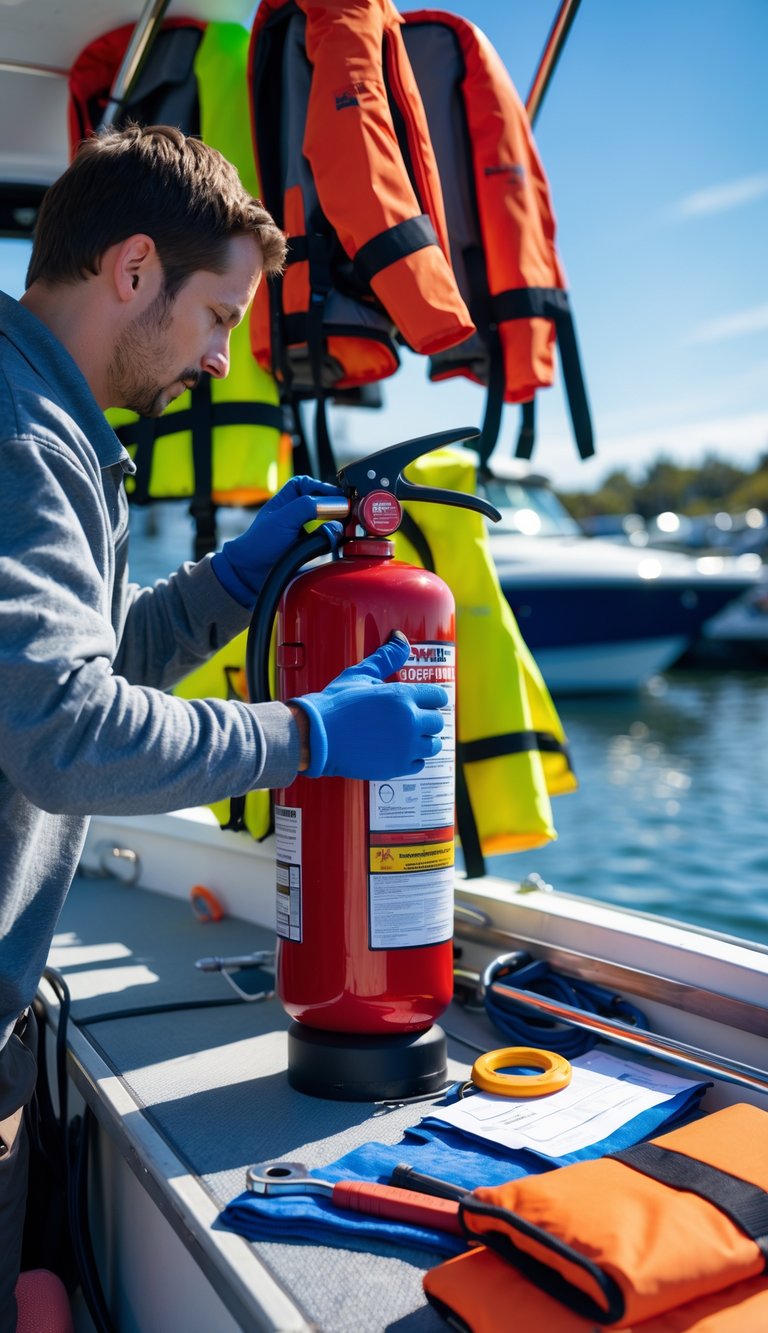
Check your life jackets for rips, broken straps, and shredded foam. Make sure the buckles and zippers work and that each jacket still fits the people who will use the boat.
Look over fire extinguishers for dents, corrosion, or a missing pull pin. Confirm the pressure gauge is in the green and the inspection tag is up to date.
Replace any expired flares, and top up first-aid supplies. Test emergency lights and bilge alarms to confirm they power on and function.
Keep a small toolkit and spares for quick fixes. If you find major damage, replace the item or have a professional service it before you launch.
PRO TIP
Store life jackets where they dry quickly and keep extinguishers mounted and easy to reach.
13) Clean the hull and check for any damage or fouling
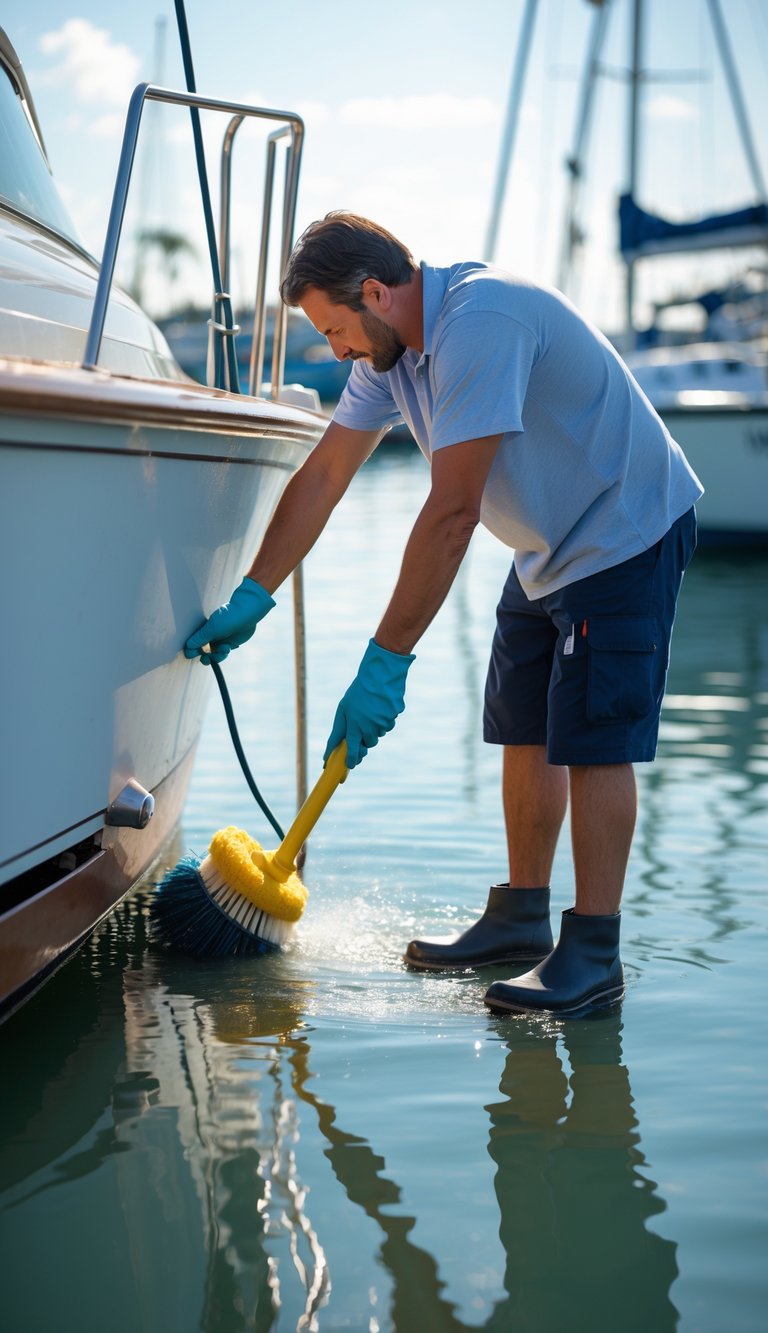
You should wash the hull to remove algae, slime, and salt. Use a soft brush and a mild boat soap to avoid scratching the gelcoat.
Inspect the hull closely once it’s clean. Look for cracks, blisters, gouges, or areas where paint is peeling.
Check for stubborn barnacles or marine growth that need scraping. Small spots can be handled yourself; larger infestations may need a pro or haul-out.
Rinse the hull well and let it dry before touching up paint or antifouling. Proper cleaning helps fuel efficiency and prevents long-term damage.
PRO TIP
Work from the waterline down and take photos of any damage for records and repairs.
14) Inspect and lubricate trailer wheel bearings
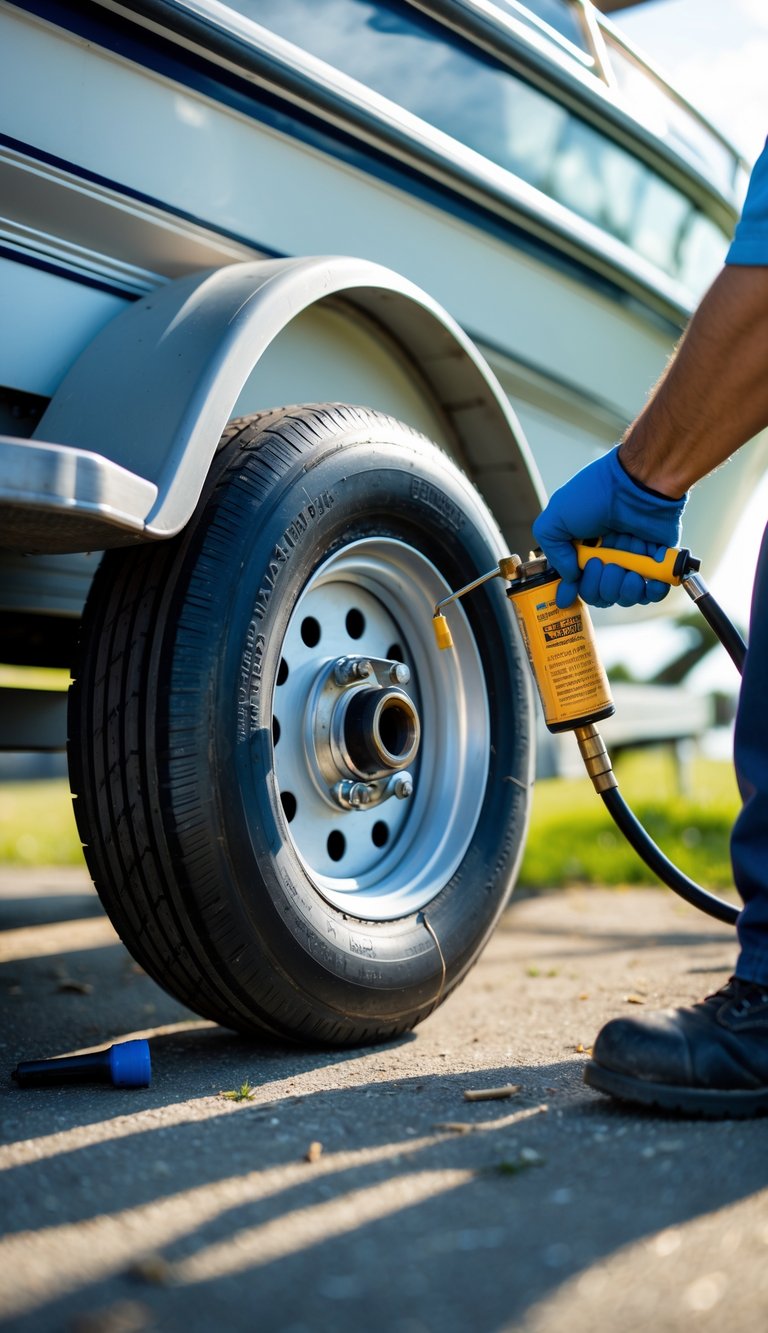
You should check the wheel bearings before the first tow of the season. Lift the trailer so the wheels spin freely, then wiggle each wheel to feel for play or roughness.
Remove the hub cap and inspect the grease. If the grease looks dirty, watery, or has metal flakes, repack the bearings. Clean parts with solvent, dry them, then pack new marine-grade grease into the bearings.
Reinstall bearings, seals, and hub properly. Tighten the spindle nut to the correct drag and replace the dust cap.
PRO TIP
Use marine-grade, water-resistant grease and replace seals if you find any nicks or corrosion.
15) Run a controlled on-land engine test before launching
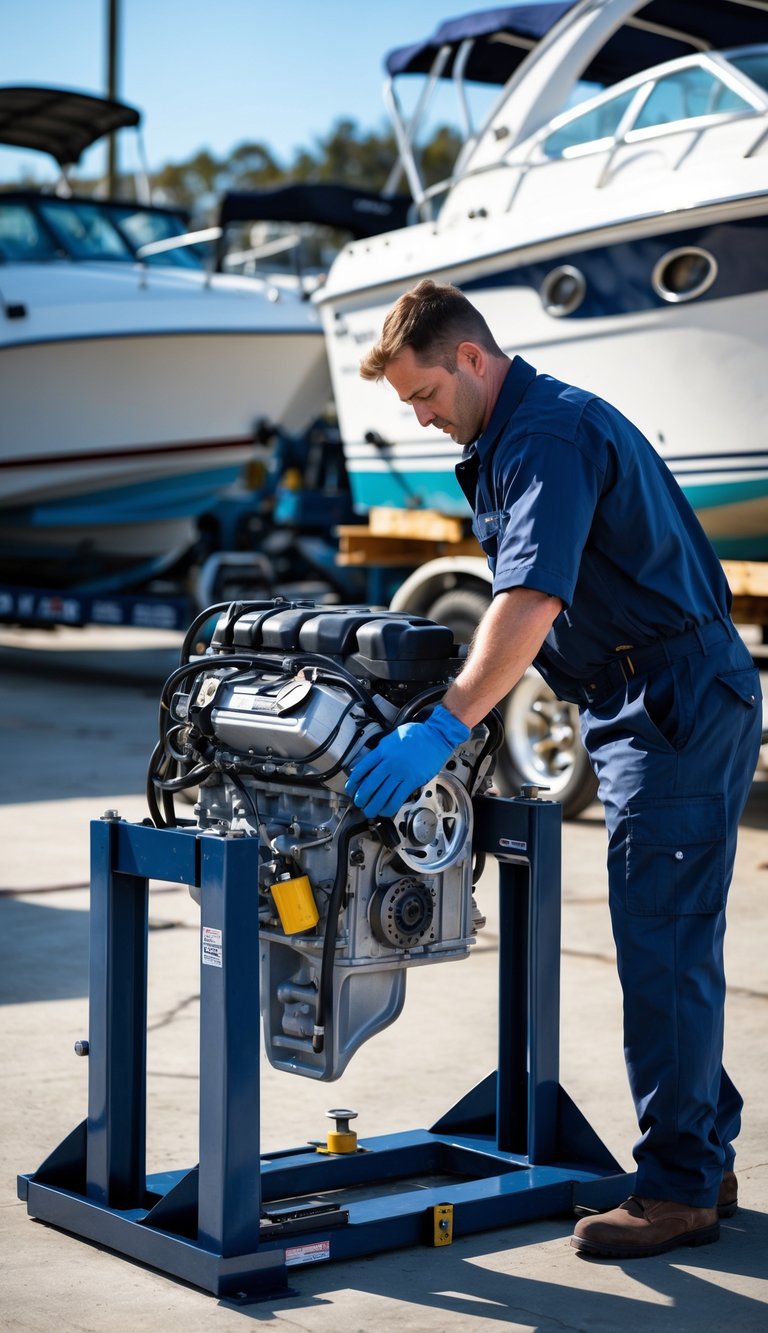
You should test your engine on land to catch issues before you’re afloat. This lets you hear unusual noises, check for leaks, and confirm the charging and ignition systems work.
For outboards, use a flushing device or stand that supplies cooling water to the lower unit. Run the engine only long enough to reach operating temperature and watch oil pressure and temperature closely.
For inboards, connect a motor flusher or use a garden hose on the raw-water intake so the cooling system runs properly. Keep the boat in neutral and ensure exhaust and ventilation are clear while you run the motor.
PRO TIP
Bring a handheld thermometer or infrared gun to verify engine temperature. If anything smells, smokes, or the gauges act odd, stop and inspect before launching.
16) Check the condition of the propeller for dings or cracks
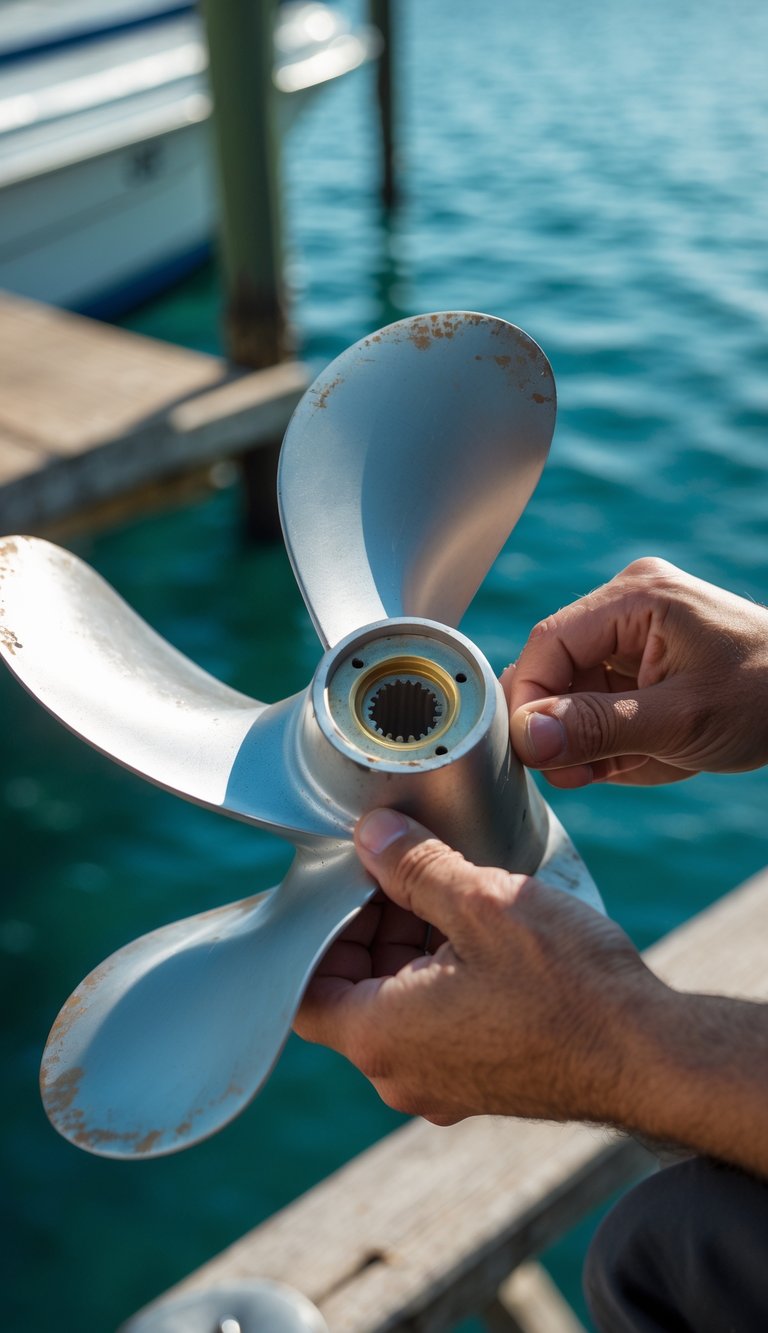
Inspect your propeller closely for nicks, bent blades, or hairline cracks. Even small dings can reduce speed and raise fuel use, so look at each blade edge and the hub.
Spin the propeller by hand and watch for wobble or play on the shaft. Any vibration or unusual movement means you should have the propeller and shaft checked by a mechanic.
Remove wrapped fishing line or debris from the shaft and seals before you run the motor. That prevents seal damage and keeps your prop spinning freely.
PRO TIP
Run your boat at low speed briefly after launching to feel for vibrations. Catching issues early saves time and avoids engine strain.
17) Inspect the boat’s electrical systems and wiring
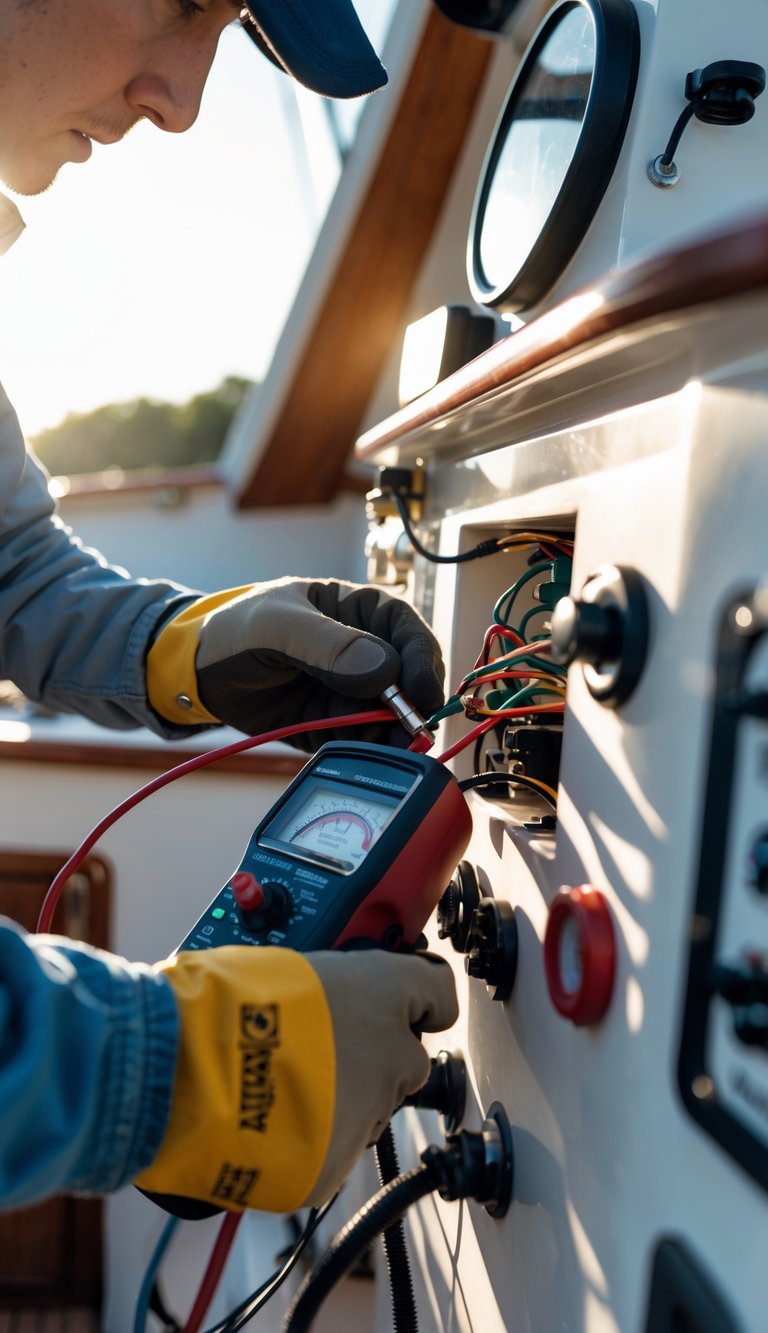
You should start by checking batteries, switches, and visible wiring for corrosion, cracks, or loose connections. Corroded terminals and frayed wires cause poor performance and can create fire risks.
Check both AC and DC systems if your boat has shore power and onboard circuits. Turn on breakers one at a time and watch for tripping, burning smells, or flickering lights.
Look inside junction boxes and behind panels for water damage or rodent chew marks. Tighten terminals and clean corrosion with a proper cleaner and a wire brush.
Test battery voltage and charging from the engine and charger. If you find damaged wiring or uncertain faults, get a qualified marine electrician to repair it.
PRO TIP
Label wires and take photos before you disconnect anything. This saves time and prevents mistakes when you reconnect systems.
18) Clean and treat upholstery and canvas covers
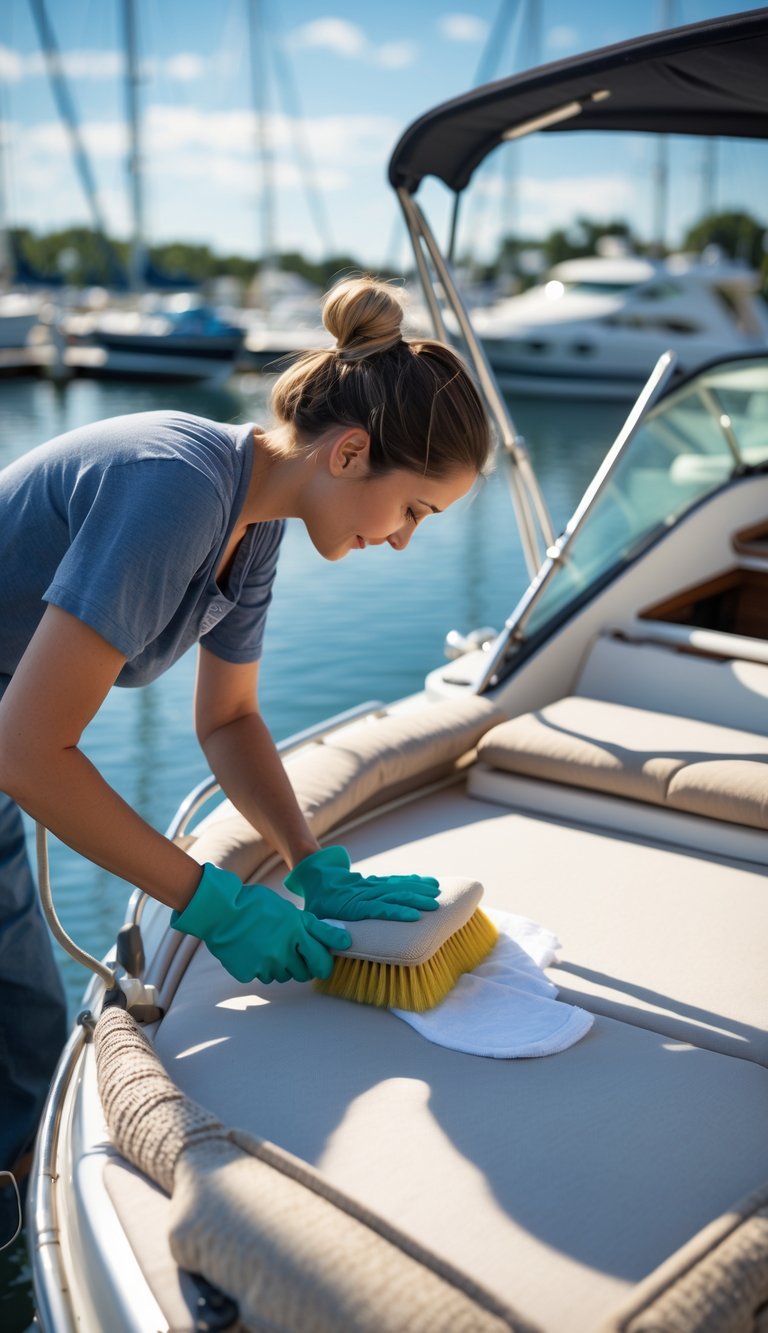
Check your upholstery and canvas for dirt, mildew, or salt stains as one of the first spring tasks. Use a soft brush and mild marine soap to lift grime without damaging fabric or stitching.
Rinse thoroughly with fresh water and let pieces dry completely in the sun to prevent mold. For stubborn stains, use a cleaner made for marine canvas or vinyl and follow product directions.
After cleaning, apply a suitable protectant to restore water repellency and UV protection. Reproofing canvas and treating vinyl will extend life and keep your boat looking cared for.
PRO TIP
Work in small sections and test any cleaner on a hidden spot first to avoid color loss.


