Last Updated on April 18, 2026
You’re about to tackle practical van projects that make your life on the road easier and more comfortable before summer arrives. You’ll find 13 doable DIY ideas that save space, add comfort, and boost self-sufficiency—each one you can finish over a weekend or two.
This guide keeps each project simple, budget-friendly, and focused on real van-life needs like sleeping, cooking, power, and storage. You’ll get clear, hands-on options so you can pick what fits your van and start building right away.
1) Insulate walls with Reflectix and foam board panels
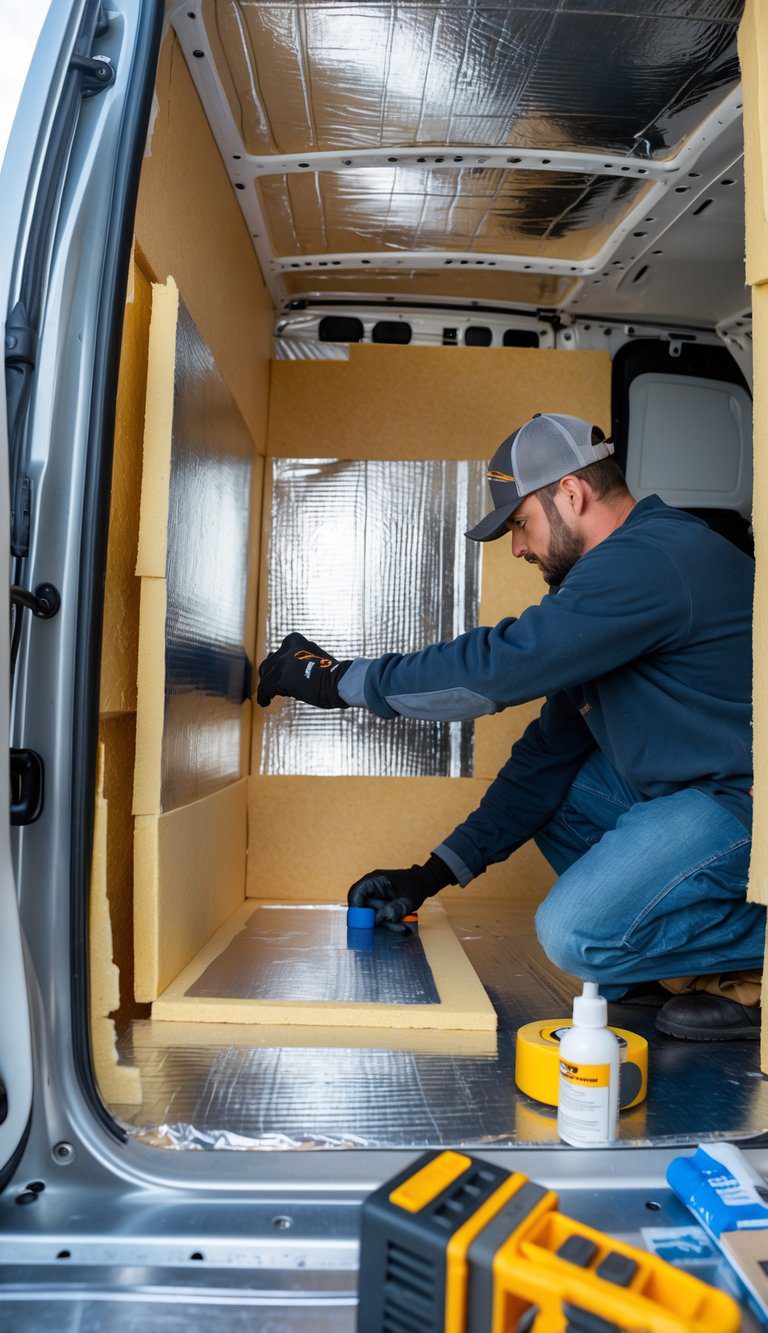
You can add Reflectix as a radiant barrier against heat and cold. It’s thin, easy to cut, and fits into the van’s cavities where odd gaps appear.
Lay foam board panels over the Reflectix for real thermal resistance and a flat surface for wall panels. Use adhesive and small screws or furring strips to keep panels from shifting.
Seal seams with foil tape to reduce drafts and stop moisture movement. Leave small ventilation gaps where needed to avoid trapping condensation against the metal.
PRO TIP
Cut panels a little tight and compress them into place. That keeps the Reflectix from sagging and makes your finished walls look neater.
2) Install an awning
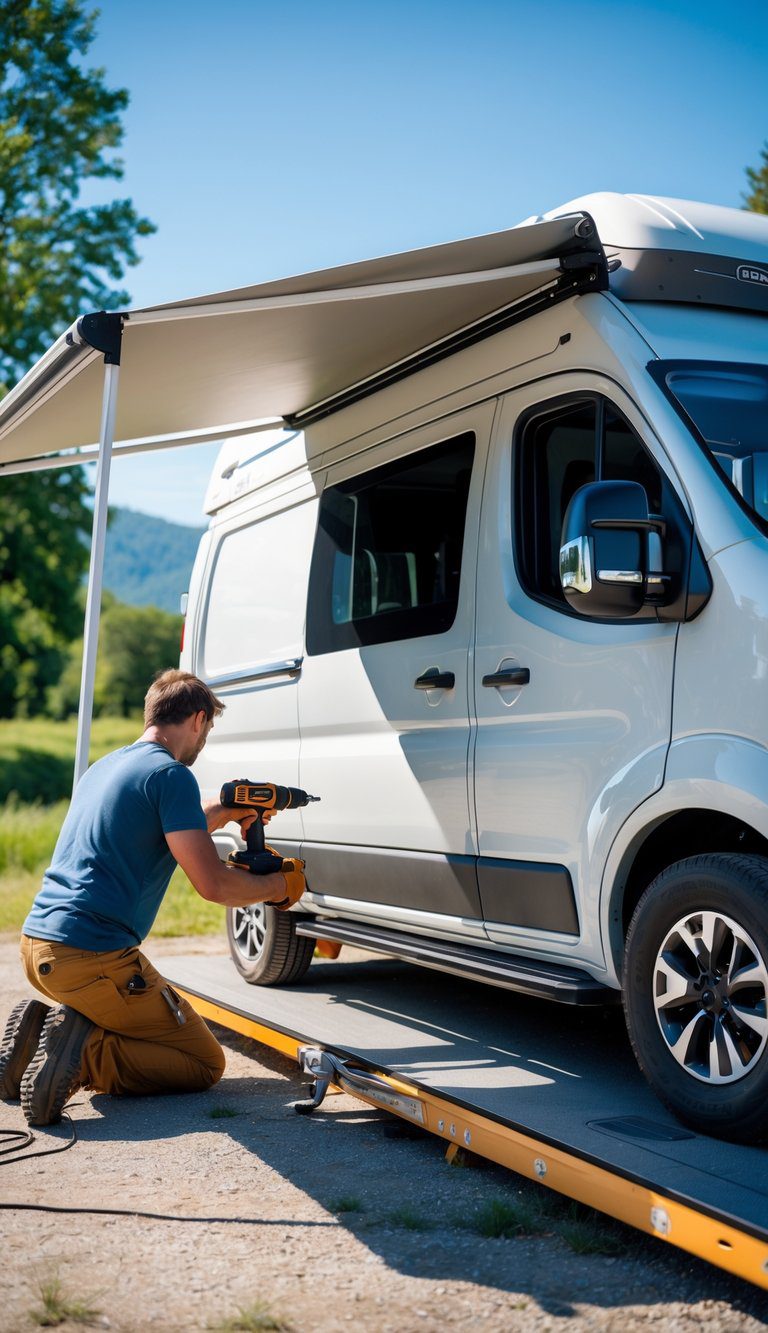
A Fiamma F45 awning adds shade fast and keeps your van camp-ready. It mounts to the side of your van and rolls out in seconds, giving you a dry, cool spot to sit or cook.
You can install it yourself with common tools and basic mechanical skills. Follow the manufacturer instructions for mounting points and seal all roof or wall penetrations to prevent leaks.
Aim for a solid, level mounting surface and check for obstructions like solar panels or windows. If your van has a high roof, use the correct brackets and measure twice before drilling.
PRO TIP
Have someone hold the awning while you line up the brackets. That one extra set of hands makes alignment and bolting much easier.
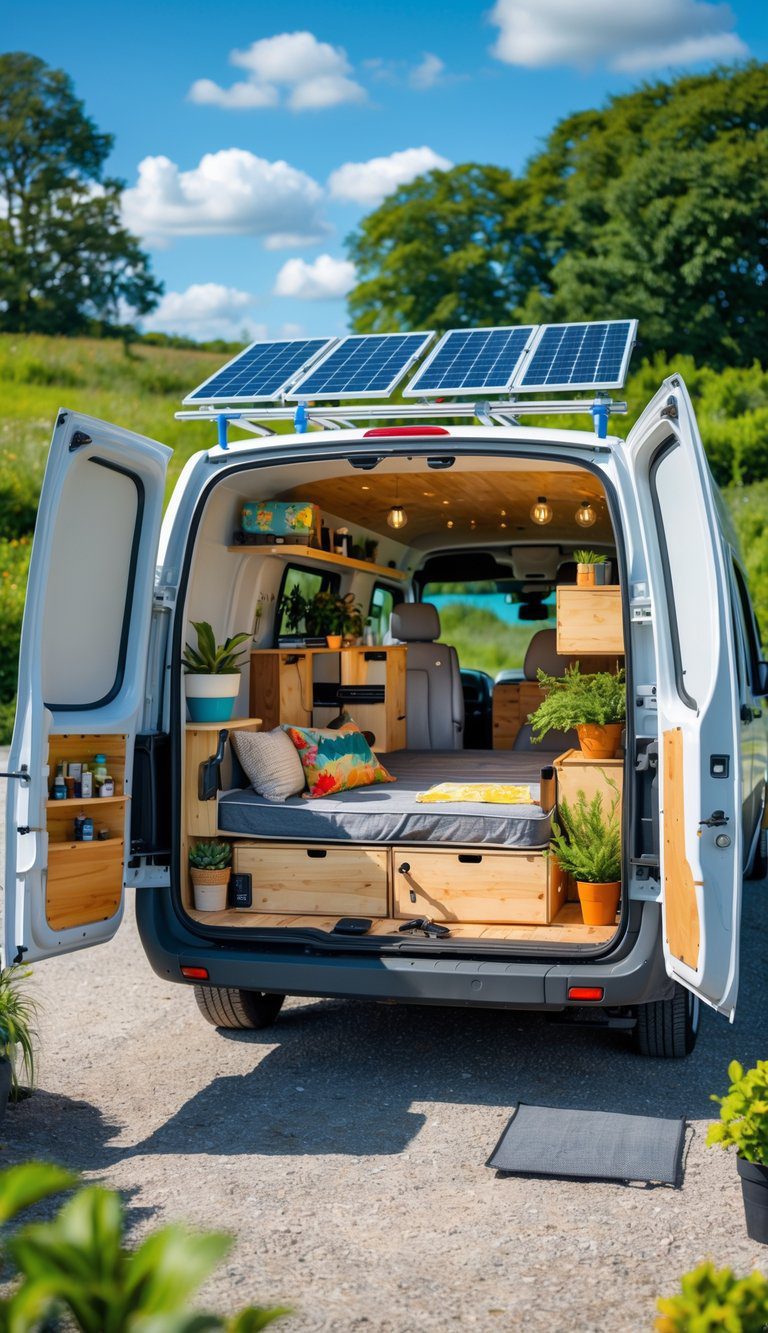
3) Build a simple platform bed with under-bed storage drawers

A platform bed gives you a flat, sturdy sleep surface and lots of hidden storage. Build a basic frame from 2x4s or plywood, add a plywood top for the mattress, and leave space underneath for drawers or bins.
Drawers make access easy and keep things organized. You can use pre-made drawer slides or roll-out bins on wooden runners to save time and money. Measure your mattress and van width first so drawers fit without blocking doors.
Keep the design simple: straight cuts, a few screws, and some wood glue. Finish with a light coat of paint or sealant to protect the wood from moisture.
PRO TIP
Make drawer fronts thin to maximize internal space. Install simple stops so drawers don’t slide out while you drive.
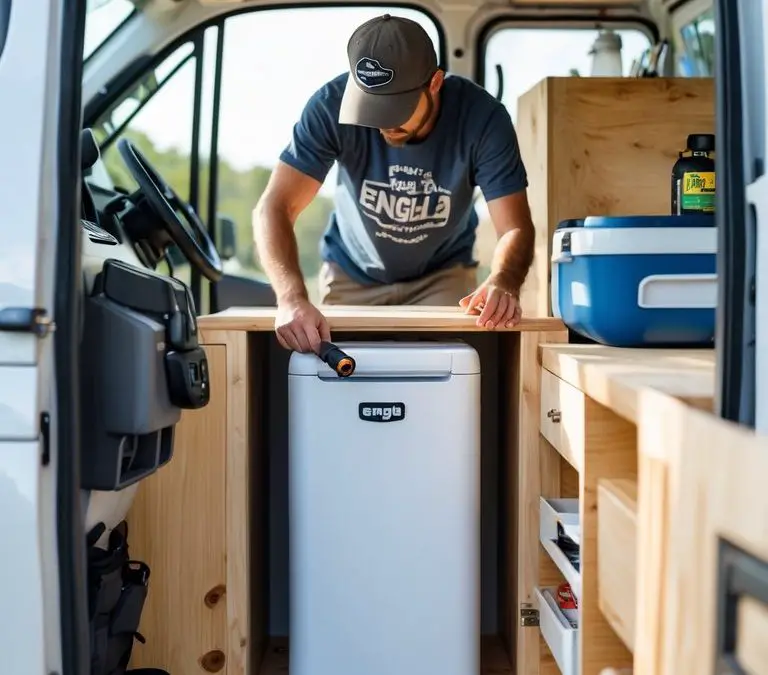
4) Install a fridge
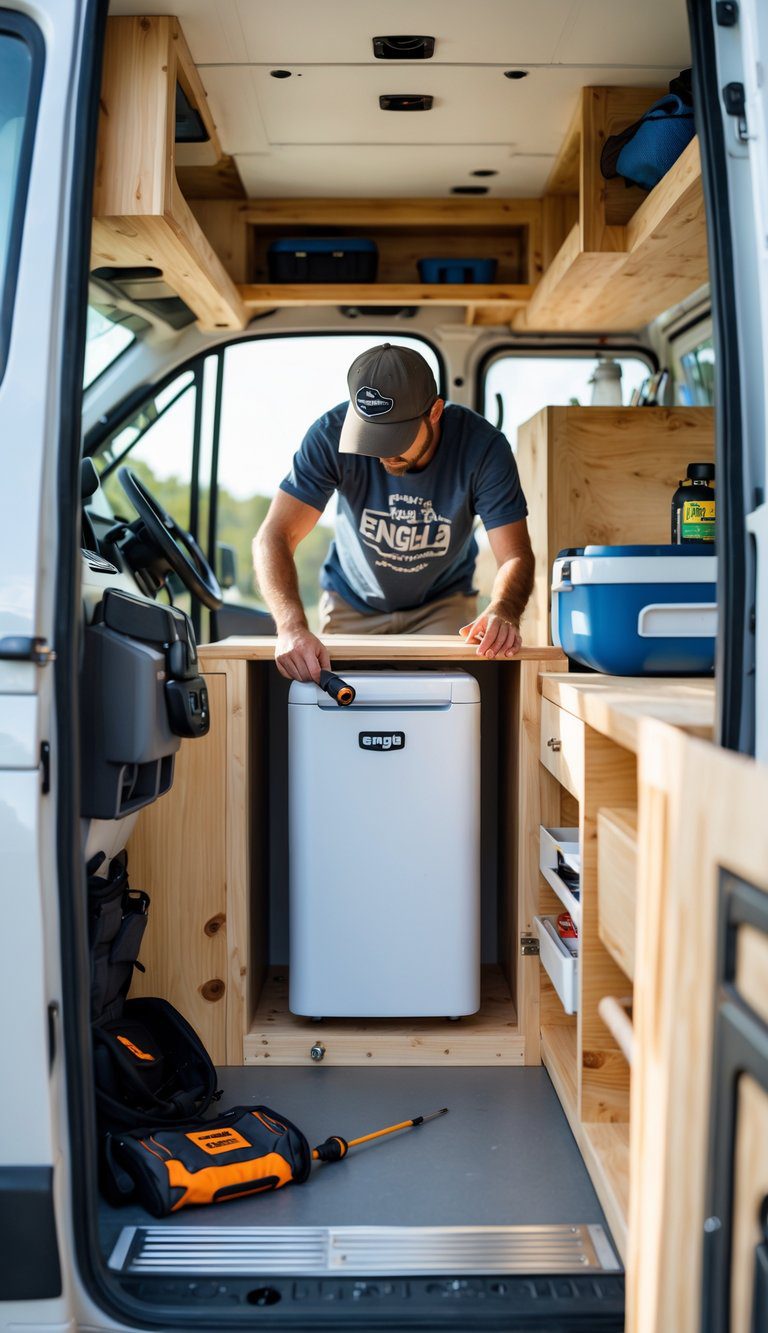
Installing a 12V Engel MT-V55 gives you reliable cooling without needing shore power. The fridge is compact but roomy enough for wine, fresh food, and a few frozen items. It runs off your van’s battery and is known for steady temperature control.
Mount the fridge on a flat, ventilated surface and allow space around the compressor for airflow. Secure it with brackets so it won’t shift while driving. You can build a simple pull-out drawer or a recessed cabinet to hide it and ease access.
Wire the fridge to a dedicated fused circuit and a reliable battery source. Add a switch and a voltmeter so you can monitor power use on long trips.
PRO TIP
Place ventilation grilles near the compressor and check airflow regularly to keep efficiency high and protect the unit.
5) Add an inlet and shore cable
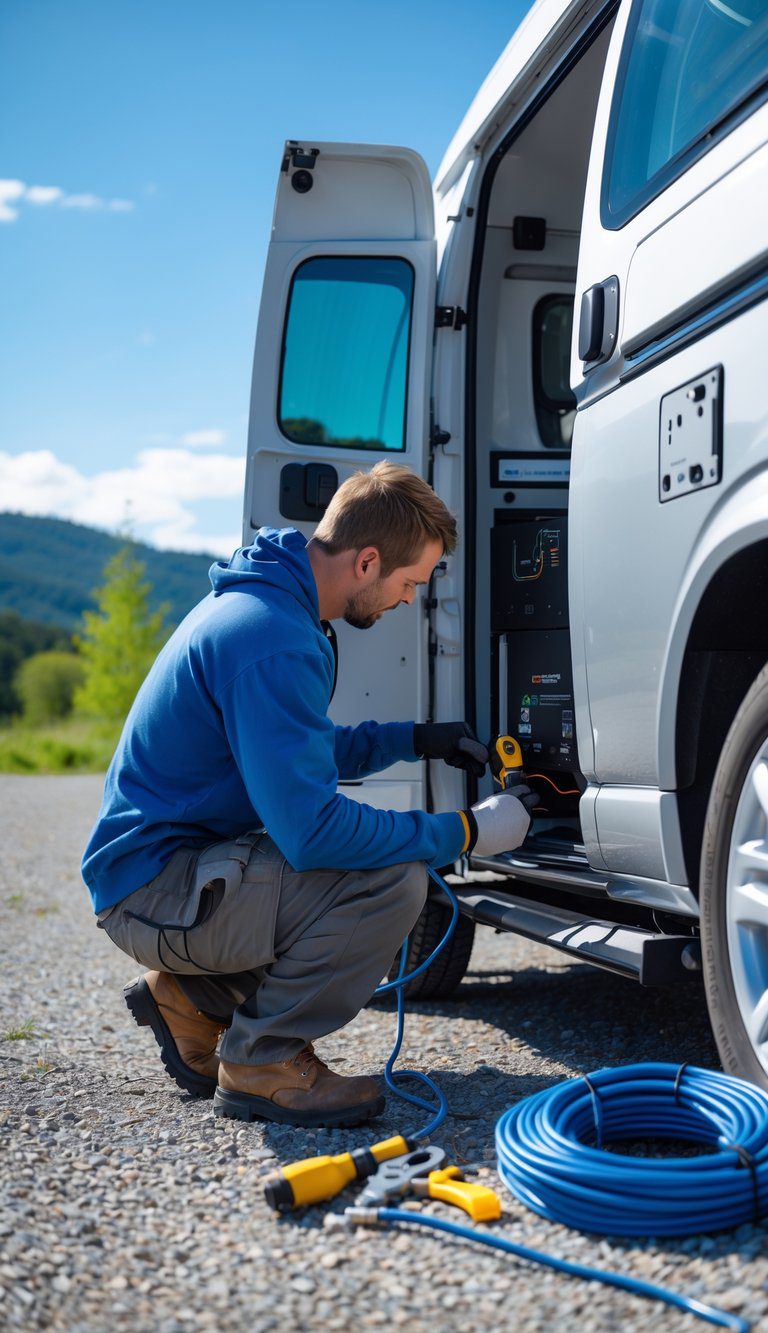
Adding a 30A shore power inlet lets you plug into campground power and run AC appliances without draining your batteries. You wire the inlet to your van’s shore-side AC breaker, then run a shore cable to the campsite pedestal.
Install the inlet in an accessible spot on the van’s exterior and use marine-grade or RV-rated wiring and connectors. Keep the cable and inlet weatherproofed and secure to avoid water or dirt getting into connections.
PRO TIP
Label the shore power breaker and test the inlet with a multimeter before first use. A proper ground and a correctly wired hot and neutral keep you safe and your devices working.
6) Fit a roof vent with fan
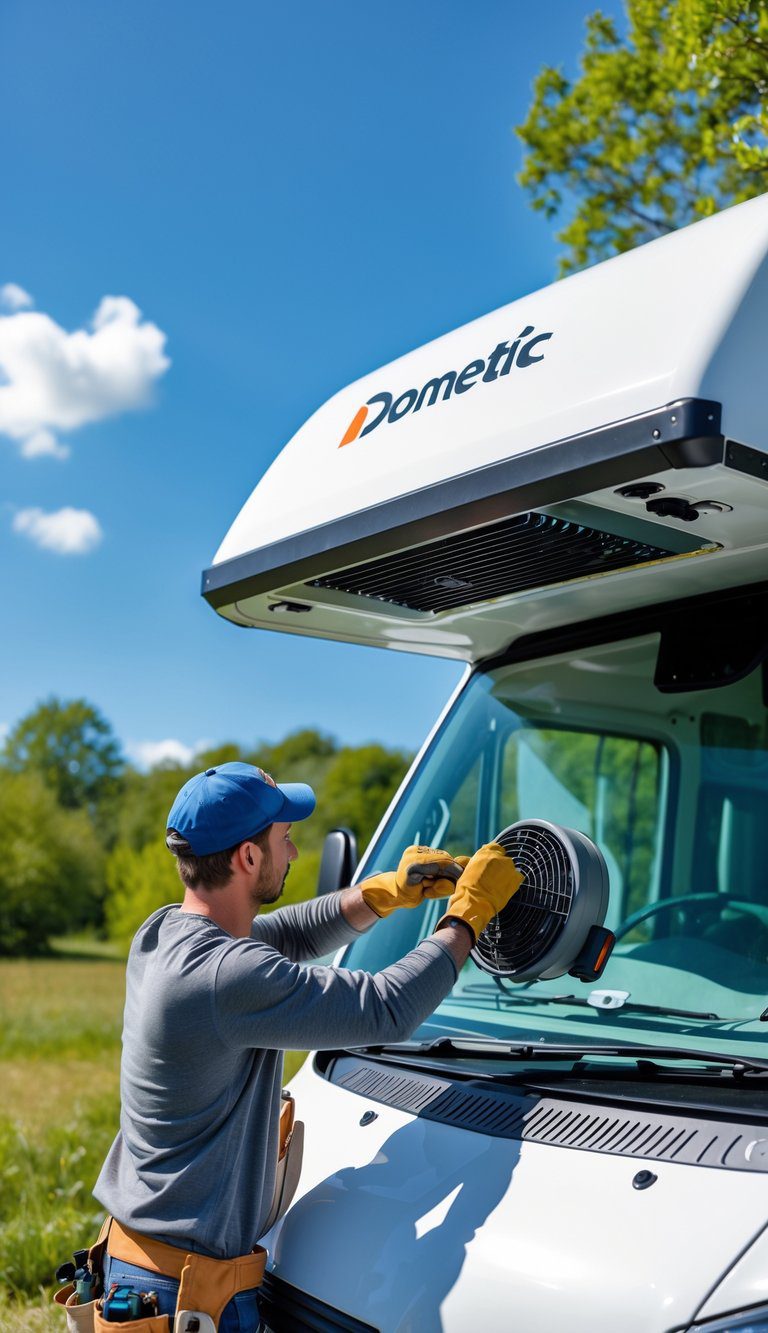
Fitting a Dometic S4 vent gives your van steady airflow and better odor control. The unit combines a low-profile lid with a built-in fan, so it keeps rain out while moving air through your van.
Start by measuring the roof and marking the cutout carefully. Cut the hole, sand the edges, and dry-fit the vent to check clearance with roof beams and insulation.
Seal the flange with a quality RV sealant and secure the screws evenly to avoid leaks. Wire the fan to a switched circuit or a dedicated fuse, and test for correct direction and speed settings.
PRO TIP
Place the vent where it helps cross-ventilation, usually opposite a side window or door.
7) Create a modular kitchen using a single-burner Camp Chef Everest stove
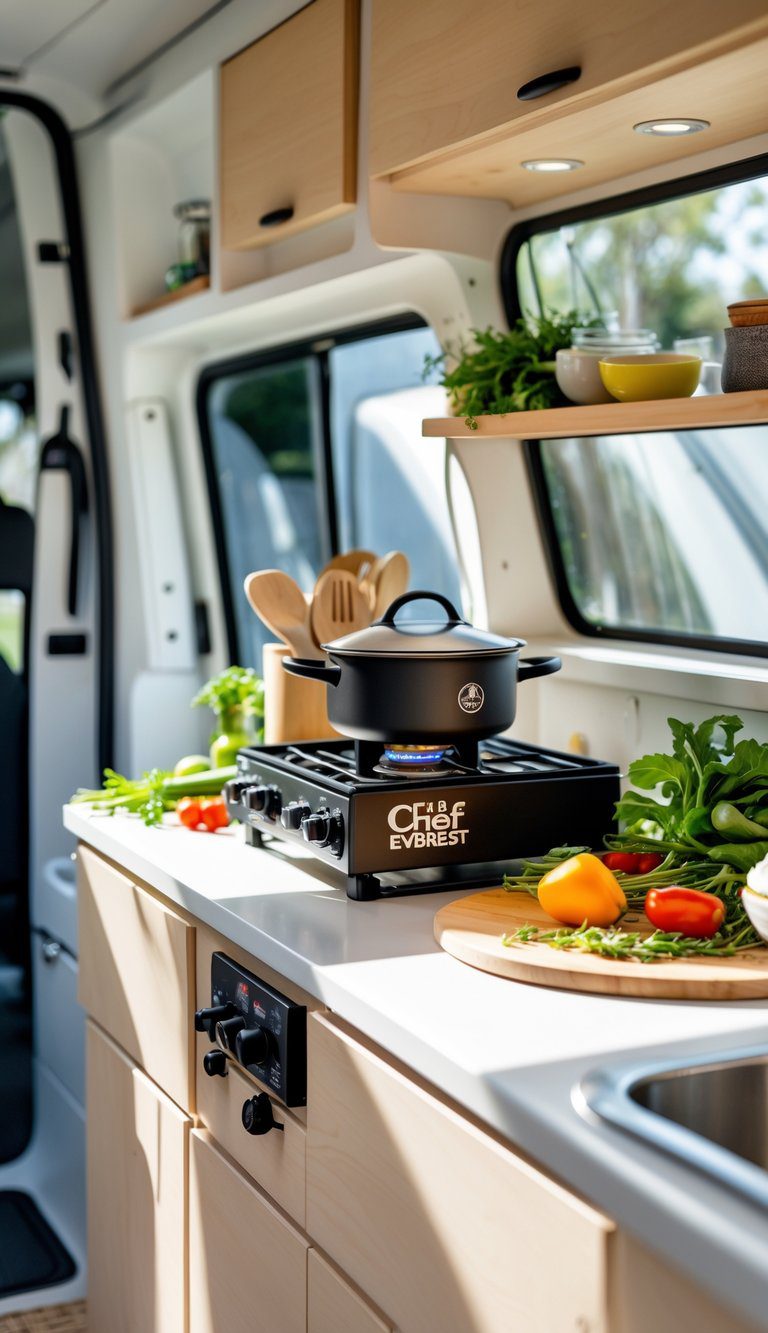
A single-burner Camp Chef Everest fits well into a compact, modular van kitchen. You can mount it on a slide-out tray or place it on a small counter that locks in while you drive.
Build simple modules: a stove module, a sink module, and a prep module. Each piece should be light enough to move and secure with straps or latches.
Keep ventilation in mind. A vent fan or open door lets fumes escape and keeps cooking safe inside the van.
PRO TIP
Use a quick-connect propane fitting so you can detach the stove fast. It makes switching between indoor and outdoor cooking much easier.
8) Install a portable solar panel kit with controller
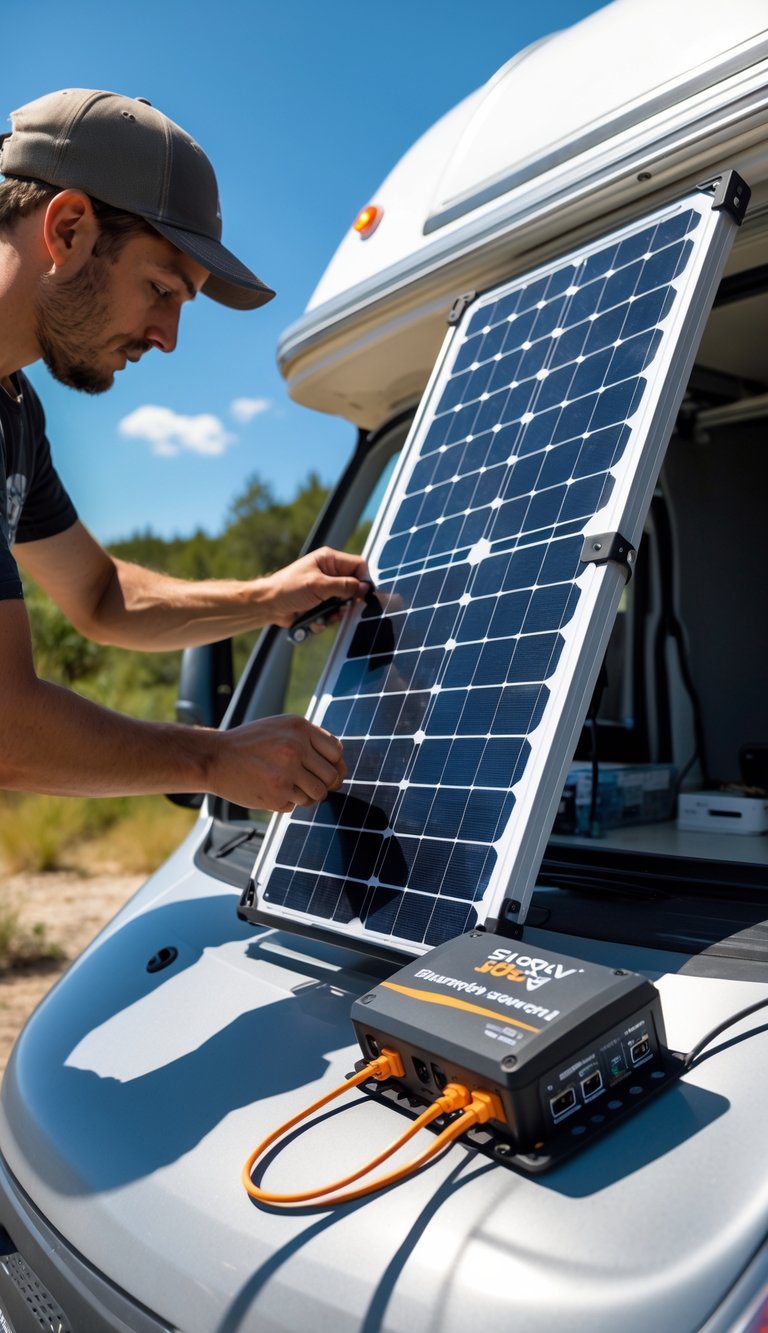
A Renogy 200W kit gives you reliable off-grid charging without a huge install. The kit usually includes two 100W panels, an MPPT charge controller, cables, and mounting gear so you can set it up on a roof or use it as a portable array.
MPPT controllers boost efficiency, so your batteries charge faster than with PWM controllers. You’ll need basic tools, a drill for mounts, and wire crimps; the wiring is straightforward if you follow the manual and keep polarity correct.
Place panels where they get direct sun and avoid shade from vents or racks. If you plan to expand later, the MPPT controller often supports more panels, so you get room to grow.
PRO TIP
Run the cable through a waterproof gland and secure it with clips to prevent chafing and leaks.
9) Build a pop-out foldable table for outdoor dining
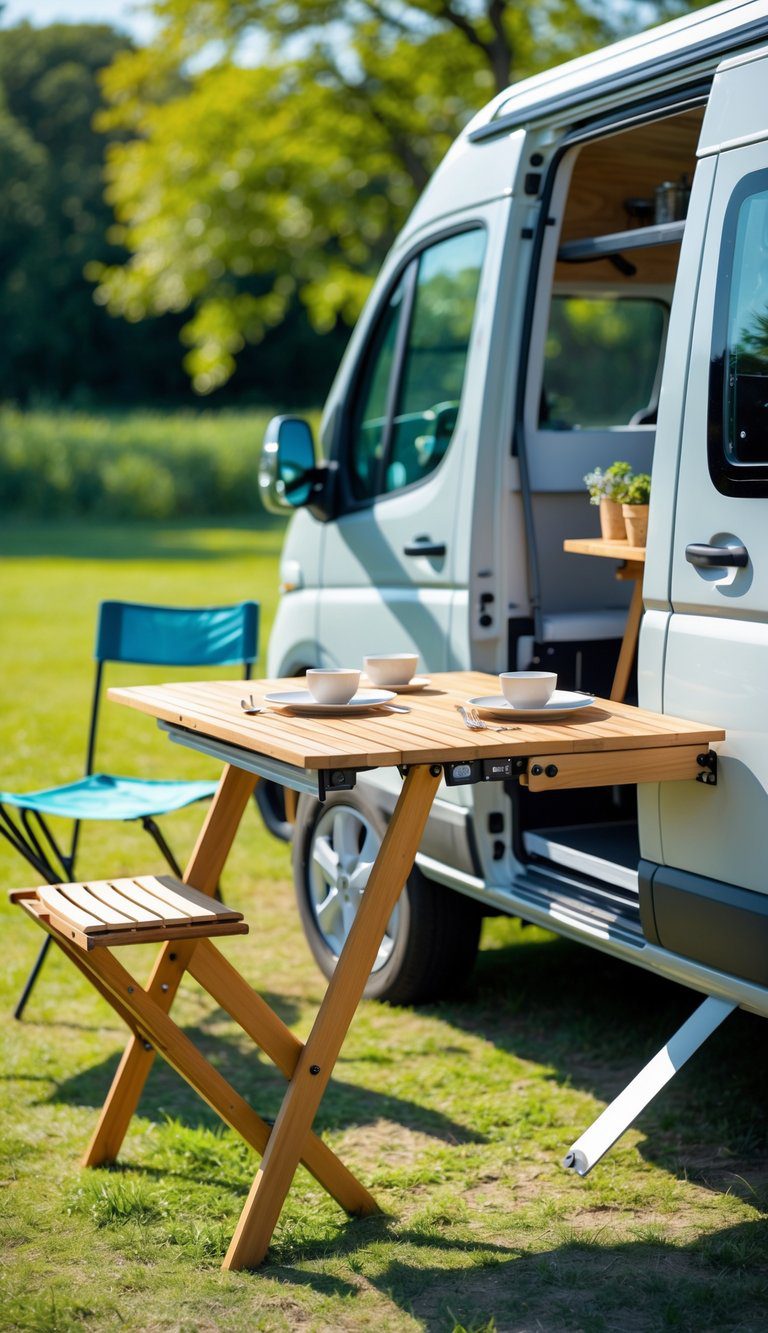
A pop-out foldable table gives you extra dining space without taking room inside the van. You can mount it to a side door or a wall and fold it flat when not in use.
Use plywood or lightweight composite for the top and add folding brackets or piano hinges for strength. Keep the size just big enough for meals and a few drinks so it stays light and easy to handle.
Attach a simple support leg that folds under the table, or use telescoping legs for uneven ground. Seal the wood with waterproof finish so it holds up to rain and spills.
PRO TIP
Cut a small lip on the table edge to stop plates from sliding off when parked on a slope.
10) Install LED strip lighting with dimmer switches
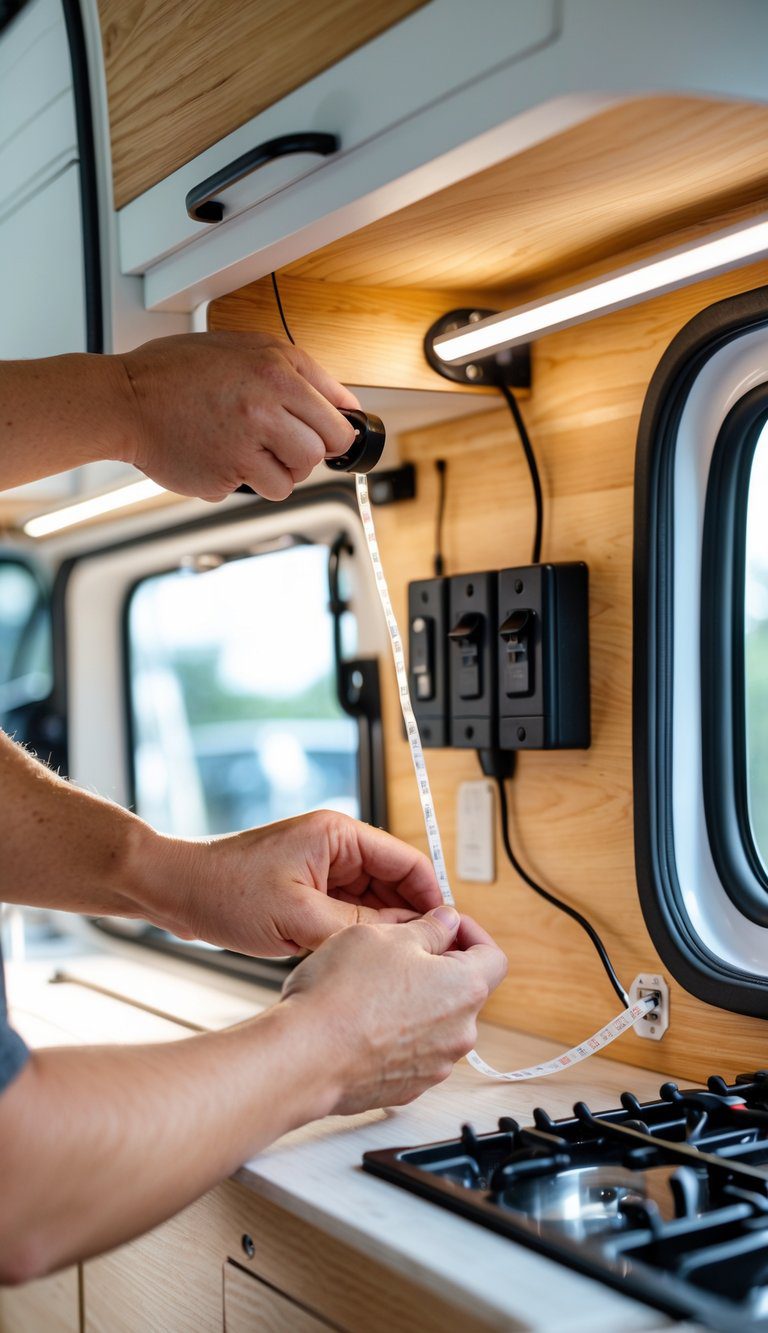
LED strips give your van soft, even light that uses very little power. You can mount them under cabinets, along the ceiling, or behind trim to create nice ambient lighting.
Run the strips on your 12V system and wire them to a fused circuit. Use the correct wire size and a switch or dimmer rated for 12V LED loads to avoid flicker or overheating.
A dimmer lets you change brightness for cooking, reading, or late-night chill time. Pick a dimmer made for LEDs and test it with your strips before final mounting.
PRO TIP
Use adhesive-backed aluminum channels for a cleaner look and better heat spread. This makes the lights last longer and keeps your van looking tidy.
11) Add magnetic knife strip and hanging mason jar storage in the galley
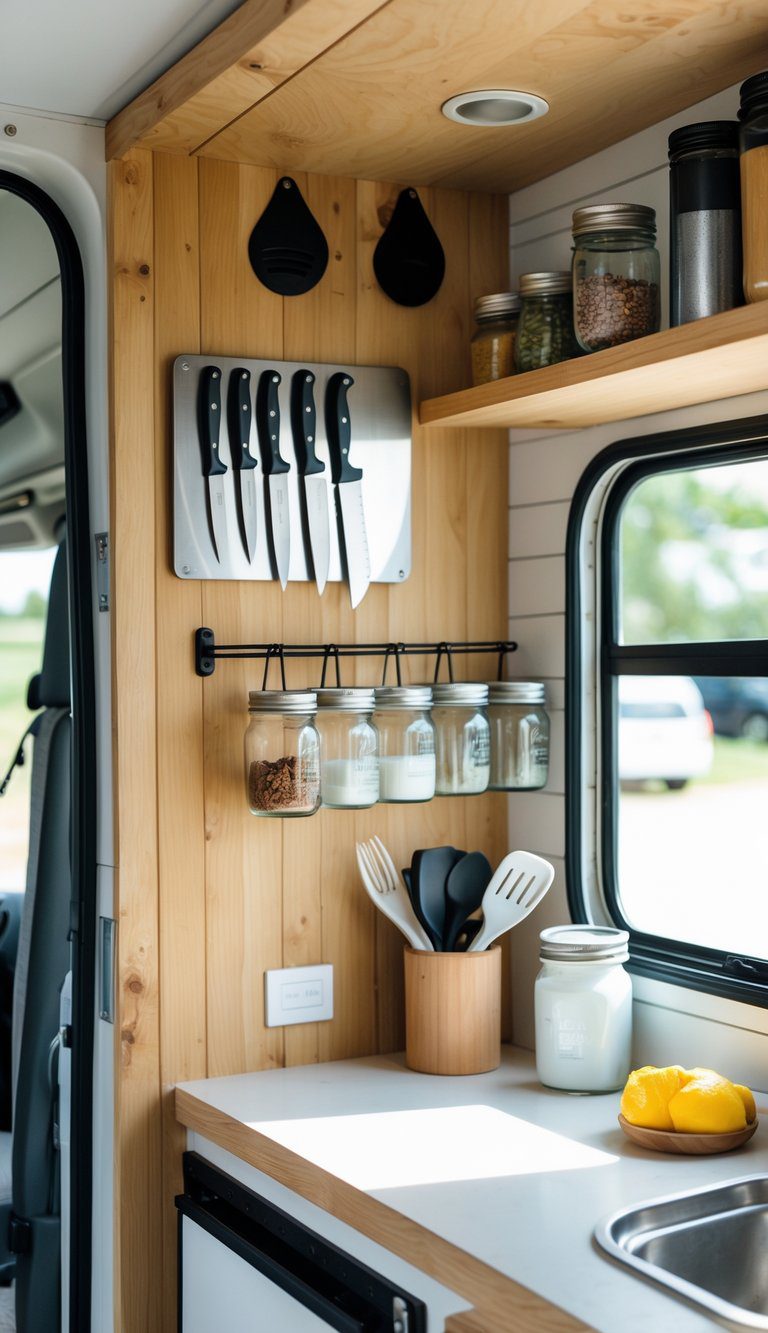
A magnetic knife strip frees up counter space and keeps blades easy to reach while you cook. Mount it to a stud or use strong wall anchors so it won’t come loose when you hit bumps on the road.
Hanging mason jars give you visible, affordable storage for utensils, spices, and small tools. Screw lids to a wood strip or hang them with wire hooks so jars swing less while driving.
Together these two ideas save space and make your galley feel tidy. They’re quick to install and easy to remove or reposition when you change your layout.
PRO TIP
Place the knife strip at chest height and point handles away from walkways. Label mason jar lids so you can grab what you need without searching.
12) Install a drawer system
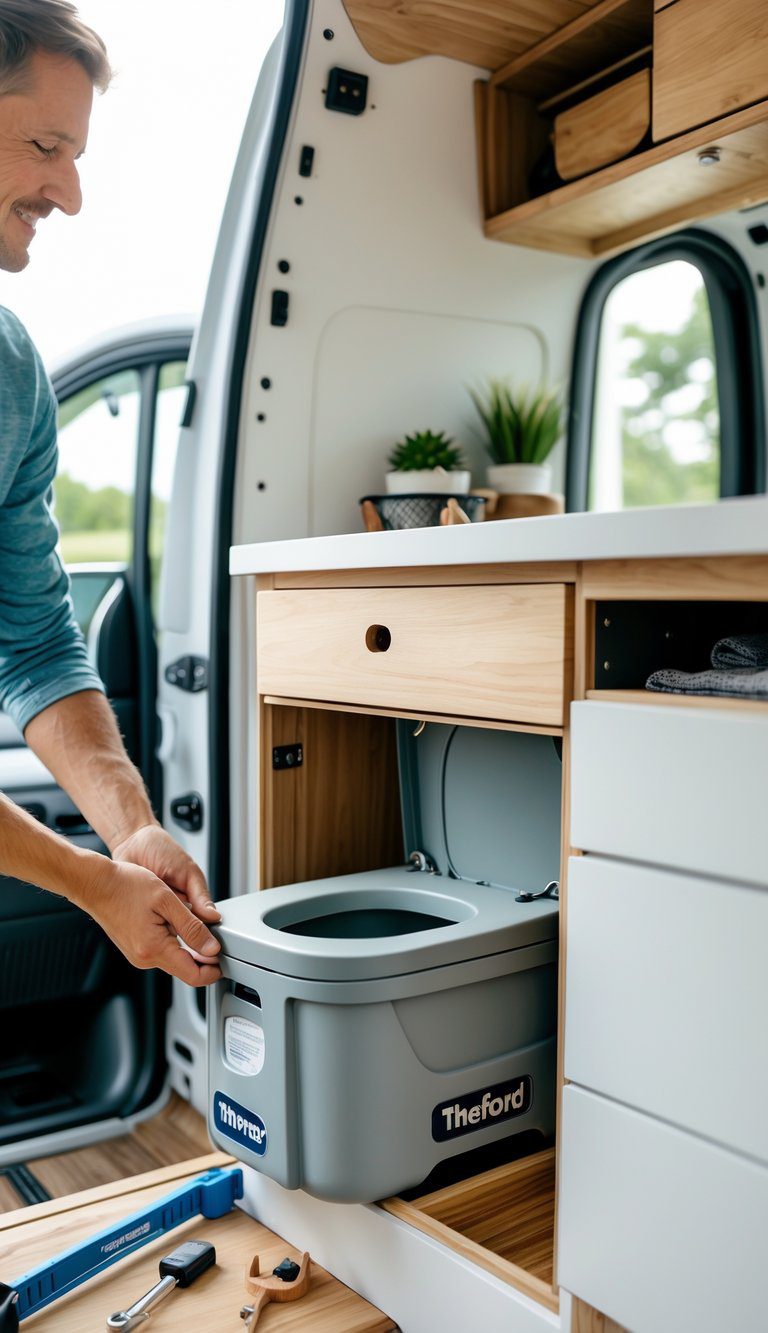
A Porta Potti drawer keeps your toilet out of the way and easy to access. You slide it out when needed and lock it away when you want more floor space.
Build a simple box that fits your Porta Potti model and mounts on drawer slides. Use marine plywood or hardwood for strength, and add ventilation holes to reduce odor buildup.
Secure the unit to the van floor so it won’t shift while driving. Add a simple latch or strap to hold the toilet in place on rough roads.
PRO TIP
Measure the toilet and slides twice before cutting. Leave a little extra room for seals and the discharge handle so the drawer opens smoothly.
13) Build a sliding gear tray for a cargo drawer using heavy-duty sliders
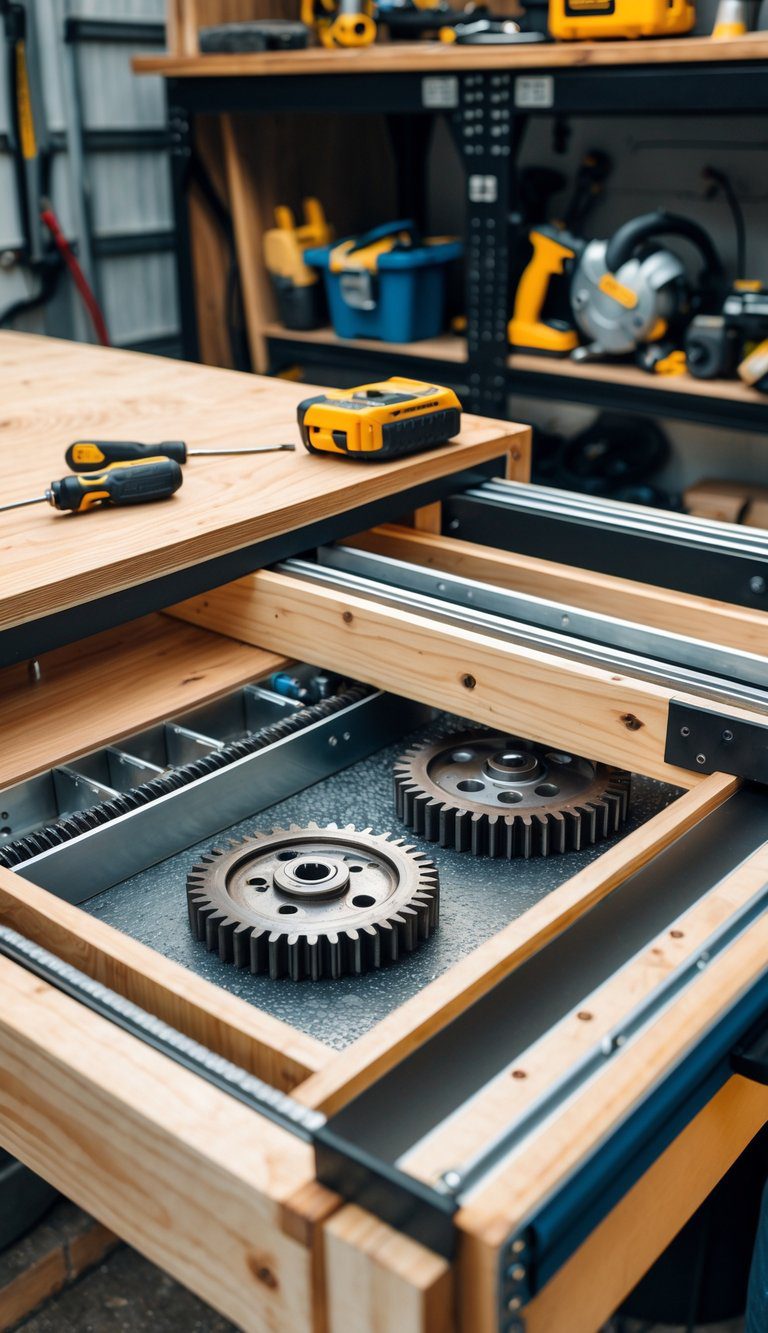
You can make a strong, smooth sliding tray to store heavy gear like a fridge, tools, or crates. Use full-extension heavy-duty sliders rated for 300–500+ lbs so the tray pulls out fully and holds weight safely.
Build a simple plywood box, reinforce the bottom, and mount the sliders to a solid frame or steel box section. Keep the tray low and centered to avoid shifting cargo when you drive.
Add handles and a locking pin or latch so the tray stays closed on rough roads. Line the tray with non-slip matting and use dividers or straps to keep items from sliding.
PRO TIP
Test the slides with the loaded weight before you finish trim or panels, and pick sliders with replaceable bearings for long life.


