
Last Updated on April 18, 2026
You can make every inch of your pop up camper work smarter for you without breaking the bank or adding bulky gear. This article shows practical, space-saving ideas that turn tiny nooks into useful spots for sleeping, cooking, working, and storing gear.
You’ll find simple upgrades and easy DIY swaps that fit real camping needs, from better storage to multiuse furniture and brighter, more efficient lighting.
1) Under‑seat slide‑out pantry with labeled stackable bins
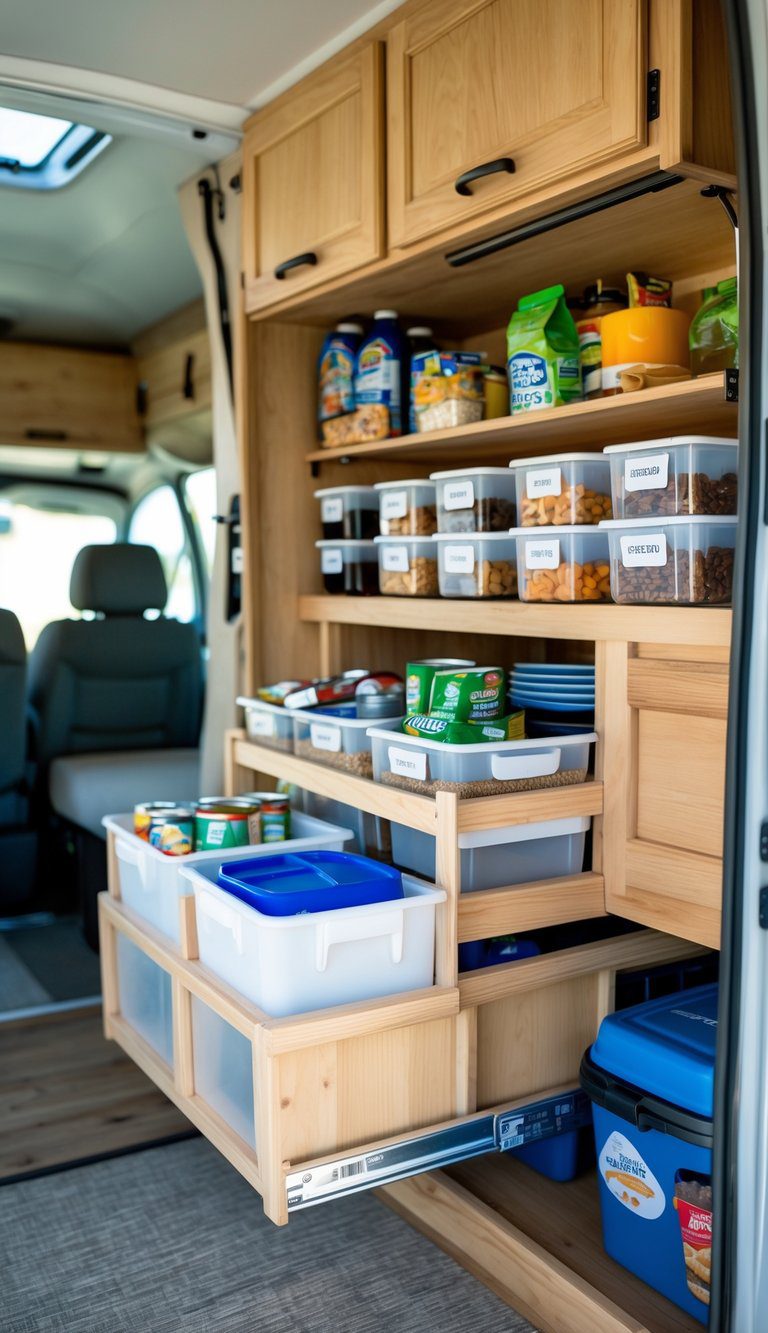
You can turn seat bases into a neat slide‑out pantry that hides away when you travel. Slide rails let the whole bin stack pull out, so you don’t need to kneel or dig to reach items at the back.
Use clear, stackable bins with tight lids to keep food and supplies from shifting on bumpy roads. Label each bin with large, simple tags so you grab what you need fast.
Keep heavier items in the lowest bins and lighter, frequently used items near the top. This setup saves floor and cabinet space while keeping your supplies organized and easy to access.
PRO TIP
Measure the cavity depth and choose low‑profile slide rails to avoid rubbing the frame.
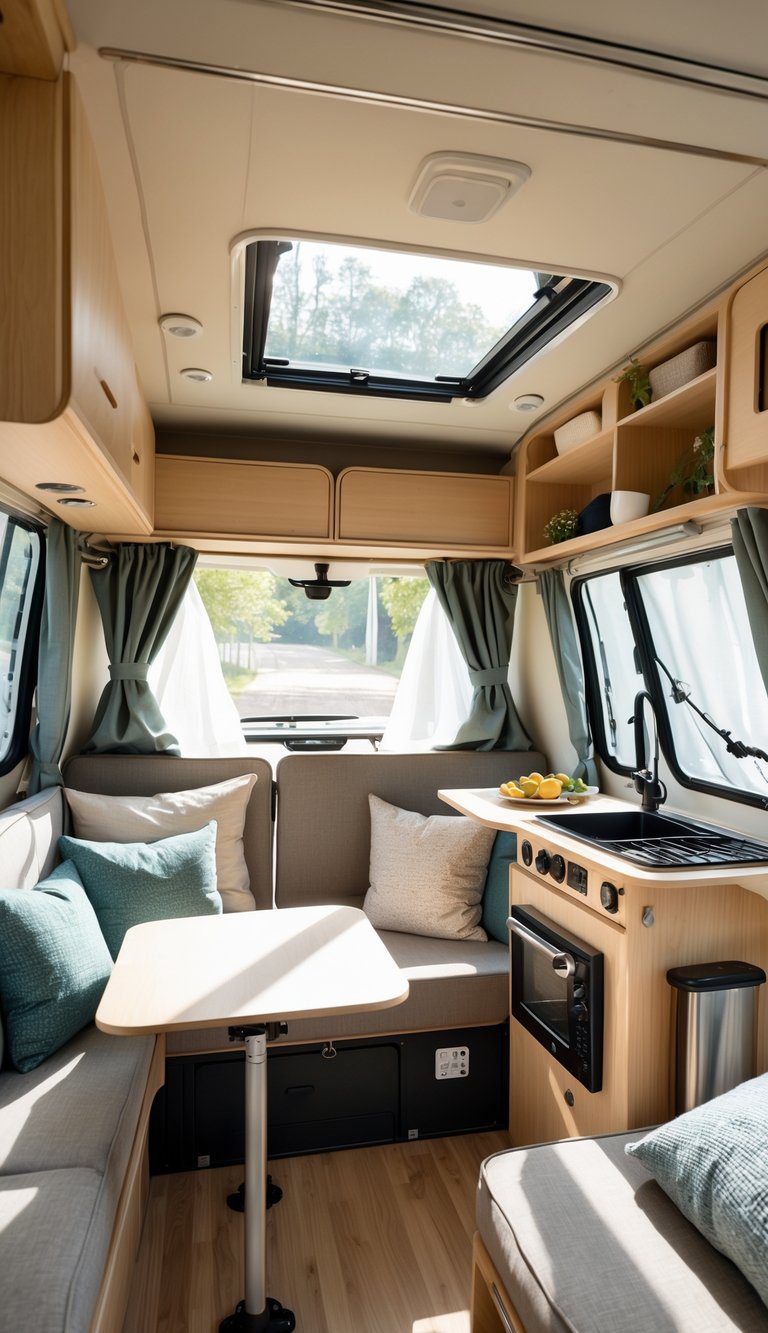
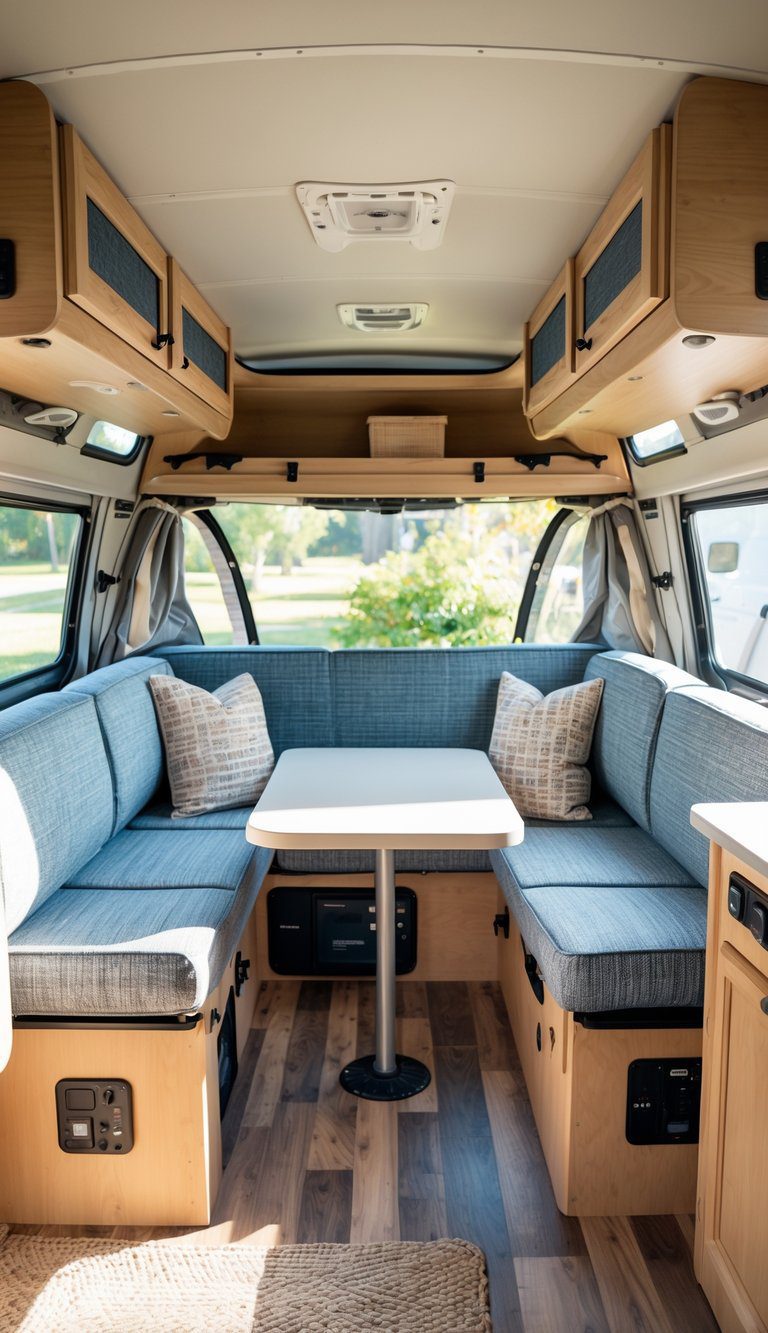
2) Convertible dinette with marine‑grade hinge to fold into a full bed
A convertible dinette gives you seating by day and a full bed by night. You lower the table and use cushions to fill the gap, and the marine‑grade hinge keeps the mechanism smooth and rust‑free in damp conditions.
Pick cushions that are firm but comfortable and sized to fit your bench dimensions. Storage under the seats holds bedding and gear, so you save space without clutter.
Marine‑grade hardware lasts longer than standard fittings, especially if you camp near water. It also keeps the conversion action safe and stable when you fold or unfold the bed.
PRO TIP
Measure twice and test the hinge motion before final installation to avoid tight fits or pinched fingers.
3) Custom foam cushions reupholstered in Sunbrella fabric
Custom foam cushions let you shape seating to fit tight camper nooks. You can choose density and thickness so seats feel firm where you need support and soft where you want comfort.
Reupholstering with Sunbrella fabric adds durability and easy cleaning. Sunbrella resists stains and fading, so your cushions stay bright after sun and spills.
Measure each cushion carefully before ordering foam or fabric. A snug fit cuts wasted space and keeps cushions from shifting while you drive.
PRO TIP
Pick a neutral fabric for main pieces and a bold Sunbrella accent for small cushions. That gives you a fresh look without overwhelming the compact interior.
4) Magnetic knife strip and fold‑down prep shelf in galley
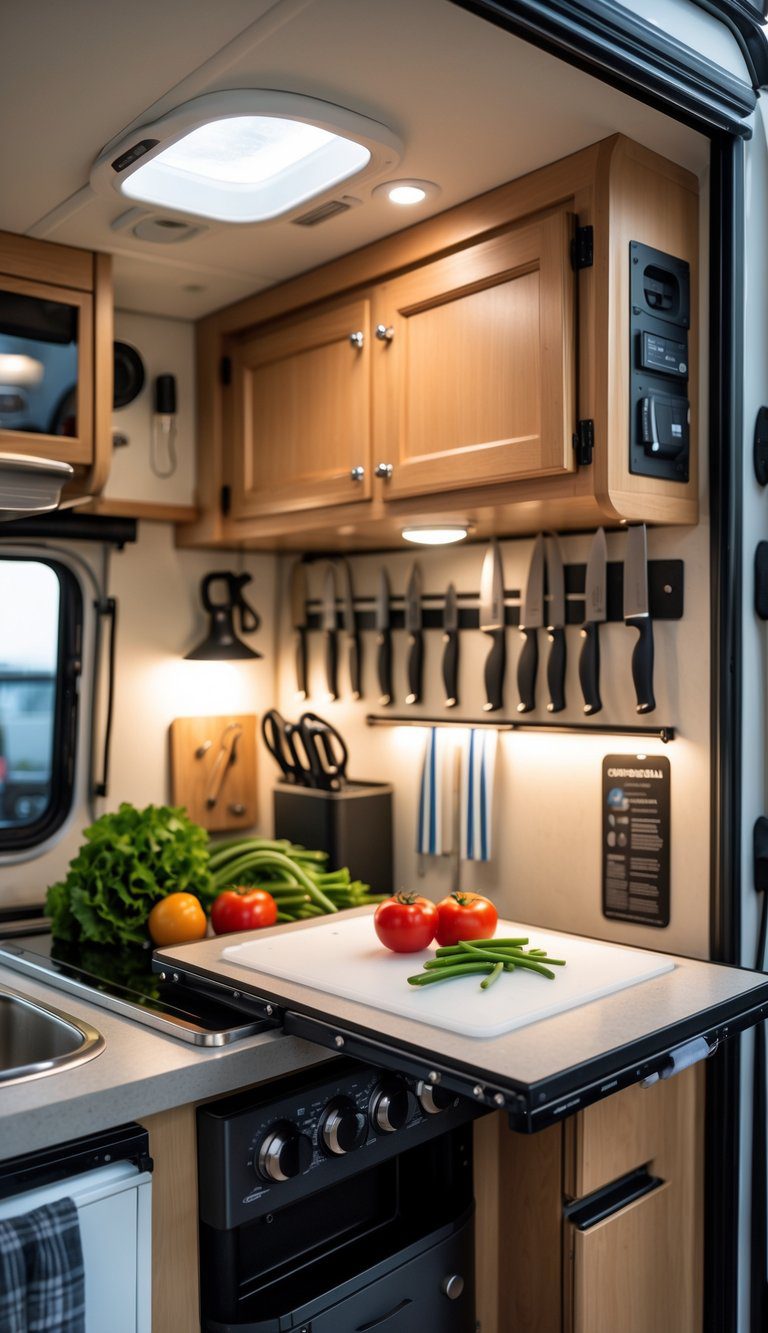
A magnetic knife strip keeps knives off the counter and within easy reach. You free drawer space and reduce clutter by mounting it on the backsplash or inside a cabinet door.
Add a fold‑down prep shelf that locks flat when not in use. It gives you extra workspace for chopping or plating and folds away to save walking room.
Together they create a neat, efficient work area that fits small kitchens. Both installs are light and simple, so they won’t add much weight to your camper.
PRO TIP
Choose a magnetic strip with a strong hold and a shelf with a secure latch. Line the shelf edge with non‑slip tape to keep bowls and cutting boards steady.
5) LED puck lights with dimmer strips under overhead cabinets
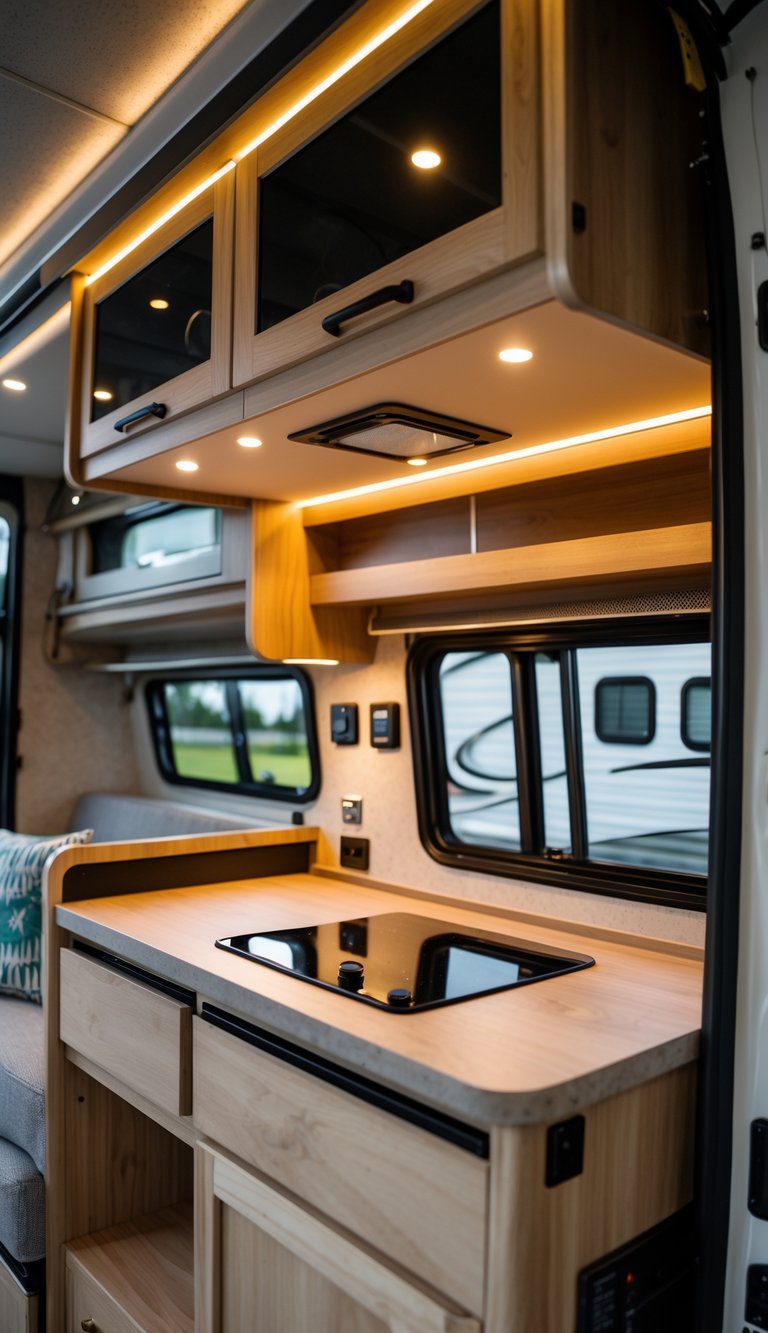
LED puck lights give you bright, focused light without taking up space. Stick or screw them under overhead cabinets to light counters, beds, or work areas.
Add dimmer strips for smooth brightness control. You can set soft light for evenings and brighter light for cooking or reading.
Many puck lights are battery, plug-in, or low-voltage wired options, so pick what fits your camper’s power setup. Some come with remotes or touch controls for easy use while inside.
PRO TIP
Mount pucks near the cabinet front so light reaches the counter. Use warm white LEDs to keep the space cozy and avoid harsh glare.
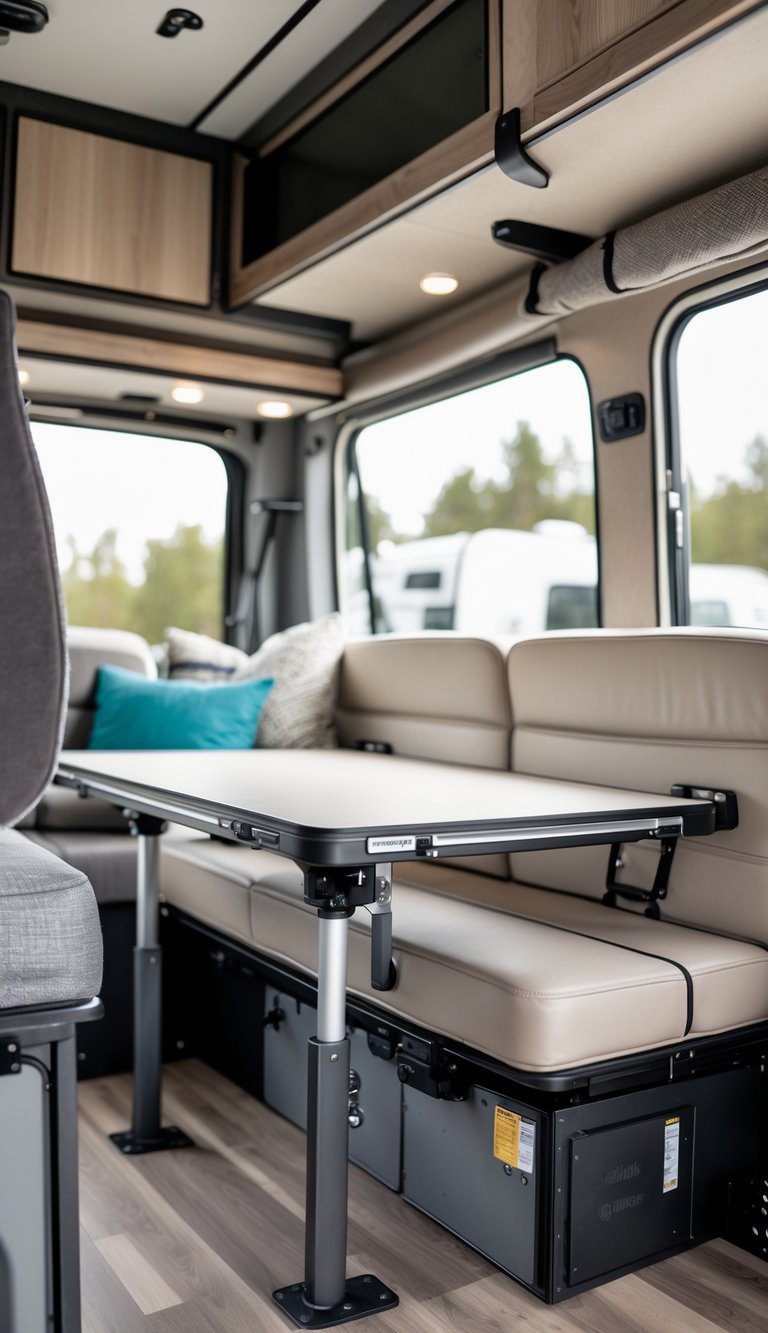
6) Wall‑mounted collapsible table for laptop and dining
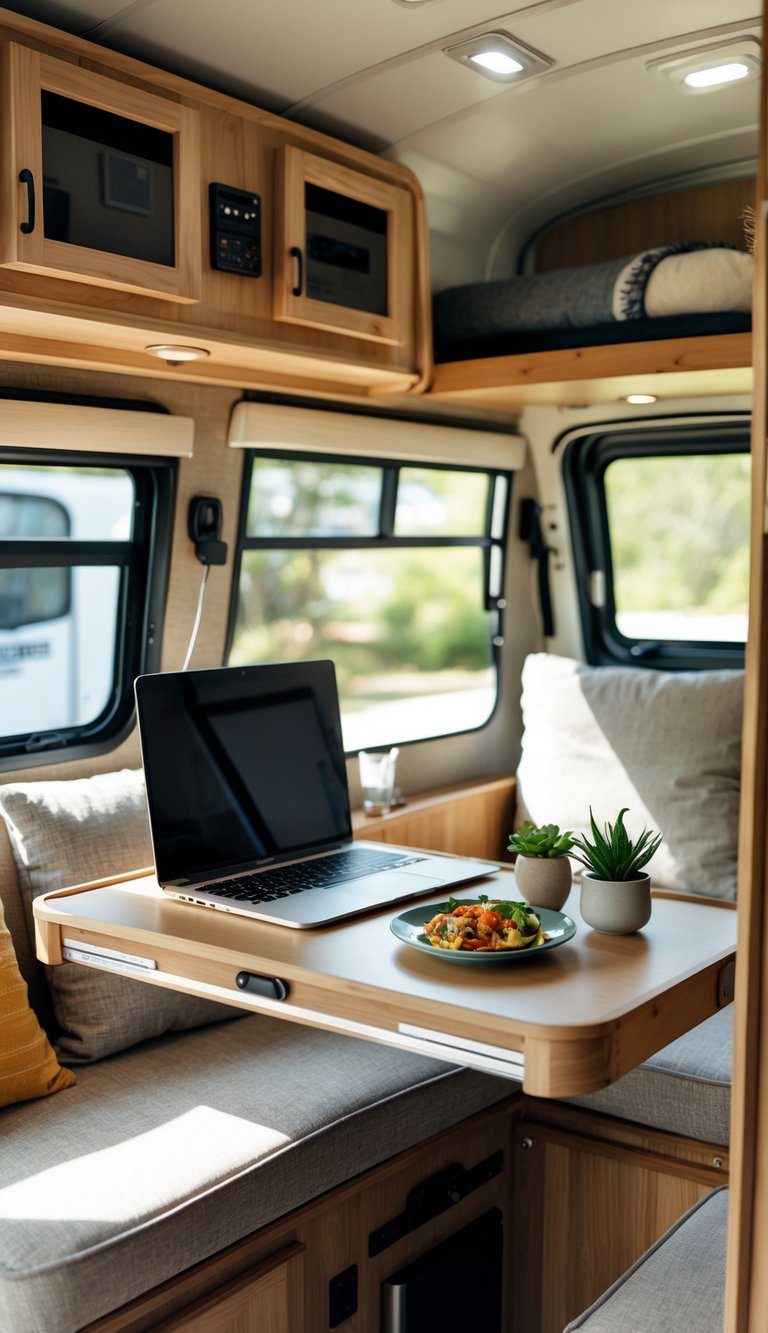
A wall‑mounted collapsible table gives you a sturdy surface that folds flat when you need room. You can use it for cooking prep, dining, or working on your laptop without taking up floor space.
Pick a model with a simple latch or gas strut so it opens and closes smoothly. Look for one with enough depth for a laptop and a plate — about 16–20 inches works well in most pop ups.
Mount the table at a height that fits both seated dining and typing. Add a small shelf or cubby above it to keep chargers, utensils, and snacks within reach.
PRO TIP
Choose a table with a built‑in lock or safety bracket so it can hold weight without wobbling.
7) Vertical shoe organizer repurposed for toiletries and cords
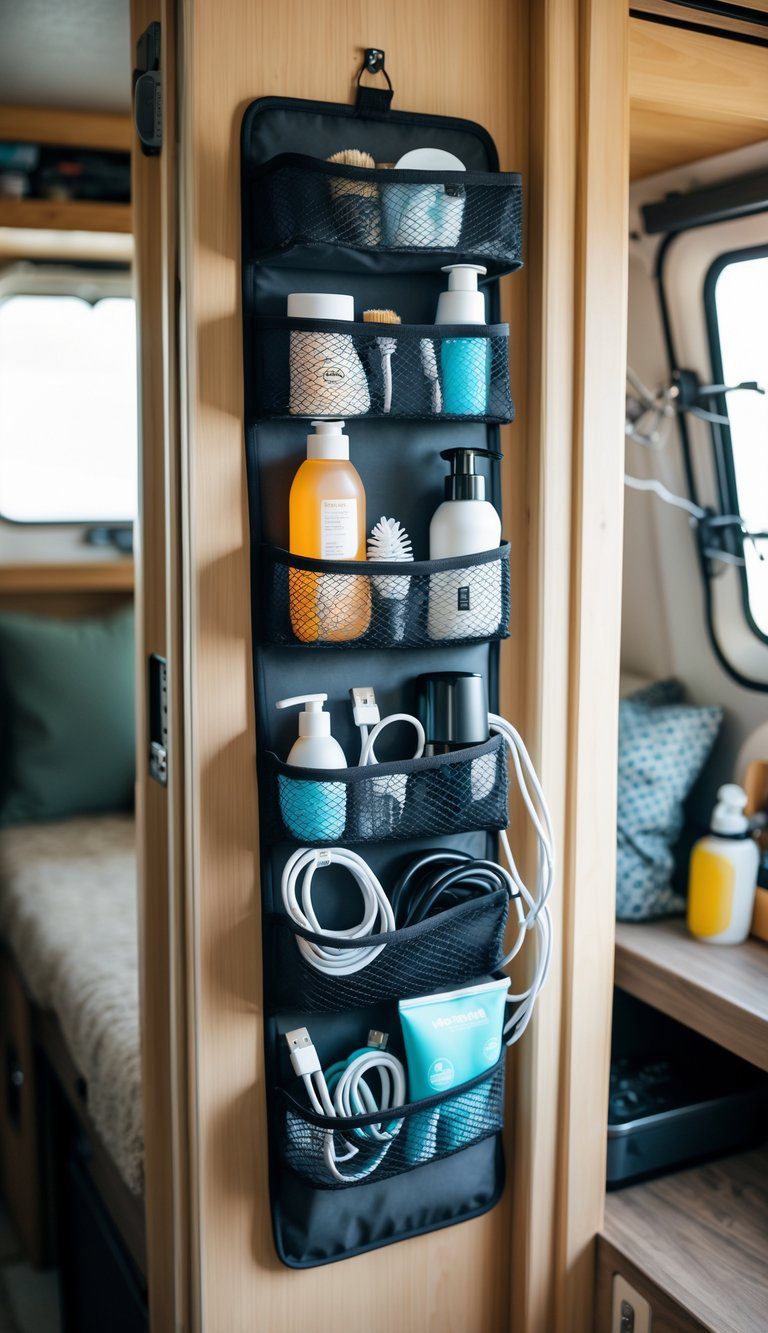
You can hang a vertical shoe organizer on a cabinet door or wall to keep toiletries and cords tidy. The clear pockets make it easy to see what you have, so you won’t dig through a bin while parked at a rest stop.
Use smaller pockets for toothbrushes, sunscreen, and travel-size bottles. Larger pockets work well for hair tools, power banks, and rolled-up extension cords.
Label pockets with simple tape or a marker so items return to the right spot. The organizer stays lightweight and can be removed or moved when you need more space.
PRO TIP
Fold cords with velcro straps before tucking them into pockets to avoid tangles and save pocket space.
8) Aluminum pegboard panel for cooking utensils and tools
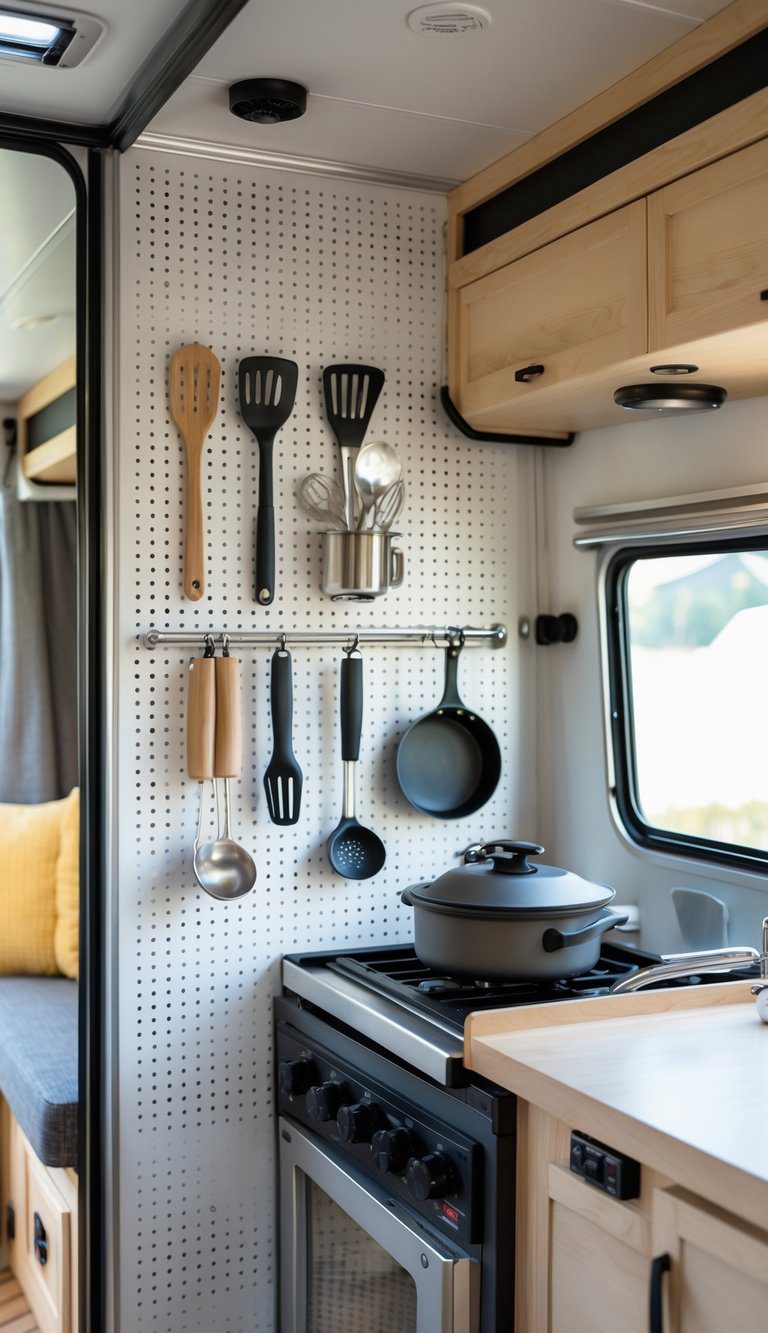
Aluminum pegboard makes your camper kitchen feel larger by using vertical space. You can hang spatulas, tongs, and small pans where you can reach them fast.
The panels resist rust and stay flat in humid or wet conditions. That keeps hooks steady and prevents warping that can cost space or cause items to fall.
Use a mix of hooks, small shelves, and magnetic strips to hold different tools. Swap or move pieces easily when your layout changes or you add new gear.
PRO TIP
Mount the panel near the stove and secure it to studs or a solid backing. This lets you hang heavier items safely without stressing the wall.
9) Removable blackout curtains with integrated storage pockets
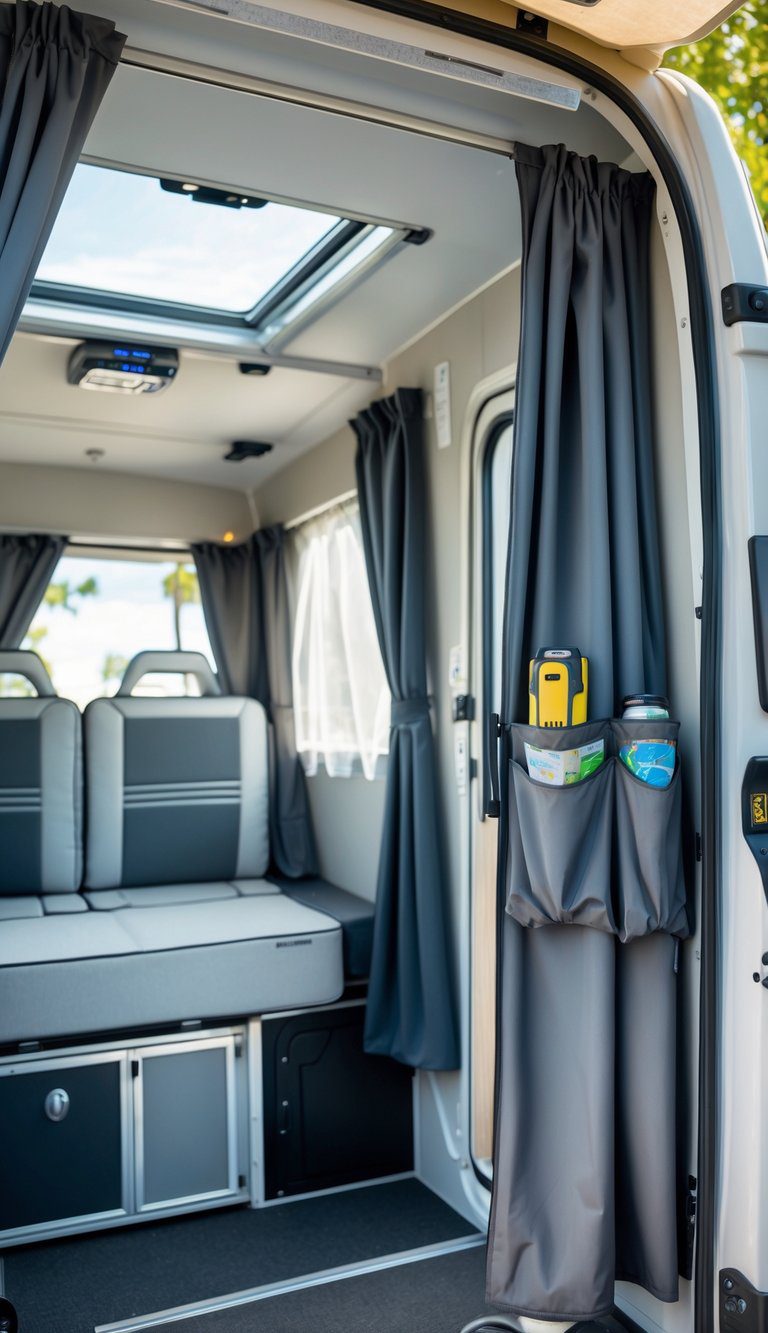
Blackout curtains keep light out so you and your crew sleep better on the road. Choose removable panels that attach with snaps, Velcro, or suction cups so you can take them down for cleaning or daylight views.
Integrated storage pockets add useful space for phones, glasses, books, and small gadgets. Pockets on the curtain save counter and shelf space and keep essentials within arm’s reach at night.
Look for durable, travel-friendly fabric that won’t weigh down your camper or trap moisture. Make sure the pockets are stitched well and sized for what you carry most.
PRO TIP
Sew a loop or add a small clip to each pocket so you can secure fragile items during travel.


