Last Updated on April 18, 2026
You can make a tiny camper kitchen feel roomy and calm with smart gear and simple habits. This article shows 15 easy ways to organize tight cabinets and small counters so you can cook faster, find things quickly, and keep everything secure while you travel.
You’ll get practical ideas that fit small spaces and move with your rig. Use them to free counter space, tame pantry clutter, and make the whole kitchen work better for your trips.
1) Magnetic spice jar set for RV cabinets
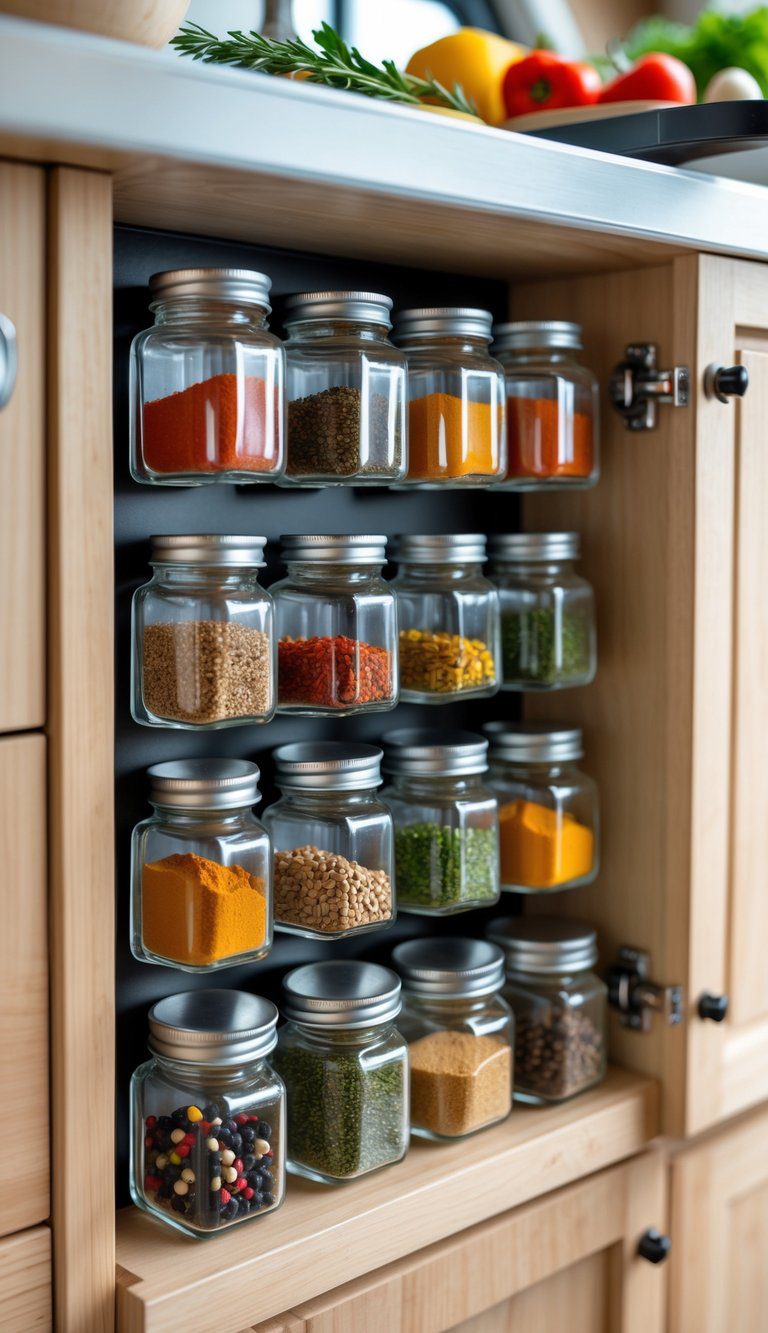
Magnetic spice jars stick to metal surfaces so you can free up shelf and counter space. You can mount a thin metal sheet under a cabinet or inside a cabinet door to keep jars within reach.
Choose clear or labeled jars so you spot spices at a glance. The jars stay put during travel, which helps prevent spills and clutter.
Pick lightweight, shatterproof containers made for small spaces. Match jar size to how often you cook—smaller jars for rarely used spices saves room.
PRO TIP
Stick a strip of non-slip tape inside each lid to reduce rattling while you drive.
2) Over-the-door hanging pantry organizer
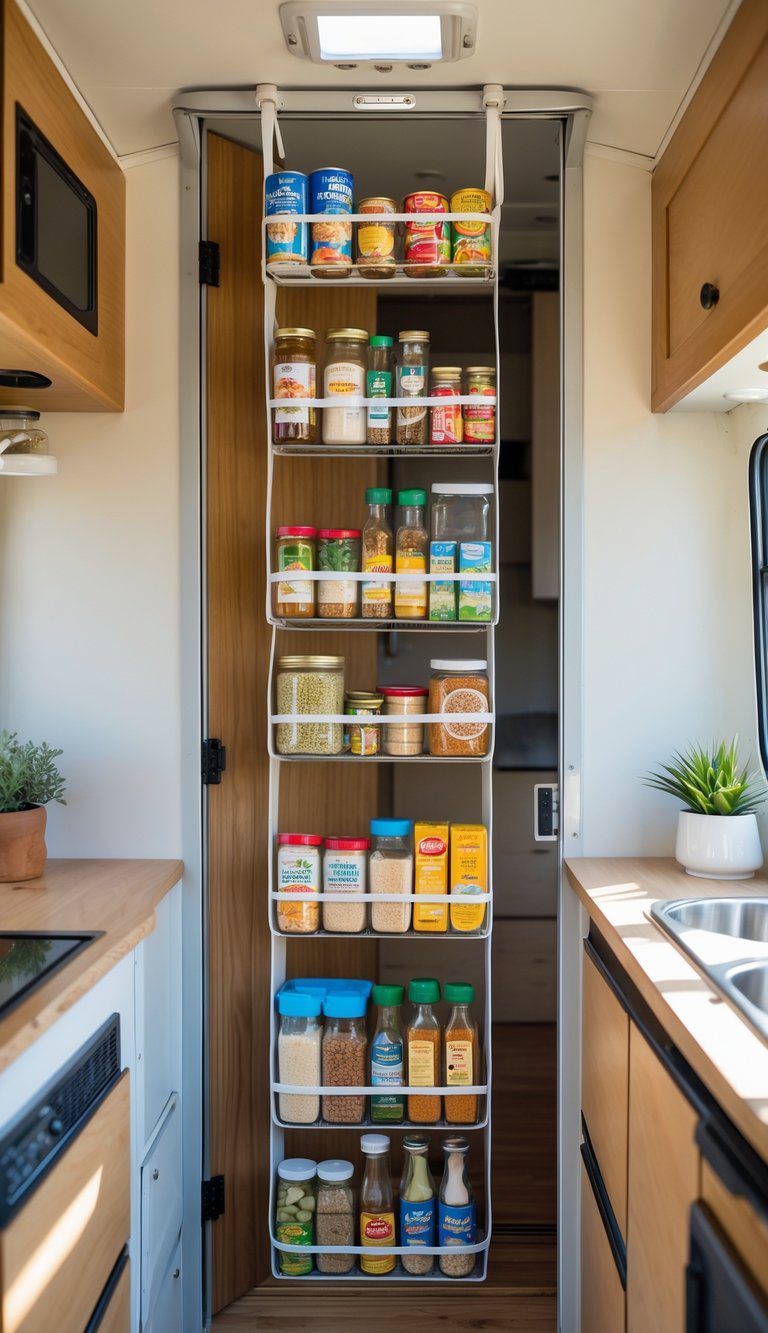
An over-the-door hanging pantry organizer uses the back of a cabinet or pantry door to store cans, spices, snacks, and small gadgets. You free up shelf space while keeping items visible and easy to grab.
Most models hang on hooks and need no tools, so you can move them or remove them quickly. Look for ones with deep pockets or wire shelves to hold taller bottles and to prevent tipping.
You can use them on cabinet doors, pantry doors, or inside cupboard doors in your camper. Group like items together — snacks in one pocket, spices in another — to make meal prep faster and less messy.
PRO TIP
Choose an organizer that fits your door thickness and has secure hooks. If weight is an issue, distribute heavy items across multiple pockets to avoid stress on the door.
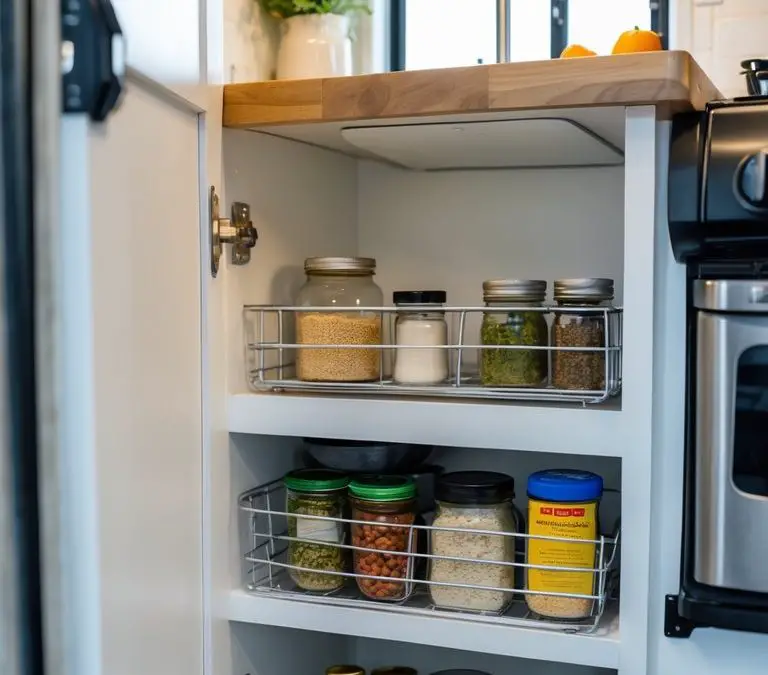
3) Under-shelf wire baskets (adjustable)
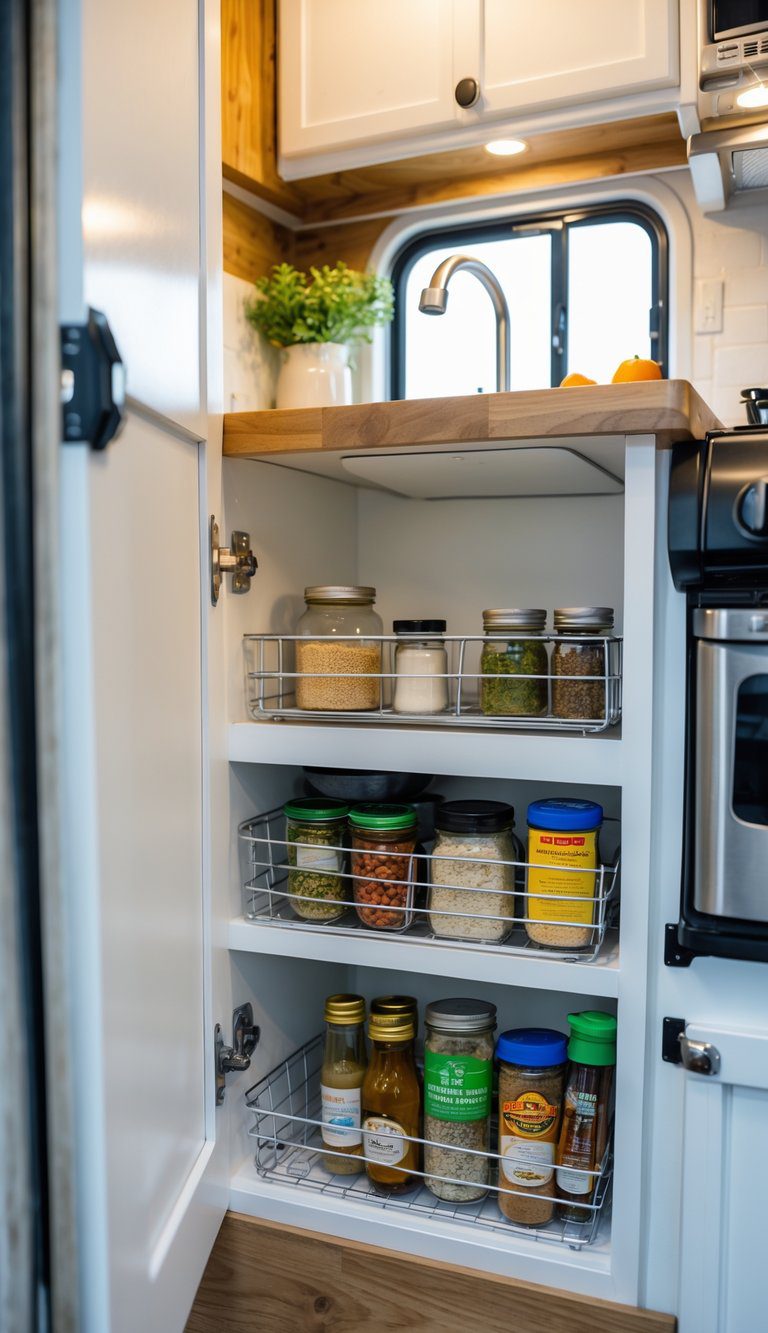
Under-shelf wire baskets slide onto existing shelves and turn wasted space into easy-to-reach storage. You can stash snacks, dish towels, or small pans without drilling or permanent changes.
Look for adjustable models that fit different shelf thicknesses and depths. Many are collapsible or stackable, so you can change the layout as your needs shift.
Metal wire lets air circulate, which helps with produce or damp items. The open design also makes items visible so you won’t lose things in the back.
PRO TIP
Measure your cabinet height and shelf thickness before buying. A quick tape check saves you from returns and gives a snug fit that won’t slip.
4) Accordion sink cutting board with colander
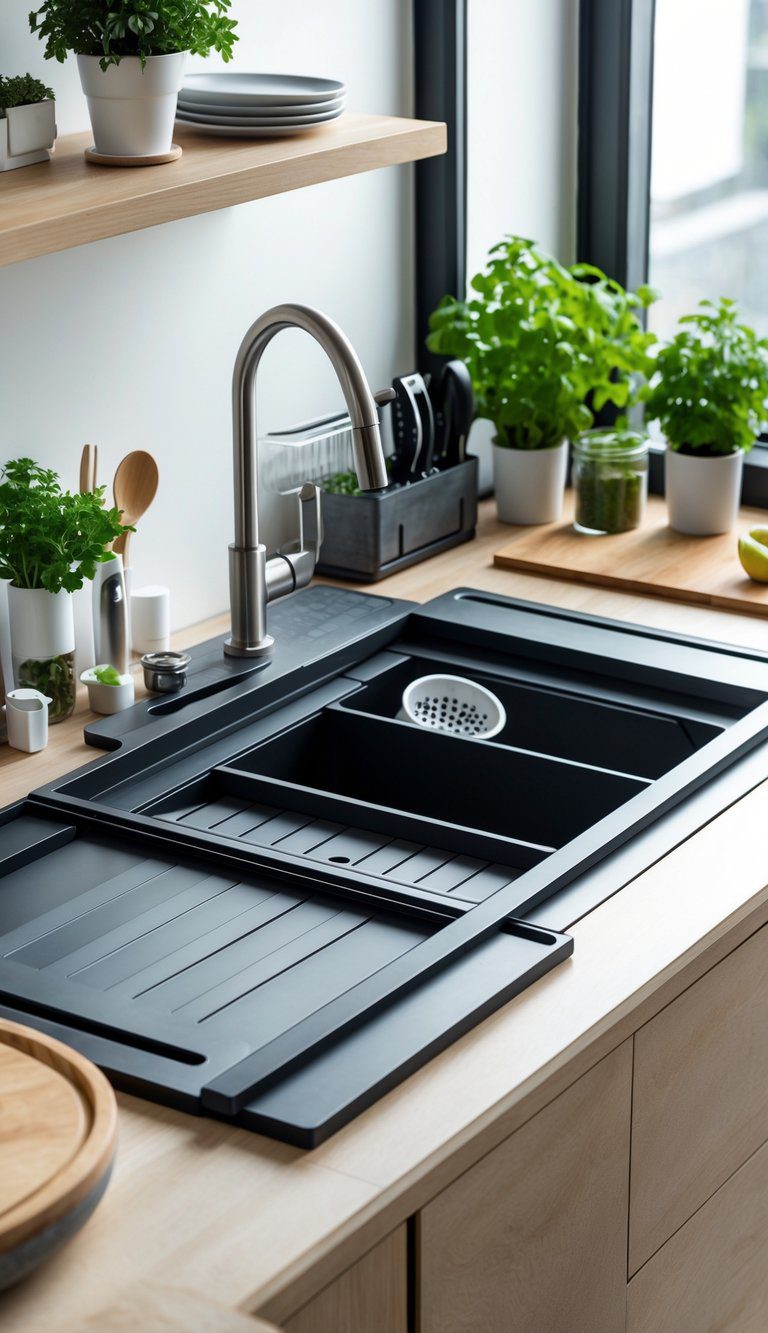
An accordion sink cutting board fits over your sink and gives you extra workspace when you need it. You can chop vegetables and slide scraps straight into the built-in colander, which saves counter space and keeps your tiny kitchen tidy.
The collapsible sides fold down flat for storage, so it won’t crowd your cabinets. Many models have non-slip edges and drainage channels that direct water into the sink, helping you avoid messes.
Use it to rinse, drain, and prep without moving items around. It’s a simple tool that makes cooking in a small camper faster and less cluttered.
PRO TIP
Choose a size that fits your sink and stack it with slim trays or lids for compact storage.
5) Command Strip-mounted utensil rail
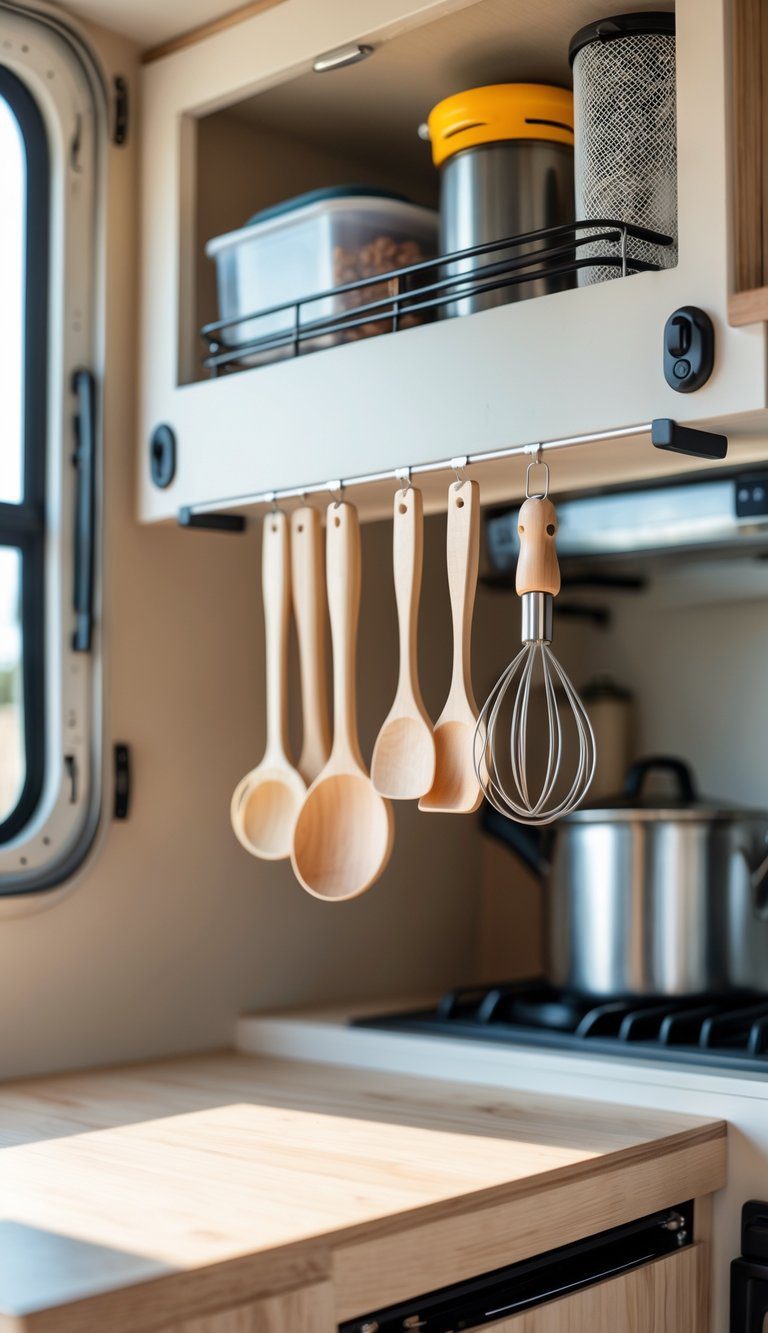
Mount a small rail with Command Strips along a cabinet side or backsplash to keep utensils within reach. It saves drawer space and lets you see what you have at a glance.
Choose a lightweight rail or magnetic strip so the adhesive holds strong. Hang spatulas, spoons, tongs, and even a small cutting board to free up counter room.
Place the rail near your stove or prep area for quick access while cooking. Remove and reposition the strips when you need to deep clean or reconfigure the layout.
PRO TIP
Use matching S-hooks and label each spot for kids or guests to find items easily. Test the strip on a hidden area first to ensure it won’t peel paint or finish.
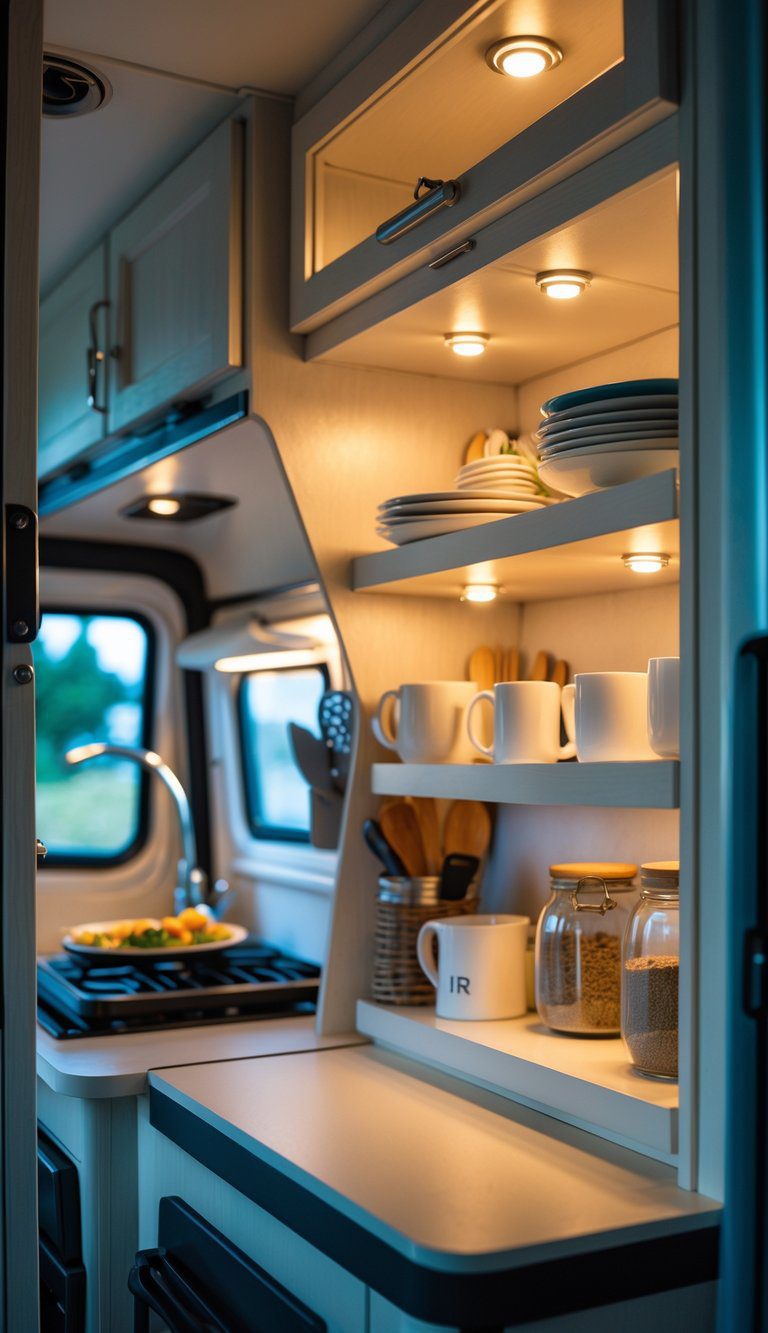
6) Expandable tension rod to hang mugs
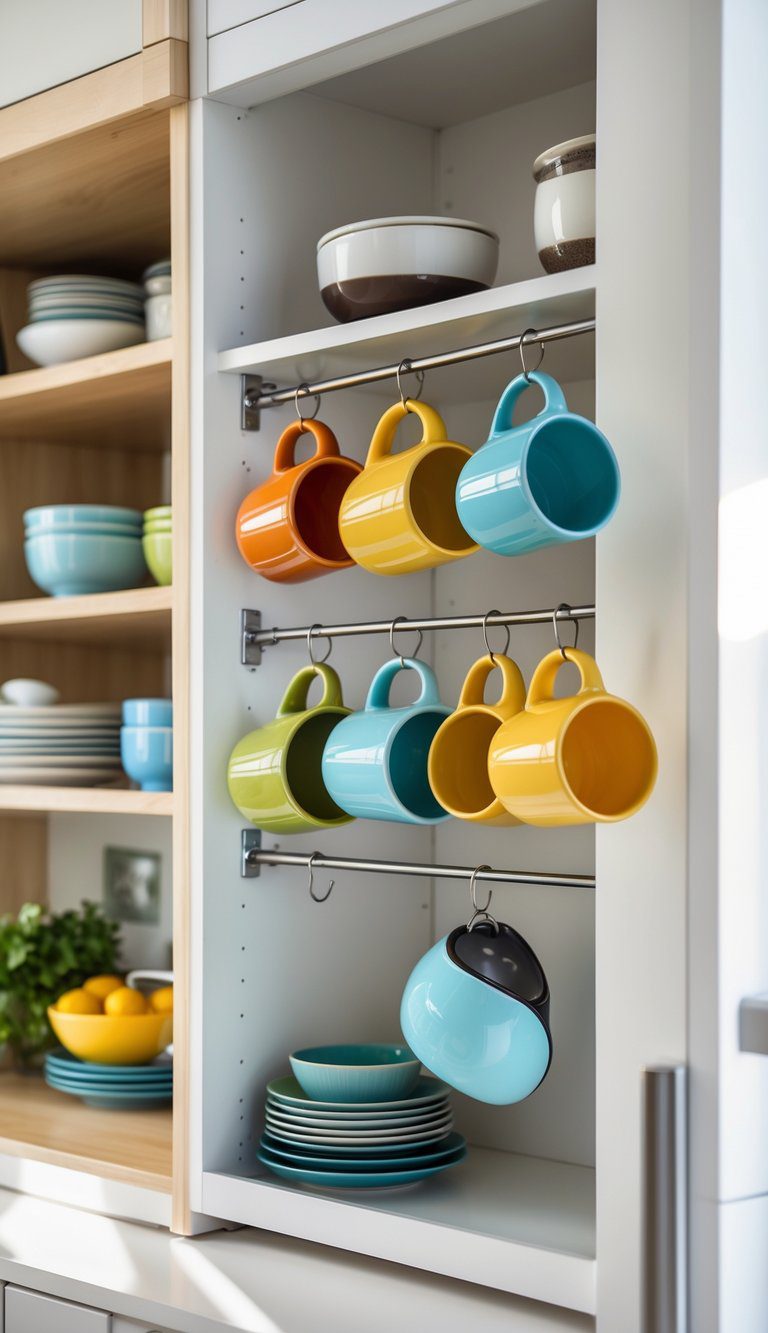
An expandable tension rod fits snugly under upper cabinets or inside shallow cabinets. You can hang mugs by their handles with S-hooks to free up shelf space and keep mugs within reach.
The rod installs without tools and won’t damage surfaces when you place it correctly. It works well in tight kitchens where every inch counts and you can move it easily for cleaning or reconfiguring.
Use a sturdy rod rated for the weight you plan to hang. Space hooks so mugs don’t clink together and consider silicone hooks to reduce noise.
PRO TIP
Place the rod a few inches back from the cabinet front so mugs don’t hit the cabinet door when you open it.
7) Stackable collapsible food storage containers (Silicone)
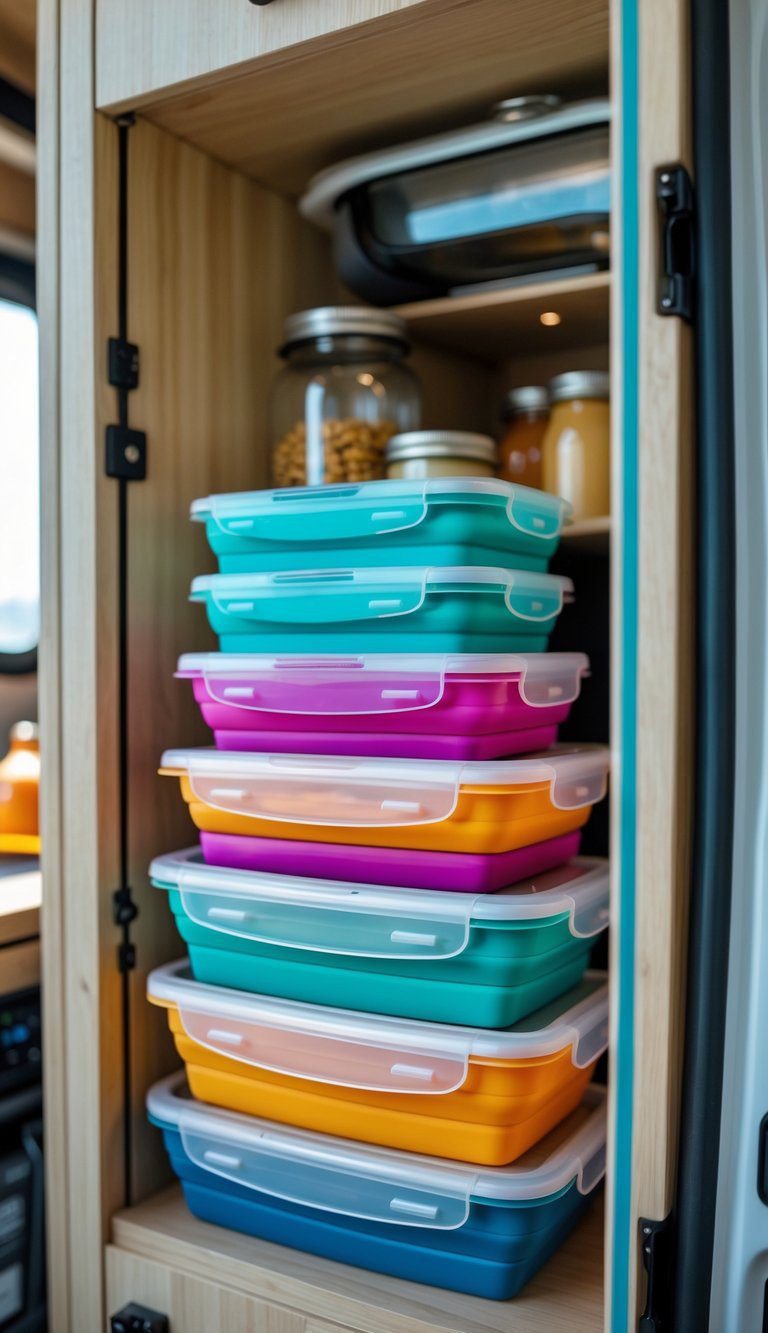
You can save a lot of cabinet space with silicone containers that collapse flat. They stack neatly when open and tuck into a drawer or shelf when not in use.
Choose sets with airtight lids and different sizes so you can match portions to your meals. Food-grade silicone handles heat and cold, so you can move food from fridge to microwave or pack for a trip.
They’re lightweight and won’t chip like glass, which helps in a bouncy camper. Rinse lids and silicone pieces right away to avoid stains and smells.
PRO TIP
Label lids with a dry-erase marker or small stickers so you know what’s inside at a glance.
8) Fold-flat drying rack for small counters
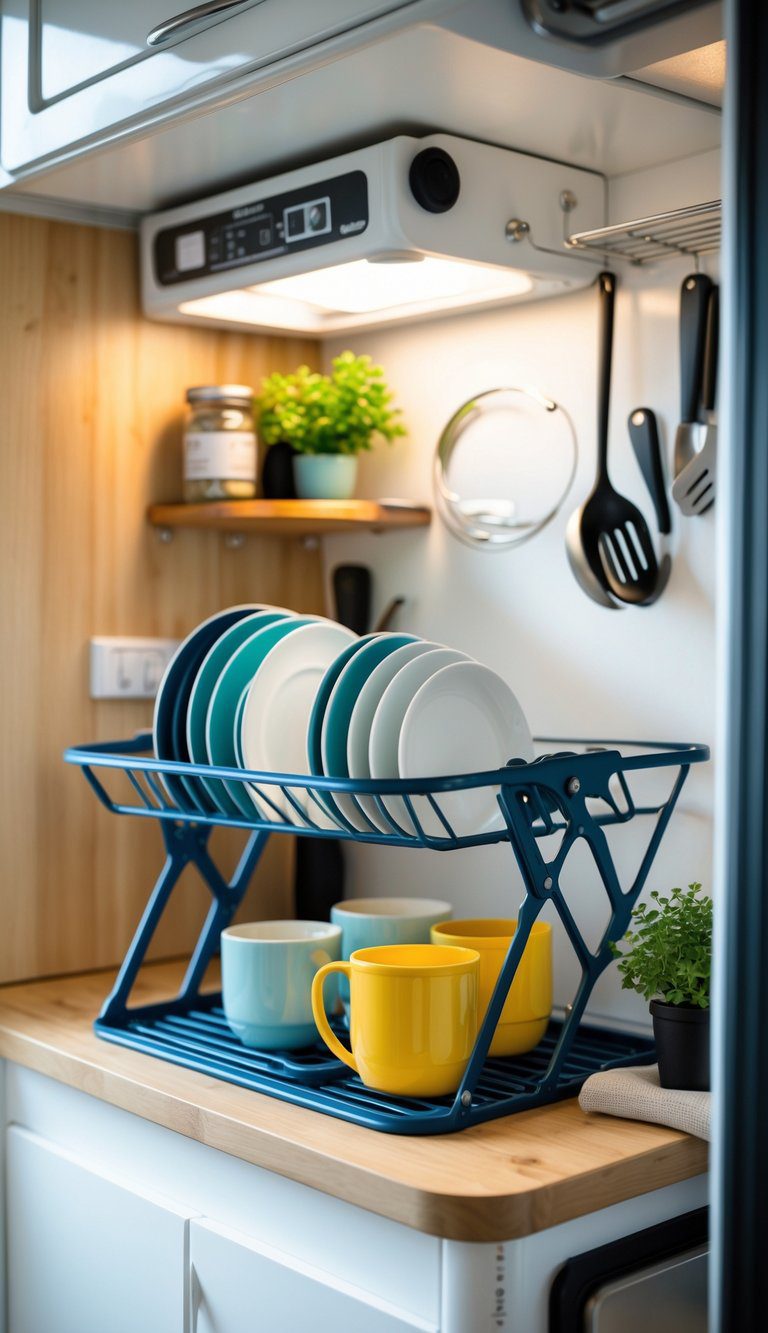
A fold-flat drying rack gives you drying space without taking over your limited counter. You can set it over the sink or beside it, then fold it flat and tuck it away when not in use.
Look for racks that drain into the sink and resist rust. Lightweight aluminum or food-safe plastic work well and stay portable for camping or RV life.
Choose one with raised ridges or slats to lift dishes and speed drying. A small utensil cup or removable tray helps keep forks and knives contained.
PRO TIP
Keep a thin silicone mat under the rack to protect counter finishes and catch stray drips.
9) Pegboard panel for vertical utensil storage
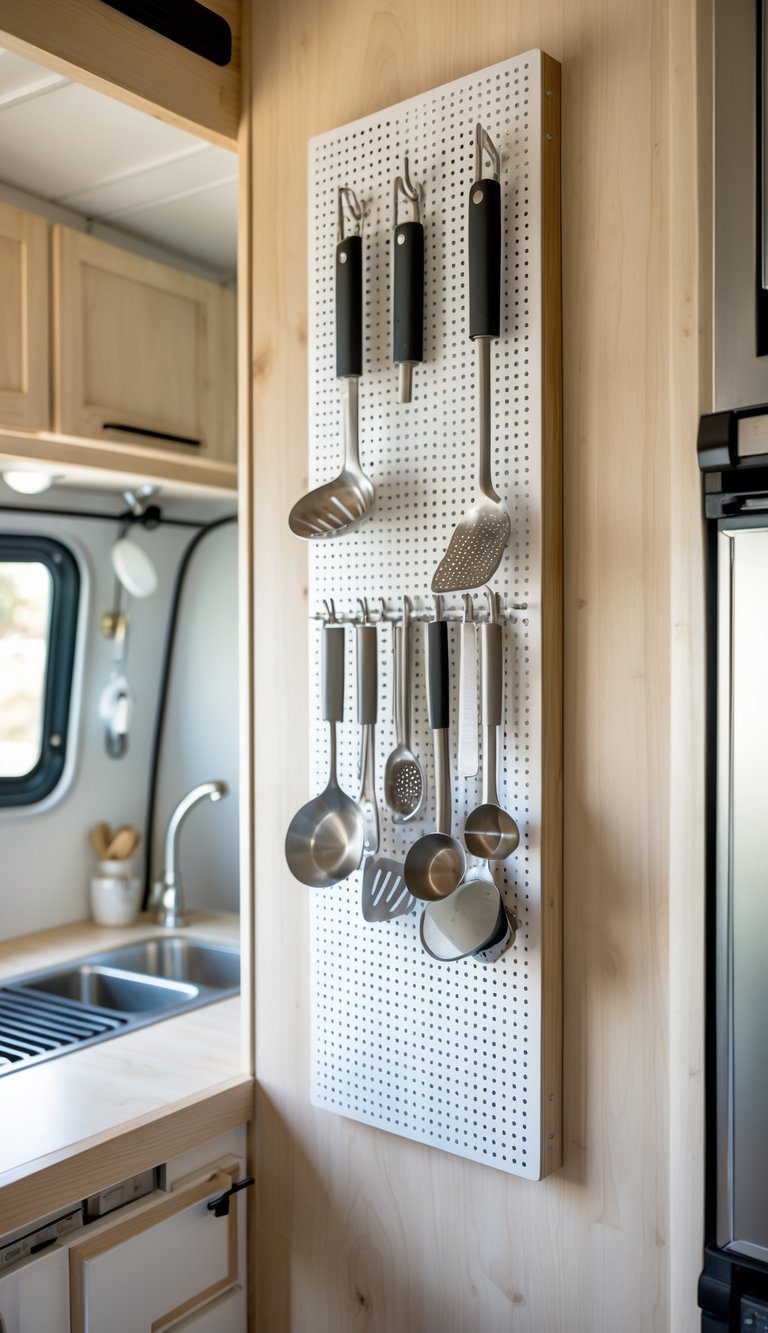
A pegboard panel makes your utensils easy to see and grab. Mount a small panel on a cabinet door or wall to keep spatulas, ladles, and tongs off counter space.
You can move pegs around to fit different tools. That lets you change the layout for new gadgets or seasonal needs.
Choose lightweight pegboard and secure it with screws or strong adhesive so it holds while you drive. Add baskets or hooks for measuring cups, scissors, or small spice jars.
PRO TIP
Paint the pegboard a bright color to match your camper and make items stand out. Use rubber peg tips to stop slipping on bumpy roads.
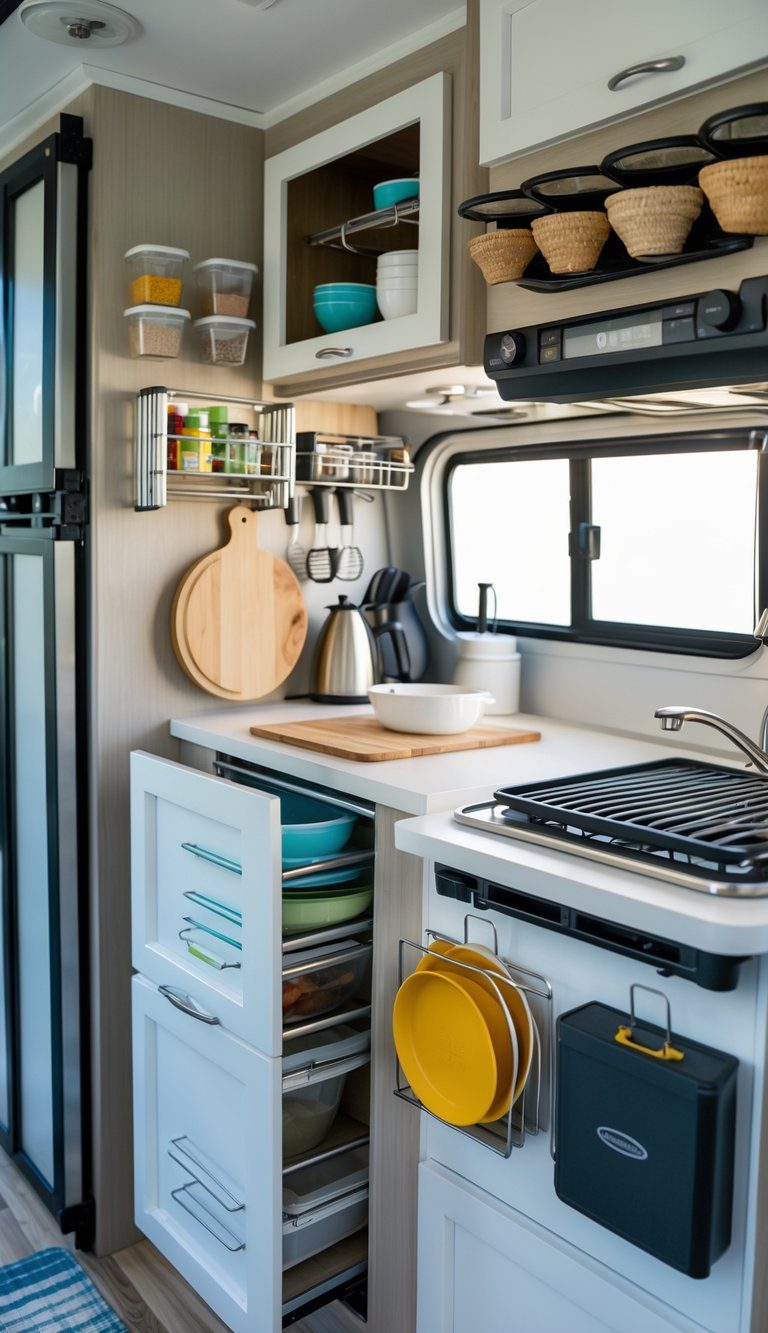
10) Pull-out drawer organizers for narrow cabinets
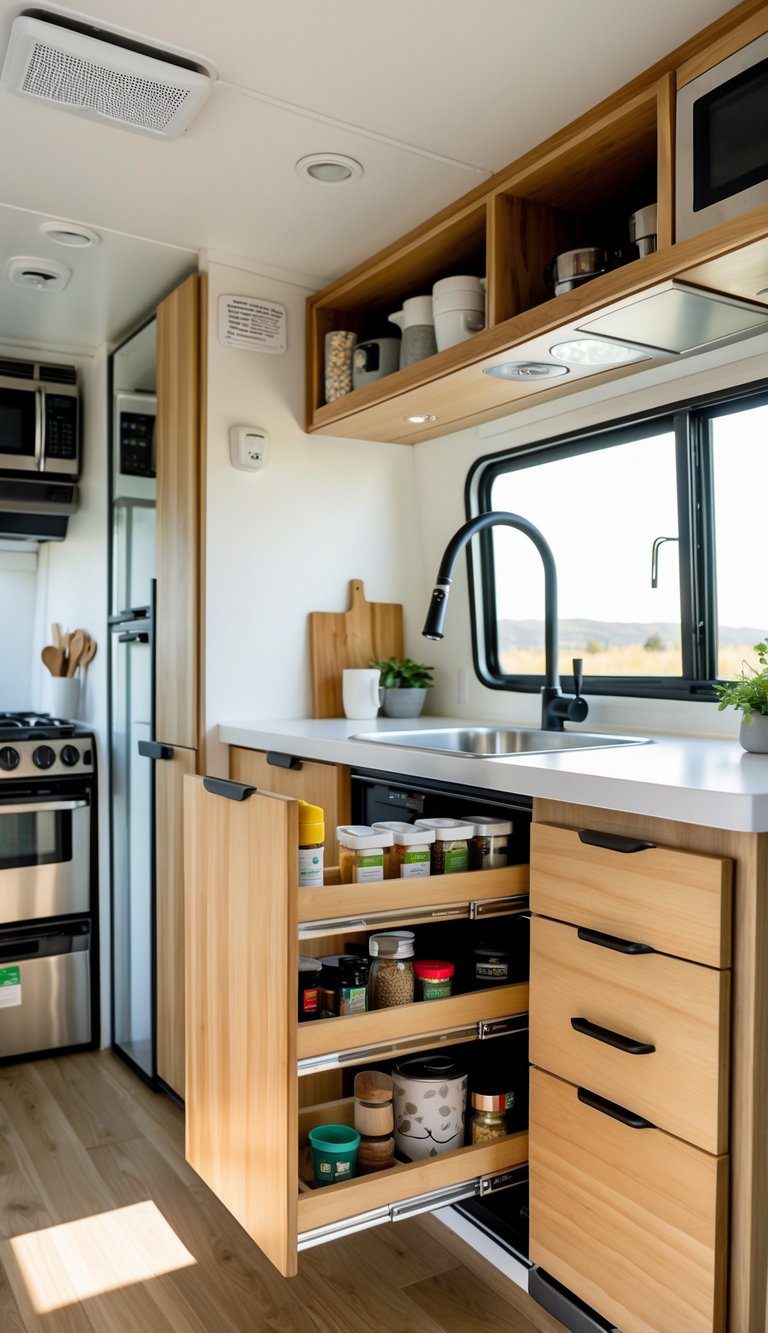
Pull-out drawer organizers make tight cabinet spaces work like bigger ones. You can slide them out to reach spices, oils, and small pans without digging or unloading shelves.
Choose slim, metal or bamboo pull-outs that fit your cabinet width. They keep items visible and prevent stacking that hides things at the back.
Install on the cabinet base or attach to the door for easy access. Many models have soft-close or heavy-duty rails so they glide smoothly under bumpy road conditions.
PRO TIP
Measure your cabinet interior before buying. Even a half-inch difference can stop installation, so test fit or pick adjustable-width units.
11) Vacuum-seal food saver bags
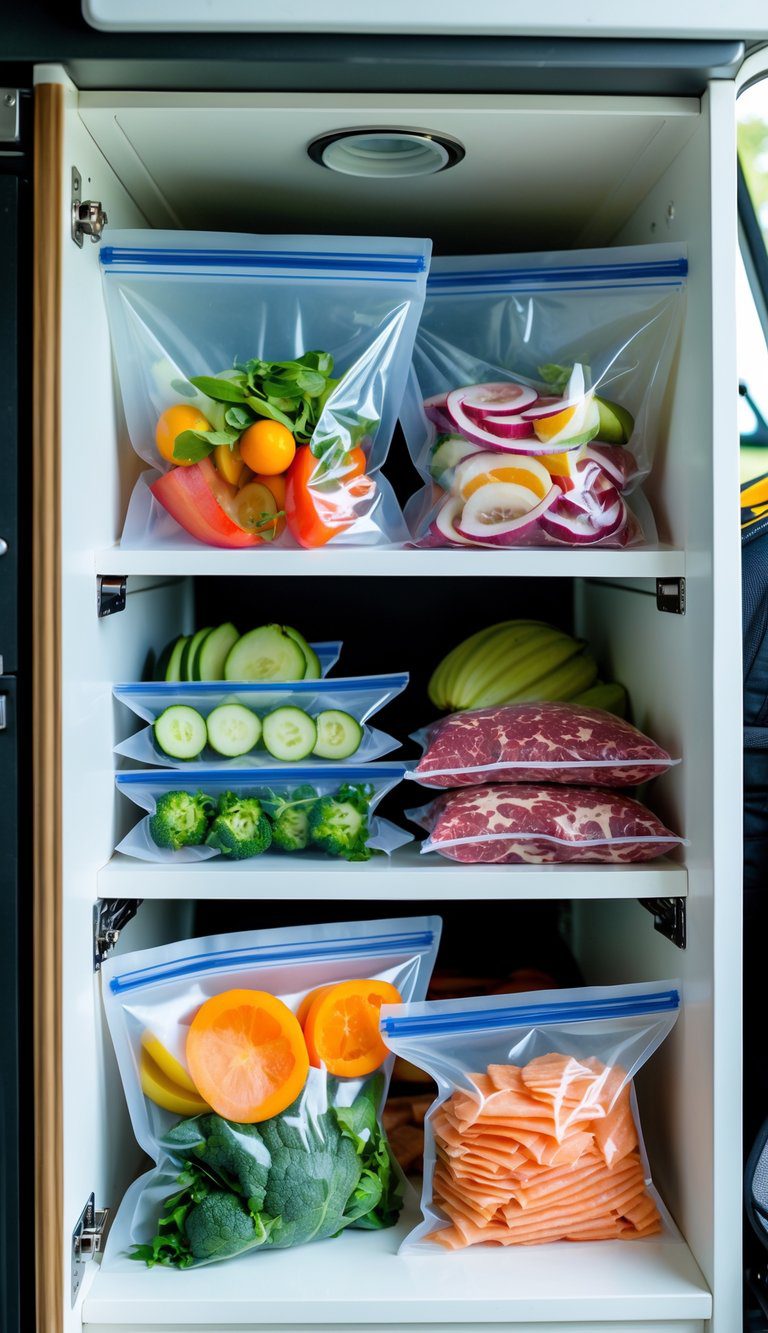
Vacuum-seal bags save space by removing air and compressing food. You can fit more into drawers, shelves, and the fridge without things getting crushed or messy.
These bags also extend shelf life by slowing spoilage and keeping out moisture. Use them for meats, cheeses, dried goods, and pre-cooked meals you plan to reheat.
Label each bag with contents and date so you use older items first. Stack flat bags to maximize space and prevent spills when you open cabinets on the road.
PRO TIP
Freeze thin bags flat before loading the fridge; they thaw faster and keep your cold space neat.
12) Sticky non-slip shelf liner (cut-to-fit)

A sticky non-slip shelf liner keeps items from sliding when your camper moves. You can cut it to fit odd-shaped cabinets and drawers, so every space feels custom.
Choose a liner with a grippy bottom and a smooth top so dishes slide a little but don’t wander. Many liners are removable and won’t leave sticky residue, which helps when you need to change layouts or clean.
These liners add a small bit of cushioning to protect glass and plates. They also make spills easier to wipe up and help smaller containers stay put on narrow shelves.
PRO TIP
Measure inside each cabinet and add a half-inch to your cut for easy placement. Use a craft knife for clean edges and keep an extra roll for future tweaks.
13) Fold-down wall-mounted table for extra prep space
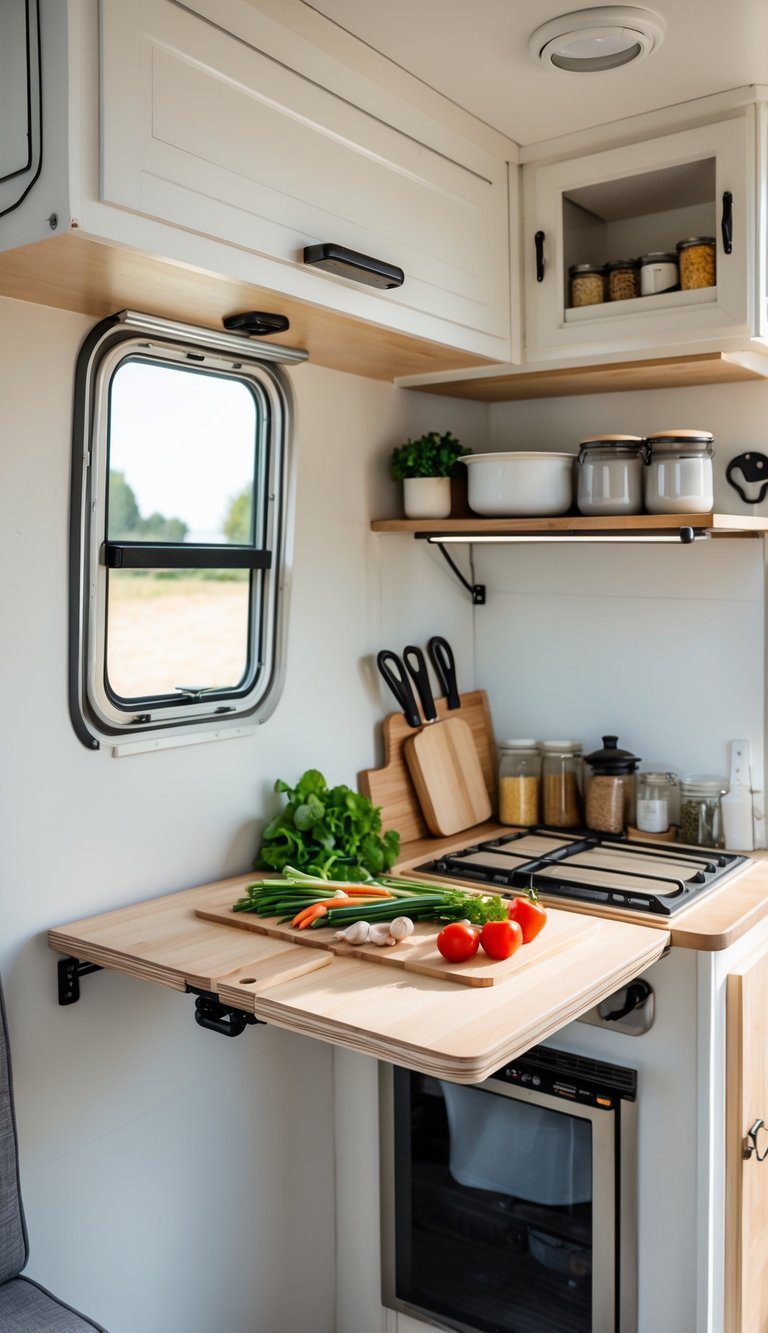
A fold-down wall-mounted table gives you instant counter space when you need it and tucks away when you don’t. You can use it for meal prep, a laptop workstation, or extra serving room during meals.
Choose a table with a simple locking hinge and sturdy brackets so it stays level under weight. Lightweight materials like plywood or aluminum work well in vans and small campers.
Mount it near storage or a power outlet for easy access to tools and chargers. If it blocks a cabinet when folded, consider mounting it on the cabinet end instead.
PRO TIP
Add rubber edge trim to protect dishes and reduce noise when you set things down.
14) Clip-on LED puck lights (rechargeable)
Clip-on rechargeable LED puck lights give you quick, focused light where wiring isn’t possible. You can stick or clip them inside cabinets, under shelves, or in tight corners to see things without fumbling.
Most models offer multiple color temps and dimming, so you can choose bright white for cooking or warm light for a cozy feel. USB charging means you avoid constant battery buys and many units last weeks per charge with normal use.
Choose lights with a magnetic or clip mount so you can reposition them fast. Look for models around 50–150 lumens for clear visibility without blinding glare.
PRO TIP
Mount one near the front edge of a shelf to cast light across the whole space. Recharge them on a routine, like once a month, so they’re ready when you need them.
15) Lazy Susan turntable for corner cabinets
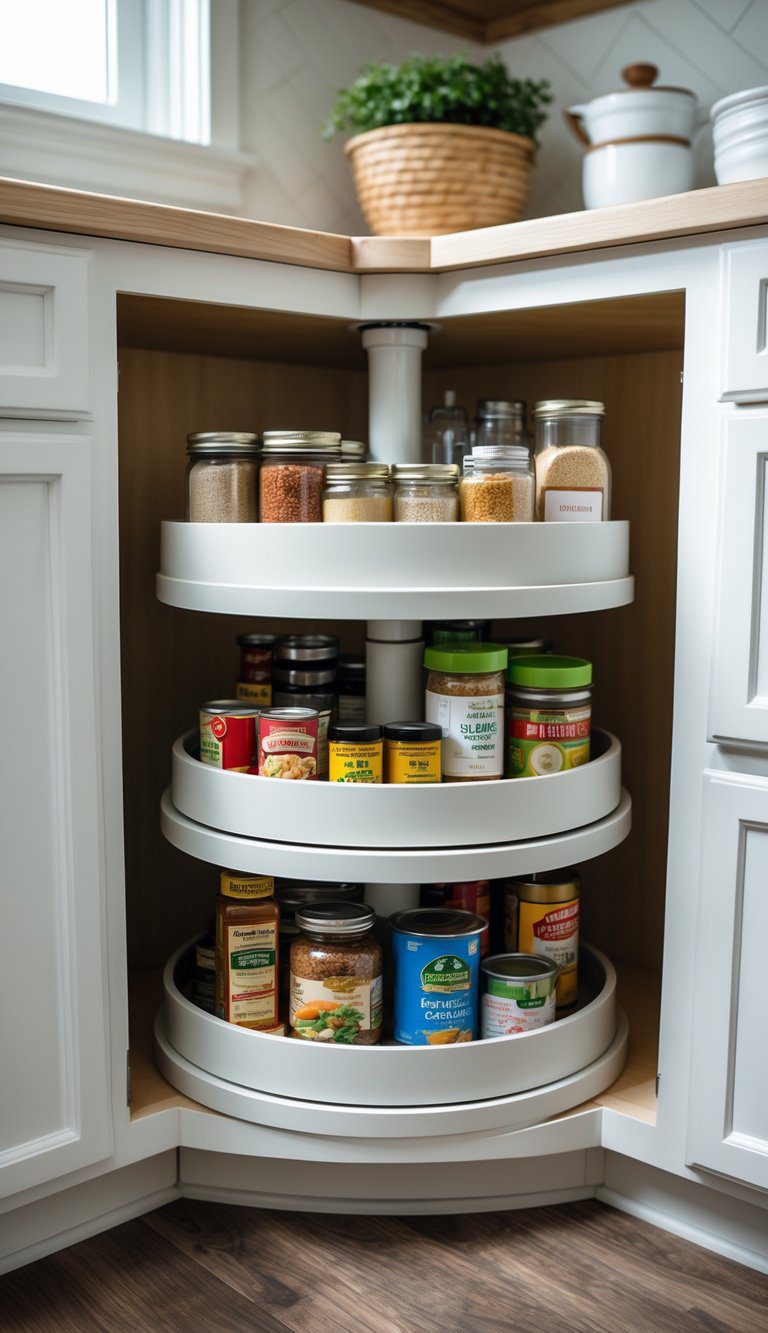
A Lazy Susan makes corner cabinets usable by letting you spin items to the front. You can reach spices, cans, and small pots without awkward digging or emptying the shelf.
Choose a kidney-shaped or pie-cut turntable to fit tight cabinet angles. Lightweight plastic works for spices, while metal or wood holds heavier pans.
Install a two-tier turntable to double storage without stacking items dangerously high. Measure your cabinet depth and door swing so the unit turns freely.
PRO TIP
Label the front edge of each shelf so you spot things fast. Rotate the turntable regularly to keep items visible and avoid expired food.


