Last Updated on March 21, 2026
You can make your garage work for you this fall by clearing clutter, creating smart storage zones, and using simple DIY fixes that save space and time. You’ll find easy ways to store seasonal décor, tools, bikes, and sports gear so everything has a home and is ready when you need it.
This article walks you through practical ideas you can try now, from wall shelves and overhead racks to pegboards, labeled bins, and fold-down benches. Use these tips to create zones for cleaning supplies, pet gear, recycling, and projects so your garage stays tidy all season.
1) Install wall-mounted shelves to free up floor space
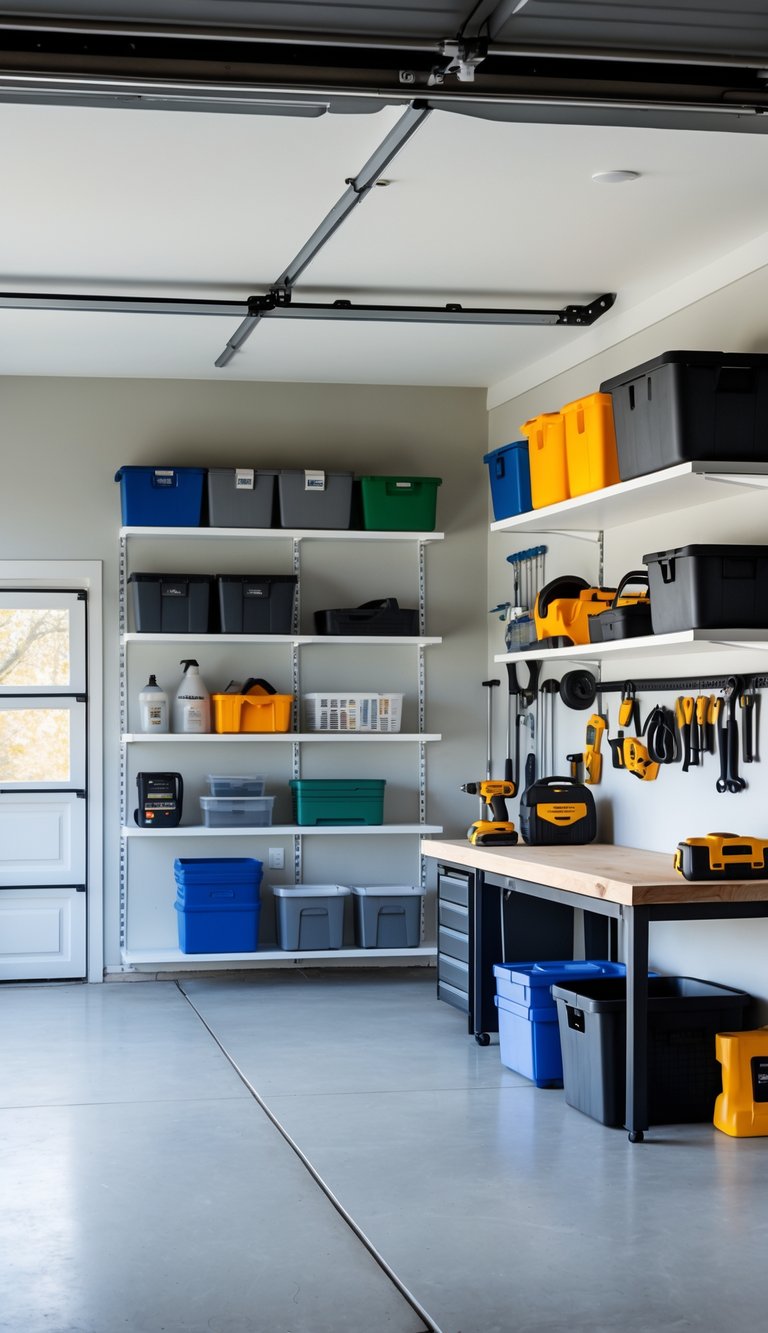
Wall-mounted shelves lift boxes and gear off the floor so you have more room to move. You can store seasonal bins, sports gear, and paint cans where they are easy to reach.
Shelves come in many sizes and styles, from simple lumber boards to metal units with brackets. Pick shelves rated for the weight you plan to store and mount them into wall studs for safety.
Place shelves at different heights to fit tall and short items. Use clear bins or labels so you can find things quickly without pulling everything down.
PRO TIP
Measure the wall space and plan a layout before buying materials. This saves time and helps you avoid awkward gaps or overcrowded spots.
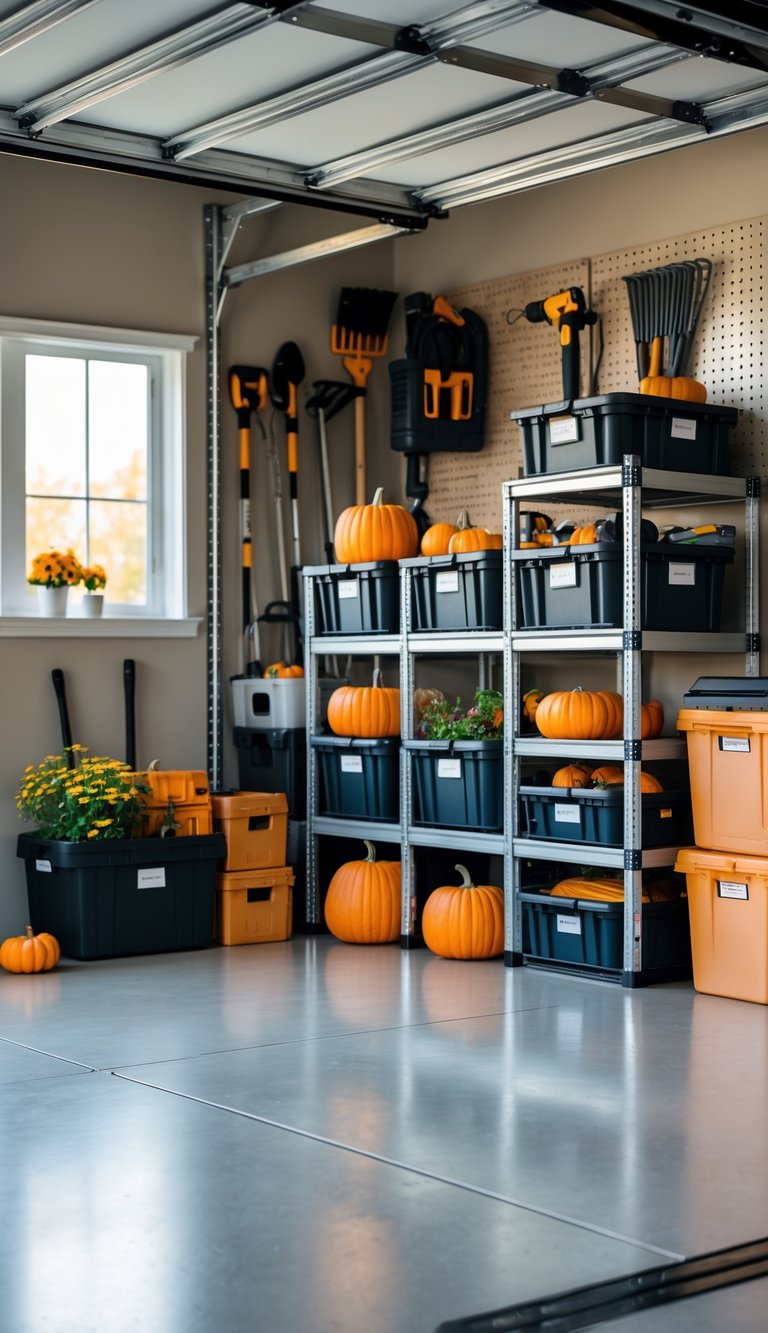
2) Use clear plastic bins with labels for seasonal décor
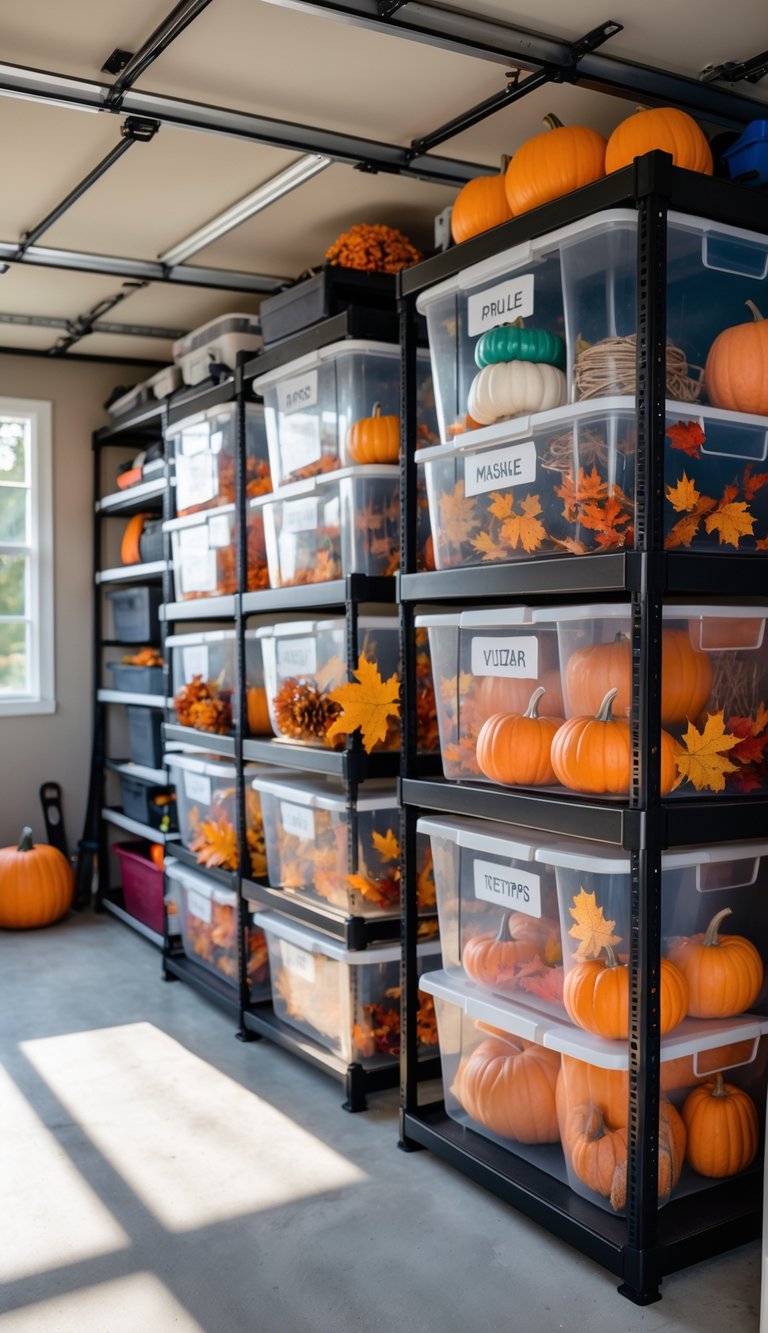
Clear plastic bins let you see what’s inside without opening every box. You can spot ornaments, wreaths, or lights quickly and avoid digging through piles.
Choose sturdy lidded bins to protect items from dust and moisture. Stack them on shelves or in overhead racks to save floor space and keep walkways clear.
Label each bin with the season and a short list of contents. Use a large, weatherproof label so you can read it from a distance.
PRO TIP
Keep a master list on your phone or a printed sheet near the storage area. That way you can search mentally before you climb a ladder or pull down a bin.
3) Add a pegboard for hanging tools and gardening equipment
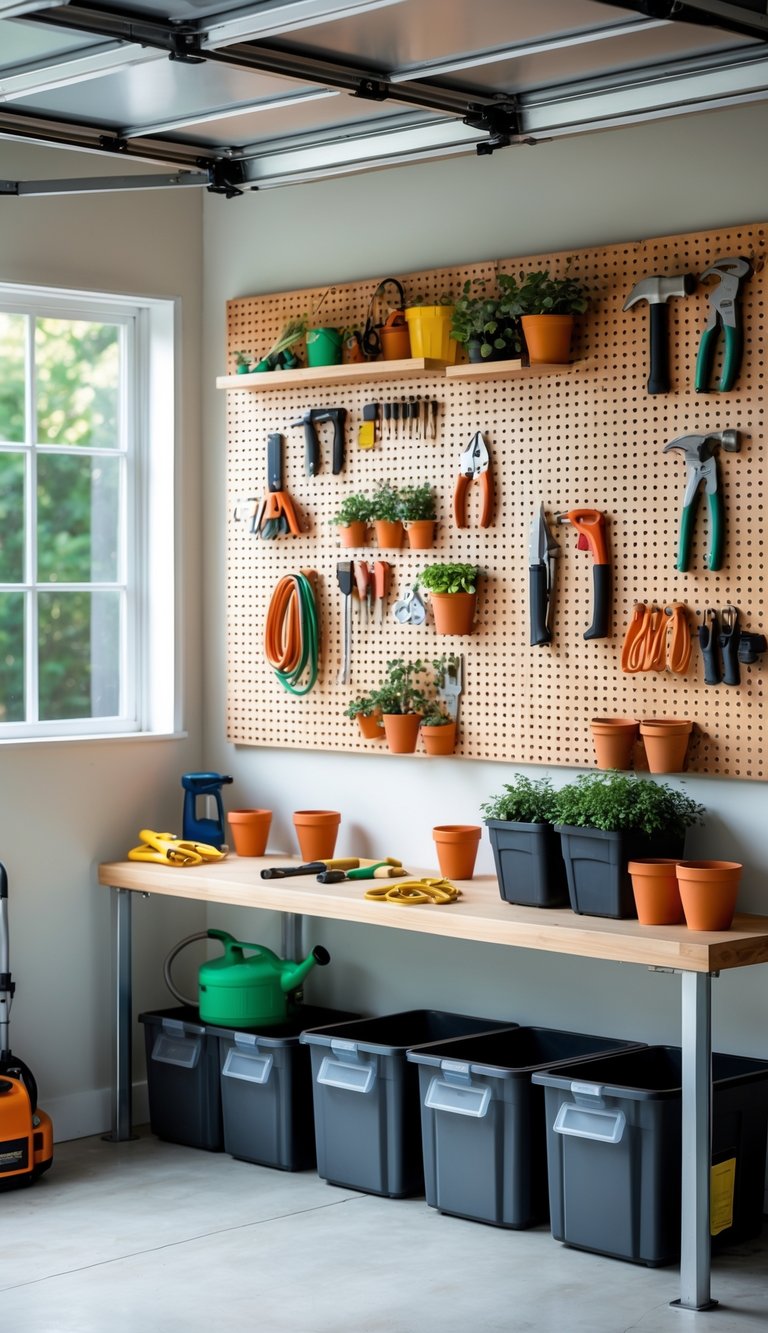
A pegboard gives you quick access to the tools you use most. Hang rakes, trowels, hand tools, and small power tools so they stay visible and off the floor.
You can sort items by task or size to make seasonal jobs faster. Group gardening gear together and keep toolsets in one spot to avoid searching when you need them.
Choose durable pegboard material and use sturdy hooks and shelves that hold weight. Leave a little space between items so you can grab what you need without knocking other tools down.
PRO TIP
Paint the pegboard a bright color or add labels to each zone. This makes it easier to find things and brings a bit of cheer to your garage workspace.
4) Create a dedicated sports gear station with cubbies
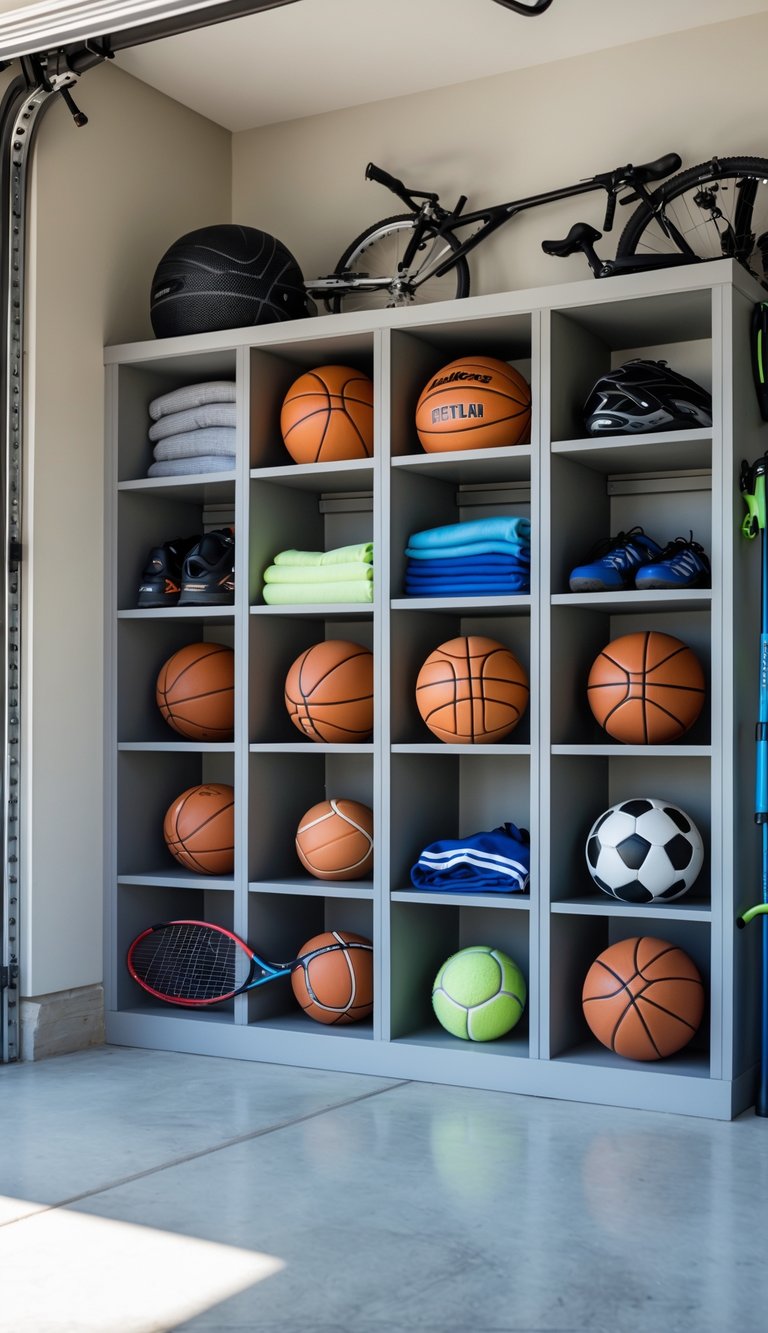
Give your family a clear place for balls, helmets, cleats, and bags. Cubbies keep items visible and off the floor so you spend less time searching and more time heading out the door.
Build or buy cubbies in different sizes to fit everything from soccer balls to water bottles. Label each slot or paint them different colors so kids know where to put things back.
Place the station near the garage door or entry so gear can air out and dry after practice. Add hooks for bags and a small bench to make changing shoes easier.
PRO TIP
Use open cubbies for quick access and add baskets for small items like tape or mouthguards. Choose weather-resistant materials if your garage gets damp.
5) Use magnetic strips to organize small metal tools
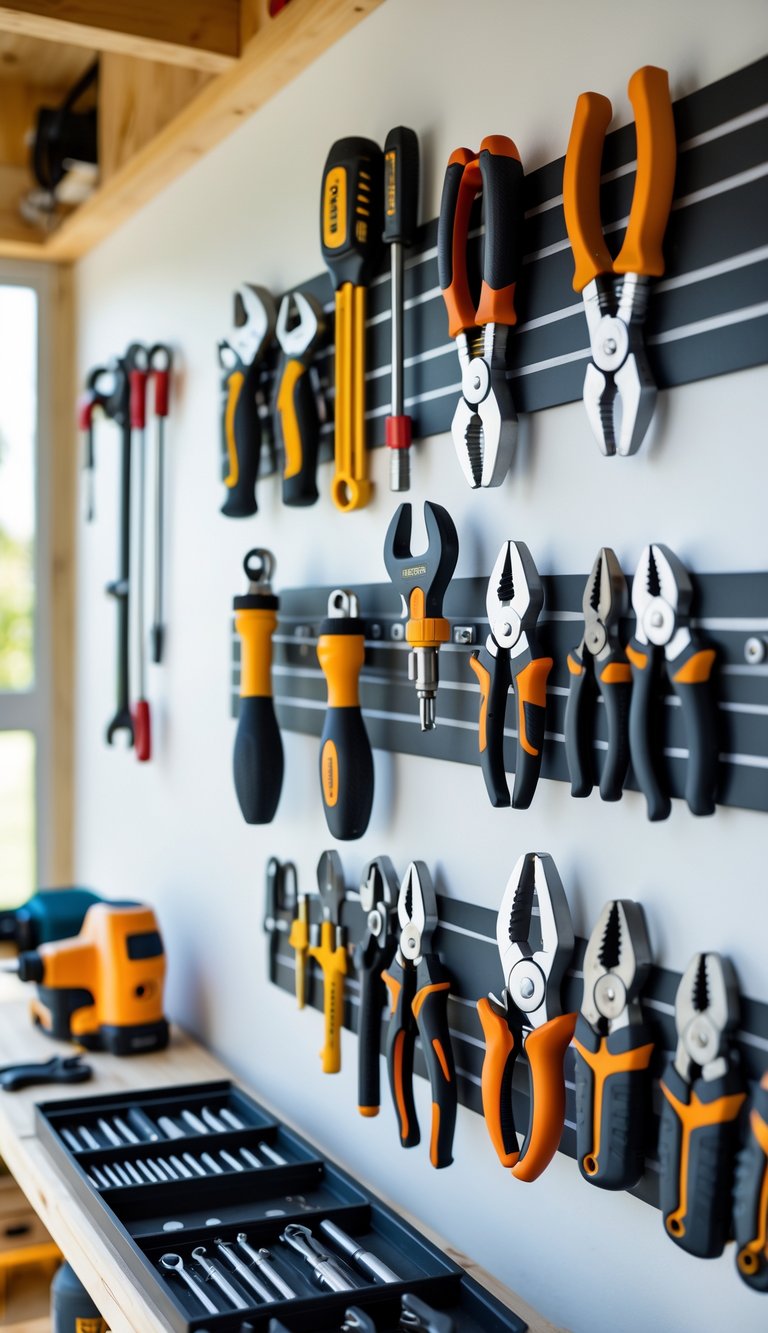
Magnetic strips keep your small metal tools visible and easy to grab. Mount a few on the wall above your workbench to hold screwdrivers, pliers, wrenches, and scissors. This frees drawer space and speeds up tasks.
You can group tools by type or task so you always know where to reach. Strong magnetic strips hold heavier items; slim ones are fine for light tools and bits. Stick strips with screws or heavy adhesive, depending on wall material.
PRO TIP
Place a strip low on a pegboard or near a drawer so odd-size items don’t slide off. Label spots with masking tape to keep tools returned to the right place.
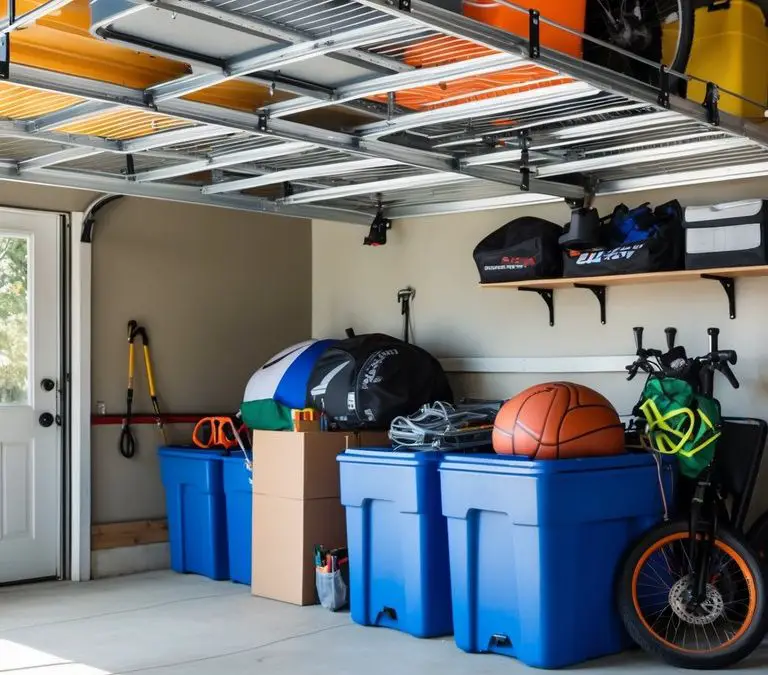
6) Install ceiling-mounted bike racks to save space
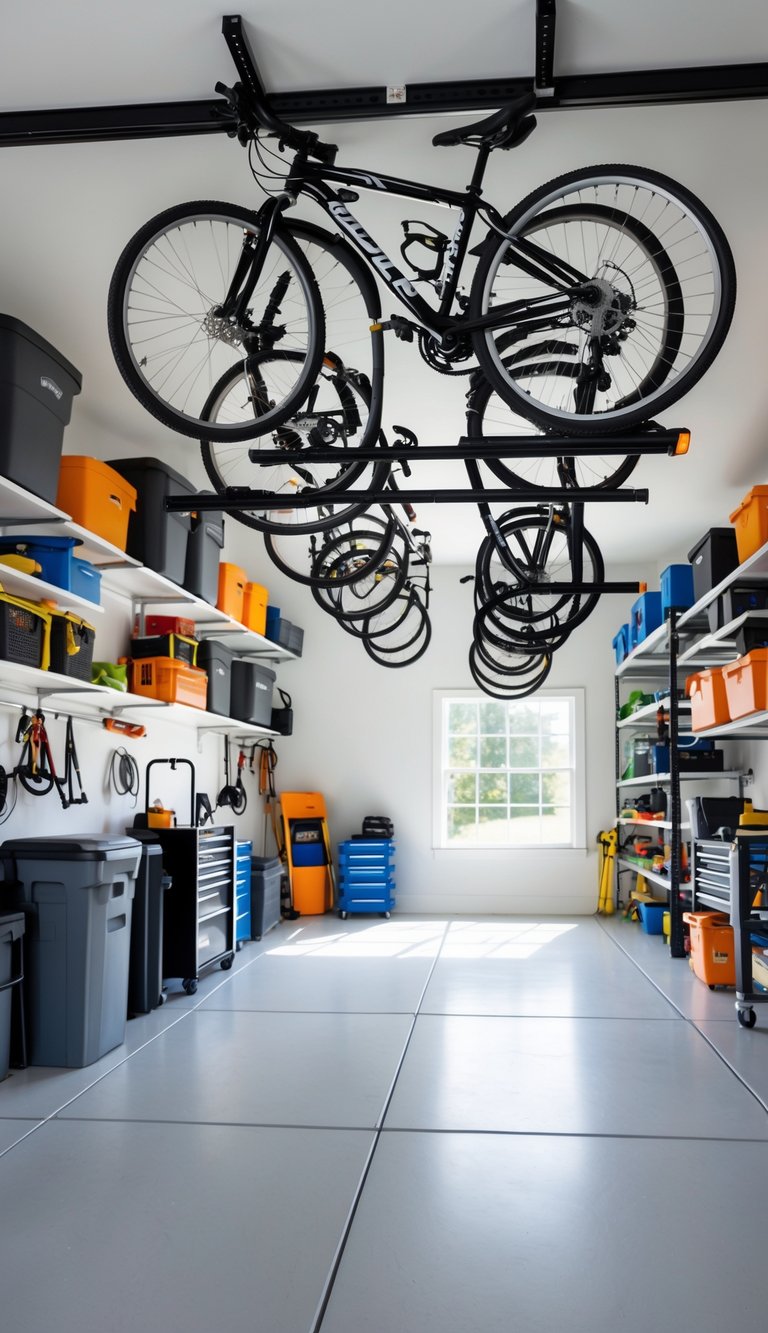
Ceiling-mounted bike racks lift bikes out of the way so your floor stays clear. You get more room for lawn gear, holiday bins, or a clear path to the car.
These racks work well in garages with high ceilings. Pulley-style hoists let you raise bikes with little effort, while fixed hooks keep bikes steady and simple.
Measure the space and check ceiling joists before you buy. Use proper anchors or mount into wood to keep your bike secure and avoid damage.
PRO TIP
Label each lift or hook for a specific bike. That way you won’t tangle cables or drop parts when you raise or lower a bike.
7) Use stackable crates for easy access and mobility
Stackable crates make it simple to sort seasonal items like rakes, leaf bags, and extra gloves. You can see contents quickly and pull a single crate down without disturbing the rest.
Choose sturdy plastic or reinforced wood crates that lock together or nest safely. Wheeled dollies help when you need to move heavier stacks across the garage or into the yard.
Label each crate on the short side so you can read labels when crates are stacked. Clear bins show contents, but labeled opaque crates stay neater and hide dust.
PRO TIP
Keep frequently used items in the middle rows for easiest reach. Reserve top and bottom stacks for rarely used gear to save time and effort.
8) Add a fold-down workbench for DIY projects
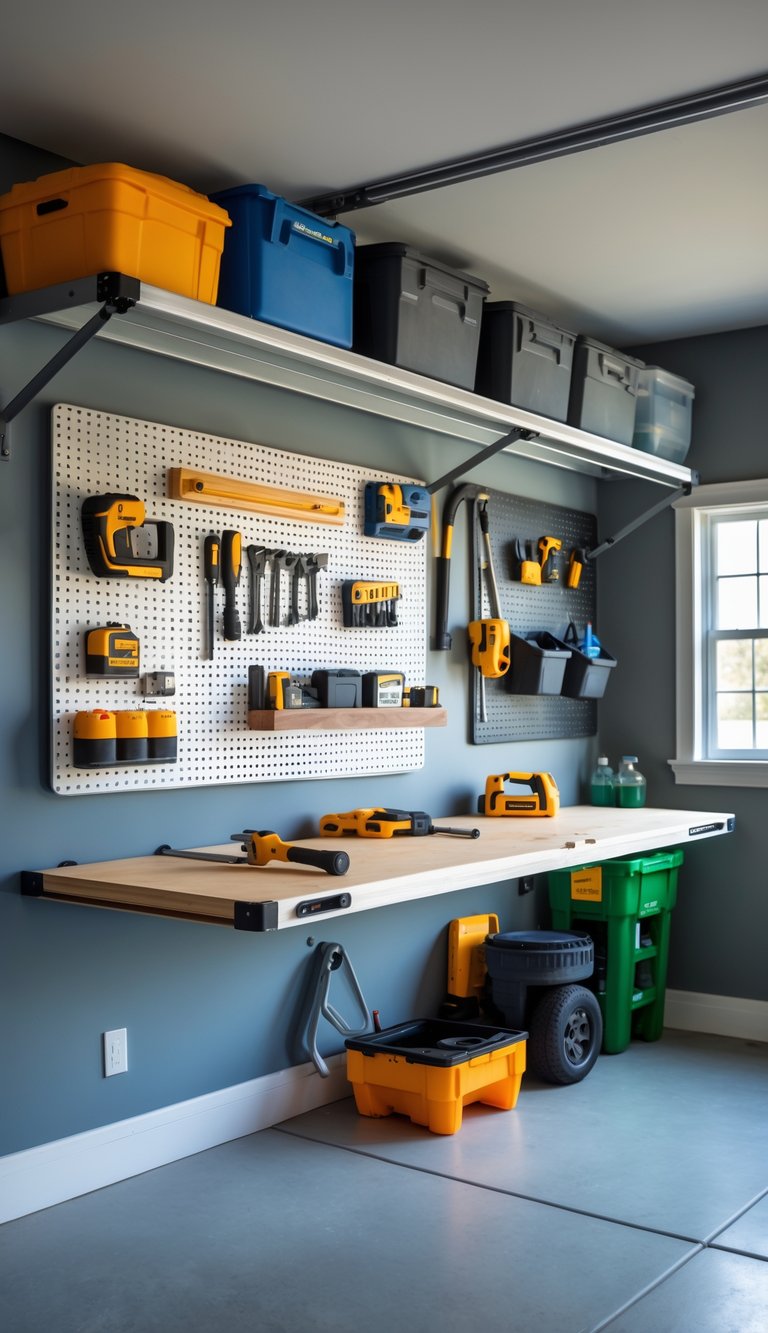
A fold-down workbench gives you a sturdy work surface that tucks away when not in use. You save floor space while keeping a reliable spot for small repairs and seasonal projects.
Mount the bench to a stud wall and use simple hinges and supports so it locks flat or open. Many plans use plywood and 2x4s, which are affordable and easy to cut to size.
Keep a pegboard or magnetic strip above the bench for tools you reach for most. That keeps your workspace tidy and speeds up tasks when you’re prepping rakes, mowers, or outdoor gear.
PRO TIP
Paint the underside or add a thin cleat so the folded bench looks neat against the wall.
9) Hang a slatwall system for versatile storage options
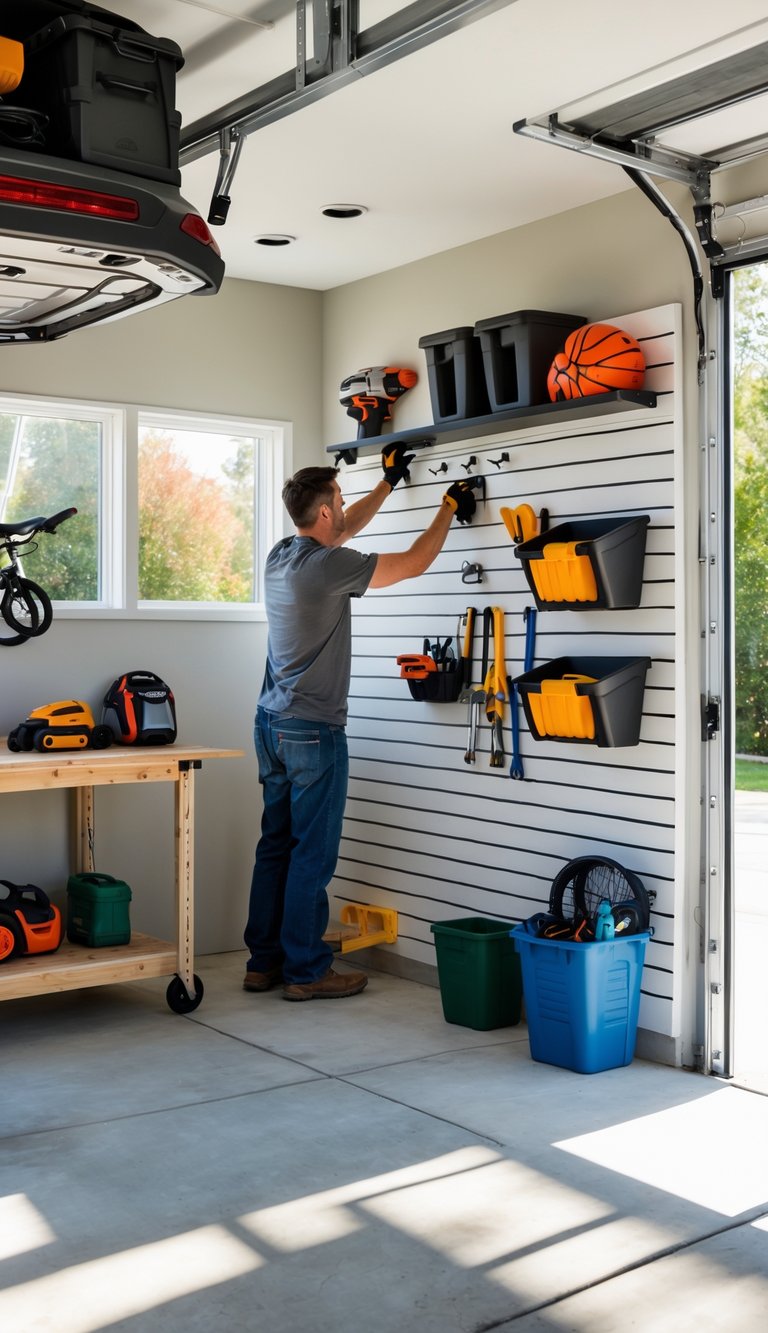
A slatwall gives you a flexible way to store tools, sports gear, and seasonal items. You can move hooks, shelves, and baskets around to fit whatever you need that week.
Install panels on any clear wall to free up floor space and make things easy to reach. Slatwall works for bikes, garden tools, and bins of holiday decor.
Choose heavy-duty panels and rated hooks for heavier items like ladders or power tools. This keeps things safe and makes your system last longer.
PRO TIP
Plan your layout before hanging items. Group like items together and leave space for new things you might add later.
10) Use boot trays to keep dirty shoes contained
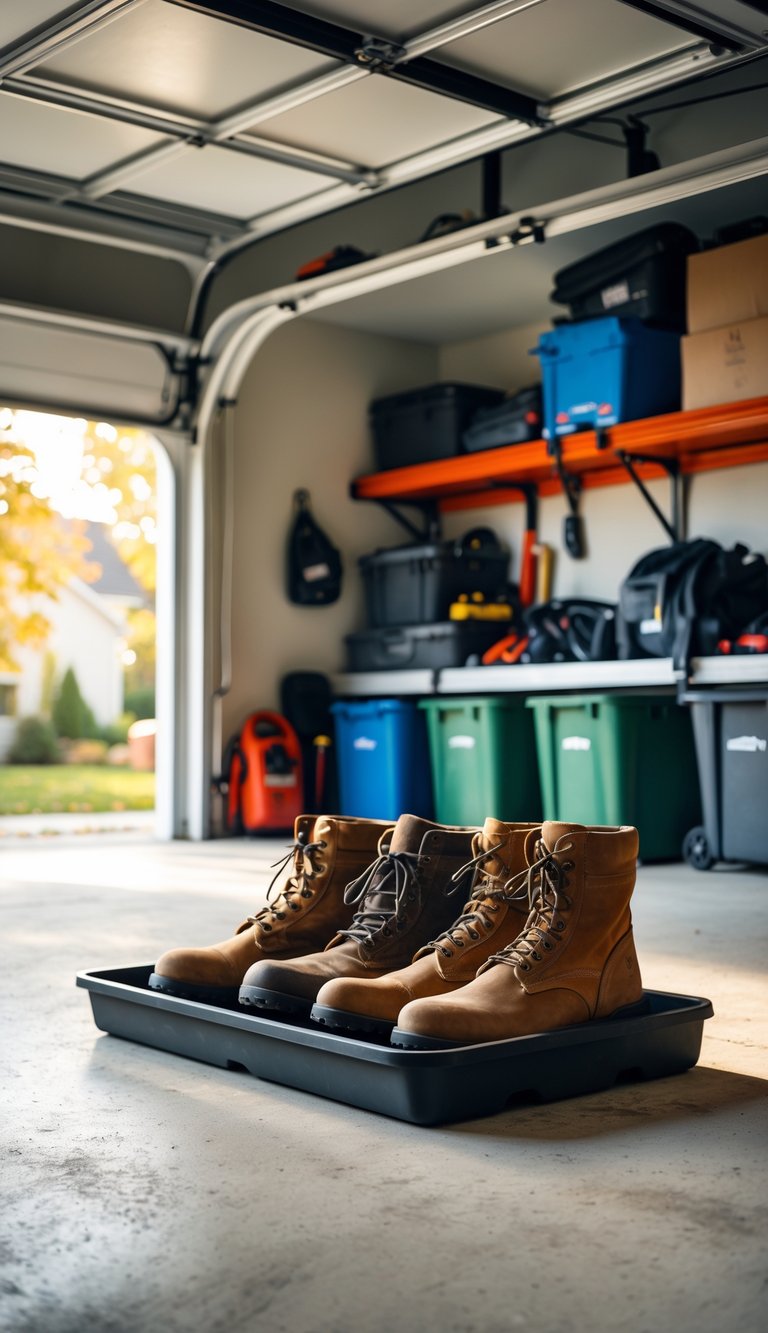
Boot trays catch mud, salt, and wet leaves before they get tracked into your garage or house. Place a tray by the door you use most, and it makes daily clean-up faster.
Choose trays with raised edges and textured bottoms so water and debris stay put. Look for sizes that fit tall boots and several pairs at once.
Plastic trays are easy to rinse, while rubber ones resist cracking in cold weather. You can also slide trays under a bench or shelving unit to save floor space.
PRO TIP
Line trays with inexpensive disposable pads during heavy storms. Swap pads when they’re saturated to keep the tray ready and reduce mess.
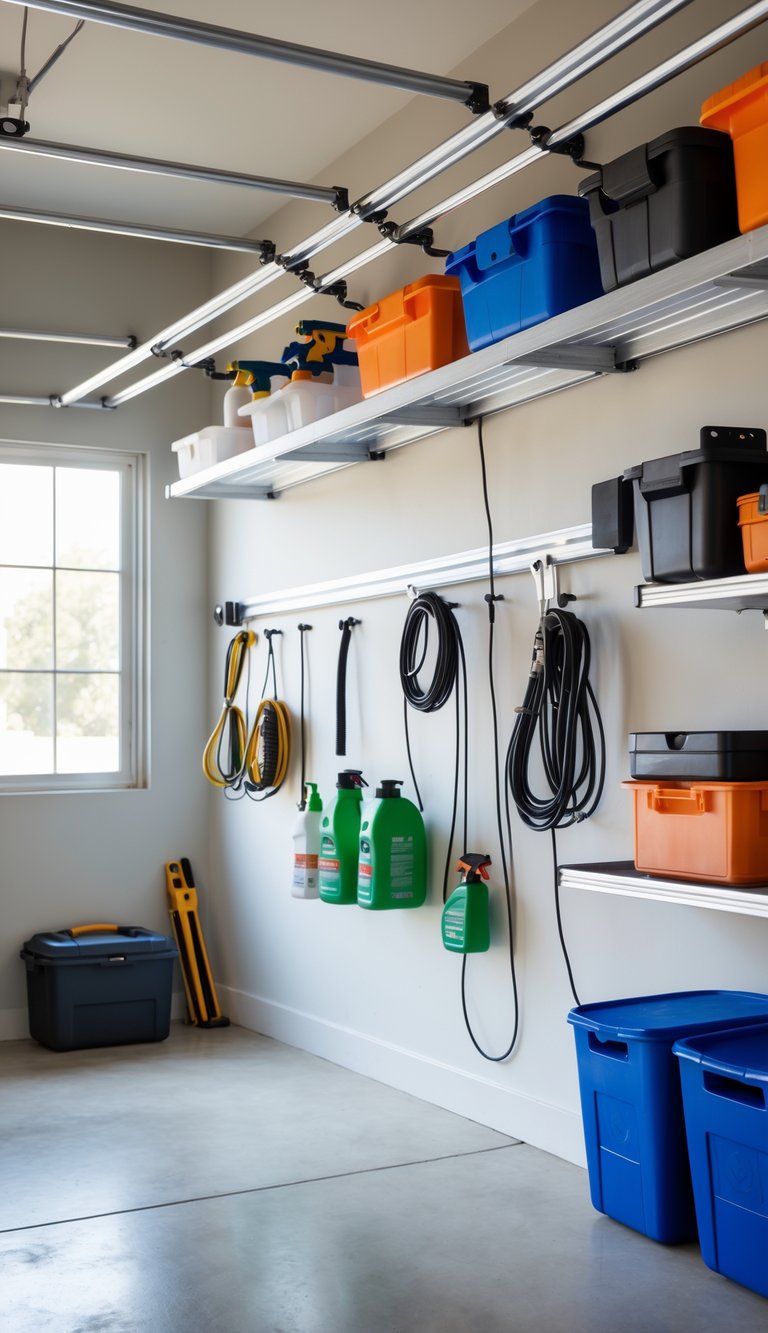
11) Create a cleaning supplies zone with hooks and baskets
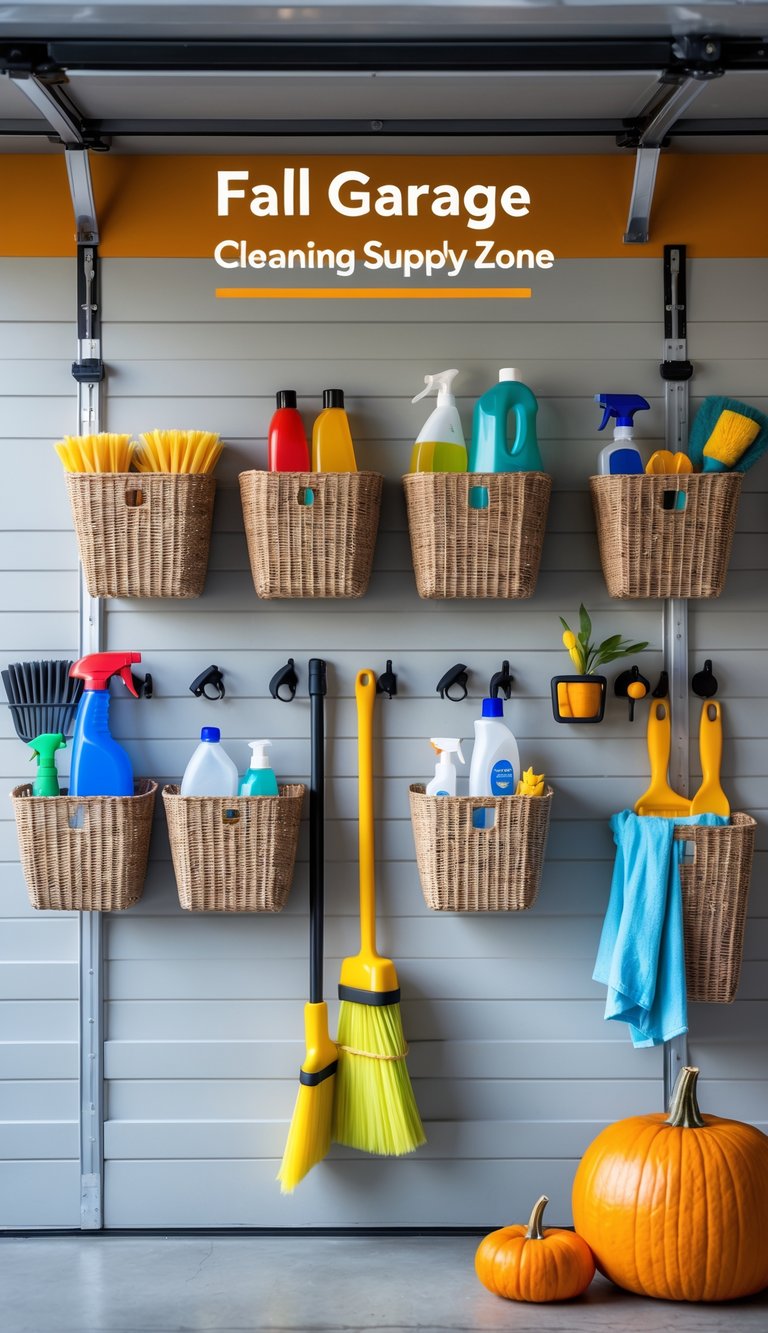
Give your cleaning gear a single, easy-to-find spot. Mount hooks for brooms, mops, and dusters so they stay off the floor and dry faster.
Add wire baskets or plastic bins on a pegboard or slatted wall to hold sprays, cloths, and gloves. Label each container so you know where everything goes.
Place heavier items lower and keep daily-use supplies at eye level. This makes grabbing what you need quick and keeps small children from reaching harmful chemicals.
Use clear bins when possible so you can see supplies at a glance. A tidy zone cuts clutter and saves time during fall cleanups.
PRO TIP
Hang a small caddy by the door for quick trips outside.
12) Install overhead ceiling storage racks for bulky items
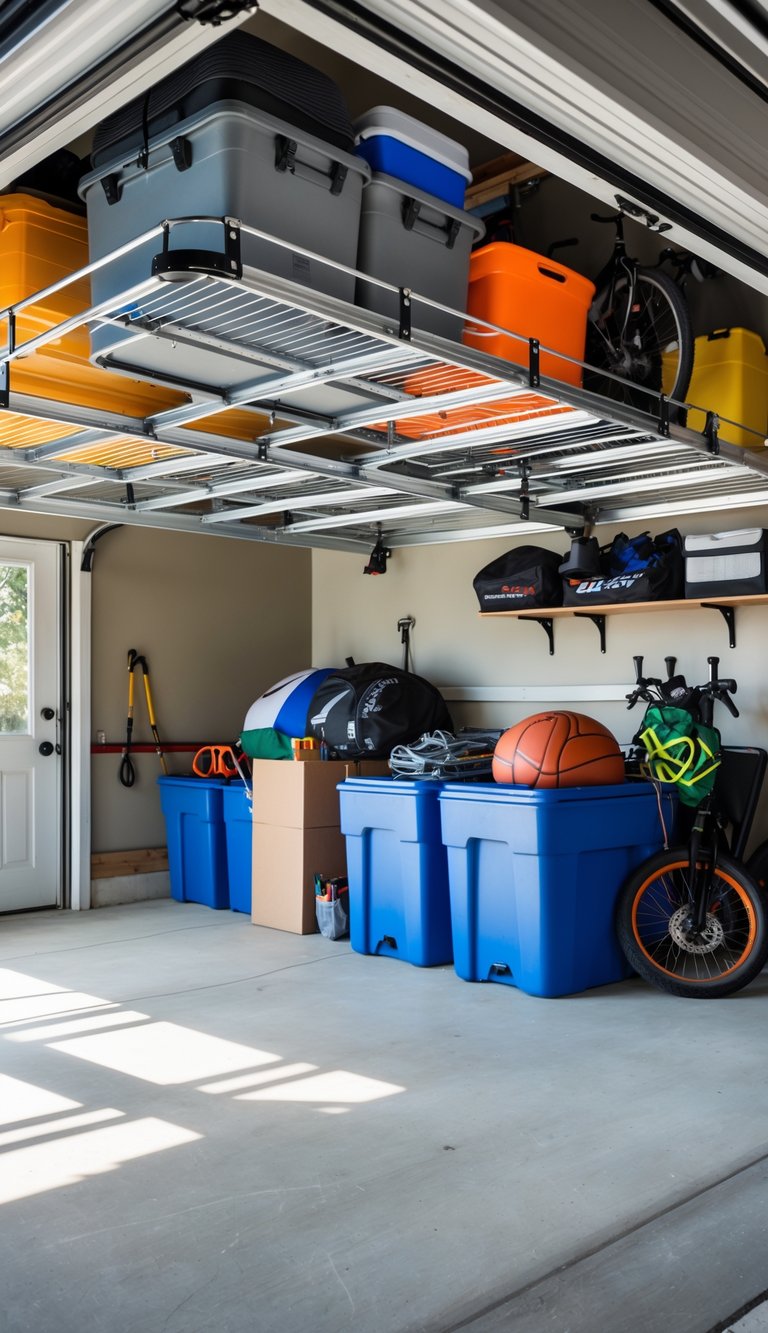
You can free up floor space by mounting ceiling storage racks for bins, camping gear, and seasonal decorations. These racks hold bulky items you rarely use and keep them out of the way.
Start by locating ceiling joists with a stud finder and measure spacing so you bolt into solid framing. Choose racks sized for your garage and follow the manufacturer’s weight limits to avoid overloading.
Ask a friend to help with installation for safer lifting and better alignment. Keep a clear area below while you work and use proper hardware for your ceiling type.
PRO TIP
Label bins and place frequently used items near the edge for easy reach.
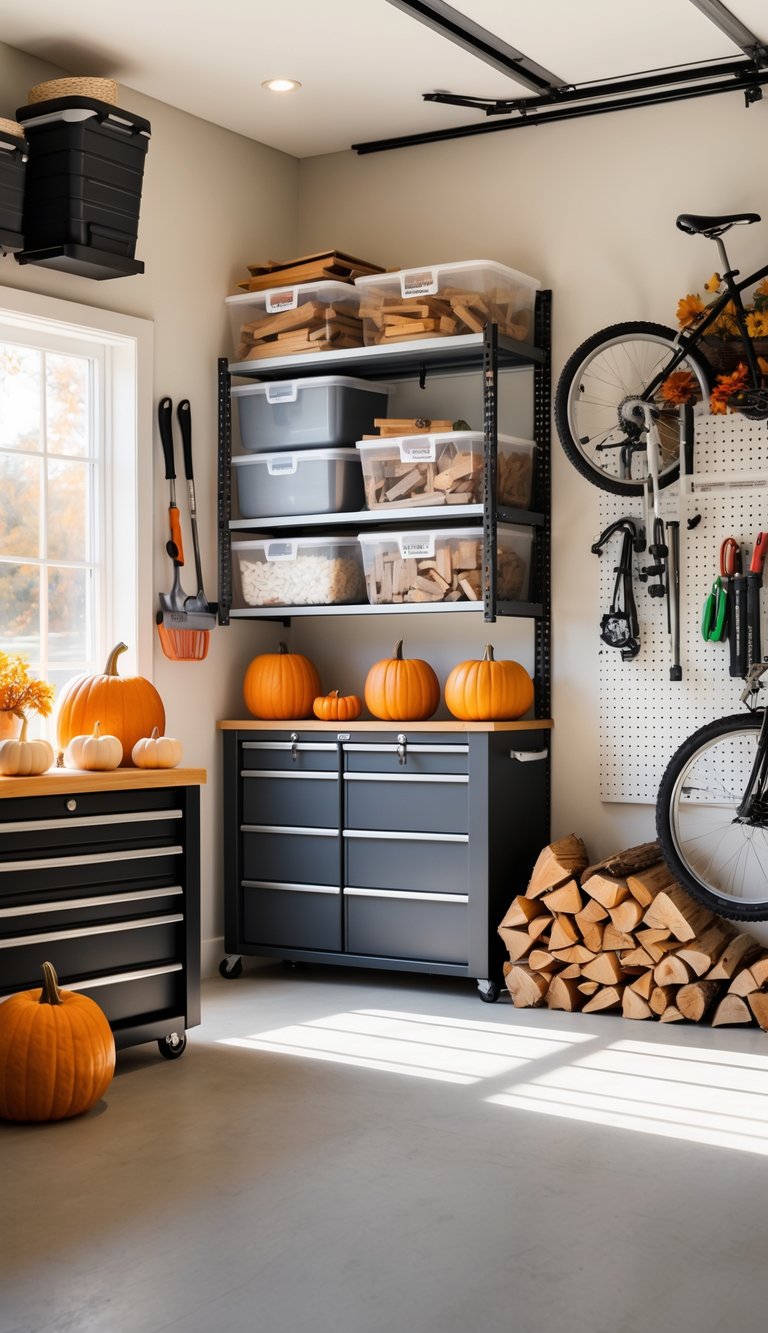
13) Use a rolling tool chest for mobile tool storage
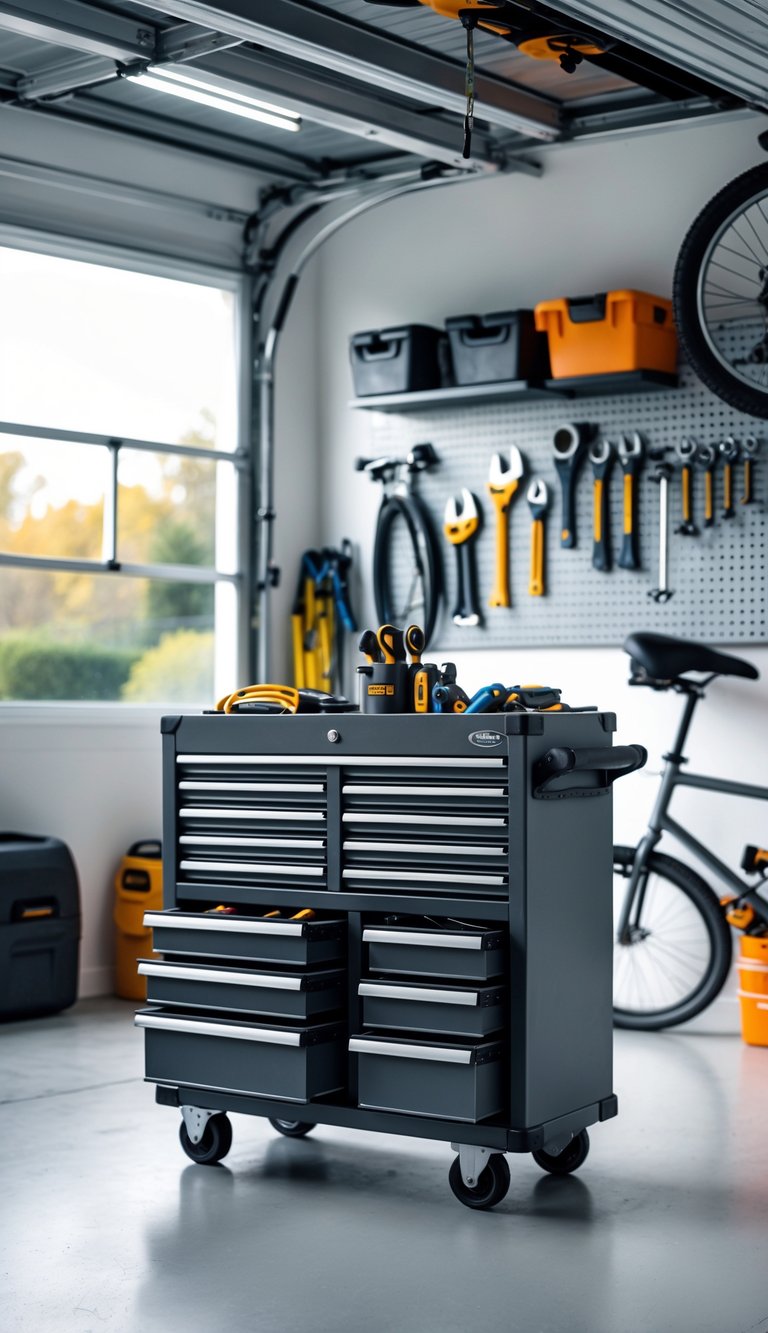
A rolling tool chest keeps your main tools organized and easy to move where you work. You can wheel it to the car, the lawn mower, or across the garage without carrying heavy boxes.
Look for one with sturdy wheels and a locking system so drawers stay closed while you roll. Shallow drawers work well for hand tools, and deeper drawers hold power tools or bulkier items.
A solid top can double as a small work surface for projects. Group tools by task so you grab the right drawer fast.
PRO TIP
Label drawers and use foam inserts or small bins to stop tools from shifting during moves.
14) Incorporate a chalkboard wall for notes and reminders
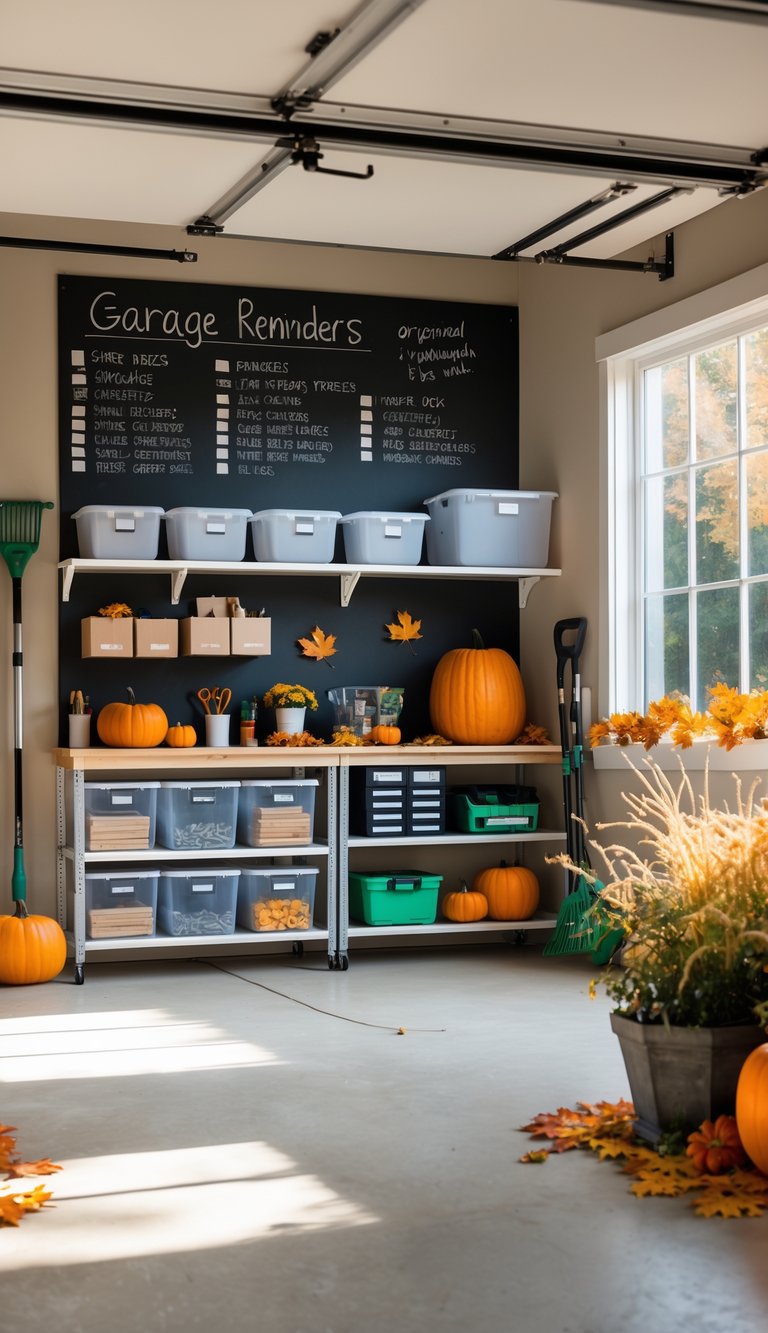
A chalkboard wall gives you a quick place to jot down lists, dates, and project steps. You can write seasonal tasks, parts to buy, or reminders for garage cleanups.
Place the chalkboard near your workbench or entry so you see it often. Add a small shelf or cup for chalk and erasers to keep it tidy.
You can use magnetic chalkboard paint to pin receipts or small parts. That makes the wall both a message center and a convenient spot for loose items.
PRO TIP
Prime the wall and use two thin coats of chalkboard paint for a smooth surface. Cure the board by rubbing chalk over it and wiping before first use for best results.
15) Use tension rods to hang spray bottles or cords
A tension rod across the width of a garage cabinet or under a workbench gives you quick vertical storage. You can hang spray bottles by their triggers so the labels face out and you can grab what you need fast.
Use rods inside tall cabinets to hang extension cords, hoses, or lightweight tools. Loop cords over the rod to keep them untangled and off the floor.
Place a rod near the top or mid-height so bins and baskets still fit underneath. This keeps small items visible and frees up floor and shelf space.
PRO TIP
Choose rust-resistant rods and add small S-hooks for more hanging options. Adjust the rod height to match bottle sizes and cord lengths for the best fit.
16) Add hooks near the door for pet leashes and bags
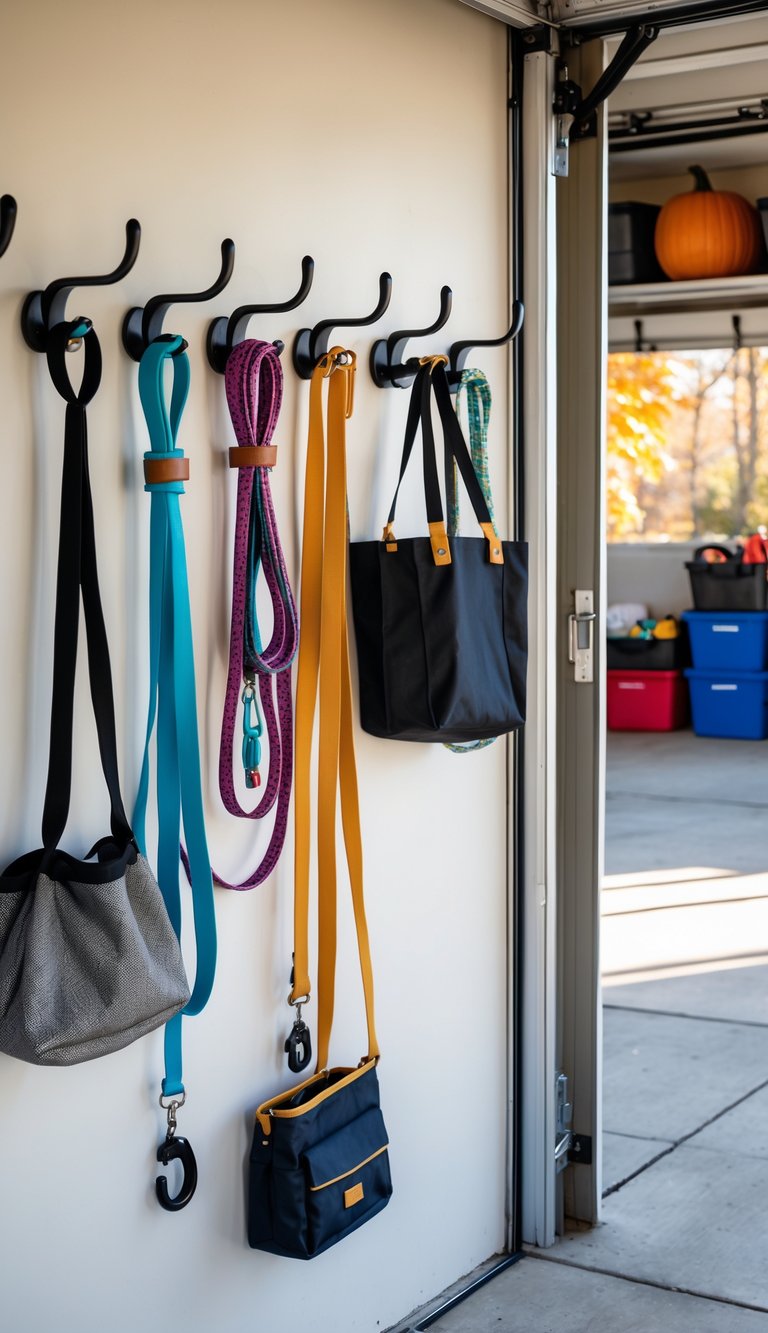
Put a row of sturdy hooks by the door so your leashes, harnesses, and waste bags are easy to grab. This cuts down on last-minute searches and keeps the entryway clear.
Choose hooks that match your garage or mudroom style. Metal hooks hold up well to heavy leashes, while decorative hooks add a bit of charm.
Keep items separated: one hook for each leash, one for a treat pouch, and a small basket for spare bags. You’ll notice fewer tangles and faster walks.
PRO TIP
Mount the hooks at a height that’s easy for all family members to reach. Add a small label or color code to each hook to avoid mix-ups.
17) Designate a spot for recycling and trash bins
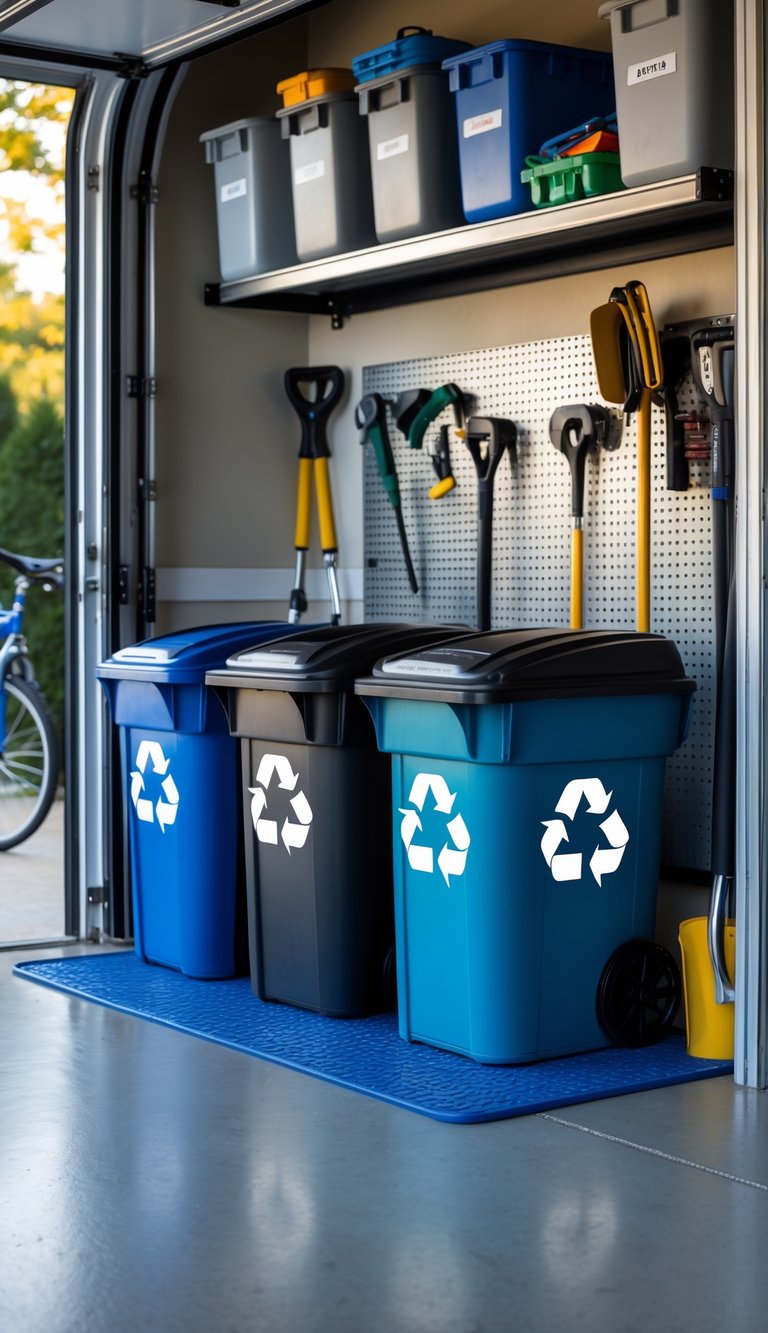
Pick a single, easy-to-reach spot in your garage for all bins. Keeping them together makes sorting faster and keeps mess off the floor.
Use wall mounts, a low shelf, or a narrow cabinet to lift bins off the ground. This frees floor space and makes cleaning simpler.
Label each bin clearly so everyone in your household knows where items go. Color-coded lids or simple icons help kids and guests follow the system.
Keep a small caddy nearby with bags, gloves, and a dustpan. That way you can tidy spills and move full bins to curbside without hunting for supplies.
PRO TIP
Place the bin area near the garage door you use most. It reduces trips in and out when you take recyclables or trash to the curb.
18) Utilize old wooden pallets for DIY shelving
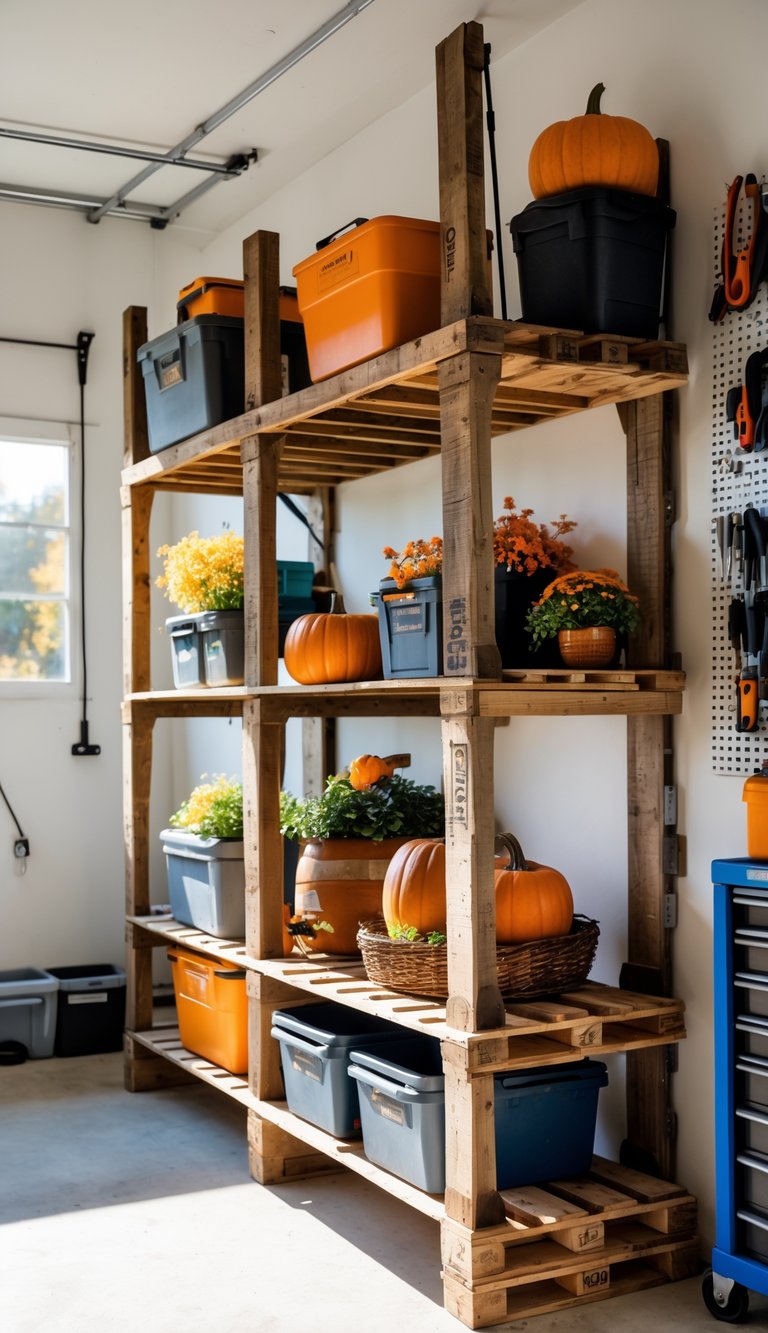
You can turn old wooden pallets into sturdy, low-cost shelves for your garage. They work great for storing paint cans, gardening gear, and seasonal items you only need once in a while.
Strip loose boards, sand rough spots, and check for nails before you start. A quick seal or paint will protect the wood and keep dust and moisture from damaging stored items.
Stack pallets horizontally for simple shelf levels, or mount a pallet to the wall for a rustic vertical shelf. Add plywood or planks across gaps for a flat surface if you need to store small items.
PRO TIP
Look for pallets stamped with HT (heat treated) to avoid chemically treated wood. Use brackets or screws rated for your wall type to keep heavy loads secure.


