
Last Updated on June 8, 2026
Good lighting can change how your RV feels and works. The right lights make your space brighter, use less power, and create a better mood for living or traveling. Many RVs come with old or basic lighting that drains your battery and doesn’t give you enough light where you need it.
Upgrading your RV’s interior lighting can improve visibility, save energy, and add style to your mobile home. You have lots of options to pick from, whether you want simple bulb swaps or smart lighting you can control from your phone. Some upgrades are quick and easy, while others need a bit more work but give you better results.
This guide covers different ways to upgrade your RV lights. You’ll learn about LED options that use less battery power, smart lighting systems, and simple fixes that make a big difference in how your RV looks and feels.
PRO TIP
Test your new lights before you install them permanently. Plug in or stick up your new lights temporarily to see how bright they are and if you like the color. This helps you avoid wasting money on lights that don’t work for your space.
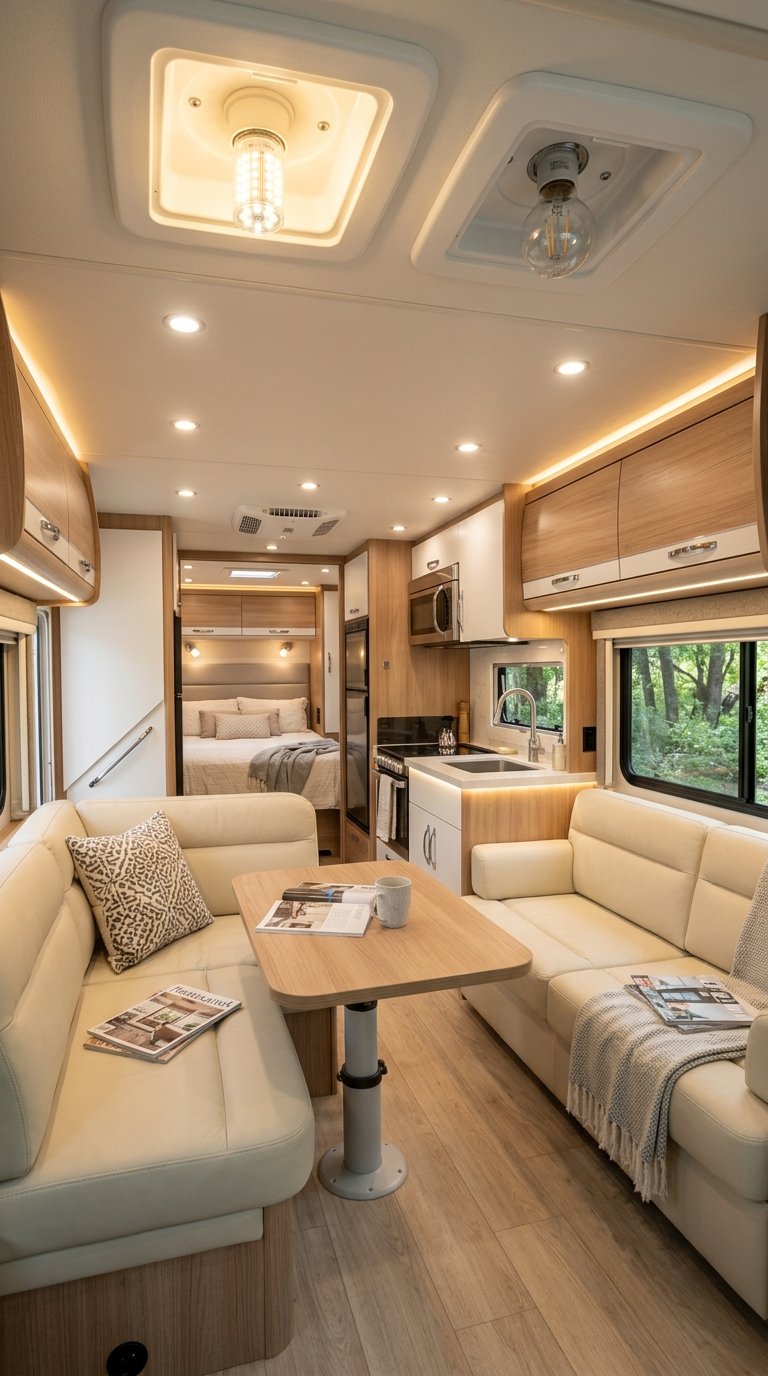
1) Install 12V LED Dome Lights
Dome lights are one of the easiest ways to brighten up your RV interior. These round fixtures mount on your ceiling and provide excellent general lighting for any room.
LED dome lights use much less power than old incandescent bulbs. They run on your RV’s 12V system, so you can use them without hooking up to shore power. Most units simply twist into existing sockets, making installation quick and straightforward.
You’ll notice the difference right away. LED dome lights give off clean, bright light that makes your space feel bigger. They also stay cool to the touch and last for years.
PRO TIP
Check the color temperature before you buy. Warm white (around 3000K) creates a cozy feel, while cool white (5000K or higher) works better for task lighting. Many people prefer warm white for living areas and cool white for kitchens.
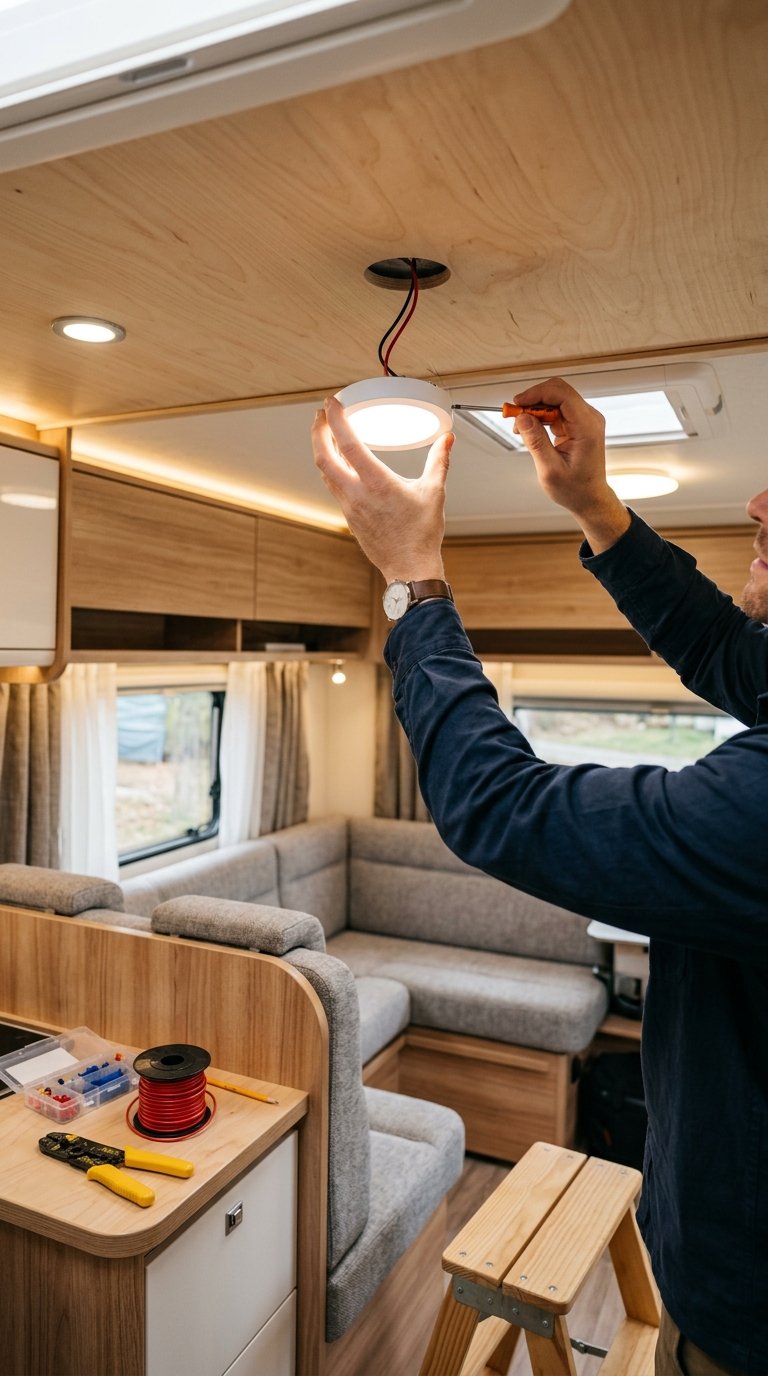
2) Swap to Dream Lighting Ultra-Thin RV Ceiling Lights
Your old RV ceiling lights probably stick down a few inches and take up valuable headroom. Ultra-thin ceiling lights solve this problem by sitting almost flush with your ceiling.
These slim lights typically measure less than half an inch thick. You’ll barely notice them when you look up, but they provide plenty of bright light when you need it.
Most ultra-thin models use LED technology, which means they stay cool to the touch and use less power than traditional bulbs. This matters when you’re running on battery power at your campsite.
Installation is usually simple since these lights fit into standard ceiling openings. You can replace your existing fixtures without cutting new holes or rewiring.
PRO TIP
Measure your current ceiling light openings before buying replacements. Most RVs use standard sizes, but checking first saves you from ordering the wrong fit.
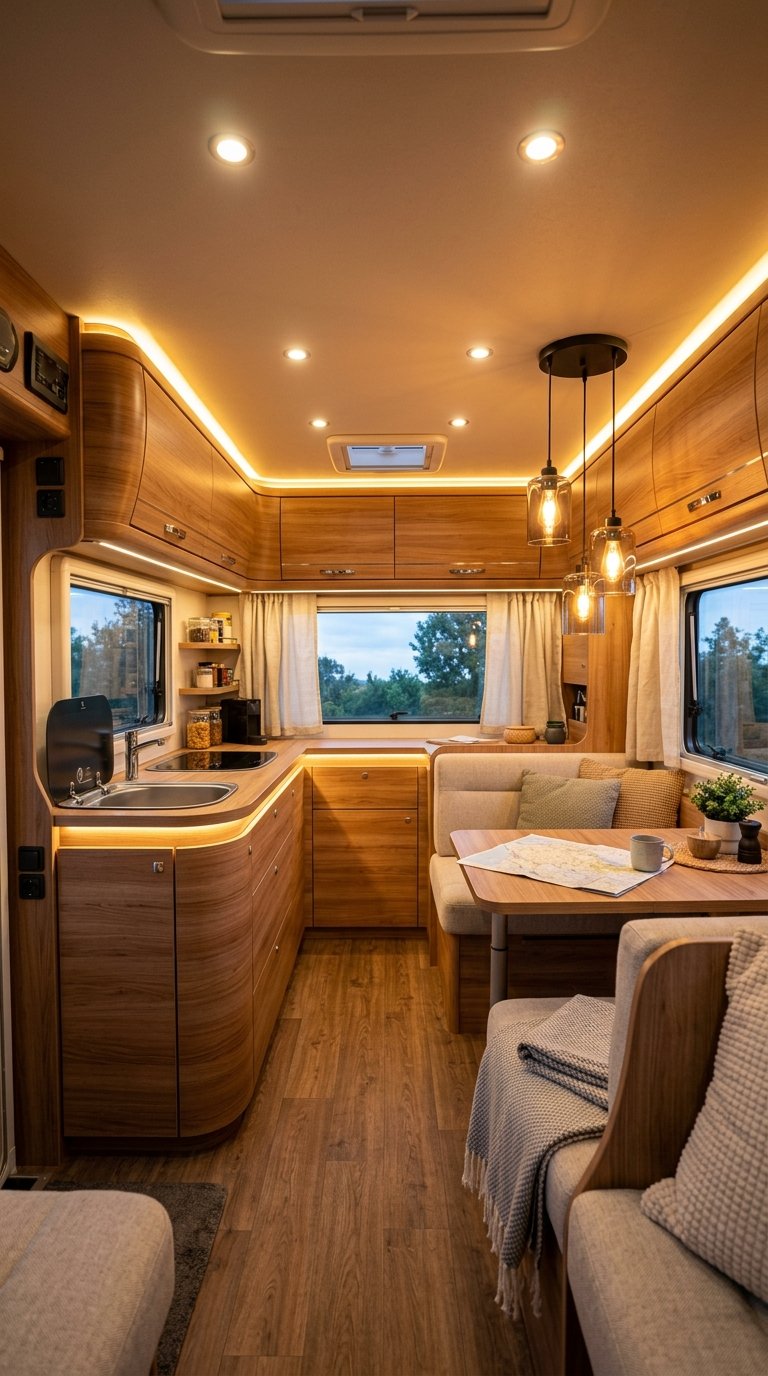
3) Add RGB LED Strip Lighting under cabinets
Installing RGB LED strip lights under your RV cabinets can transform your space instantly. These flexible strips stick right to the bottom of your cabinets and give you thousands of color options to choose from.
You can set them to warm white for cooking or switch to fun colors when you’re relaxing. Most strips come with a remote control so you can adjust brightness and colors without getting up.
The installation is simple since most strips have adhesive backing. Just clean the surface, peel off the backing, and press the strip into place. You’ll need to connect them to your 12V power system, which most RVs already have.
These lights work great in your kitchen area, but you can also use them in closets or storage spaces. They draw very little power, so you don’t have to worry about draining your batteries.
PRO TIP
Test your LED strips before sticking them permanently to your cabinets. This lets you make sure everything works and helps you figure out the best placement for even lighting.
4) Replace halogens with 12V LED Bulb Pack
Halogen bulbs in your RV drain power and create unwanted heat. Swapping them for 12V LED bulbs is one of the easiest upgrades you can make.
LED bulbs use about 80% less energy than halogens. This means your battery lasts longer when you’re boondocking. You’ll also notice the bulbs stay cool to the touch, which makes your RV more comfortable in warm weather.
Most RV light fixtures accept standard LED replacement bulbs. You can simply remove your old halogens and pop in the new LEDs. The process takes just a few minutes per fixture.
PRO TIP
Test one LED bulb first before replacing all your lights. This lets you check if you like the brightness and color temperature. Some people prefer warm white while others like cool white for different areas of their RV.
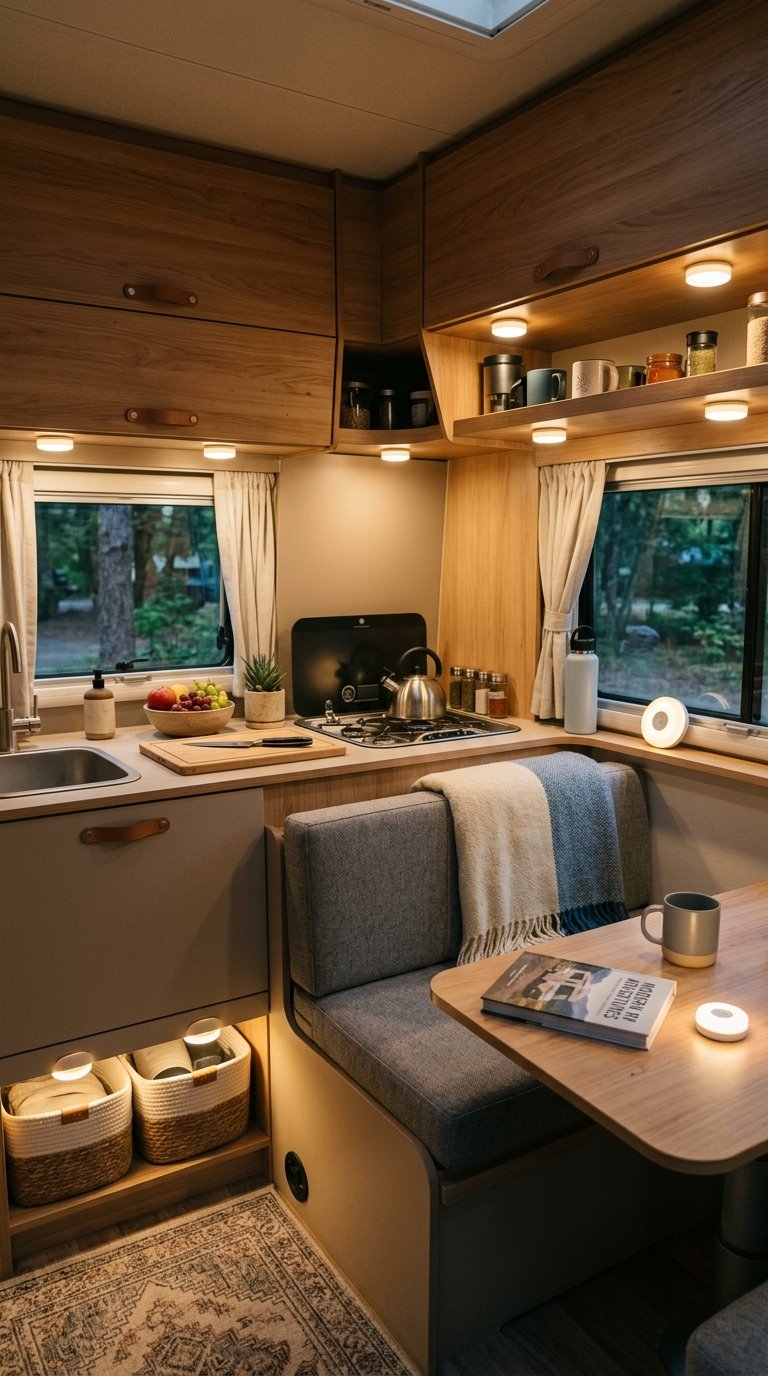
5) Mount Dimmable puck lights over kitchen counter
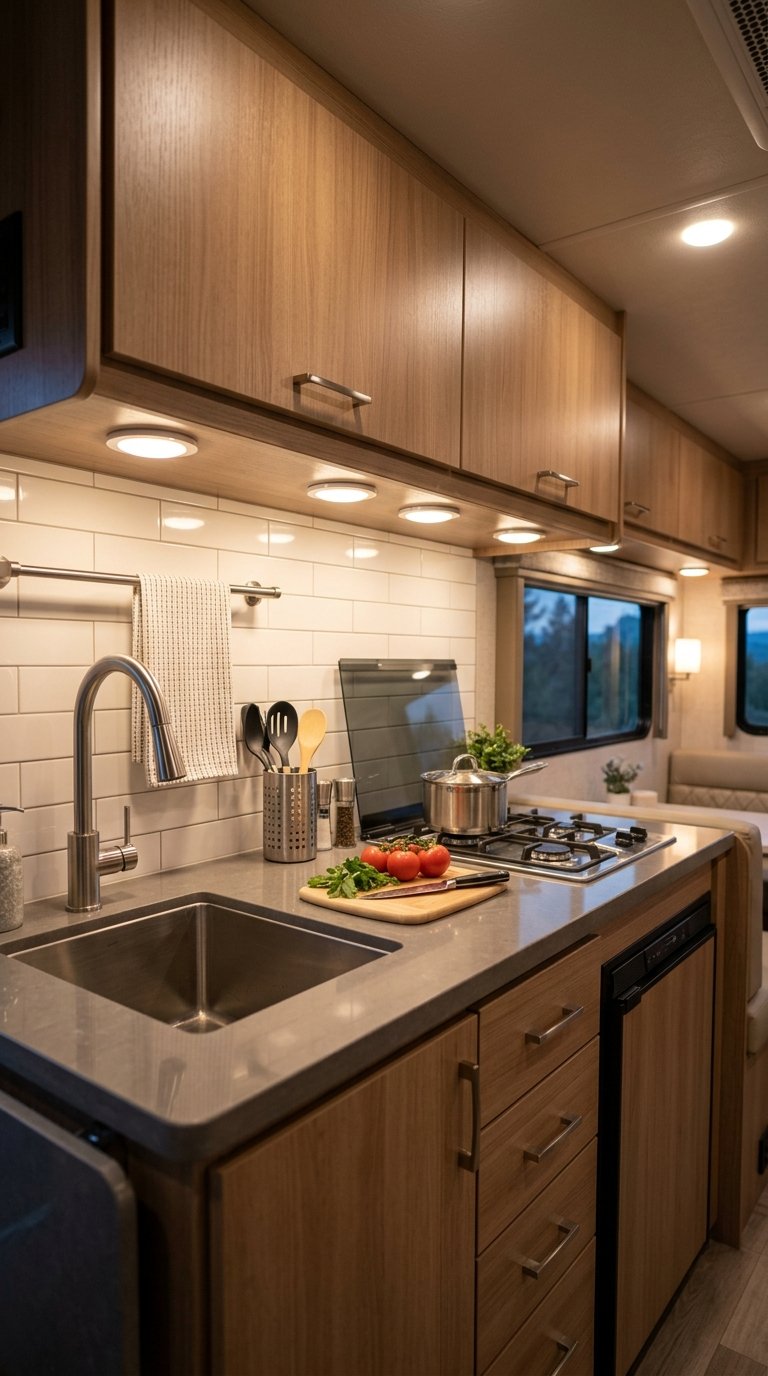
Your RV kitchen counter needs good lighting for meal prep and cooking. Puck lights are small, round fixtures that mount easily under your cabinets. They shine light directly onto your work surface.
Dimmable puck lights give you control over brightness. You can turn them up when chopping vegetables or turn them down for a softer evening mood. Most models stick on with adhesive backing or mount with a few screws.
Battery-powered options work great if you don’t want to deal with wiring. Plug-in versions offer brighter light without changing batteries. Choose LED bulbs because they stay cool and use less power from your RV battery.
Space your puck lights about 12 to 18 inches apart for even coverage. Mount them toward the front of your cabinets so light reaches the whole counter.
PRO TIP
Install puck lights with a remote control or touch switch. This lets you adjust brightness without reaching under cabinets. Some models connect to your phone for easy control from anywhere in your RV.
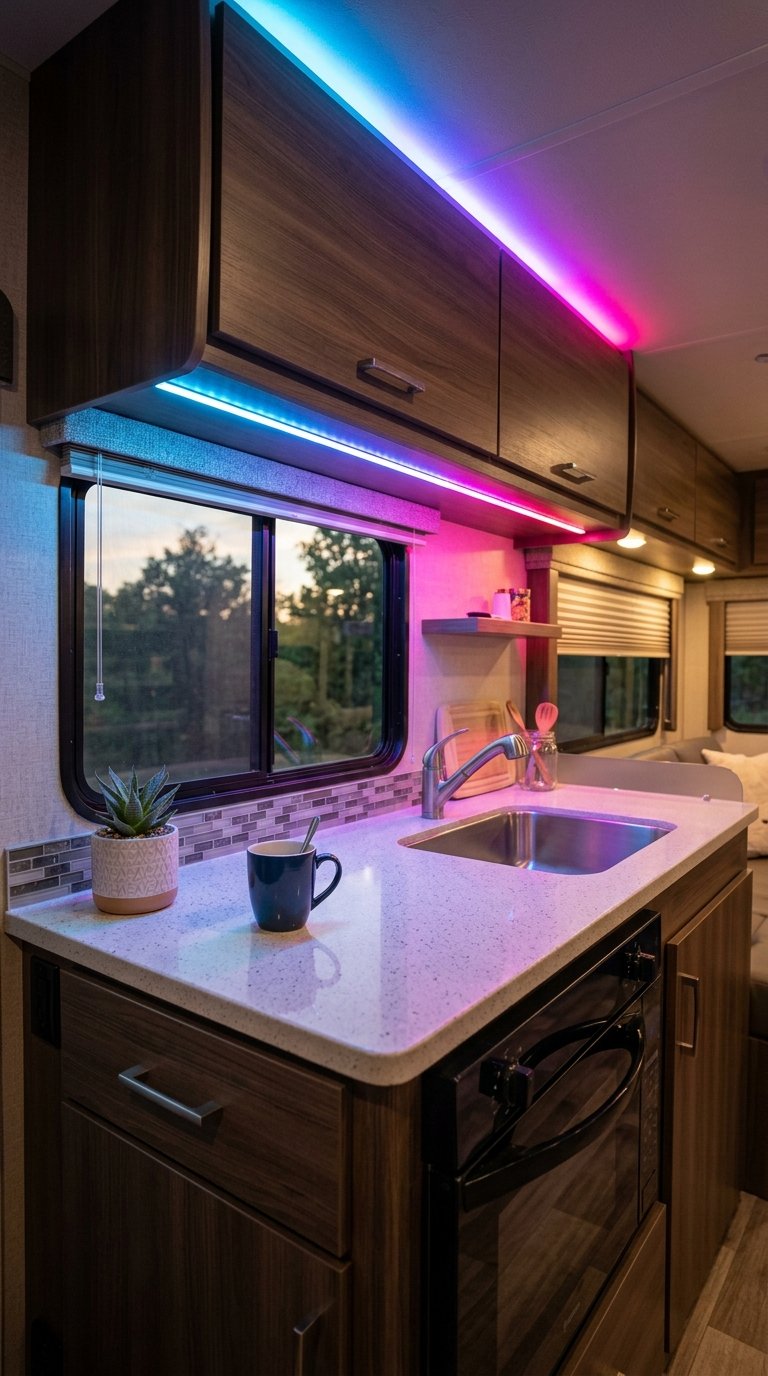
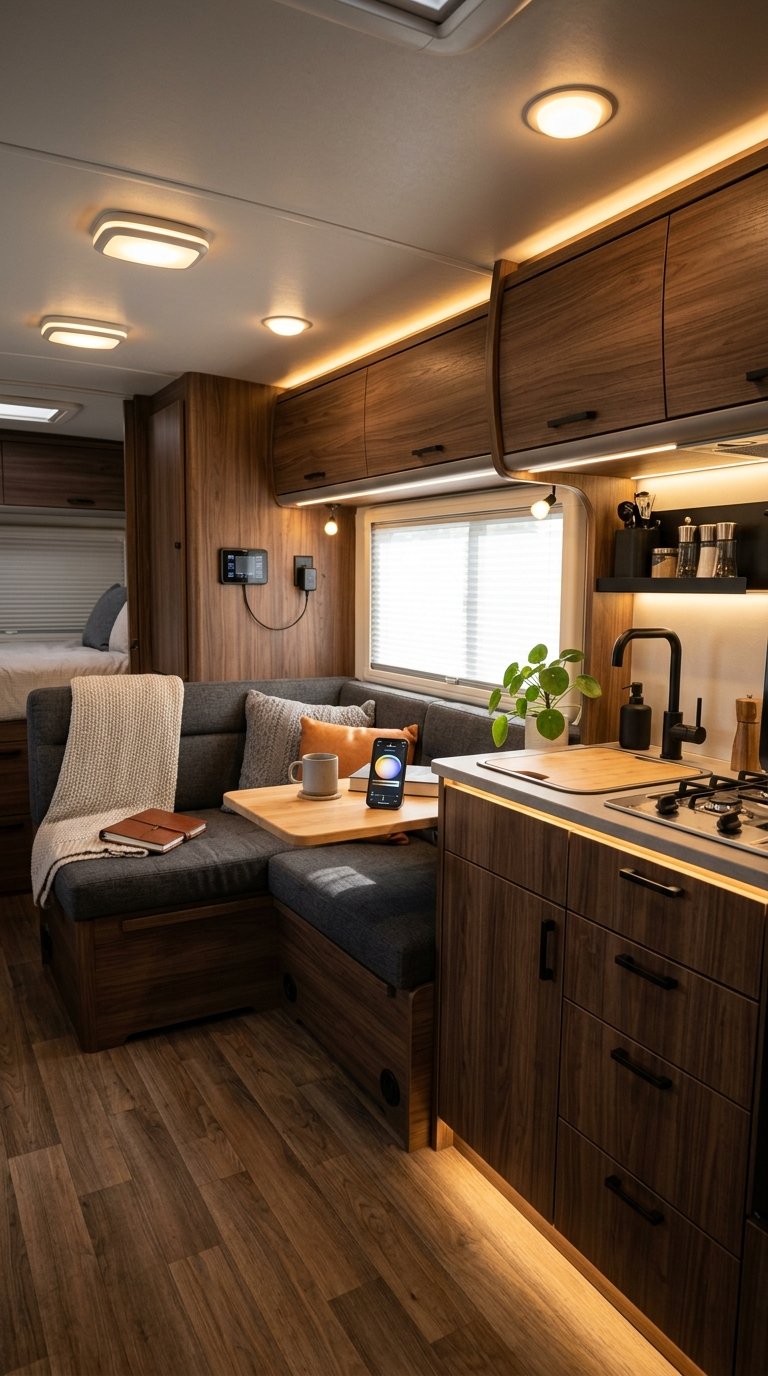
6) Install Smart LED Light Strip with app control
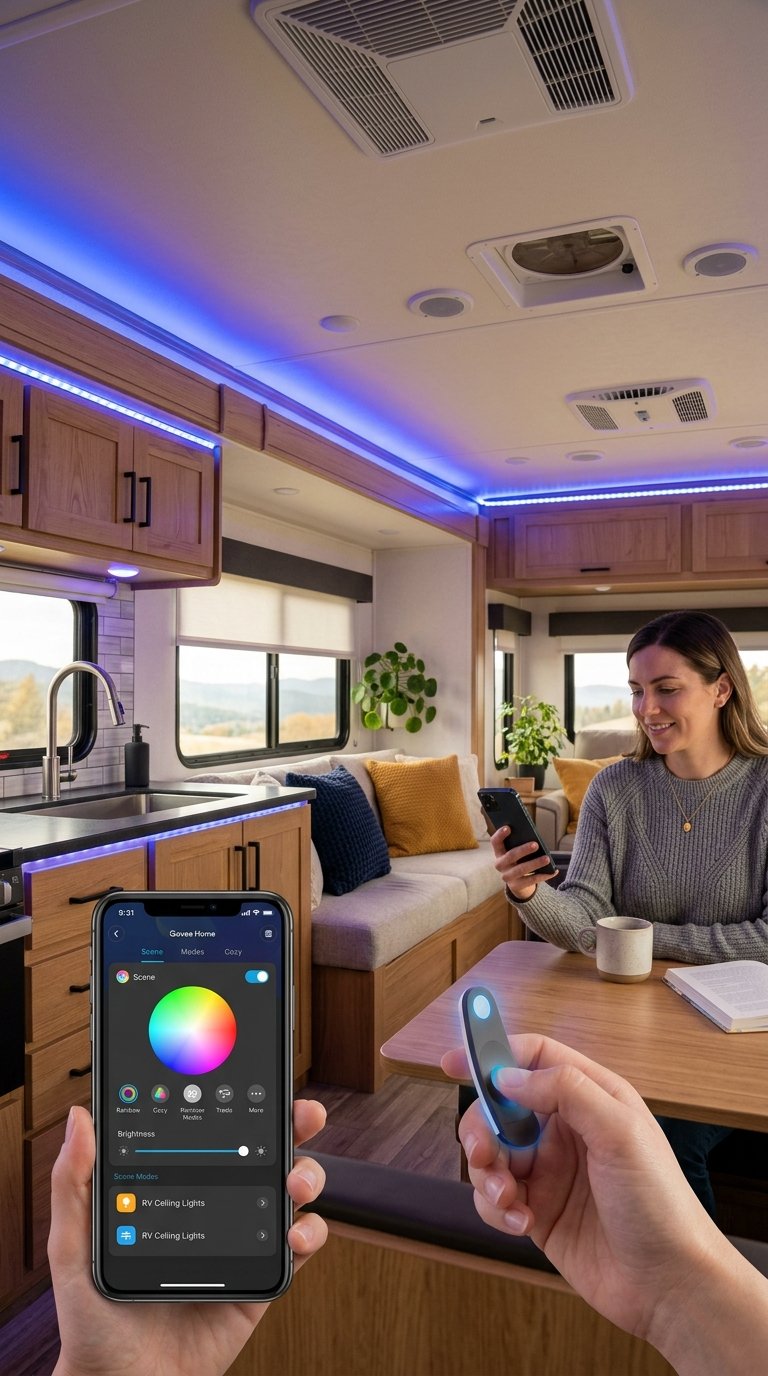
Smart LED light strips give you control over your RV’s lighting right from your phone. You can download the app and adjust brightness, change colors, and set schedules without getting up from your seat. These strips stick easily to any surface inside your RV with adhesive backing.
You can place them under cabinets, along the ceiling, or behind furniture to create ambient lighting. The app lets you choose from millions of colors to match your mood or activity. Some strips even sync with music if you want to add entertainment value.
Installation takes about 15 minutes. Just clean the surface, peel off the backing, and press the strip firmly in place. Connect it to power and pair it with the app on your phone.
PRO TIP
Set up automation schedules in the app to turn your lights on at sunset and off at bedtime. This saves battery power when you’re boondocking and means you never have to remember to flip switches.
7) Add Solar-Powered Exterior Awning Light

Solar-powered awning lights can transform your outdoor space at night. These lights attach to your RV awning and charge during the day using sunlight. You don’t need to worry about draining your RV battery or running electrical wires.
These lights create a warm atmosphere for evening gatherings outside your RV. They work great for lighting up your cooking area or seating space. Most solar awning lights are easy to install with clips or adhesive strips.
You can find options in different colors and brightness levels. Some models let you switch between steady light and flashing patterns. The best part is they turn on automatically when it gets dark.
PRO TIP
Mount your solar panels where they get direct sunlight during the day for the best charging. Keep them clean by wiping off dust and debris every few weeks. This helps them work better and stay brighter all night long.
8) Fit 12V LED Reading Sconces by beds
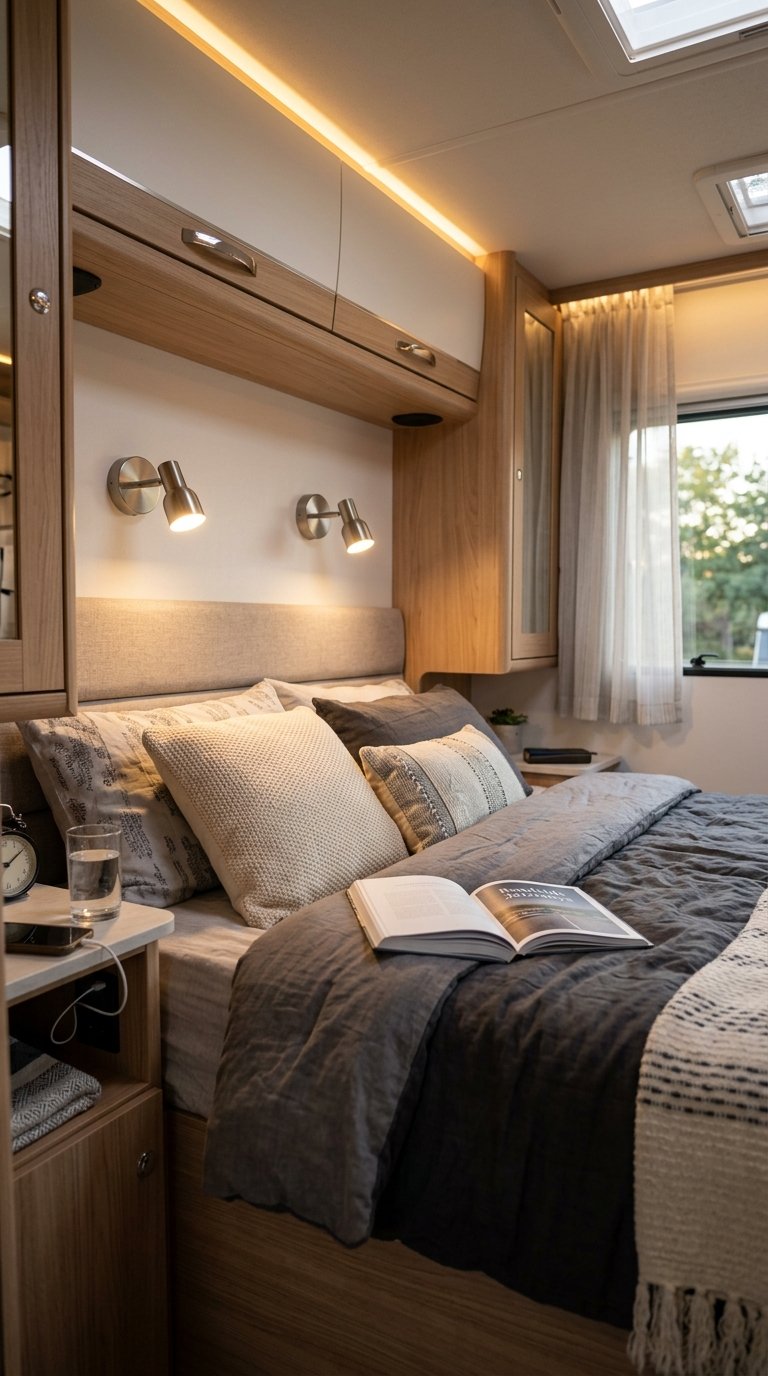
Reading lights mounted next to your bed make a big difference in your RV comfort. You can install 12V LED sconces on the wall above or beside your sleeping area. These lights run directly off your RV’s battery system without needing an inverter.
LED reading lights use very little power compared to older bulbs. This means you can read at night without worrying about draining your battery too fast. Most sconces have adjustable arms or heads so you can point the light right where you need it.
Installation is pretty simple if you have basic tools. You’ll need to find a good mounting spot and connect the wires to your 12V system. Make sure to pick sconces with switches built in so you don’t have to reach far to turn them off.
PRO TIP
Look for reading lights with dimmer switches. This lets you adjust the brightness based on what you’re doing and saves even more battery power.
9) Install motion-sensor puck lights in closets
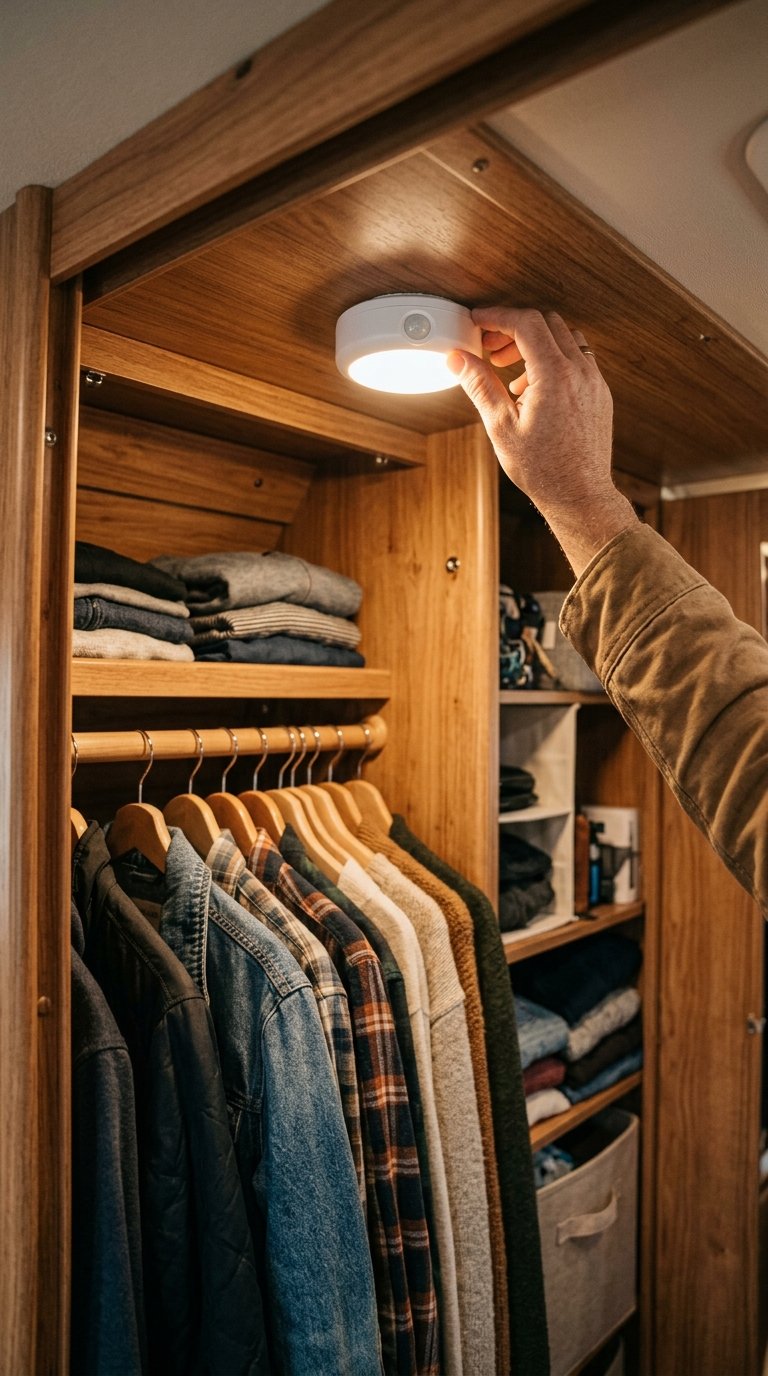
RV closet spaces are usually dark and cramped. Finding your clothes or gear can be frustrating when you can’t see what you’re looking for.
Motion-sensor puck lights solve this problem perfectly. These small, round lights attach to your closet walls or ceiling with adhesive strips or screws. When you open the closet door or reach inside, the sensor detects movement and turns the light on automatically.
You don’t need to fumble for switches or waste battery power. The lights turn off by themselves after a few seconds of no movement.
Most puck lights run on batteries, so you won’t need to deal with complicated wiring. This makes installation quick and easy, even if you’re not handy with electrical work.
PRO TIP
Place your motion-sensor lights toward the front of the closet rather than the back. This positioning gives you better overall lighting coverage and helps the sensor detect your movement more reliably when you open the door.
10) Add battery-powered Tap Lights for temporary spots
Battery-powered tap lights are a simple way to add light exactly where you need it. These small lights stick to surfaces or sit on shelves without any wiring. You just press them to turn them on and off.
They work great in closets, cabinets, and storage areas where you need quick access to light. You can also use them near your bed for nighttime reading or as a gentle night light in the bathroom. The battery power means you can move them around whenever you want.
Installation takes seconds since most come with adhesive backing. Just peel and stick them to any clean surface. If you change your mind about placement, you can easily remove them and put them somewhere else.
PRO TIP
Keep extra batteries on hand so your tap lights never go dark when you need them most. Check the batteries every few months during your regular RV maintenance.
11) Install a Lutron Caseta-compatible smart switch (12V converter)
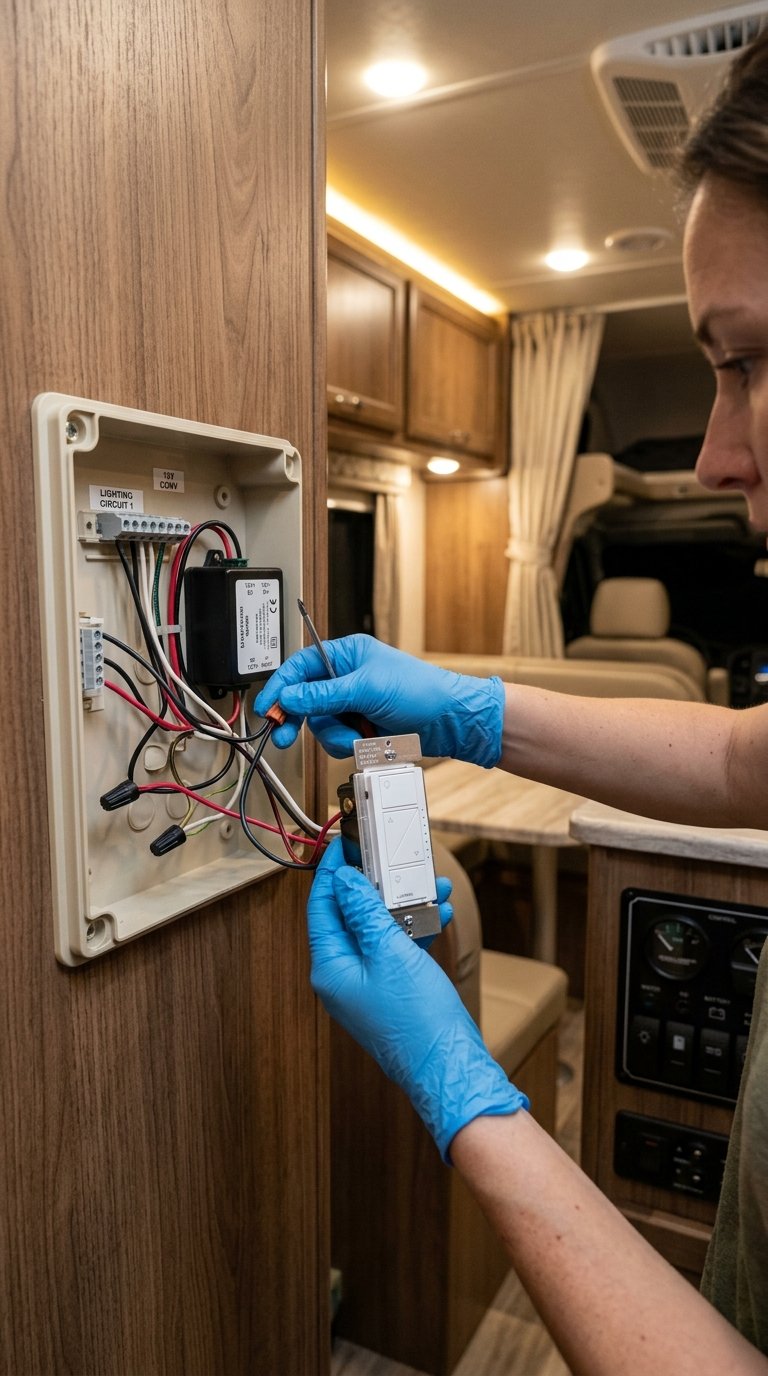
Adding a smart switch to your RV lets you control lights from your phone or with voice commands. You’ll need a special 12V converter since most smart switches run on 110V power.
This upgrade works best for main living area lights. You can set schedules so lights turn on automatically at sunset or turn off when you go to bed.
The installation requires some basic electrical knowledge. You’ll wire the converter between your RV’s 12V system and the smart switch. Once connected, you can group multiple lights together and control them all at once.
PRO TIP
Test your RV’s electrical system before buying any components. Some older RVs have wiring that might need updates first. Check your battery capacity too, since smart switches draw a small amount of power even when lights are off.
12) Replace dated fluorescent fixtures with LED panels
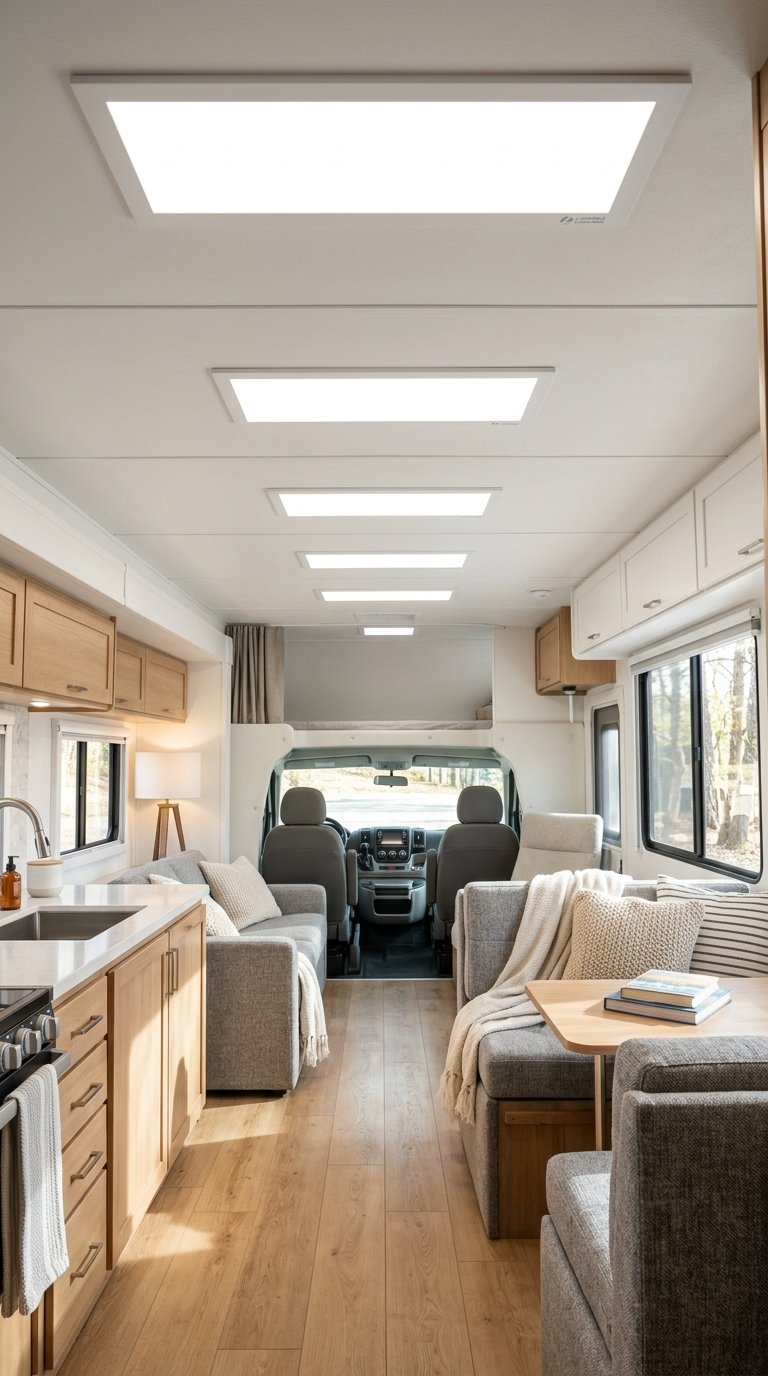
Old fluorescent lights in your RV can make the space feel dull and outdated. They also use more power than newer options and tend to flicker over time.
Switching to modern LED panels gives you brighter, more even lighting throughout your RV. These panels are thin and lightweight, which matters when you’re watching your vehicle’s weight. They last much longer than fluorescent bulbs and draw less power from your battery system.
Installation is usually straightforward since LED panels fit into existing fluorescent fixture spaces. You’ll notice the difference right away with clearer, whiter light that makes your RV interior look cleaner and more spacious.
The energy savings add up quickly when you’re boondocking or relying on solar power. Your batteries will last longer between charges, giving you more freedom on the road.
PRO TIP
Measure your current fixtures carefully before ordering replacement panels. Most come in standard sizes, but double-checking ensures a perfect fit without modifications.
13) Mount Smart Wi‑Fi Bulbs (12V-compatible adapter)
Smart Wi‑Fi bulbs let you control your RV lights from your phone. You can dim them, change colors, and set schedules without getting up. This makes it easy to create the perfect mood for any occasion.
Most smart bulbs run on standard 120V household power. Your RV uses a 12V DC system, so you’ll need a compatible adapter or special bulbs designed for low voltage. Check the product specs carefully before buying to make sure they work with your RV’s electrical setup.
Installation is straightforward. Remove your old bulb and screw in the smart bulb with its adapter. Download the companion app on your phone and follow the pairing instructions.
PRO TIP
Set up voice control through your phone’s assistant to adjust lights hands-free while you’re cooking or driving. You can also create automated schedules that turn lights on at sunset and off at bedtime to save battery power.
14) Add warm-tone under-cabinet tape lights for ambiance

Under-cabinet tape lights create a cozy atmosphere in your RV without taking up any space. These thin LED strips stick to the bottom of your cabinets and shine down on your countertops. The warm-tone option gives off a soft, yellowish glow that feels inviting and relaxing.
You can install these lights in your kitchen, bathroom, or bedroom areas. They work great for late-night tasks when you don’t want to turn on bright overhead lights. The adhesive backing makes installation easy, and most options come with a simple remote control.
These lights use very little power, which is important in an RV. You can leave them on for hours without draining your battery. Many tape lights also have dimming features so you can adjust the brightness to match your mood.
PRO TIP
Connect your tape lights to a dimmer switch so you have full control over the brightness levels throughout the day and evening.
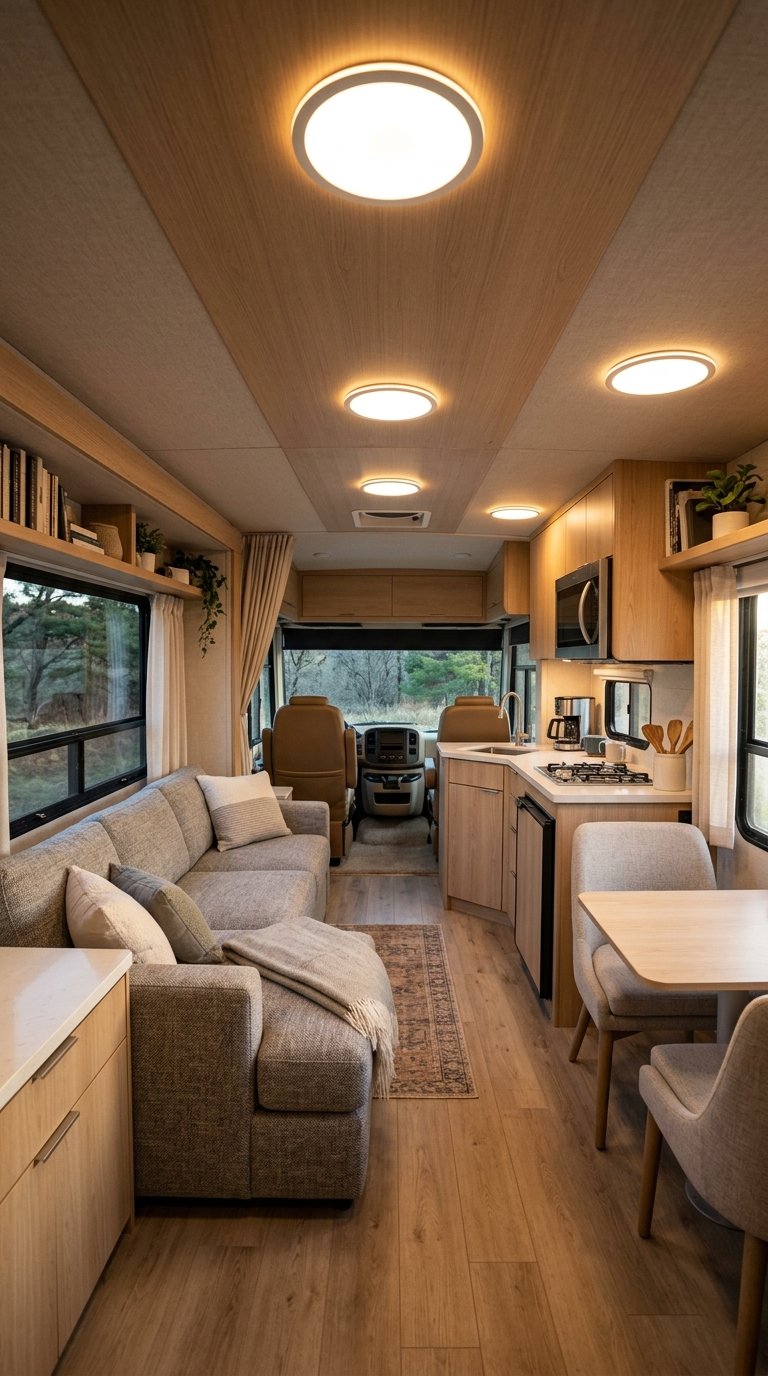
15) Install recessed LED downlights with dimmer module
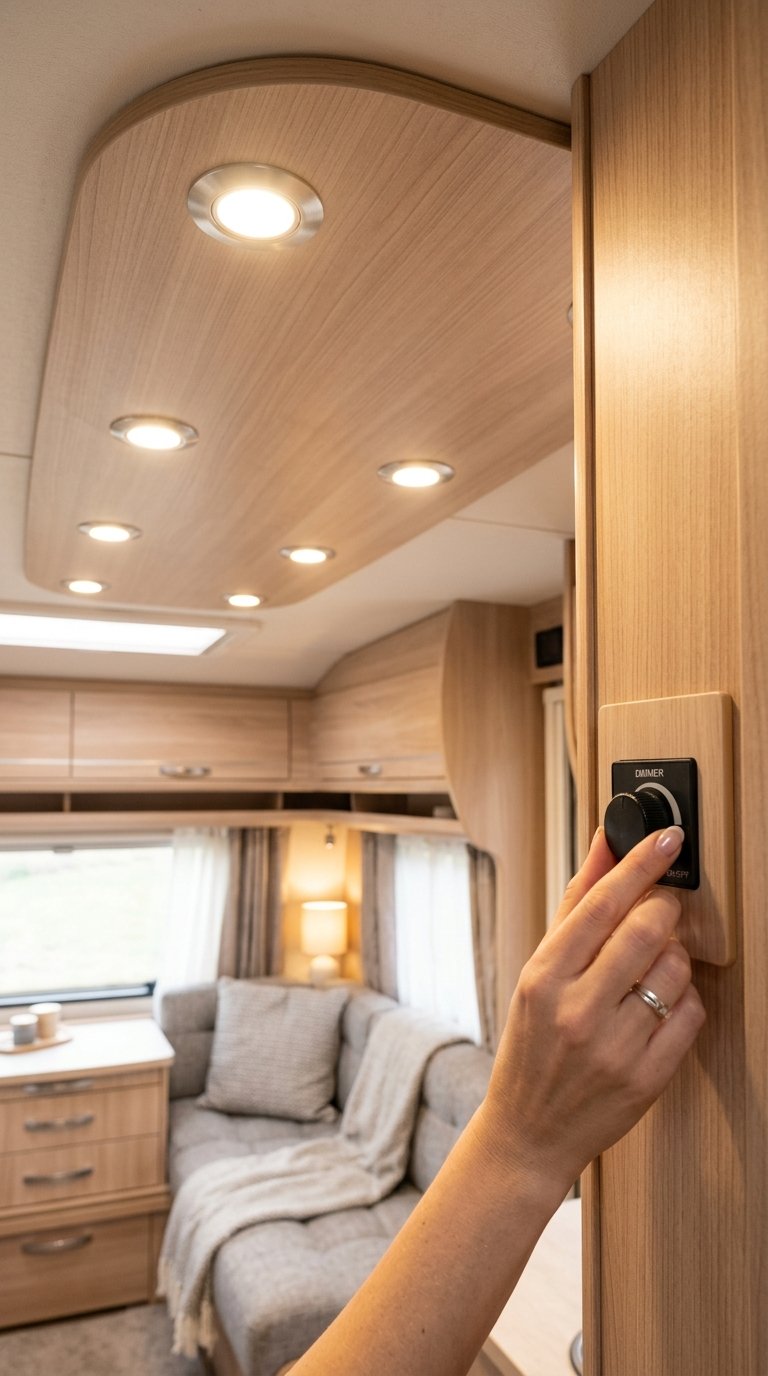
Recessed LED downlights give your RV a clean, modern look while saving space. These lights sit flush with your ceiling, so you won’t bump your head on hanging fixtures. They work great in kitchens, bathrooms, and living areas where you need focused light.
Adding a dimmer module lets you control the brightness based on your needs. You can have bright light for cooking or reading, then dim them down for movie nights or bedtime. This also helps save battery power when you’re boondocking.
The installation requires cutting holes in your ceiling, so measure twice before you start. Most LED downlights are designed to fit standard sizes, making the process easier. You’ll need to wire them to your RV’s electrical system and connect the dimmer module according to the instructions.
PRO TIP
Test your dimmer module with the LED lights before final installation. Not all dimmers work with every LED bulb, and some combinations can cause flickering or buzzing sounds.


